To paint ceramic tile floors, start by thoroughly cleaning and repairing any chips or cracks. Lightly sand the surface for better paint adhesion, then apply a high-quality bonding primer designed for tiles. Plan your color and design carefully before applying thin, even coats of epoxy or urethane-based paint, allowing proper drying time between each. Finish by sealing with a durable polyurethane or acrylic sol sealer to protect your work. Following these steps guarantees a lasting, beautiful finish, and there’s more to master for professional results.
Gather the Necessary Tools and Materials
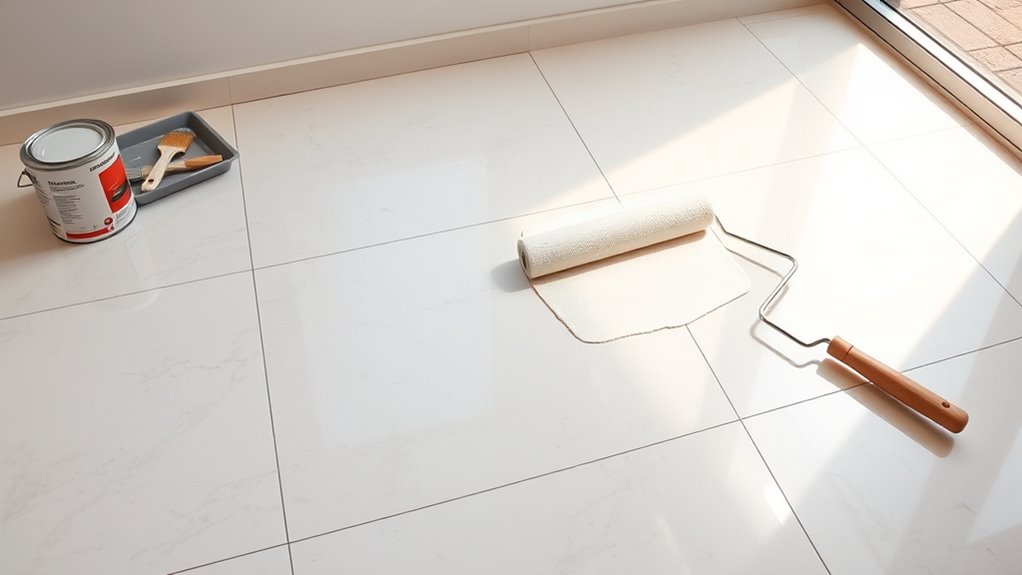
Before you begin painting your ceramic tile floors, you’ll need to gather a specific set of tools and materials to guarantee a professional finish. Your tool selection should include a high-quality paint roller with a smooth nap for even coverage, angled brushes for edges, and fine-grit sandpaper to prepare the surface. Material sourcing is equally important—opt for a bonding primer designed for tile, durable floor paint suitable for high-traffic areas, and a clear polyurethane sealer to protect your work. Don’t forget painter’s tape to mask off baseboards and adjoining surfaces, and a sturdy paint tray. By carefully selecting and sourcing these tools and materials, you ensure your project achieves both aesthetic appeal and lasting durability, granting you the freedom to transform your space confidently.
Clean the Tile Floors Thoroughly
Once you have all your tools and materials ready, the next step is to clean the ceramic tile floors thoroughly. Start by applying effective pre cleaning methods, such as sweeping or vacuuming, to remove loose dirt and debris. Next, choose the right cleaning solutions designed for ceramic surfaces—avoid harsh chemicals that might damage the tile or grout. Use a mop or scrub brush soaked in the solution to scrub every inch of the floor, focusing on grout lines where dirt tends to accumulate. Rinse the floor with clean water to remove any residue. Ensuring the tiles are spotless and dry is essential, as this creates the ideal surface for paint adhesion and guarantees a long-lasting finish. Don’t skip this step if you want your project to succeed.
Repair Any Damages on the Tiles
Although thorough cleaning sets the stage, you’ll need to repair any chips, cracks, or loose tiles to guarantee a smooth, durable finish. Begin by inspecting every tile carefully for imperfections. Use a high-quality crack filling compound to address any fissures, ensuring you press it firmly into the damaged areas. Once dry, remove excess filler with a putty knife, then proceed to surface smoothing with fine-grit sandpaper. This step is essential for eliminating irregularities that could compromise paint adhesion and durability. For loose tiles, re-secure them with appropriate adhesive, allowing ample drying time before moving forward. By meticulously attending to these repairs, you’re creating a flawless base that supports lasting freedom in your floor’s new look, preventing future peeling or cracking once painted.
Sand the Tile Surface for Better Adhesion
Start by thoroughly sanding the tile surface to create the necessary texture for paint to grip properly. Tile surface preparation is essential for adhesion improvement, ensuring your paint lasts and resists chipping. Use medium-grit sandpaper (120-150 grit) to gently roughen the tiles without damaging them. Focus on:
- Sanding all glossy and smooth areas evenly
- Avoiding excessive pressure that could crack tiles
- Cleaning dust between sanding passes with a vacuum or damp cloth
- Wearing a mask to prevent inhaling dust particles
This precise sanding step enhances paint adhesion by removing the tile’s slick finish, allowing the paint to bond effectively. Taking your time here guarantees the freedom to enjoy a beautifully transformed floor without worrying about premature paint failure.
Apply a High-Quality Primer
You’ll want to choose a primer specifically designed for glossy surfaces like ceramic tile to guarantee strong adhesion and durability. Apply it evenly with a high-quality brush or roller, focusing on thin, consistent coats to prevent drips and pooling. Proper primer application creates a solid foundation for your paint, so don’t rush this critical step.
Primer Selection Tips
Because ceramic tiles have a smooth, non-porous surface, applying a high-quality primer is essential to confirm proper adhesion of the paint. Choosing the right primer requires understanding primer types and their compatibility with tile materials. You’ll want to select one specifically designed for glossy surfaces or tiles to guarantee durability.
Keep these primer selection tips in mind:
- Opt for bonding primers formulated for ceramic or porcelain.
- Avoid primers intended only for drywall or wood, as they won’t adhere well.
- Consider water-based primers for low odor and easier cleanup.
- Check product labels for compatibility with both tile and your chosen paint type.
Proper Primer Application
Once you’ve selected the right primer for your ceramic tile floor, applying it correctly is key to ensuring a strong bond and a smooth finish. Start by cleaning the surface thoroughly and letting it dry completely. Choose from primer types such as epoxy-based or bonding primers, depending on your tile’s glaze and condition. Use a high-quality brush or roller for even coverage, applying thin, consistent coats to avoid drips or pooling. Follow the manufacturer’s recommended drying times between coats to maximize adhesion. Pay close attention to grout lines, ensuring primer seeps in for uniform coverage. Proper application methods not only guarantee durability but also give you the freedom to customize your floor with confidence, knowing your paint job will last and look professional.
Choose the Right Paint for Ceramic Tiles
You’ll want to select a paint specifically formulated for ceramic tiles, such as epoxy or urethane-based options, to guarantee proper adhesion and durability. Consider factors like wear resistance and moisture tolerance, especially for high-traffic or wet areas. Choosing the right paint will assure a long-lasting, professional finish on your tile floor.
Types of Tile Paint
When selecting paint for ceramic tile floors, it’s crucial to zero in on formulations designed specifically for adhesion and durability on smooth, non-porous surfaces. Not all types of paint will bond well or stand up to foot traffic. You’ll want to take into account:
- Epoxy paint: Offers exceptional durability and chemical resistance; ideal for high-traffic areas.
- Acrylic latex paint: Easier to apply with good adhesion but may require a protective topcoat.
- Oil-based paint: Provides a hard finish but can yellow over time and has stronger fumes.
- Specialty tile paint: Formulated for ceramic surfaces, often including integrated primers for superior bonding.
Additionally, choose appropriate paint finishes—matte, satin, or semi-gloss—based on your aesthetic and maintenance preferences. Selecting the right type guarantees your floor remains both beautiful and resilient.
Paint Durability Factors
Choosing the right type of paint lays the groundwork for durability, but understanding the factors that affect how long your paint job lasts will help you make the best decision for ceramic tile floors. Key elements like paint lifespan and surface preparation directly influence wear resistance and finish longevity. Properly cleaned and primed tiles promote ideal adhesion, extending the paint’s effective life. Below is a concise overview of critical durability factors:
| Facteur | Impact on Durability |
|---|---|
| Préparation de la surface | Promotes strong bond; poor prep reduces lifespan |
| Paint Quality | Higher-grade paints resist chipping and fading |
| Méthode d'application | Even coats prevent peeling and promote uniform coverage |
| Environmental Exposure | Moisture and UV light can degrade paint over time |
| Traffic Level | Heavy foot traffic demands more durable paint types |
Address these factors carefully to maximize your ceramic tile floor’s painted finish.
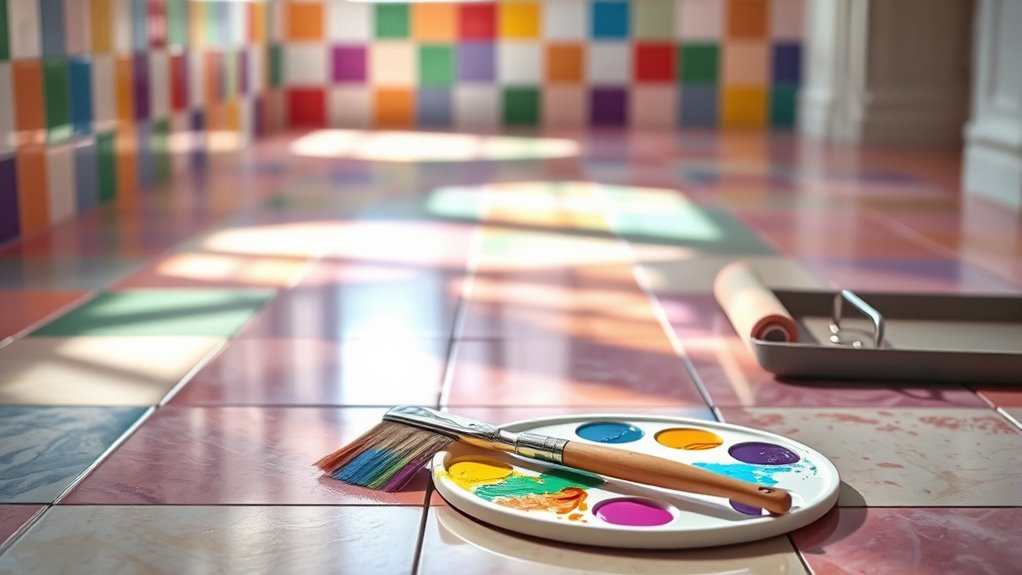
Plan Your Design and Color Scheme
Although selecting a design and color scheme might seem straightforward, it requires careful consideration to assure your ceramic tile floors complement the room’s overall aesthetic. Start by exploring color inspiration from nature, art, or your favorite spaces. Stay informed on current design trends to assure your floor feels fresh yet timeless. Consider how the color will interact with lighting and existing decor. Finally, plan patterns that enhance the room’s flow without overwhelming it. To guide your decision:
- Balance boldness and subtlety to suit your personal style
- Choose colors that harmonize with walls and furnishings
- Decide whether to use geometric, floral, or abstract designs
- Visualize the final look with sketches or digital mockups
This deliberate planning grants you freedom to create a unique, enduring floor design.
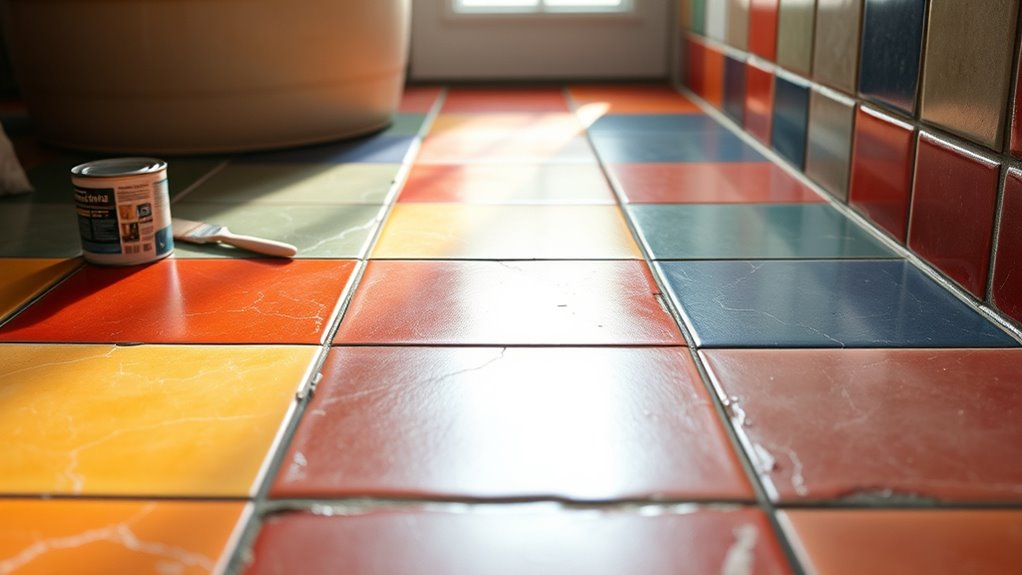
Apply the Paint Evenly in Thin Coats
With your design and color scheme firmly decided, it’s time to focus on applying the paint to your ceramic tile floors. Start by selecting the right paint application tools—foam rollers or high-quality brushes work best for smooth, even coverage. Apply your paint in thin, consistent coats to avoid drips and guarantee durability. Use precise strokes, moving in one direction to maintain uniformity. If your design involves multiple hues, employ color blending techniques carefully at the edges to create seamless shifts without muddiness. Thin layers dry faster and let you control the finish better, so resist the urge to overload your tools. Patience here grants you freedom to perfect your floor’s appearance, achieving a professional, long-lasting look that reflects your style with confidence and clarity.
Allow Adequate Drying Time Between Coats
Even if you’re keen to see the final result, you’ve got to let each coat of paint dry thoroughly before applying the next one. Proper drying techniques and respecting coat intervals are essential to guarantee a smooth, durable finish on your ceramic tile floor. Rushing this process can cause peeling or uneven textures. To master drying time:
- Maintain consistent room temperature and ventilation to speed drying without compromising quality.
- Avoid heavy foot traffic during drying to prevent dents or smudges.
- Use a fan or dehumidifier if humidity is high, accelerating evaporation.
- Follow manufacturer recommendations for minimum coat intervals, but err on the side of longer drying if unsure.
Patience here guarantees freedom from future touch-ups and a flawless, professional-looking floor.
Seal the Painted Floor for Durability
To guarantee your painted ceramic tile floor stands up to wear, you’ll need to select a sealer specifically designed for floor use and compatible with your paint type. Apply the sealer evenly using a high-quality brush or roller, following manufacturer instructions for best results. Finally, allow sufficient drying and curing time before foot traffic to maximize durability and longevity.
Choose the Right Sealer
Although painting your ceramic tile floor can transform its appearance, choosing the right sealer is essential to protect your work and guarantee long-lasting durability. Selecting the appropriate sealer depends on understanding sealer types and their compatibility with your paint and tile. Here are key points to keep in mind:
- Acrylic sealers offer clear, flexible protection ideal for indoor floors.
- Epoxy sealers provide a tough, chemical-resistant finish but require careful handling.
- Polyurethane sealers deliver durable, glossy protection but may yellow over time.
- Water-based sealers dry quickly and have low odor, suitable for easy application.
Techniques d'application
A careful application technique is essential when sealing your painted ceramic tile floor to guarantee maximum durability and an even finish. Begin by selecting a high-quality brush and roller suited for your sealer’s viscosity. Use brush techniques to reach grout lines and edges where rollers can’t effectively apply the sealer. Employ long, smooth strokes with the roller application to cover large, flat surfaces evenly without leaving bubbles or streaks. Work in small sections to maintain a wet edge, preventing lap marks. Avoid overworking the sealer once applied, as this can cause uneven drying. Ascertain consistent pressure during both brush and roller use to achieve a uniform protective layer. By mastering these precise techniques, you’ll extend your floor’s lifespan while preserving its fresh, painted appearance.
Drying and Curing Times
Even after you’ve carefully applied the sealer, the drying and curing times are critical to guarantee your painted ceramic tile floor develops the durability and finish it deserves. Rushing this process compromises longevity and appearance. Pay close attention to these factors:
- Allow at least 24 hours of drying times between each sealer coat to make certain proper adhesion.
- Maintain a dust-free, well-ventilated environment to facilitate even curing times.
- Avoid heavy foot traffic for a minimum of 72 hours after the final coat to prevent surface damage.
- Consider ambient temperature and humidity, as they greatly influence both drying times and curing times.