To make floors in Grounded, start by gathering plant fibers and sap for wooden planks, or collect stones for durable stone floors. Use the crafting menu to convert materials into floor tiles, selecting oak for strength or pine for ease. Place floors on even ground, keeping edges tight against walls to prevent gaps and insect entry. Add leaf carpets for decoration and grip. For best results, reinforce floors and plan layouts carefully—explore more methods to improve your base’s structure and protection.
Gathering Basic Materials for Flooring
Before you begin crafting floors in Grounded, you’ll need to gather key materials essential for construction. Start by identifying locations rich in sap and plant fibers, as these are primary components for basic sol. Look for clover patches and grass clusters; these areas typically yield ample resources. When gathering resources, focus on collecting enough plant fibers and sap to sustain multiple crafting attempts, ensuring you don’t run short mid-project. Use your spear or axe to efficiently harvest sap from spider webs or tree trunks. Map out these resource-rich locations for quick returns, optimizing your material stockpile. By systematically gathering resources and identifying locations beforehand, you maintain freedom in your building process without unnecessary interruptions or backtracking. This preparation sets a solid foundation for crafting durable floors.
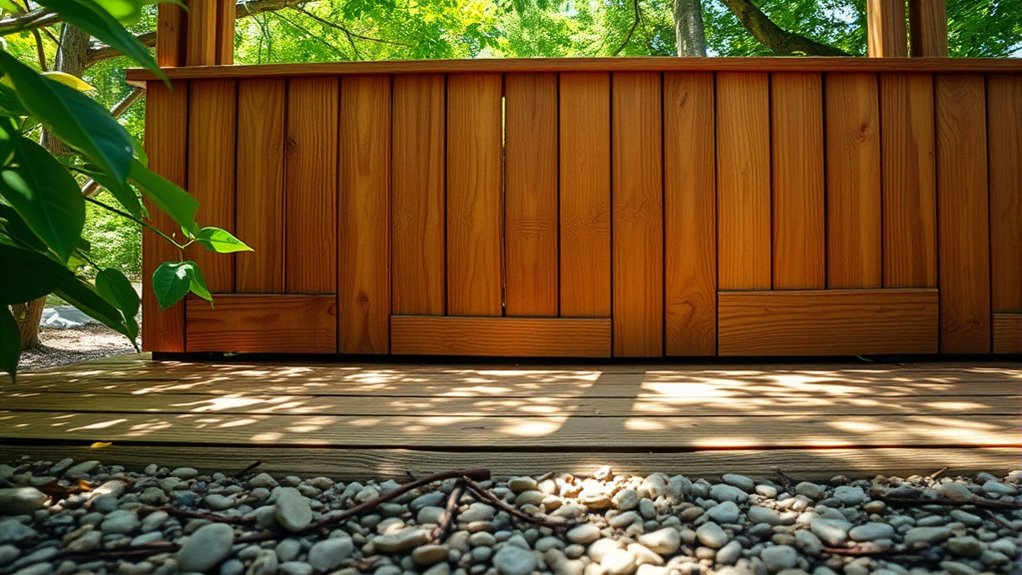
Crafting Wooden Plank Floors
Once you’ve gathered sufficient plant fibers and sap, you can start crafting wooden plank floors by first converting raw materials into planks using your crafting menu. Focus on material choices: oak, birch, or pine, each offering different durability. Use these crafting tips to maximize efficiency—prioritize high-yield resources and guarantee a stable supply of sap for binding.
| Material Choice | Durabilité | Crafting Time |
|---|---|---|
| Chêne | Haut | Moyen |
| Birch | Moyen | Faible |
| Pine | Faible | Fast |
| Sap | Binding | Instant |
| Plant Fiber | Support | Instant |
Accurate material selection and efficient plank production enhance your floor’s structural integrity and aesthetic freedom in Grounded.
Building Stone Floors for Durability
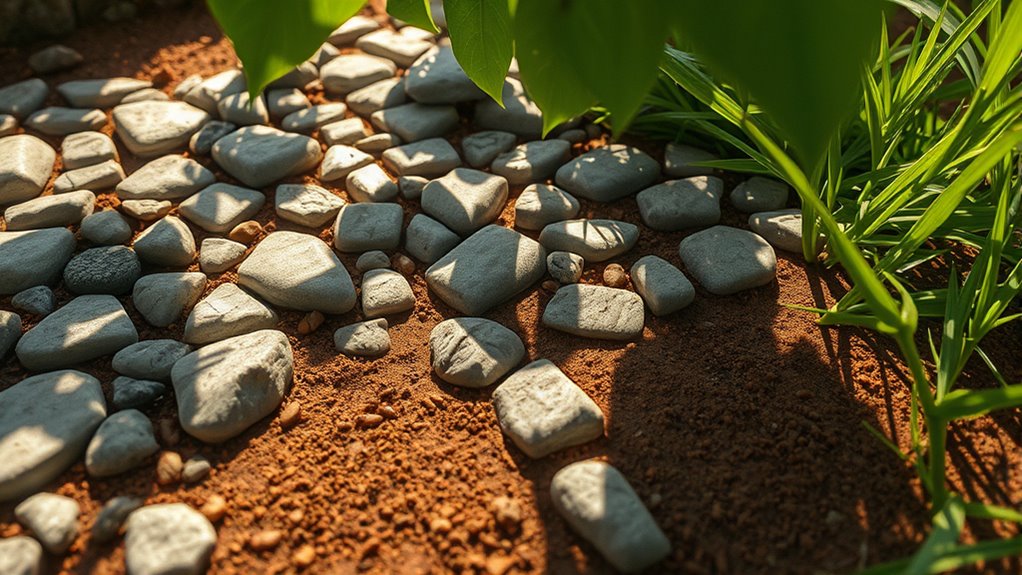
Although crafting wooden plank floors provides a solid foundation, building stone floors considerably increases durability and resistance to environmental hazards. To begin, gather enough smooth and rough stone resources, ensuring you have the necessary materials for crafting. Use your crafting bench to combine these stones into stone floor tiles. When placing stone floors, focus on areas prone to moisture or enemy attacks, as stone floor advantages include superior resilience and longevity. For best results, lay floors on even ground to prevent placement errors. Floor durability tips suggest reinforcing frequently trafficked zones with stone rather than wood to reduce wear and tear. Remember, stone floors not only protect your base but also provide a stable, maintenance-free surface, giving you the freedom to focus on exploration and survival without worrying about floor degradation.
Using Leaf Carpets for Decorative Touches
You’ll want to start by selecting leaf types that complement your floor’s color and texture, focusing on variations like clover or oak for contrast. When placing leaf carpets, arrange them in overlapping patterns to create a natural, seamless look while avoiding gaps. Precise alignment and layering will guarantee your decorative floors not only look great but also maintain durability.
Selecting Leaf Types
When selecting leaf types for your floors in Grounded, it’s crucial to contemplate both the aesthetic and functional properties of each leaf carpet. Different leaf types influence floor aesthetics and durability uniquely. Consider these factors:
- Size and Shape – Larger leaves like clover offer expansive coverage, while smaller leaves like grass blades provide intricate texture and detail.
- Color Variations – Choose leaves with contrasting greens or browns to create visual depth or patterns that enhance your floor’s appeal.
- Durability and Grip – Some leaf types withstand foot traffic better and provide improved traction, essential for maintaining floor integrity and player mobility.
Selecting the right leaf types lets you combine freedom in design with practical floor performance, ensuring your Grounded base feels both stylish and reliable.
Placement Techniques
After choosing the ideal leaf types for your floor, focus on precise placement techniques to maximize both function and visual appeal. Start by applying floor alignment techniques to guarantee each leaf carpet fits seamlessly with adjacent pieces. Pay attention to the edges—overlapping leaves slightly prevents gaps and strengthens the surface. For multi-level flooring, stagger leaf carpets across tiers, aligning seams to create natural shifts that maintain structural integrity. Use varied leaf shapes to break monotony, arranging them to highlight key areas or pathways. Remember, consistent pressure during placement helps secure leaves firmly, preventing lifts or uneven spots. By mastering these detailed placement steps, you’ll achieve durable, aesthetically pleasing floors that grant you freedom to explore and build creatively within Grounded.
Placing Floors to Protect Against Insects
To effectively protect your base from insects, choose floor materials like Pebble or Plant Floors that naturally deter pests. Place these floors strategically around entry points and nesting areas to maximize their protective function. Incorporate barriers and maintain clean perimeters to enhance your insect prevention strategy.
Best Floor Materials
Choosing the right floor materials is essential for creating a protective barrier against insects in Grounded. You’ll want to balance floor aesthetics with durability and insect resistance. Here’s a material comparison to guide your choice:
- Oak Planks – Offers solid defense against most bugs and enhances floor aesthetics with a natural wooden look. Ideal for main bases.
- Pebble Tiles – Provides excellent insect deterrence due to its uneven surface, though it’s less visually refined.
- Thatch Mats – Lightweight and easy to craft, but less protective. Use it where quick deployment is necessary.
Select materials not just for their look but for how well they keep insects at bay. This technical approach guarantees your floors contribute to a safer, freer environment as you explore and build.
Floor Placement Tips
Where you place your floors can greatly affect their effectiveness against insect invasions. Position floors slightly elevated from the ground to minimize direct contact with soil-dwelling insects. Verify floor edges are sealed tightly against walls or other structures to prevent gaps where pests can enter. Balance floor aesthetics with functionality by choosing locations that maintain a clean, organized appearance while deterring insect access. Prioritize floor accessibility for maintenance and inspection, allowing you to spot and address early signs of insect activity promptly. Avoid placing floors near dense vegetation or areas with high moisture to reduce insect attraction. By carefully considering these factors, you create a floor layout that not only looks appealing but also effectively minimizes insect intrusion, giving you greater control and freedom in your gameplay environment.
Insect Prevention Strategies
Although floors serve as a fundamental barrier against insect intrusions, their strategic placement markedly enhances their protective function. To maximize insect prevention, position your floors where they create natural barriers and integrate pest control methods seamlessly. Follow these steps:
- Place floors around high-traffic insect zones to limit access and funnel pests toward insect traps.
- Elevate floors slightly to reduce ground contact, minimizing insects’ ability to climb up and infiltrate your space.
- Incorporate pest repellents beneath or adjacent to floors, using natural or chemical agents to deter insects proactively.
Upgrading Floors to Reinforce Your Base
Since your base’s structural integrity depends heavily on its floors, upgrading them is essential for enhanced durability and defense. Begin by evaluating existing floor materials; replace weaker wooden planks with sturdier options like reinforced planks or stone tiles. Employ floor reinforcement techniques such as adding support beams beneath critical load points to distribute weight evenly. Use structural support options like corner braces and additional pillars to prevent sagging and collapse under pressure. Make certain all connections between floor segments are tightly secured with nails or bolts to maintain rigidity. Incorporate layered flooring where possible, combining materials that absorb shocks and resist insect damage. By systematically upgrading and reinforcing floors, you’ll create a resilient foundation that withstands environmental hazards and enemy forces, securing your freedom to expand and fortify without structural setbacks.
Tips for Efficient Floor Layout and Design
Strengthening your floors sets a solid foundation, but planning their layout carefully guarantees ideal use of space and resources. To maximize floor aesthetics and space optimization, start by:
- Mapping your base: Sketch your area, noting key functional zones to ascertain the floor supports intended activities without clutter.
- Selecting modular patterns: Use repeatable floor segments for quick assembly and aesthetic consistency, which also facilitates repairs or upgrades.
- Incorporating access points: Design floors with integrated pathways and openings for utilities or movement, preventing obstruction and maintaining freedom of navigation.
Avoiding Common Mistakes When Making Floors
When constructing floors in Grounded, overlooking critical details can compromise both durability and functionality. To avoid common mistakes, start by ensuring precise floor alignment; misaligned floors cause instability and gaps that weaken your structure. Use visual guides or grid references to maintain consistent placement. Next, prioritize material consistency—mixing different materials or using low-quality resources can lead to uneven surfaces and reduced longevity. Stick to one material type for each floor section to guarantee uniform strength and appearance. Additionally, double-check connections between floor panels to prevent weak spots that enemies or environmental factors could exploit. By focusing on accurate floor alignment and material consistency, you maintain the freedom to build reliable, sturdy floors that stand the test of time without unnecessary repairs or rebuilds.
Integrating Floors With Walls and Other Structures
After confirming your floors are properly aligned and constructed from consistent materials, the next step is to integrate them seamlessly with walls and other structures. Focus on precise floor alignment strategies to maintain structural stability and aesthetic coherence. Use wall integration techniques like overlapping edges and interlocking joints to prevent gaps and uneven surfaces. Here’s how you can proceed:
Ensure floors are aligned and integrated with walls using overlapping edges and interlocking joints for stability and aesthetics.
- Align floor edges flush with wall bases to confirm no gaps compromise structural integrity.
- Use complementary materials where the floor meets other structures to maintain uniformity and durability.
- Secure connections with appropriate fasteners or adhesive methods designed for your materials to avoid warping or separation.