To install a shower floor in 10 easy steps, start by gathering the right tools and prepping the area by cleaning and leveling the subfloor. Next, position and secure the drain assembly correctly, then build a sturdy frame around it. Apply a waterproof membrane to protect against moisture. Lay and slope your mortar bed toward the drain, allowing it to cure fully under controlled conditions. Finish by sealing surfaces and installing your chosen floor material. Following this process guarantees a durable, watertight floor—keep following for detailed guidance on each step.
Gather Necessary Tools and Materials
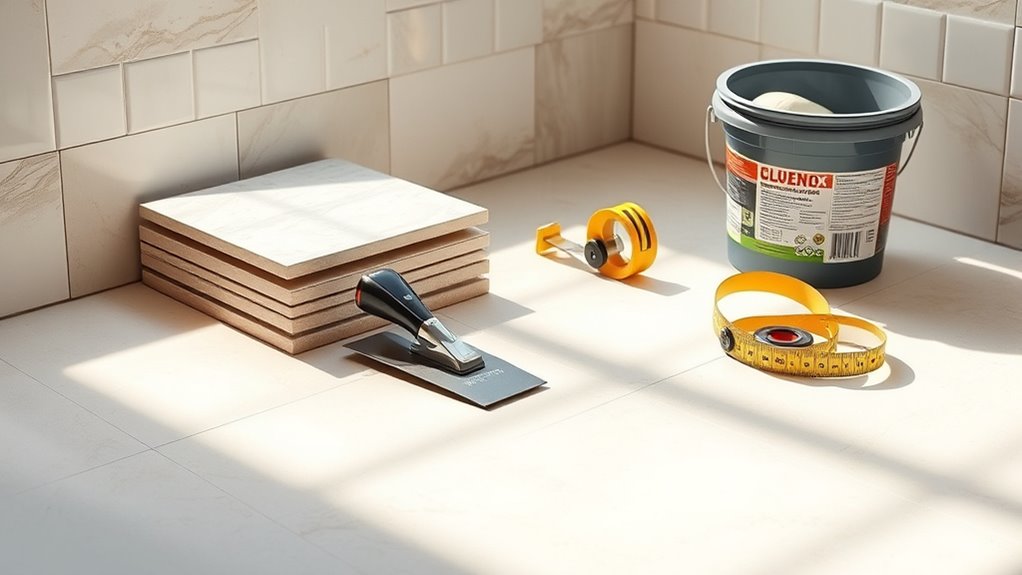
Before you begin installing the shower floor, you’ll need to gather all necessary tools and materials to guarantee a smooth process. Start by selecting appropriate shower sol materials, such as pre-formed shower pans, mortar beds, or waterproofing membranes, based on your specific project requirements. Next, assemble essential tools including a tape measure, utility knife, notched trowel, level, drill with mixing paddle, and caulking gun. Additionally, make certain you have waterproof sealant, screws, and a suitable adhesive compatible with your chosen flooring materials. Having these items readily available prevents interruptions and guarantees precision during installation. Organize your workspace efficiently, allowing unrestricted movement and access to tools. By preparing thoroughly, you maintain control over the workflow, enabling you to complete the shower floor installation confidently and accurately.
Prepare the Shower Area
Once you’ve gathered all necessary tools and materials, make sure the shower area is clean, dry, and free of debris. Begin shower area preparation by removing any old flooring, adhesive residues, or loose particles. Use a stiff brush and vacuum to guarantee surface cleaning is thorough, as contaminants can compromise the bonding of new materials. Check the subfloor for damage or unevenness; repair or level as needed to provide a stable base. Confirm that the surface is completely dry before proceeding to avoid moisture-related issues. Proper shower area preparation is critical—it guarantees the longevity and performance of your shower floor installation. Take your time with this step to maintain control and freedom throughout the project, enabling precise and reliable results.
Install the Shower Drain Assembly
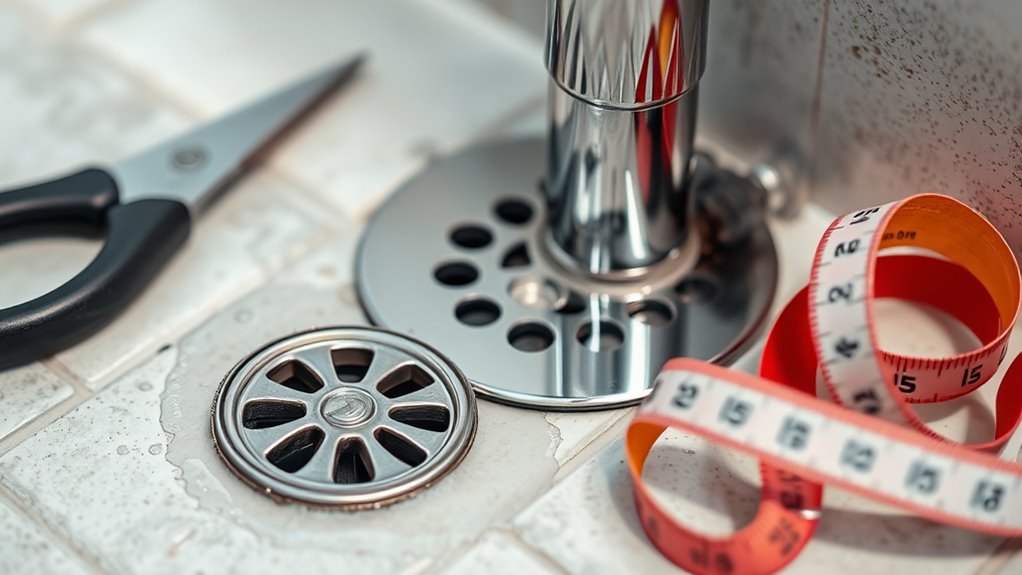
You’ll need to position the shower drain precisely to guarantee proper water flow and avoid leaks. Make sure the drain assembly sits flush with the shower base and is aligned with the plumbing. Secure all drain components tightly to prevent movement and maintain a watertight seal.
Drain Placement Tips
Where should you position the shower drain to guarantee ideal water flow and prevent pooling? The best drain location is typically near the lowest point of the shower floor, making sure gravity directs water efficiently. When planning, account for slope considerations: the floor must slope uniformly at 1/4 inch per foot toward the drain to avoid stagnant water. Avoid placing the drain too close to walls or corners, as this complicates proper slope and increases pooling risk. Also, consider the existing plumbing layout to minimize extensive pipe adjustments. Before finalizing, use a level and slope gauge to verify the floor’s incline toward your chosen drain location. By meticulously planning drain location and slope considerations, you guarantee effective drainage and a dry, safe shower floor.
Securing Drain Components
Two critical steps guarantee the shower drain assembly is secured properly: applying plumber’s putty to the drain flange and tightening the locknut underneath. Begin by rolling a bead of plumber’s putty and pressing it evenly around the underside of the drain flange. Set the flange into the drain opening, guaranteeing precise drain alignment so water flows correctly. Next, from beneath the shower floor, screw on the locknut, securing the flange tightly without over-tightening to avoid damage. Confirm the drain height matches the shower floor thickness; the flange should sit flush or slightly recessed to prevent pooling. Finally, wipe away excess putty that squeezes out. These steps guarantee a watertight seal and maintain proper drain function, giving you the freedom to enjoy a leak-free shower floor with confidence.
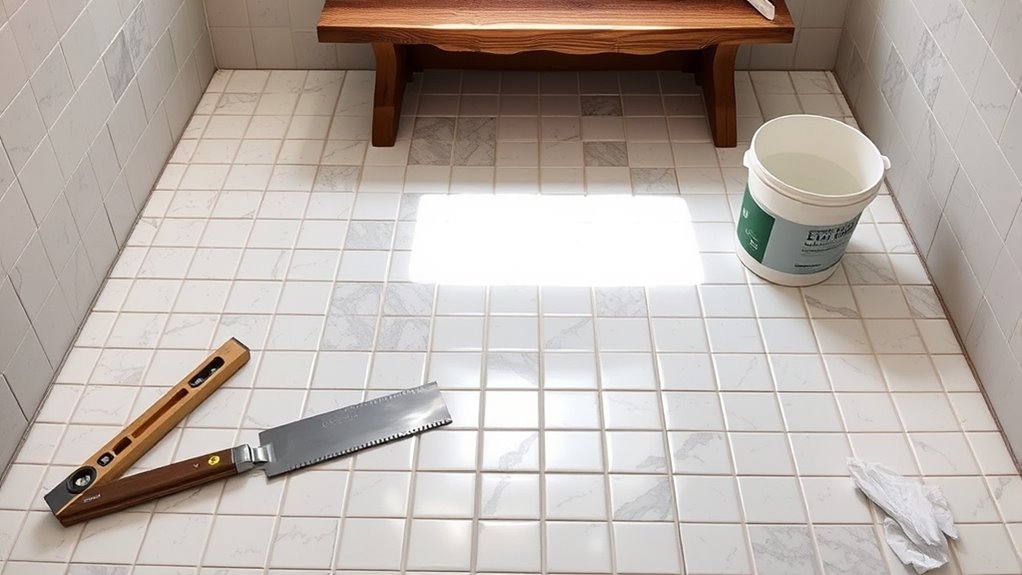
Frame the Shower Floor Base
Begin by measuring and marking the shower area to establish the exact dimensions of the base frame. Use these measurements to cut pressure-treated lumber or suitable framing materials to size. Assemble the frame using precise framing techniques, making certain all corners are square and securely fastened. The shower base must have a stable, level foundation to prevent future movement or damage. Position the frame directly over the drain assembly, confirming alignment for proper drainage. Reinforce the structure with cross-bracing to maintain rigidity under weight. Double-check all measurements before finalizing the frame to confirm a perfect fit for the shower floor. This methodical approach to framing the shower floor base guarantees durability and supports the rest of your installation steps with confidence and freedom.
Apply a Waterproof Membrane
With the shower floor base securely framed and aligned, your next step is to apply a waterproof membrane. Start by selecting the appropriate waterproof membrane type—options include liquid-applied membranes, sheet membranes, and peel-and-stick varieties. Each has distinct installation techniques; liquid membranes require even brush or roller application to guarantee full coverage, while sheet membranes demand precise cutting and sealing at seams with waterproof tape or adhesive. Before applying, clean and dry the surface thoroughly to promote adhesion. Pay special attention to corners and drain areas, reinforcing these with additional membrane layers or pre-formed waterproofing accessories. Properly installed, the membrane creates a watertight barrier that protects the subfloor from moisture damage, granting you the freedom to customize your shower floor without worry. Follow manufacturer instructions closely for ideal results.
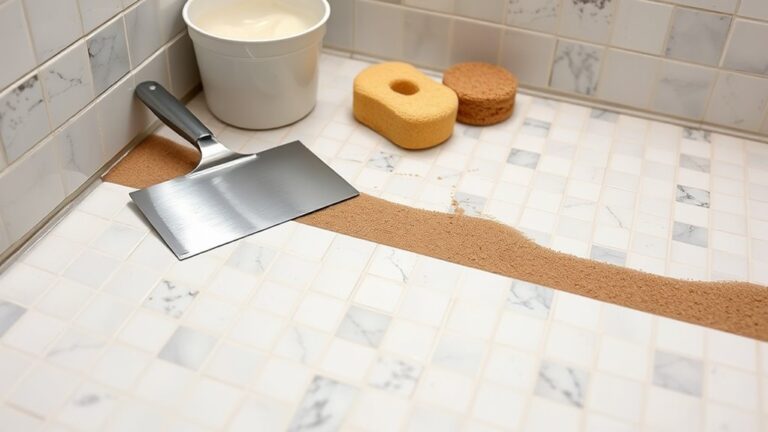
Mix and Pour the Mortar Bed
Mix the mortar thoroughly to achieve a consistent, workable texture before pouring it onto the shower floor base. Start by combining the dry mix with water according to the manufacturer’s instructions. Use proper mixing techniques—either a drill with a paddle attachment or manual stirring—to avoid lumps and ascertain uniform mortar consistency. The ideal mortar should hold its shape but remain pliable enough to spread easily. Avoid adding excess water, which weakens the bed. Once mixed, pour the mortar immediately onto the prepped base, distributing it evenly. Work efficiently; mortar begins to set quickly. Maintaining the correct mortar consistency and employing precise mixing techniques guarantees a solid, stable foundation for your shower floor, allowing you the freedom to proceed confidently with shaping and finishing.
Shape the Mortar to Create Proper Drain Slope
Although the mortar has just been poured, you’ll need to shape it immediately to establish the correct slope toward the drain. Use a straightedge and trowel to guide the mortar consistency, ensuring it’s firm but workable. The standard slope measurement is 1/4 inch per foot, directing water efficiently to the drain. Check slope frequently as you shape to avoid pooling or backflow. Focus on even changes from walls to drain.
| Area From Drain | Slope Measurement | Mortar Consistency |
|---|---|---|
| 0–1 foot | 1/4 inch per foot | Firm, holds shape |
| 1–2 feet | 1/4 inch per foot | Smooth, easily molded |
| 2–3 feet | 1/4 inch per foot | Slightly softer for shaping |
| Edges | 1/4 inch per foot | Consistent, no gaps |
| Around drain lip | Steeper if needed | Dense to prevent leaks |
Allow the Mortar to Cure Completely
You need to allow the mortar to cure fully, typically for 24 to 48 hours, to guarantee proper strength and stability. Keep in mind that temperature and humidity can affect curing time, so adjust accordingly. Avoid disturbing the mortar during this period to maintain the integrity of the shower floor.
Optimal Curing Time
Before proceeding with additional installation steps, it’s essential that you allow the mortar to cure completely to guarantee a stable and durable shower floor. Ideal curing techniques involve maintaining consistent moisture levels and avoiding premature loading or disturbance. The curing time importance cannot be overstated; insufficient curing compromises structural integrity and adhesion, risking cracks or tile failure. Typically, a minimum of 48 to 72 hours is recommended for standard mortar mixtures, but always confirm manufacturer guidelines. During this period, ensure the mortar remains undisturbed and protected from rapid drying. By adhering strictly to these ideal curing techniques and respecting the full curing time, you’ll secure a resilient shower floor that withstands daily use while granting you the freedom to customize confidently. Skipping or shortening this step jeopardizes your entire installation’s success.
Environmental Factors Impact
Since environmental conditions directly affect mortar curing, understanding their impact is essential to secure a fully cured and stable shower floor. You’ll want to take into account climate considerations such as temperature, humidity, and air circulation during installation. Cooler temperatures slow curing, while excessive heat or wind can cause rapid drying, leading to cracks and weakened bonds. Using sustainable materials with proper moisture retention properties can help mitigate these effects, promoting uniform curing. Control the environment by maintaining a stable temperature between 50°F and 80°F and moderate humidity levels. Avoid direct sunlight and drafts on the mortar surface. Monitoring these factors guarantees the mortar cures completely, providing a durable base for your shower floor. This approach maximizes the longevity and performance of your installation, giving you freedom from future repairs.
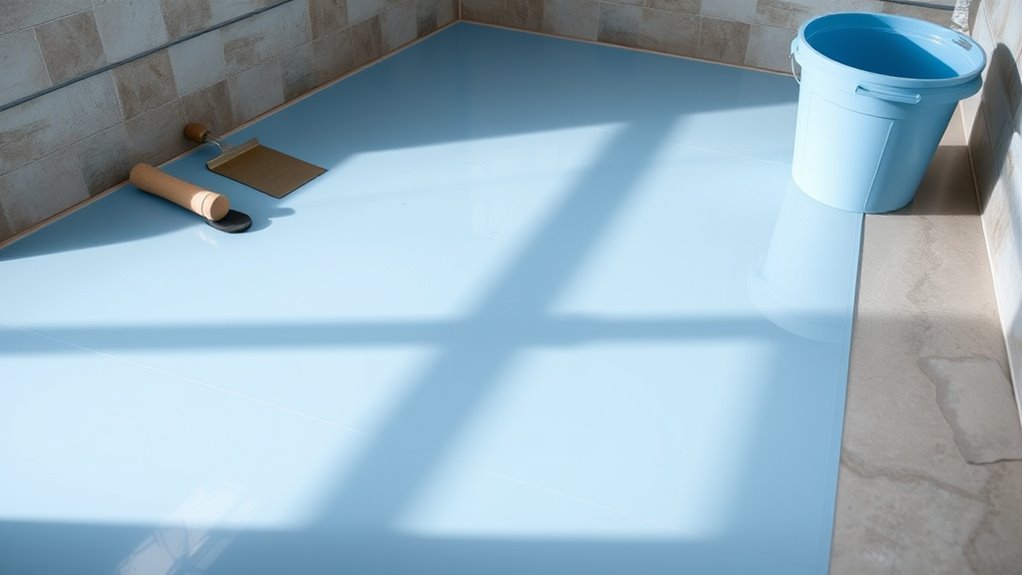
Apply a Waterproofing Sealant
Although the shower floor base is securely installed, applying a waterproofing sealant is essential to prevent water infiltration and damage. Begin by selecting the appropriate sealant type—silicone, polyurethane, or cementitious—based on your shower’s material and environmental exposure. Clean the surface thoroughly, removing dust and debris to guarantee ideal adhesion. Use a brush or roller to apply the sealant evenly, focusing on corners and joints where leaks are most likely. Follow manufacturer instructions for drying times and apply multiple coats if necessary. Employ proven waterproofing techniques, such as reinforcing seams with waterproof tape before sealing. This step ensures a durable, watertight barrier, preserving your installation’s integrity and giving you the freedom to enjoy a worry-free shower experience.
Install the Final Shower Floor Surface
With the waterproofing sealant fully cured and inspected for complete coverage, you can proceed to install the final shower floor surface. Selecting the right shower floor materials is essential for durability and aesthetics. Follow these steps:
Once waterproofing is cured and inspected, proceed with installing the final durable and attractive shower floor surface.
- Prepare the substrate by cleaning and leveling it to guarantee proper adhesion of surface finishes.
- Apply the chosen surface finish—whether tile, stone, or a prefabricated pan—carefully aligning it with the floor slope for drainage.
- Secure and seal the edges and joints with appropriate waterproof grout or sealant to prevent moisture infiltration.