Installing a shower drain in a concrete floor might seem like a daunting task, but with the right guidance, you can tackle it like a pro. Imagine transforming your bathroom into a serene oasis with a seamless shower experience.
By learning how to install a shower drain correctly, you ensure efficient water flow and prevent pesky leaks that could lead to costly repairs. This guide is designed with you in mind, offering simple steps and practical tips to help you achieve a flawless installation.
Ready to take control of your bathroom upgrade and avoid common pitfalls? Stick around and discover how you can master this essential home improvement skill with confidence.
 Sol: Easy Guide”/>
Tools And Materials Needed
Installing a shower drain in concrete requires specific tools and materials. A concrete saw or drill is needed to cut the floor. Make sure you have a shower drain kit for installation. You will also need PVC pipes for plumbing. A spirit level helps ensure everything is even. Don’t forget mètre à ruban to check dimensions. A seau for mixing concrete is essential. Use a truelle to spread the concrete. Lunettes de sécurité protect your eyes during work. Gants keep your hands safe. Prepare some mastic imperméable for added protection. A rubber mallet helps with pipe adjustments.
Preparing The Area
First, find the perfect spot for the drain. Mesurer la surface carefully. Use a marker or chalk to draw a circle. Make sure it’s the right size. The circle shows where to cut. This helps keep everything accurate. A good mark saves time. It avoids mistakes later. Always double-check your mark before cutting.
Cutting concrete needs care. Wear équipement de sécurité like goggles and gloves. Use a saw or grinder made for concrete. Start cutting on the marked line. Take it slow. Precision is key here. Cut deep enough to fit the drain. Remove the cut concrete pieces. Clean the area well. This makes the next steps easier. A clean cut helps the drain fit snugly.
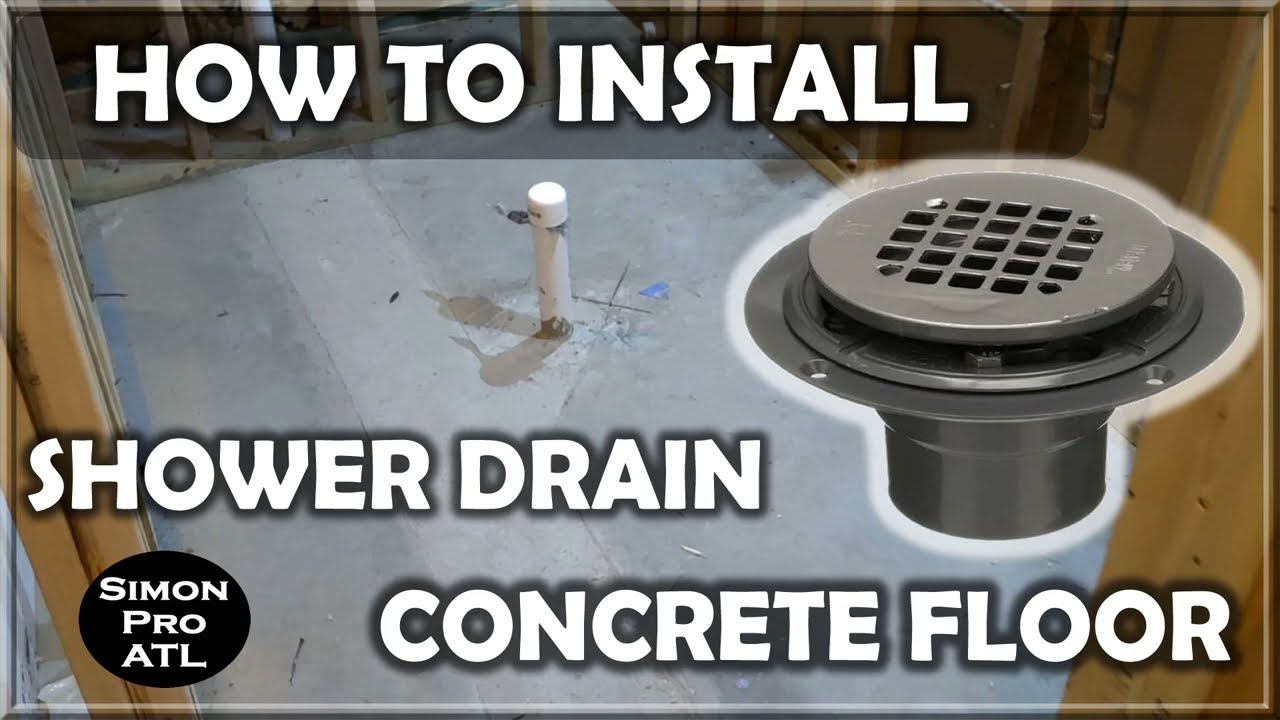
Installing The Drain
First, locate the drain hole in the concrete. Make sure it is clean. Next, position the drain assembly over the hole. It should fit snugly. Ensure the drain is niveau with the floor. This helps water flow properly. If needed, adjust it with small supports. Double-check the fit before moving on.
Use a screwdriver to tighten the drain screws. Ensure it is secure but not too tight. Over-tightening can damage the assembly. Utiliser plumber’s putty around the edges. This prevents any fuites d'eau. Allow the putty to set for a few minutes. Finally, test with a small amount of water. Ensure there are no leaks.
Connecting The Plumbing
Begin by locating the drain pipe under the concrete floor. Ensure it aligns with the shower drain. Cut the pipe to the needed length. Use a saw for a clean cut. Attach the pipe to the drain assembly. Secure it tightly. Use a wrench if needed.
Appliquer plumber’s tape around the pipe threads. This helps seal the connections. Use a mastic to fill gaps. Ensure no leaks are present. Tighten all parts securely. Check the alignment again. Everything should fit snugly.
Finishing The Installation
Finish the installation by securing the shower drain in place. Ensure it fits snugly within the concrete floor. Check for any leaks to guarantee proper drainage.
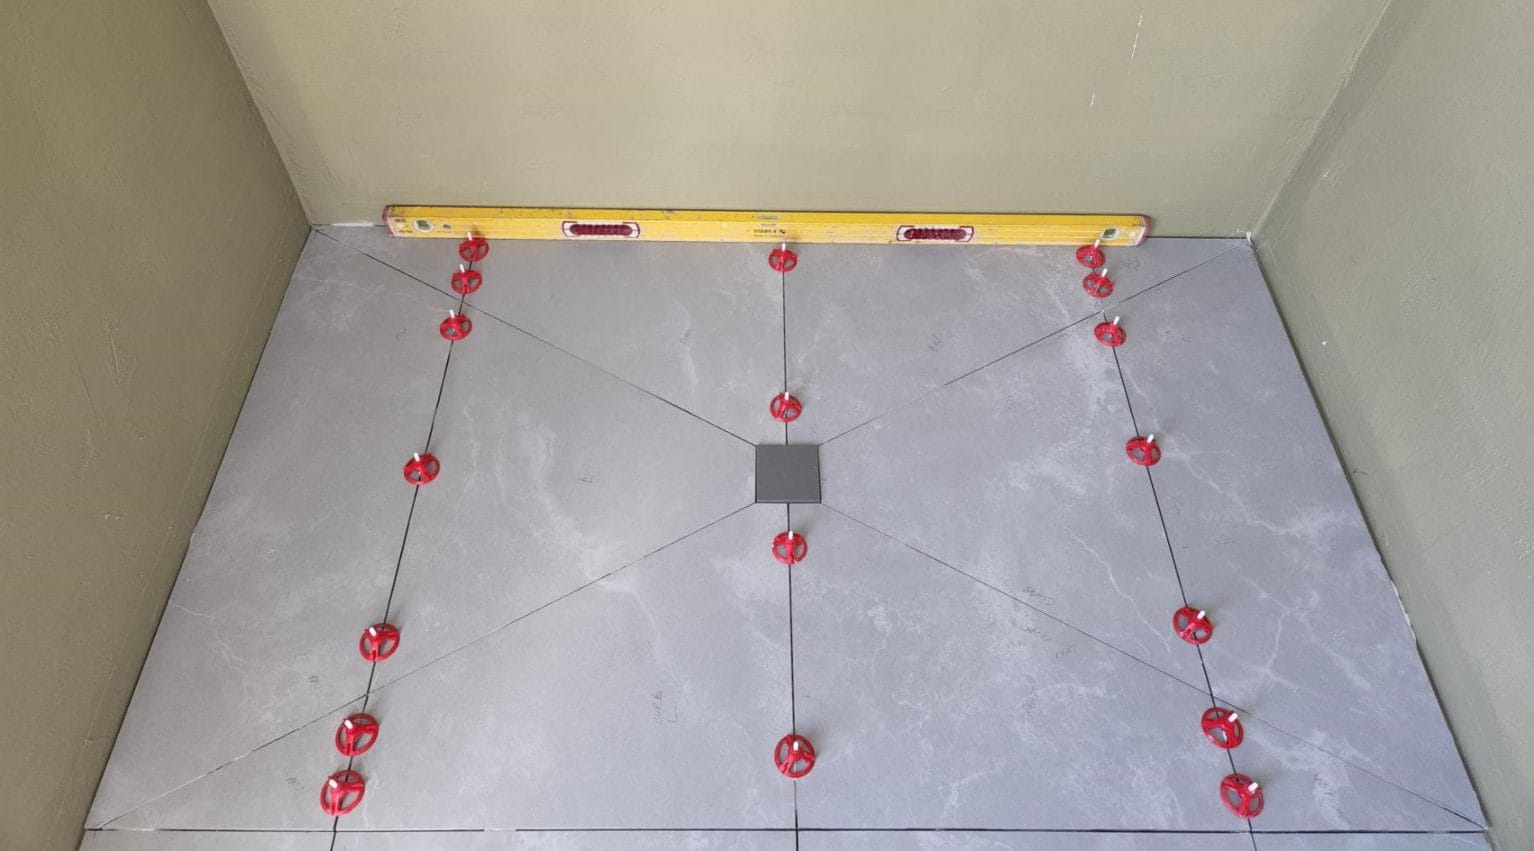
Pouring New Concrete
Mix the concrete with water in a bucket. Use a shovel or trowel to mix well. Pour the concrete into the hole around the shower drain. Fill it up to the top. Use a leveling tool to make the surface flat. This ensures the floor is even. Let the concrete dry completely. It might take a few days. Check the instructions on your concrete mix. Follow them for best results.
Testing For Leaks
After the concrete is dry, it’s time to check for leaks. Turn on the water and let it flow down the drain. Look for any eau seeping out. If you see leaks, you need to fix them. Tighten the connections if needed. Ensure the seal is secure. Test again to make sure everything is fine. A good test now can prevent problems later.
Erreurs courantes à éviter
Using the wrong tools can cause big problems. Always choose the right tools. Without proper tools, mistakes happen. Not checking the slope leads to water pooling. Water should flow smoothly to the drain. Forgetting to seal around the drain causes leaks. Leaks can damage the floor. Skipping the test is risky. Always test for leaks before finishing. Wrong drain size can cause issues. Ensure the drain fits well. Rushing the job often leads to errors. Take time to do it right.
Conseils d'entretien
Installing a shower drain in a concrete floor requires careful planning and precision. Start by marking the area and cutting through the concrete. Ensure the drain is properly aligned and securely connected to prevent leaks.
Nettoyage régulier
Keep the shower drain free of hair and debris. Use a small brush. Clean the drain once a week. This prevents clogs and bad smells.
Check For Leaks
Water should not leak around the drain. If it does, fix it soon. Leaks can damage the floor. They may cause mold.
Use Safe Cleaners
Choose a cleaner that is safe for drains. Avoid harsh chemicals. They can damage pipes. Opt for mild soap instead.
Inspect The Grate
The drain grate should sit firmly. If it’s loose, tighten it. Check for rust or damage. Replace the grate if needed.
Flush With Hot Water
Pour hot water down the drain monthly. This helps clear soap scum. It also melts grease. Keeps the drain flowing smoothly.

Questions fréquemment posées
How Do I Prepare The Concrete Floor?
Start by cleaning the area to remove debris and dust. Mark the spot for the drain. Ensure the floor is level and smooth. Use a concrete grinder if needed. Measure and cut the drain hole accurately. Proper preparation ensures a secure and efficient installation.
What Tools Are Needed For Installation?
You’ll need a concrete drill, measuring tape, level, trowel, and PVC glue. Additionally, a concrete grinder may be required. Gather a bucket, sponge, and gloves for safety. These tools ensure a successful installation, keeping the shower drain secure and functional.
Can I Install A Drain Without Professional Help?
Yes, you can install a drain yourself with careful planning. Follow detailed instructions and safety measures. Have the right tools and materials ready. Ensure you understand each step of the process. With patience and precision, DIY installation is achievable.
How Long Does The Installation Process Take?
The installation typically takes a few hours. It depends on your experience and preparation. Proper planning speeds up the process. Ensure you have all tools ready. Allocate time for each step. Check for errors to avoid delays.
Conclusion
Installing a shower drain in a concrete floor is achievable. With the right tools, you can tackle this project. Follow each step carefully for best results. Measure accurately to avoid any mistakes. Secure the drain tightly for a leak-free experience.
Double-check all connections before finishing up. Proper installation ensures a smooth, functioning shower area. Remember, patience and precision are key. Take your time to get everything right. Enjoy your new shower setup with confidence. You’ve learned an essential skill for home improvement.
Now, you can handle similar tasks with ease. Happy showering!