To install a shower drain on a concrete floor, first mark and cut the drain opening precisely, considering plumbing and slope for drainage. Next, fit the drain flange snugly into the hole and securely connect the drain pipe using PVC cement, ensuring proper slope to prevent pooling. Finally, apply waterproofing around the flange, install a weep hole system, and seal the perimeter to stop leaks. For a dependable, lasting installation, mastering these basics is essential.
Preparing the Concrete Floor and Drain Location
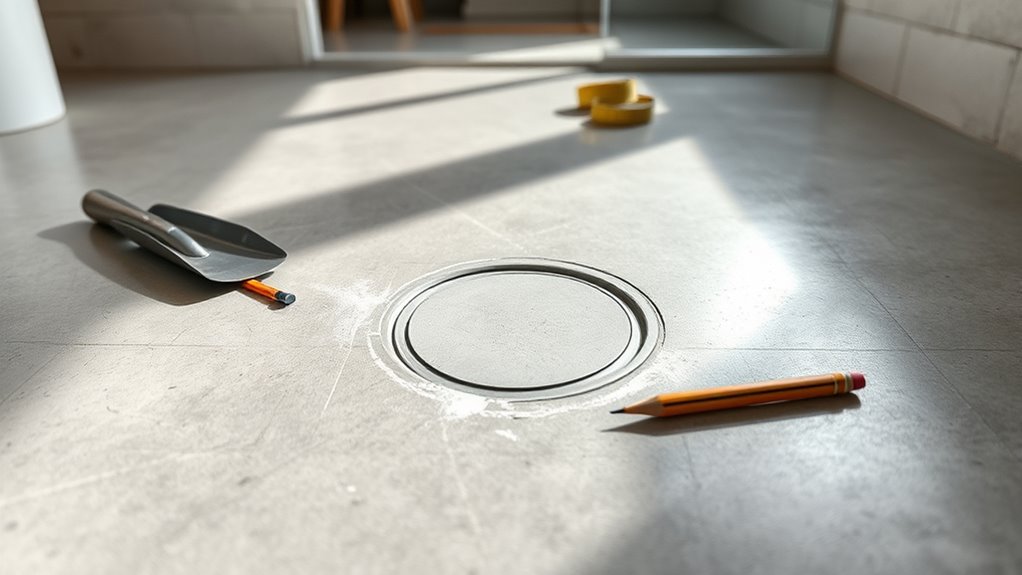
Before you begin installing the shower drain, you’ll need to prepare the concrete sol by marking the exact drain location and cutting an appropriately sized hole. Start by measuring drain placement carefully, considering existing plumbing lines and guaranteeing proper slope for drainage. Use a tape measure and chalk line to mark precise dimensions. When choosing materials, select a drain compatible with your shower pan and concrete thickness—cast iron, PVC, or stainless steel options each have specific installation requirements. Ascertain the drain’s flange fits snugly within the cut opening to prevent leaks. Use a diamond-tipped blade on a concrete saw for clean, accurate cuts. Preparing the floor with precision gives you control and freedom to install a reliable, long-lasting shower drain system without unnecessary complications.
Installing the Shower Drain and Drain Pipe
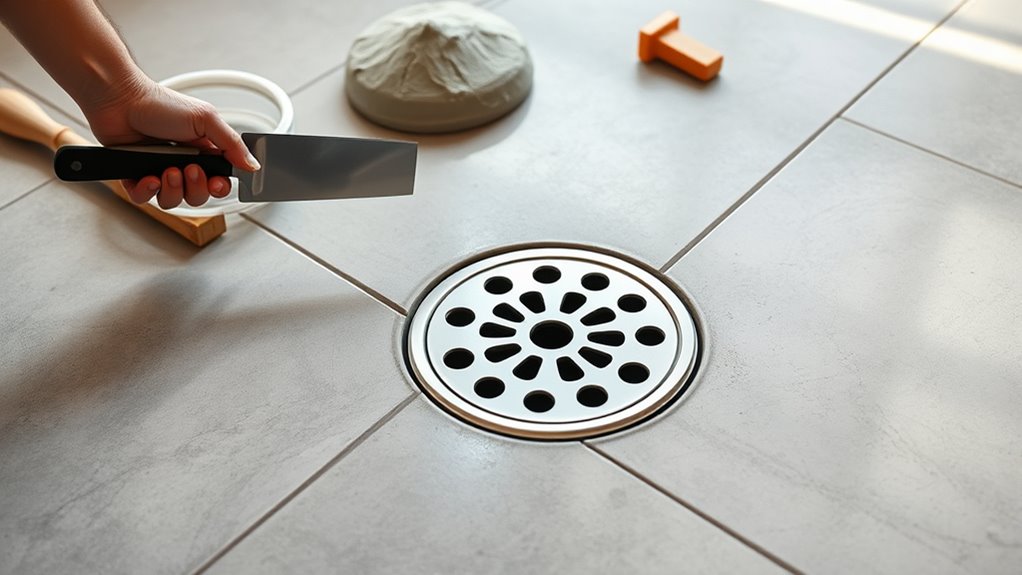
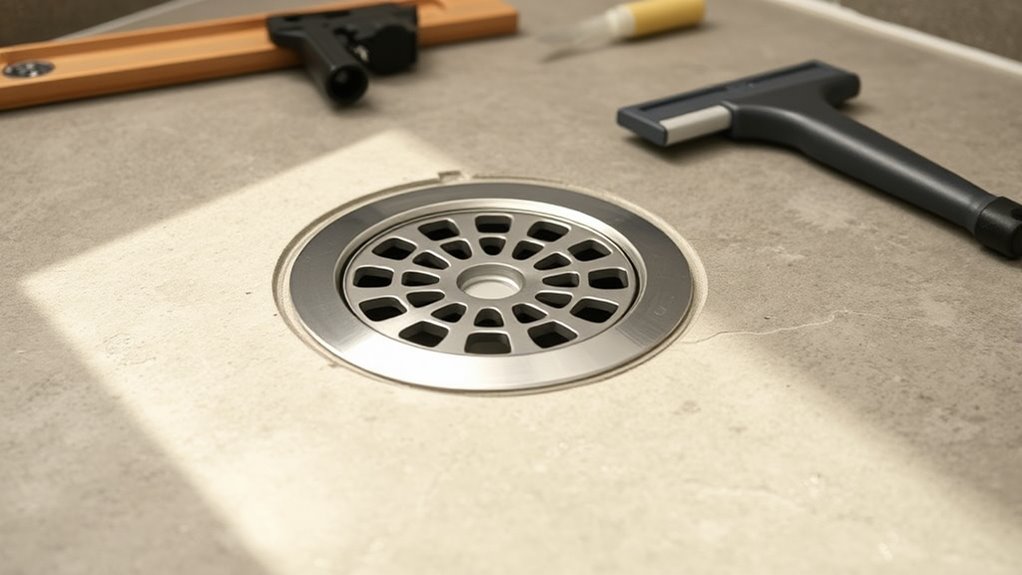
Begin by securely fitting the shower drain into the prepared hole, guaranteeing the flange sits flush with the concrete surface to prevent water seepage. Connect the drain pipe to the drain’s outlet using proper installation techniques, verifying a tight, leak-proof fit. Use PVC cement or appropriate sealants for a durable bond. Confirm the drain pipe slopes correctly to maintain proper drainage and avoid water pooling.
| Étape | Outil nécessaire | Key Checkpoint |
|---|---|---|
| Fit drain | Rubber mallet | Flange flush with floor |
| Connect drain pipe | PVC cement | Secure, leak-free joint |
| Align pipe slope | Niveau | Minimum 1/4″ per foot |
Following these steps guarantees your drain pipe installation is reliable and efficient, granting you freedom from future plumbing issues.
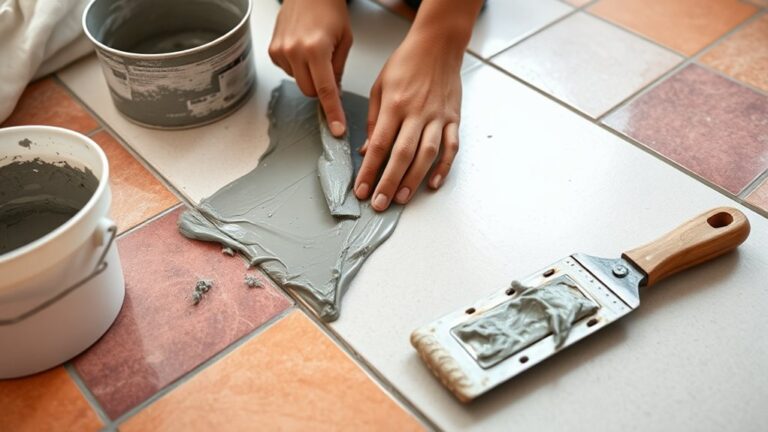
Sealing and Finishing the Shower Drain Installation
Once the shower drain and pipe are securely connected and properly aligned, your focus should shift to sealing and finishing the installation to guarantee a watertight system. Start by applying a high-quality waterproofing membrane around the drain flange, extending it onto the concrete floor. Use industry-approved waterproofing techniques, such as liquid-applied membranes or sheet membranes, ensuring full coverage without gaps. Next, install a weep hole system in the drain to prevent water accumulation. When you proceed to tile installation, position the tiles so they slope gently toward the drain, promoting efficient drainage. Seal the perimeter between the drain flange and tiles with a flexible, mold-resistant sealant. This meticulous approach to sealing and finishing will protect your shower area from leaks and water damage, giving you lasting freedom from maintenance issues.