To grout a tile floor in three easy steps, first prepare the surface by cleaning and drying tiles, fixing any loose pieces, and gathering your grout tools. Next, mix the grout to a smooth, peanut butter-like consistency, then apply it firmly into the joints with a rubber float. Finally, clean excess grout with a damp sponge once it firms up, let it cure, and seal the joints to protect against moisture and stains. Keep going to master each step’s details.
Prepare the Tile Surface and Gather Materials
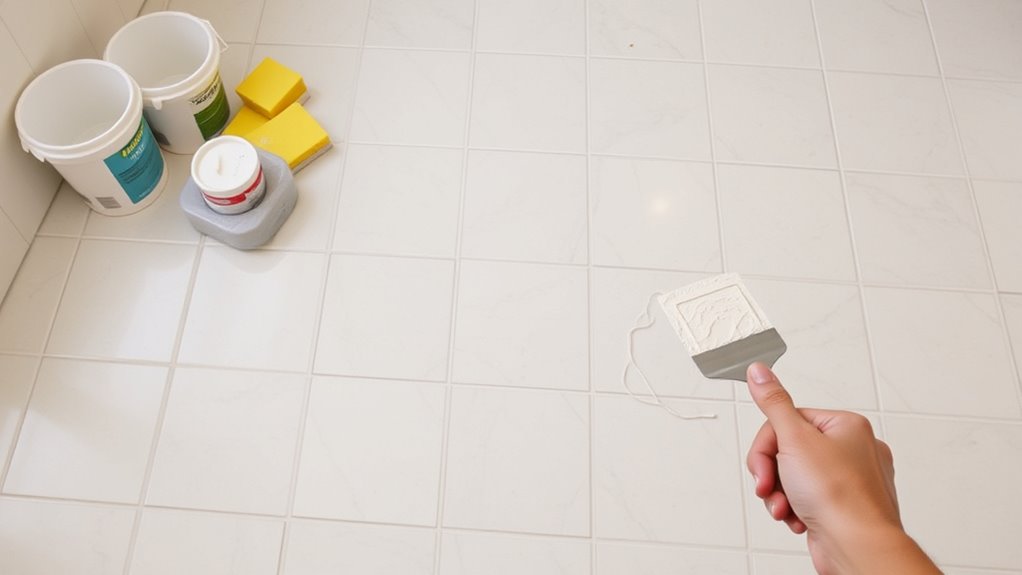
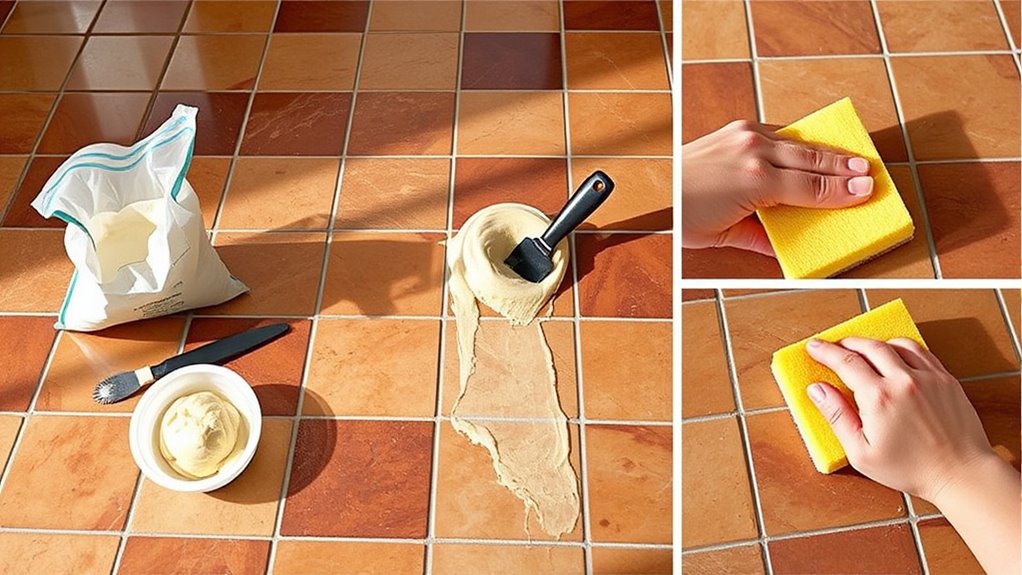
Before you begin grouting, make certain the tile surface is clean and dry, free of dust, debris, or any adhesive residue that could prevent proper grout adhesion. Use a vacuum or damp cloth to thoroughly remove contaminants. Inspect the tile surface for any loose tiles or damaged grout joints; these must be repaired prior to grouting. Next, gather all necessary grout materials—choose the appropriate grout type (sanded or unsanded) based on joint width and tile type. You’ll also need a grout float, sponge, bucket, and mixing tool. Having the right grout materials on hand guarantees efficiency and precision during application. Proper preparation of the tile surface and assembling all materials upfront gives you control and freedom to execute the job cleanly and effectively.
Mix and Apply the Grout
With the tile surface prepared and materials ready, you can mix the grout to the correct consistency. Start by combining the grout powder with water following the manufacturer’s ratio. Use a margin trowel or mixing paddle for consistent mixing techniques—aim for a smooth, peanut butter-like texture without lumps. Let the grout slake for 5–10 minutes, then remix briefly. For grout application, use a rubber float at a 45-degree angle, pressing grout firmly into joints to guarantee full penetration and avoid voids. Work in small sections, moving diagonally across tiles to prevent dislodging grout from the joints. Maintain a controlled pace to maximize efficiency and precision. Proper mixing and application lay the foundation for durable, clean grout lines that enhance your tile floor’s appearance and longevity.
Clean Excess Grout and Seal the Joints
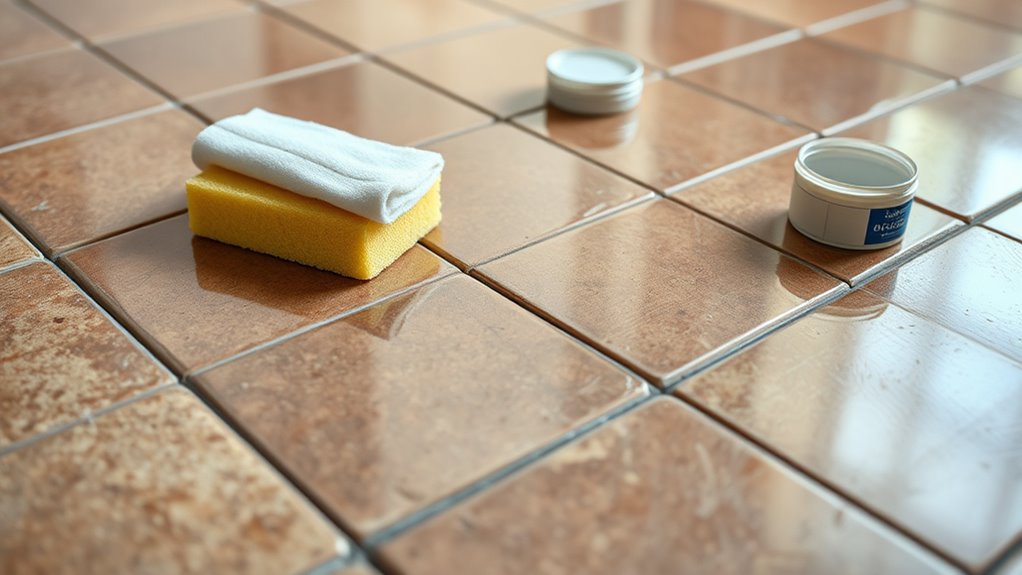
Once you’ve applied grout to a manageable section, wait about 15 to 30 minutes for it to firm up slightly before cleaning. Use a damp sponge with circular motions to remove excess grout from the tile surface without disturbing the grout joints. Employ proper cleaning techniques by rinsing the sponge often and changing water frequently to prevent smearing. After the grout has fully cured—typically 72 hours—apply sealing methods to protect the joints from moisture and stains. Choose a penetrating grout sealer suitable for your tile type, and apply it evenly with a brush or applicator bottle. Allow the sealer to penetrate for the recommended time, then wipe off any residue. Proper cleaning and sealing guarantee durable, low-maintenance grout, giving you freedom from frequent repairs and preserving your floor’s appearance.