To fix wood floor gaps, first identify if humidity changes caused expansion issues. Measure gaps carefully to choose an appropriate filler—water-based for small cracks, epoxy for larger ones. Clean the gaps thoroughly to guarantee adhesion, then apply filler firmly and smooth it flush with your floor. Once dried, sand gently with fine-grit paper, stain to match, and seal with polyurethane. Maintain 30–50% indoor humidity to prevent new gaps. Follow these steps, and you’ll understand how to restore and protect your sol effectively.
Identify the Cause of Wood Floor Gaps
Before you can effectively fix gaps in your wood floor, you need to determine their root cause. Most often, these gaps result from wood expansion and contraction due to fluctuating humidity levels. Wood naturally absorbs moisture when humidity rises, causing it to expand, and releases moisture when it drops, causing contraction. If your home’s humidity levels vary greatly between seasons, your floorboards will shift accordingly, creating gaps. Additionally, improper acclimation of flooring materials before installation can exacerbate this issue by locking in moisture content unsuitable for your environment. To regain control over your floor’s integrity, you must understand how these environmental factors influence wood behavior. This knowledge empowers you to take targeted corrective actions, ensuring your floor’s stability and preserving your freedom from recurring maintenance.
Measure and Assess the Size of the Gaps
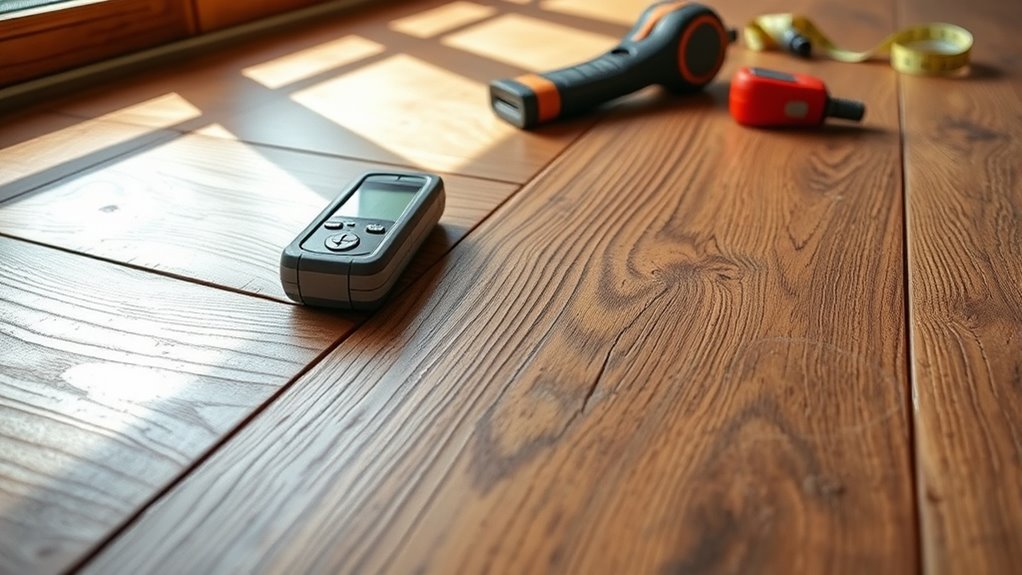
Once you’ve identified why the gaps have formed, you’ll need to measure and assess their size accurately to determine the appropriate repair method. Start by selecting precise gap assessment tools, such as feeler gauges or a caliper, which allow you to quantify the width of each gap. Utilize gap measurement techniques by inserting the tool into the space between floorboards and recording the widest point. Be systematic—measure gaps at multiple points along the affected areas to capture variation. Accurate measurements help you decide whether simple fillers suffice or if more extensive repairs are necessary. Document your findings clearly, as this data guides your choice of materials and approach. Keeping measurements consistent guarantees your repair will restore both function and aesthetic freedom to your wood floor.
Choose the Right Wood Filler for Your Floor
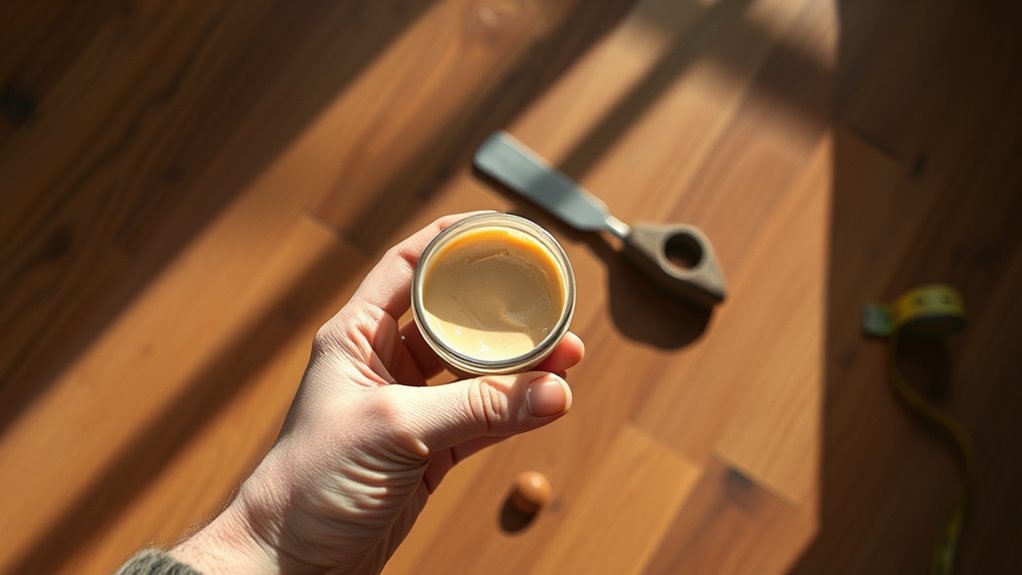
You’ll need to select a wood filler that suits the size of your gaps and the type of wood flooring you have, such as water-based, solvent-based, or epoxy fillers. Matching the filler color to your floor is essential for a seamless repair, so test samples under natural light before applying. Make sure you have the right tools on hand, like putty knives or flexible scrapers, to apply the filler cleanly and evenly.
Types of Wood Fillers
Although selecting the right wood filler might seem straightforward, choosing one that matches your floor’s material and finish is crucial for a seamless repair. You’ll encounter two primary types: natural fillers and synthetic fillers. Natural fillers, such as sawdust mixed with wood glue, offer an eco-friendly option that closely mimics your floor’s texture but may lack durability over time. Synthetic fillers, typically made from epoxy or polyester, provide superior strength and moisture resistance, ideal for high-traffic areas. When deciding, consider the gap size, floor type, and exposure to wear. Synthetic fillers allow for sanding and staining, giving you flexibility, while natural fillers are better for minor, less visible repairs. Selecting the right filler guarantees longevity and maintains your floor’s aesthetic integrity.
Color Matching Tips
Because wood floors vary widely in color and grain, achieving an exact match with your wood filler is critical for a professional-looking repair. Employ color matching techniques by testing small filler samples against your floor in natural light. Use color blending methods such as mixing stains or pigments into the filler to mimic your flooring’s hue and undertones. Here’s a quick reference:
| Wood Type | Color Base | Recommended Filler Color |
|---|---|---|
| Chêne | Light to Medium | Honey, Amber |
| Noyer | Dark Brown | Espresso, Chocolate |
| Érable | Pale, Yellowish | Natural, Light Tan |
| Cerise | Reddish Brown | Mahogany, Cinnamon |
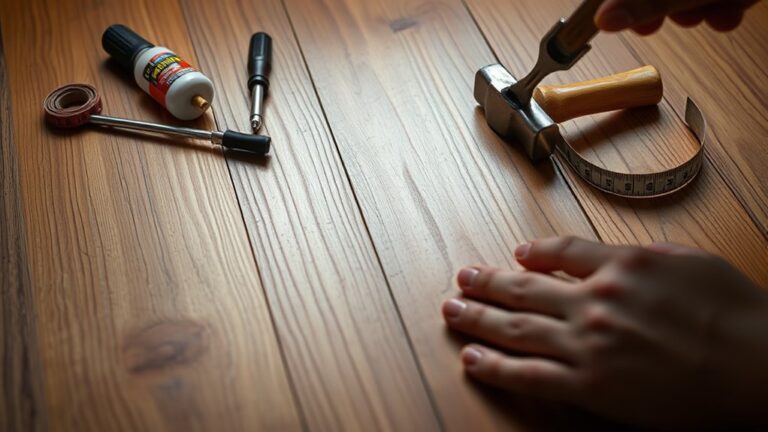
Application Tools Needed
Matching the right wood filler to your floor’s color is only part of the process; selecting the proper application tools guarantees a clean, durable repair. To guarantee precise filler application and effective sanding techniques, gather these essentials:
- Putty Knife or Plastic Spreader – for smooth, even filler distribution into the gaps.
- Fine Grit Sandpaper (180-220 grit) – to refine the surface after filler cures without damaging surrounding wood.
- Vacuum or Soft Brush – to remove dust and debris before and after sanding for maximum adhesion.
- Damp Cloth – to lightly wipe the area, ensuring no residue interferes with filler bonding.
Using these tools correctly lets you restore your wood floor’s integrity and appearance, granting you the freedom to enjoy a flawless finish.
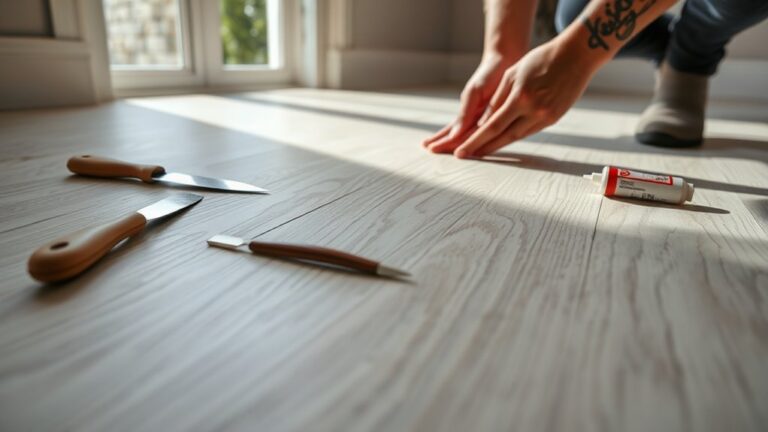
Prepare the Floor Surface for Repair
Before applying any filler, you’ll need to clear all debris and dust from the gaps to guarantee proper adhesion. Use a vacuum or a brush to remove dirt thoroughly. Then, measure the width and depth of each gap accurately to select the appropriate repair method and materials.
Clear Debris Thoroughly
Three essential steps will help you clear debris thoroughly from wood floor gaps: vacuuming the area, using a soft brush to dislodge trapped particles, and wiping with a damp cloth to remove fine dust. Proper cleaning techniques guarantee ideal debris removal, preparing the surface for effective repairs.
Follow these steps:
- Vacuum the gaps using a crevice attachment to extract loose dirt and debris.
- Gently scrub the gaps with a soft-bristled brush to loosen compacted particles.
- Wipe the area with a slightly damp microfiber cloth to capture residual dust.
- Allow the floor to dry completely before proceeding to repair.
Assess Gap Dimensions
Accurately measuring the width and depth of each gap is essential for selecting the appropriate filler material and ensuring a durable repair. Begin your gap assessment by using a caliper or a gap gauge to determine the exact width. For depth, a small ruler or a probe can help measure how deep the gap extends into the flooring. Document these measurements carefully, as they guide your choice of filler—whether wood filler, rope, or epoxy. Precise gap measurement prevents underfilling or overfilling, which can compromise the floor’s integrity and appearance. By completing a thorough gap assessment, you maintain control over the repair process, ensuring the solution fits perfectly and lasts longer. This step is vital for achieving a seamless, professional finish that restores your floor’s freedom from visible flaws.
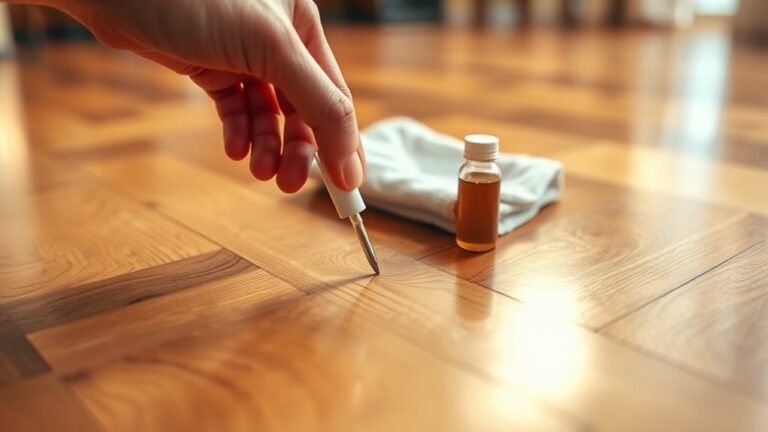
Apply Wood Filler to Small Gaps
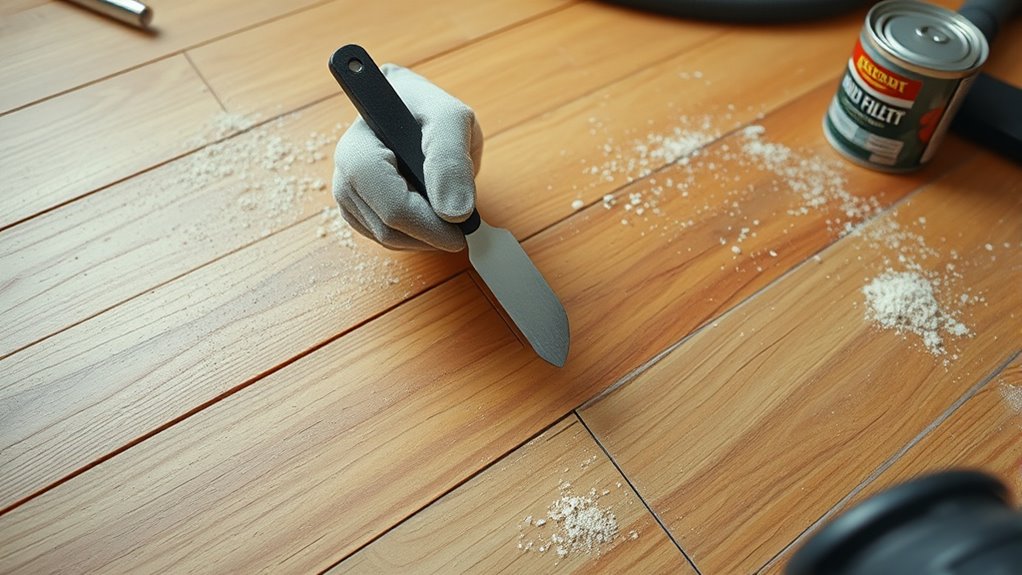
When dealing with small gaps in your wood floor, applying wood filler is an effective solution to restore a smooth, even surface. Start by selecting the right wood filler options that match your floor’s color and finish for seamless blending. Follow these gap filling techniques:
- Clean the gap thoroughly, removing dust and debris to guarantee adhesion.
- Use a putty knife to apply the wood filler, pressing it firmly into the gap.
- Smooth the surface level with the surrounding floor, avoiding excess buildup.
- Allow the filler to dry completely, then sand lightly for a flush finish.
This method provides a durable repair, maintaining your floor’s aesthetic while preventing dirt accumulation and moisture intrusion.
Use Rope or Wood Strips for Larger Gaps
Larger gaps in wood floors require a more substantial filler than wood putty, and using rope or wood strips offers a durable, effective solution. For rope installation, select natural fiber rope slightly oversized to guarantee a tight fit inside the gap. Compress the rope firmly into the space, trimming any excess flush with the floor surface. Alternatively, wood strip options involve cutting thin, matching wood strips precisely to the gap dimensions. You’ll want to glue these strips securely using wood adhesive, making sure no movement occurs once dried. Both methods provide structural integrity and a seamless appearance, preserving the floor’s natural look. Choose rope for flexibility in irregular gaps, or wood strips for a cleaner, more uniform finish. This approach grants you freedom from visible flaws, reinforcing your wood floor’s longevity.
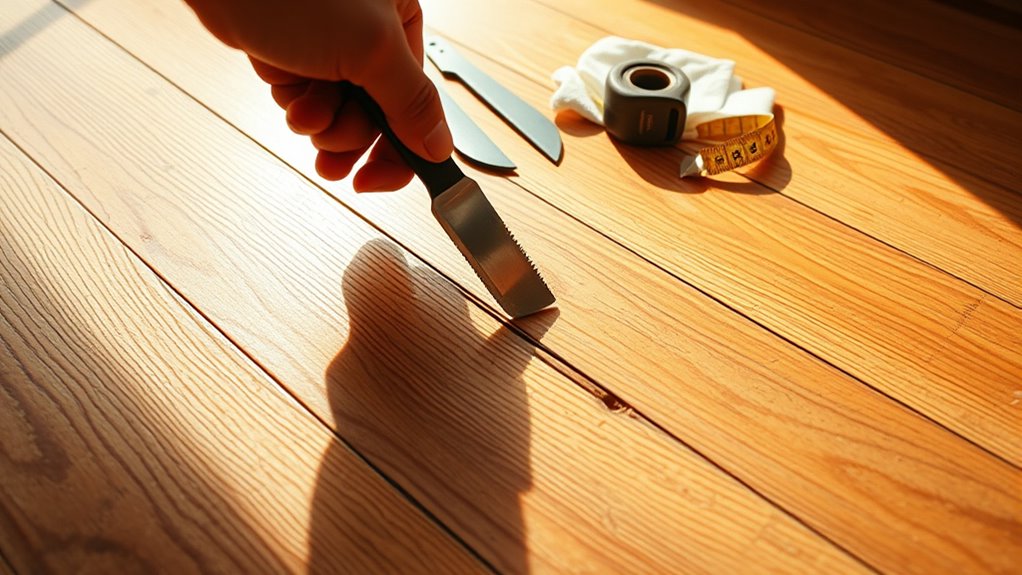
Sand the Repaired Areas Smoothly
Begin by sanding the repaired areas to create a smooth, level surface that blends seamlessly with the surrounding floor. Follow these steps to achieve professional results using effective sanding techniques:
- Choose fine-grit sandpaper (120-150 grit) to avoid damaging the repair material or wood.
- Use a sanding block or orbital sander for even pressure and control.
- Sand in the direction of the wood grain to prevent scratches and guarantee smooth finishes.
- Frequently check your progress by running your hand over the area to detect any uneven spots.
Stain or Paint to Match the Floor Color
After sanding, the next step is to stain or paint the repaired areas to confirm they blend seamlessly with the rest of your wood floor. Begin by selecting a stain or paint that matches your floor’s existing color precisely; this color matching is vital for a uniform appearance. Test the chosen product on a small, inconspicuous area to verify compatibility and accurate hue replication. Apply the stain or paint evenly using a brush or cloth, following the wood grain to avoid streaks. Allow it to dry thoroughly before evaluating the match. Proper color matching not only restores the floor’s aesthetic but also supports effective floor maintenance by protecting the repaired surface. Taking care with this step guarantees your wood floor gaps become virtually invisible, preserving both beauty and function.
Seal the Floor for Long-Lasting Results
Once the stain or paint has fully dried, sealing the floor is essential to protect your repairs and guarantee durability. Proper floor sealing techniques provide long lasting benefits by shielding the wood from moisture, dirt, and wear. Follow these steps for best results:
- Choose a sealant compatible with your floor type, such as polyurethane or water-based varnish.
- Apply the sealant evenly using a high-quality brush or roller, avoiding puddles or uneven layers.
- Allow the first coat to dry completely, then lightly sand with fine-grit sandpaper to promote adhesion.
- Apply a second coat for enhanced protection and durability.
Prevent Future Gaps With Proper Humidity Control
Sealing your floor properly helps protect it from immediate damage, but maintaining stable humidity levels is key to preventing gaps from forming over time. Wood naturally expands and contracts with changes in moisture content, so controlling indoor humidity levels between 30% and 50% is crucial for dimensional stability. Use a reliable hygrometer to monitor humidity and deploy humidifiers or dehumidifiers as needed to achieve precise moisture control. Avoid drastic fluctuations by keeping temperature and ventilation consistent. Proper moisture control not only preserves the floor’s integrity but also grants you freedom from frequent repairs. By implementing these measures, you guarantee your wood floor remains gap-free, durable, and visually appealing for years, making humidity management a cornerstone of lasting floor maintenance.