To fix scratched hardwood floors, first inspect the damage under natural light to distinguish between minor scratches and deep gouges. Clean the area thoroughly with a mild solution and dry it completely. Use a wood marker to conceal light scratches and apply wood filler for deeper gouges, then sand the area smooth once cured. Match wood stain carefully and finish with a clear sealant to protect your repair. Keeping floors pristine involves following specific maintenance and prevention techniques you’ll find outlined next.
Assessing the Damage on Your Hardwood Floors
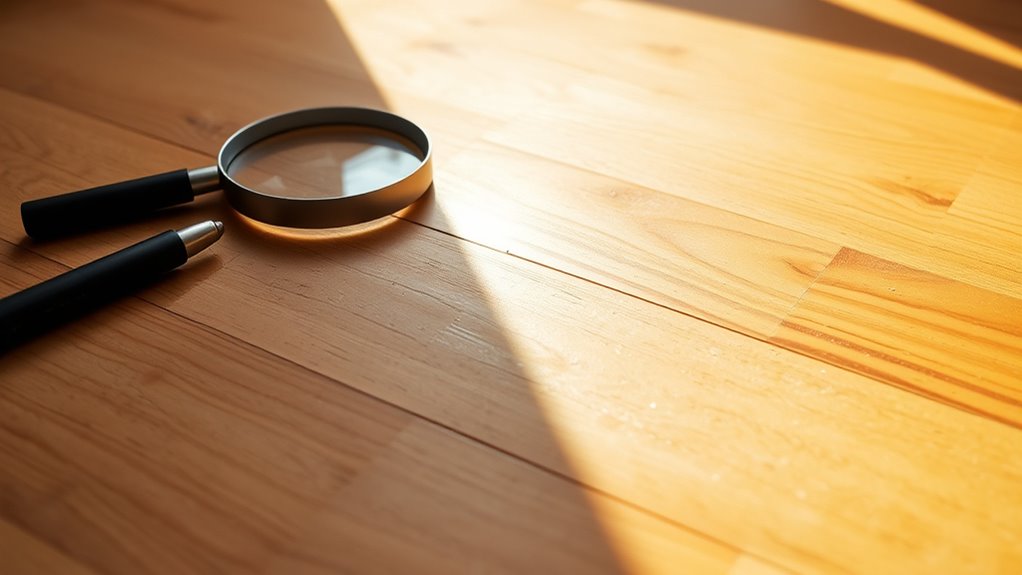
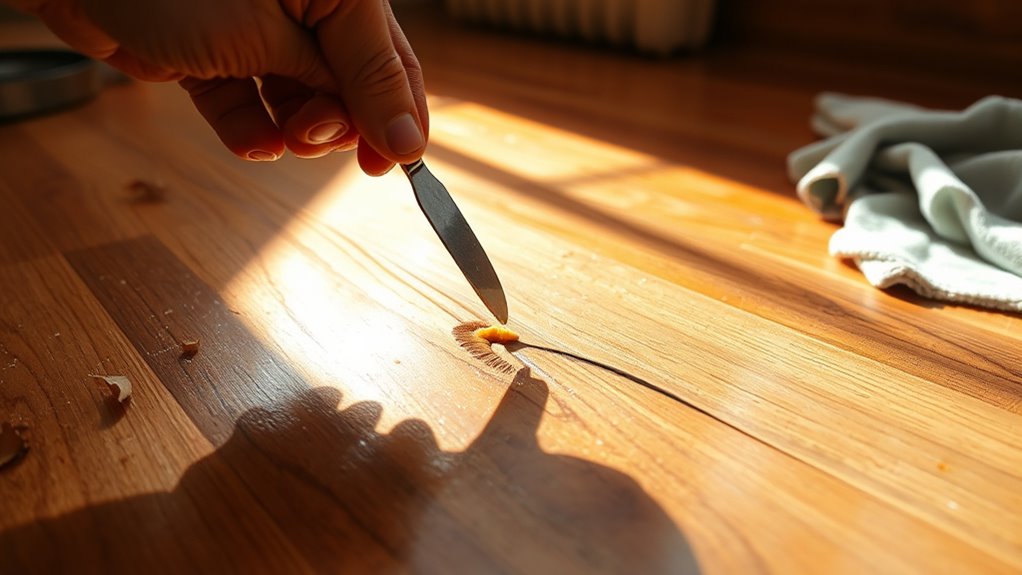
Before you begin any repair work, you need to accurately assess the extent and depth of the scratches on your hardwood floors. Conducting a thorough damage assessment is critical to determine whether surface refinishing or deeper intervention is required. Start with a detailed sol inspection under natural light to identify all affected areas. Use a magnifying glass if necessary to evaluate scratch severity—light scratches that don’t penetrate the finish can often be treated differently than deep gouges. Document each scratch’s length, width, and depth, as this data informs your repair strategy. Accurate damage assessment empowers you to choose the most effective repair methods, ensuring you restore your hardwood floors efficiently and maintain their structural integrity while preserving your freedom to customize the solution.
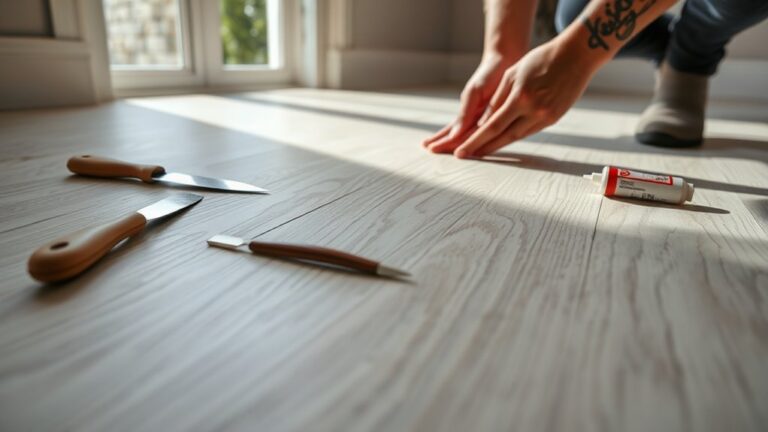
Gathering the Necessary Tools and Materials
Successful hardwood floor repair hinges on having the right tools and materials at hand. To regain your floor’s freedom from scratches, you’ll need quality repair kits and supplies tailored for floor refinishing. Here’s a precise checklist to empower your restoration project:
| Outil/Matériau | But | Emotional Benefit |
|---|---|---|
| Repair Kit | Fills and conceals scratches | Confidence in results |
| Papier de verre | Smoothens surface | Satisfaction of smoothness |
| Wood Stain | Matches floor color | Pride in seamless finish |
| Clear Finish | Protects repair | Assurance of durability |
| Applicator Tools | Precise application | Control over perfection |
Assemble these essentials before starting, ensuring your repair process is efficient and liberating.
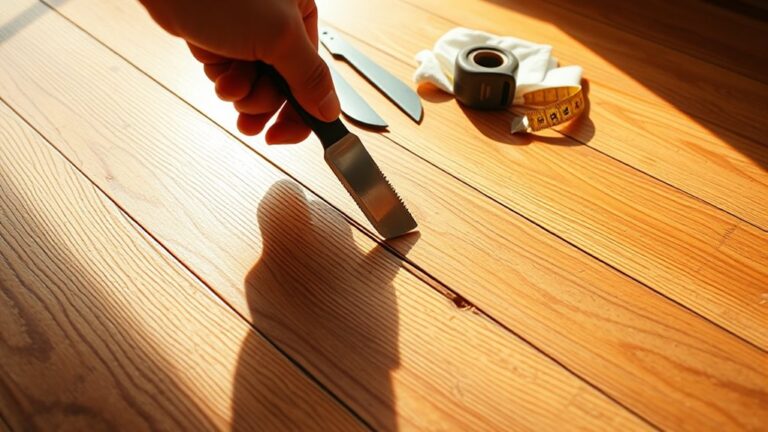
Cleaning the Scratched Area Thoroughly
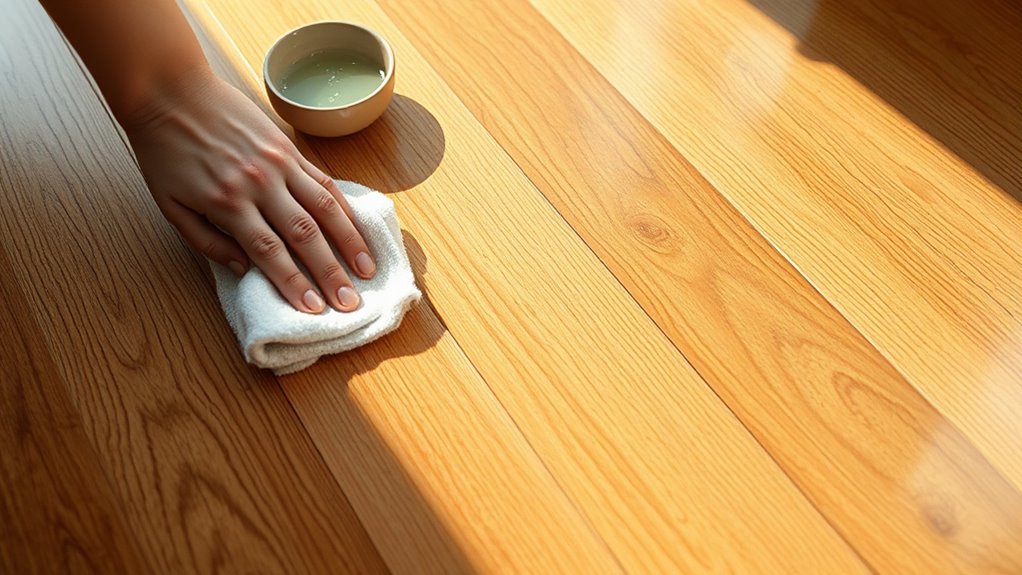
With your tools and materials ready, the next step is to clean the scratched area thoroughly. Proper cleaning is essential to verify the repair materials adhere correctly and the finish restores smoothly. Begin by removing dust and debris with a vacuum or soft brush. Then, apply an effective solution—like a mixture of mild soap and water or a specialized hardwood cleaner—using a lint-free cloth. Employ precise cleaning techniques: gently wipe the scratch without saturating the wood, avoiding harsh chemicals that could damage the finish. Allow the area to dry completely before proceeding. This meticulous preparation guarantees the repair’s durability, helping you reclaim the freedom to move and live without worrying about imperfections on your hardwood floor. Skipping this step compromises the final outcome and longevity of the fix.
Using a Wood Marker for Minor Scratches
One of the most efficient ways to address minor scratches on hardwood floors is by using a wood marker specifically designed for floor repairs. Start by selecting a marker that closely matches your floor’s stain color—accurate color matching tips are essential for seamless blending. Before applying, test the marker on a hidden spot to confirm the hue. Use precise wood marker techniques: gently stroke the marker along the scratch, following the wood grain direction. Avoid over-applying to prevent buildup. Let the marker dry fully, then assess the coverage. If needed, apply a second light layer for better concealment. This method preserves your floor’s natural appearance and offers a swift, minimally invasive solution that restores freedom in your living space without complex refinishing.
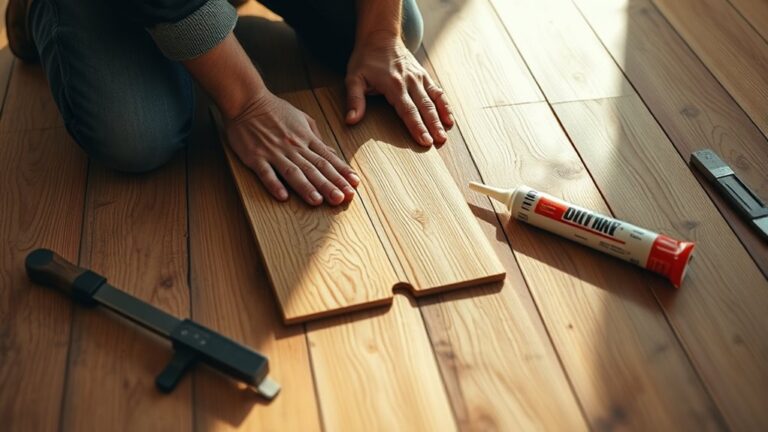
Applying Wood Filler for Deeper Gouges
For deeper gouges, selecting the correct wood filler is critical to guarantee durability and color match. You’ll need to apply the filler carefully, pressing it into the damaged area to eliminate air pockets. Once applied, smooth the surface flush with the floor using a putty knife for a seamless repair.
Choosing the Right Filler
Selecting the appropriate wood filler is essential when addressing deeper gouges in hardwood floors, as it guarantees durability and a seamless finish. You need to understand filler types: water-based, solvent-based, and epoxy fillers each offer distinct advantages in adhesion, drying time, and flexibility. Water-based fillers are easy to sand and clean, while epoxy fillers provide superior strength for extensive damage. Color matching is critical—choose a filler that closely aligns with your floor’s stain or natural wood tone to minimize visibility after repair. Many fillers come pre-tinted, but you can also custom mix pigments for an exact match. By selecting the right filler type and ensuring precise color matching, you’ll maintain the floor’s integrity and aesthetic, preserving your freedom to customize and maintain your hardwood floors efficiently.
Applying and Smoothing Filler
Applying wood filler correctly involves several critical steps to confirm a smooth, durable repair that blends seamlessly with the surrounding hardwood. First, select a filler that matches your floor’s color and texture. Use precise filler application techniques: apply the filler with a putty knife at a 45-degree angle, pressing firmly to fill deeper gouges fully. Avoid air pockets by working the filler into crevices thoroughly. Once applied, remove excess filler immediately. For smoothing methods, let the filler cure completely, then sand the area with fine-grit sandpaper until flush with the floor surface. Make sure you feather edges to prevent noticeable shifts. Proper application and smoothing not only restore the floor’s appearance but also maintain its structural integrity, giving you the freedom to enjoy a flawless hardwood finish.
Sanding the Repaired Spots Smooth
Begin by using fine-grit sandpaper to gently smooth the repaired spots, ensuring the surface is level with the surrounding hardwood. Mastering sanding techniques is essential to avoid damaging the wood or filler. Use consistent, light pressure to blend the edges seamlessly. Employ smoothing methods that respect the wood’s grain direction for a flawless finish.
- Choose 220-grit sandpaper for ideal control
- Sand in the direction of the grain only
- Avoid over-sanding to prevent depressions
- Clean dust frequently to assess progress accurately
- Use a sanding block for even pressure distribution
Staining the Repaired Area to Match the Floor
The repaired area must be stained carefully to blend seamlessly with the existing floor color. Begin by selecting a stain that matches your floor’s hue; accurate color matching is essential to avoid noticeable discrepancies. Test the stain on a scrap piece or inconspicuous spot to verify the color before application. Use a clean cloth or brush to apply the stain evenly, following the wood grain for consistent absorption. Apply thin layers, allowing each to dry fully, so you can build up to the desired tone without oversaturating the wood. Avoid heavy application, which causes blotching and uneven color. Precision in stain application guarantees the repaired spot integrates flawlessly with the surrounding floor, preserving the aesthetic freedom you seek in your living space.
Sealing the Floor for Long-Lasting Protection
Once the stain has fully dried and matched your floor’s color, you’ll need to protect the repaired area with a sealant. Applying the right sealing techniques guarantees durability and resistance against daily wear. Protective coatings act as a barrier, locking in the repair and preventing moisture or dirt penetration. To achieve ideal results, follow these steps:
- Choose a sealant compatible with your floor’s finish (polyurethane, varnish, or water-based).
- Lightly sand the stained area to promote adhesion.
- Use a high-quality brush or applicator for even distribution.
- Apply thin, uniform coats and allow each layer to dry thoroughly.
- Cure the sealant fully before subjecting the floor to regular use.
Implementing these sealing techniques assures long-lasting protection and preserves your hardwood’s flawless appearance.
Tips for Preventing Future Scratches on Hardwood Floors
Although repairing scratches restores your floor’s appearance, preventing future damage is essential for maintaining its integrity. Implement preventive measures such as using high-quality furniture pads and regularly cleaning debris that can act as abrasives. Avoid dragging heavy objects to reduce stress on the finish.
| Preventive Measure | Application Area | Avantage |
|---|---|---|
| Coussinets pour meubles | Under Chairs/Tables | Minimizes direct contact |
| Tapis | High Traffic Zones | Absorbs impact |
| Regular Dusting | Entire Floor | Removes abrasive particles |
| No Shoes Policy | Entryways | Limits grit introduction |
| Protective Sealants | Whole Floor | Enhances scratch resistance |