To fix scratches on your wood floor, first identify the scratch depth—light scratches can often be treated with color-matched wood markers or crayons. Clean the area thoroughly with a wood-safe cleaner, then apply the product carefully, buffing gently for a smooth finish. For deeper scratches, use a DIY wood filler, sanding lightly, and restain to match. Polishing with olive oil can help conceal minor marks. If the damage is extensive, sanding may be necessary. Learn more to guarantee the best results and prevent future wear.
Identifying the Type of Scratch
Any scratch on your wood sol can vary in depth and severity, so it is crucial to identify the type before attempting repairs. You’ll encounter several types of scratches: surface scratches affect only the finish, while deeper ones penetrate the wood fibers. Evaluating scratch severity involves examining whether the scratch disrupts the finish, exposes raw wood, or results in splinters. Light scratches often reflect light differently but don’t compromise structural integrity. Moderate scratches may feel rough to the touch and require filler or refinishing. Deep scratches demand more extensive intervention, possibly sanding and replacing damaged wood. By accurately identifying the types of scratches and their severity, you maintain control over the repair process. This understanding allows you to choose the most effective method without unnecessary limitations, preserving your floor’s durability and aesthetic freedom.
Nettoyage de la zone affectée
Before repairing the scratch, you’ll need to remove all dust and debris using a soft microfiber cloth or vacuum with a brush attachment. Choose a wood-safe cleaner that won’t damage the finish, applying it sparingly to avoid excess moisture. Properly cleaning and drying the area guarantees ideal adhesion and a smooth repair surface.
Dust Removal Techniques
Although removing dust may seem straightforward, thorough cleaning is vital to guarantee effective repair of scratches on wood floors. You’ll want to employ precise dusting methods to avoid leaving particles that could interfere with the finish. Start by selecting appropriate cleaning tools—microfiber cloths are ideal because they trap dust without scratching the surface. A vacuum with a soft brush attachment can effectively lift dust from grooves and crevices. Avoid using brooms that might scatter dust or push debris deeper into scratches. Work systematically, moving along the grain to capture all fine particles. By meticulously removing dust, you create an ideal surface for applying repair products, ensuring adhesion and a seamless finish. This step is essential for maintaining the wood’s integrity and achieving professional results.
Choosing Appropriate Cleaners
When preparing to clean the affected area on your wood floor, selecting the right cleaner is crucial to avoid damaging the finish or wood fibers. You can choose between natural cleaners and commercial products, each with specific benefits and precautions. Natural cleaners like vinegar solutions are gentle but must be diluted correctly. Commercial products offer targeted formulations but may contain harsher chemicals.
| Cleaner Type | Avantages | Precautions |
|---|---|---|
| Natural Cleaners | Eco-friendly, gentle on wood | May need dilution |
| Commercial Products | Effective, easy to apply | Can damage finish if misused |
| DIY Mixtures | Customizable, cost-effective | Requires precise measurements |
Choosing wisely guarantees freedom from damage and prepares the floor for effective scratch repair.
Preparing Surface for Repair
Since any debris or residue can interfere with the repair process, you’ll need to thoroughly clean the scratched area before starting. Proper surface assessment guarantees repair readiness, allowing the filler or finish to adhere correctly. Follow these steps precisely:
- Remove loose dirt and dust using a soft-bristle brush or vacuum with a brush attachment.
- Dampen a microfiber cloth with a wood floor cleaner suitable for your finish; gently wipe the scratch and surrounding area.
- Dry the surface immediately with a clean, dry cloth to avoid moisture absorption.
- Inspect the surface for residual contaminants or oils that might affect adhesion.
Completing these steps assures a clean, contaminant-free surface, vital for effective scratch repair and long-lasting results.
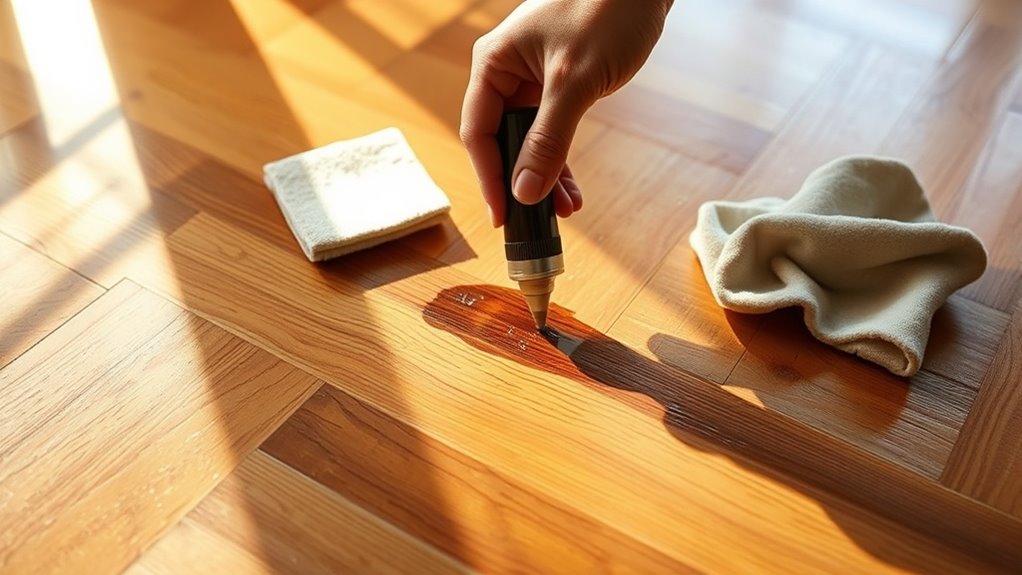
Using Wood Markers and Crayons
When using wood markers and crayons to repair scratches, it’s essential to select a color that closely matches your floor’s finish for a seamless blend. Apply the product carefully along the scratch, using light, controlled strokes to avoid excess buildup. After application, gently buff the area to guarantee an even appearance and proper adhesion.
Choosing the Right Color
Selecting the correct color is essential for effectively camouflaging scratches with wood markers or crayons. Accurate color matching guarantees a seamless repair that blends with your floor’s natural tone. When deciding on stain selection, follow these steps:
- Examine your floor under natural light to identify its true color and undertones.
- Test markers or crayons on an inconspicuous area to verify compatibility and color accuracy.
- Choose a color slightly darker than the scratch to allow for natural light reflection differences.
- Consider multi-tone markers if your floor has varied hues, improving the blend.
Application Tips and Techniques
After choosing the right color, applying wood markers or crayons correctly guarantees the repair blends smoothly with your floor. Start by cleaning the scratched area to remove dust and debris, ensuring ideal adhesion. Use gentle, controlled strokes following the wood grain, applying the marker or crayon sparingly to avoid over-saturation. For deeper scratches, multiple light layers work better than one heavy application. Allow each layer to dry before adding more. Once filled, gently buff the area with a soft cloth to blend the repair seamlessly. These application techniques are essential in effective repair methods, preserving your floor’s natural appearance without compromising durability. Mastering these steps gives you freedom to restore your wood floor precisely and efficiently.
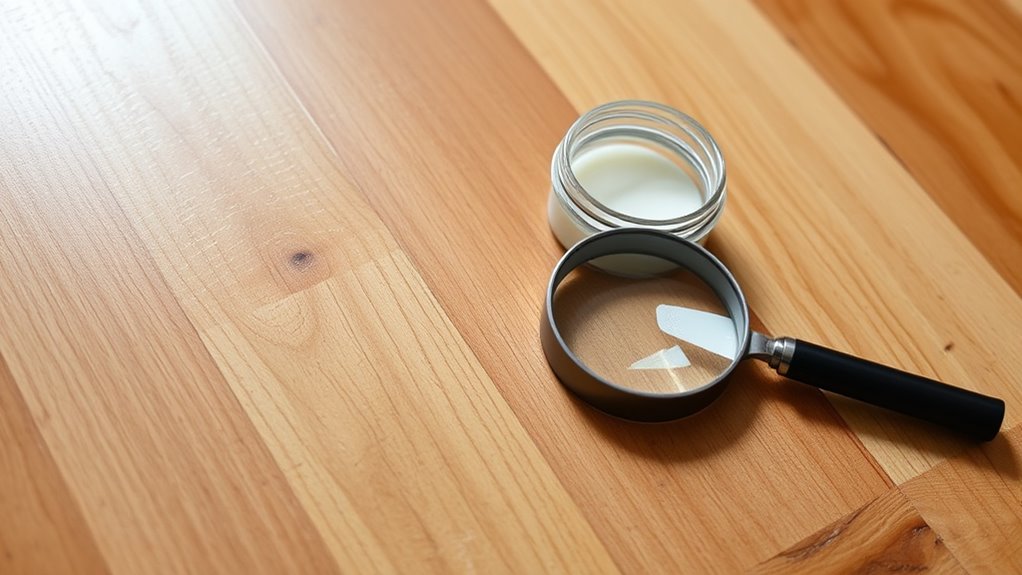
Applying a DIY Wood Filler
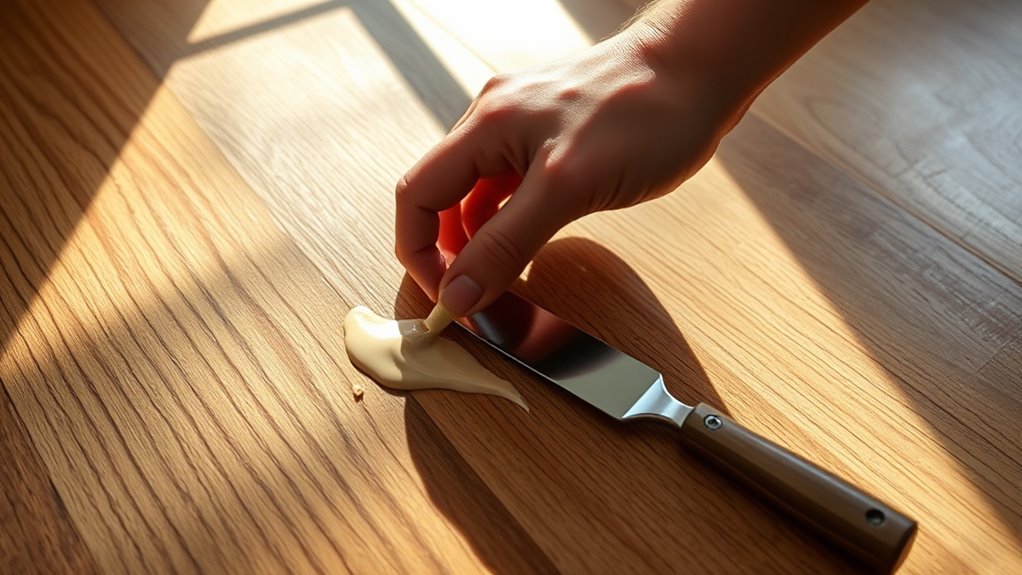
Although minor scratches can sometimes be buffed out, deeper gouges require applying a DIY wood filler to restore the floor’s surface integrity. For effective DIY wood filler application, follow these steps precisely:
- Clean the scratch thoroughly, removing dust and debris to guarantee proper adhesion.
- Mix your chosen DIY wood filler according to product instructions, achieving a smooth consistency.
- Use a putty knife to press the filler firmly into the gouge, slightly overfilling to compensate for shrinkage.
- Allow the filler to dry completely, then sand the area smoothly, blending it flush with the surrounding floor.
Polishing With Olive Oil and Vinegar
One effective method to restore shine and protect your wood floor after repair is polishing with a mixture of olive oil and vinegar. Olive oil benefits include moisturizing and nourishing the wood fibers, enhancing the floor’s natural luster without leaving a greasy residue. Vinegar properties as a mild acid help to clean the surface by breaking down dirt and residues, ensuring the polish adheres evenly. To apply, mix two parts olive oil with one part white vinegar in a spray bottle. Lightly mist the solution onto the scratched area and buff immediately with a soft, lint-free cloth in circular motions. This technique seals minor scratches and revitalizes the wood’s appearance, giving you a durable, satin finish that preserves your floor’s freedom from harsh chemicals.
Using Sandpaper for Deeper Scratches
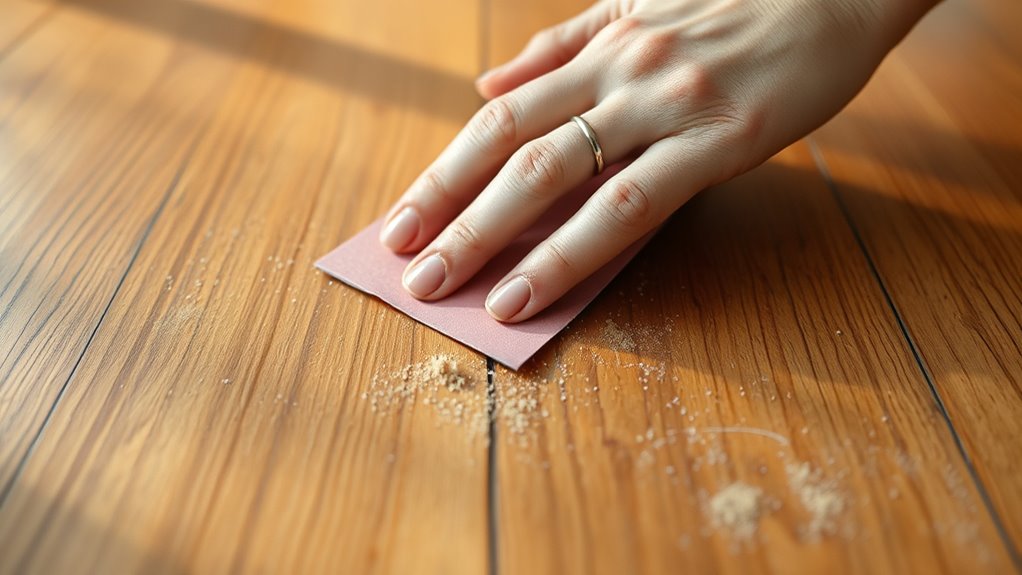
While polishing with olive oil and vinegar works well for light surface scratches, deeper gouges require a more hands-on approach. Using sandpaper effectively depends on evaluating the scratch depth to choose the right sandpaper grits. Here’s how you proceed:
For deeper wood floor scratches, sanding with the right grit restores smoothness beyond simple polishing methods.
- Identify the scratch depth—deeper scratches need coarser grits (around 80-120) to level the wood surface.
- Begin sanding gently along the scratch with the selected coarse grit to avoid enlarging the damaged area.
- Progressively switch to finer grits (180-220) to smooth the surface and prepare it for finishing.
- Clean the dust thoroughly before applying any stain or finish to guarantee seamless repair.
This method restores smoothness and preserves your wood floor’s natural beauty without compromising its integrity.
Preventing Future Scratches on Wood Floors
To maintain the appearance and longevity of your wood floors, preventing future scratches is essential. Implementing effective scratch prevention techniques reduces the need for frequent repairs and preserves your floor’s finish. Regular floor maintenance includes using protective pads and controlling indoor conditions to minimize damage.
| Preventive Measure | Avantage |
|---|---|
| Felt pads on furniture | Reduces abrasion when moved |
| Tapis | Shields high-traffic zones |
| Nettoyage régulier | Removes grit that causes scratches |
| Humidity control | Prevents wood warping and cracking |
| Avoiding sharp objects | Minimizes direct floor damage |