To fix hardwood floors in five simple steps, first assess the damage and gather matching materials. Next, clean the surface thoroughly, avoiding excess moisture for proper adhesion. Then, repair scratches and dents using appropriate fillers or steaming techniques. Follow with sanding, progressing from coarse to fine grit for a smooth finish. Finally, apply stain and sealant evenly to protect and enhance. Master these steps so your floors look flawless and durable—there’s more to explore for a perfect restoration.
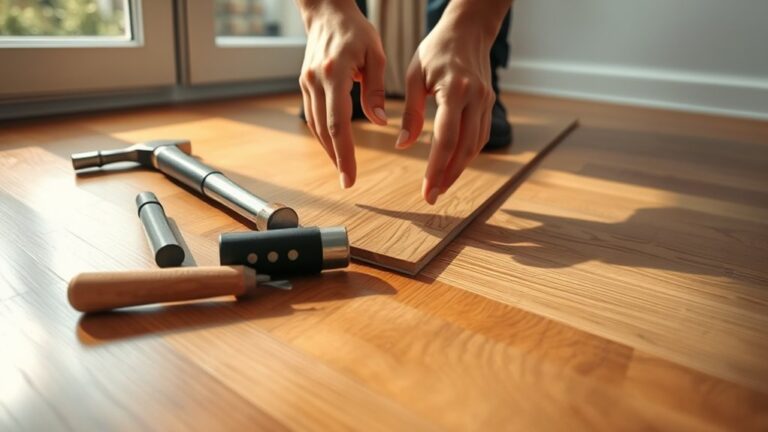
Assess the Damage and Gather Materials
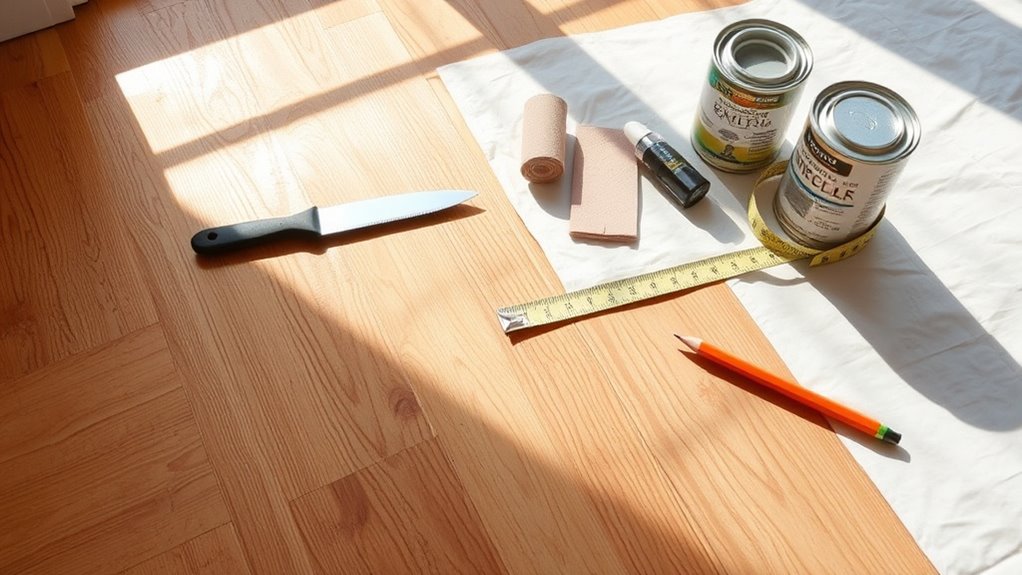
Before you begin repairing your hardwood floors, it is crucial to assess the extent of the damage accurately. Identify the damage types—scratches, dents, water stains, or warped boards—as each requires a specific approach. Use a moisture meter to detect hidden water damage, ensuring no underlying issues compromise your repair. Once you’ve diagnosed the damage, focus on material selection. Choose hardwood planks that match the existing sol‘s species, grade, and finish to maintain consistency. Select appropriate adhesives, fillers, and finishes compatible with your floor type to guarantee durability and aesthetic integration. Careful evaluation and precise material selection empower you to restore your floors efficiently while preserving their natural beauty and structural integrity, granting you the freedom to enjoy a flawless hardwood surface.
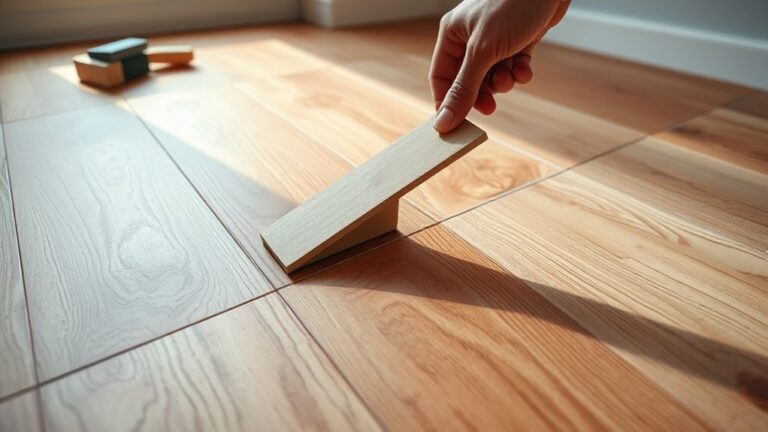
Clean and Prepare the Hardwood Surface
A thoroughly clean and well-prepared hardwood surface is essential for effective repairs and lasting results. Start by removing all dirt, dust, and debris using a vacuum with a soft brush attachment. Next, employ appropriate cleaning techniques—such as using a pH-neutral hardwood floor cleaner—to avoid damaging the wood or finish. Avoid excessive water that can cause warping. Once dry, inspect the floor for residual grime or buildup and remove it with a fine-grade steel wool pad if necessary. Surface preparation demands that you sand lightly around the damaged area to guarantee proper adhesion of repair materials. Clean the sanding dust thoroughly with a tack cloth or microfiber cloth to leave a pristine surface. These precise cleaning techniques and preparation steps will guarantee your repairs bond securely and maintain the floor’s structural integrity.
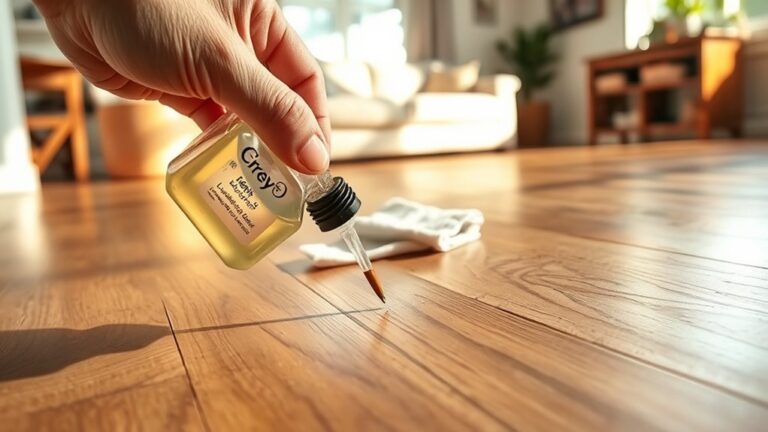
Repair Scratches and Dents
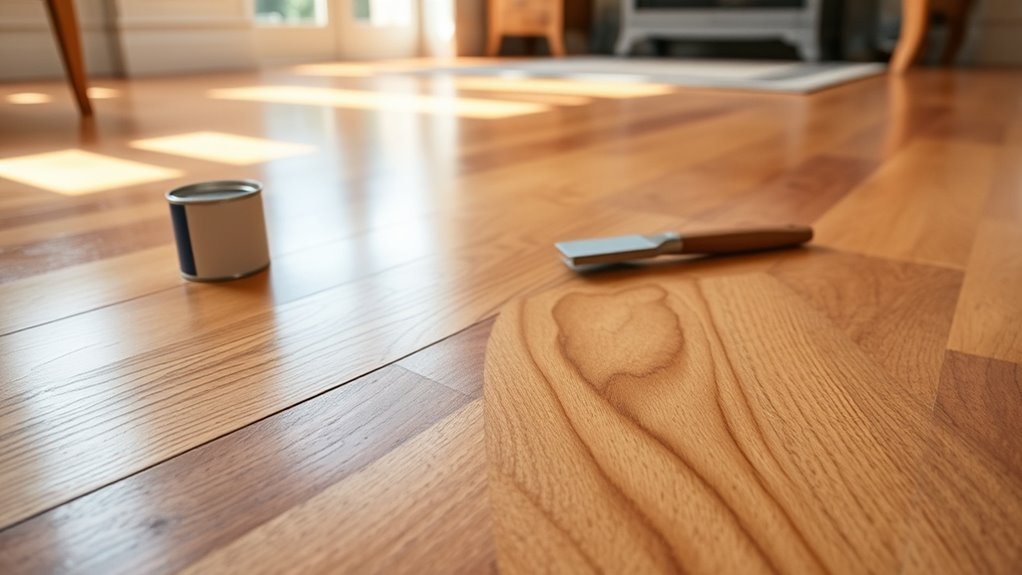
Once your hardwood surface is clean and prepped, you can address scratches and dents with targeted techniques that restore the floor’s smoothness and appearance. For scratch repair, begin by identifying the depth of the scratch. Light scratches can be treated with a wood stain marker or a color-matched filler, applied carefully along the scratch to blend seamlessly. For deeper gouges, use a wood putty or filler designed for hardwood floors, then smooth it flush with a putty knife. Dent removal requires a different approach: apply a damp cloth over the dent and use a hot iron to steam the compressed wood fibers, allowing them to swell back to their original shape. Repeat as necessary for best dent removal. These precise methods guarantee your floor regains its flawless look without compromising its integrity.
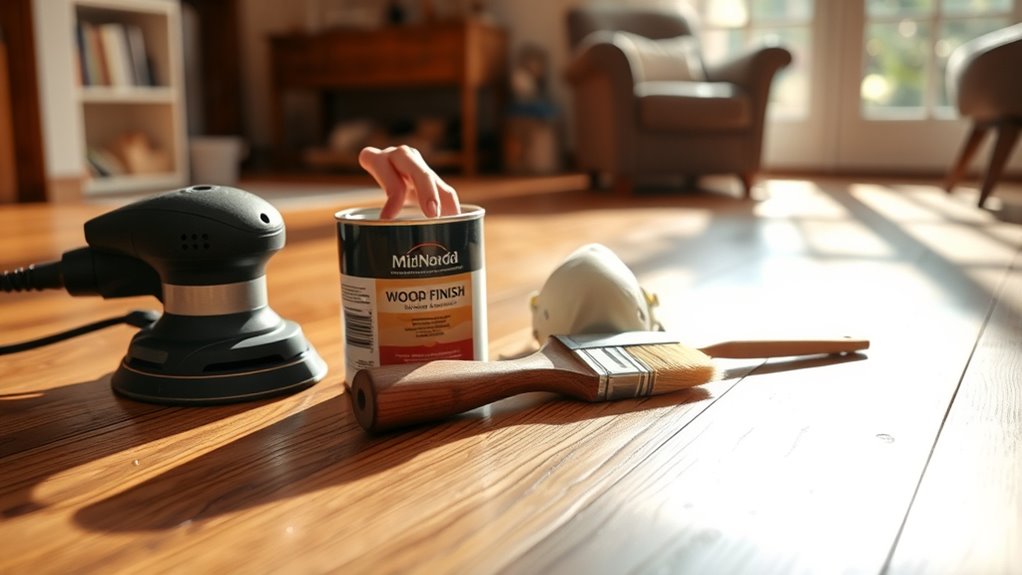
Sand the Floor for a Smooth Finish
Start by thoroughly sanding the hardwood floor to create an even, smooth surface crucial for finishing. Begin with coarse grit sandpaper (around 36-40 grit) to remove old finishes and surface imperfections efficiently. Progressively switch to medium grit (60-80) to eliminate deeper scratches from the initial sanding, then finish with fine grit (100-120) for a polished, smooth texture. Employ consistent sanding techniques—use a drum or orbital sander in the direction of the wood grain to avoid cross-grain scratches. Maintain even pressure and overlap your passes to guarantee uniformity. Proper grit selection combined with disciplined sanding will grant you control and freedom to achieve a flawless surface, ready for the next refinishing step. Remember, precision here dictates the final appearance and durability of your hardwood floor.
Apply Stain and Sealant
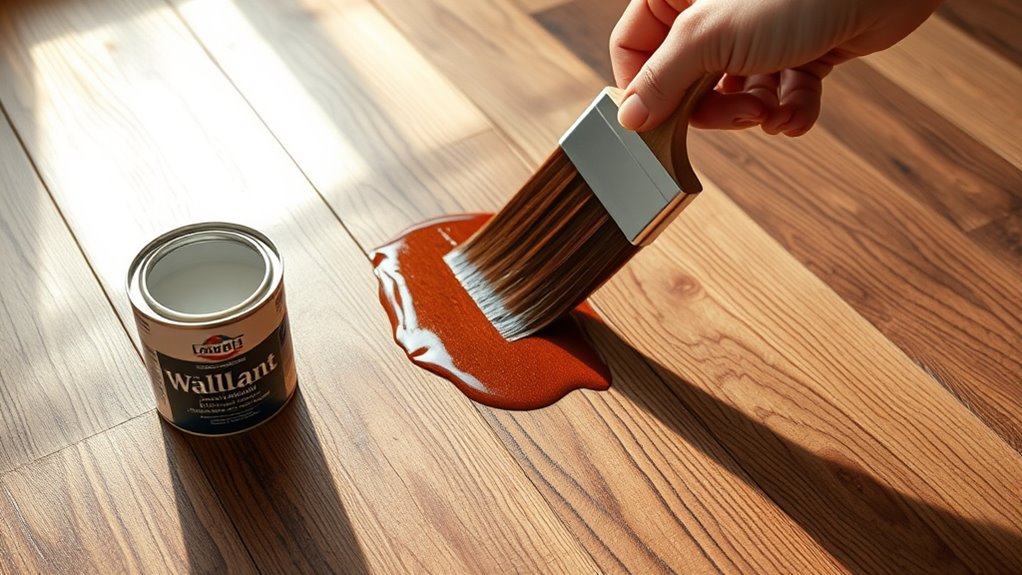
With the floor sanded to a smooth, even surface, you’re ready to apply stain and sealant to both enhance the wood’s appearance and protect it from wear. Begin with careful stain selection—choose a color that complements your décor and allows the wood’s natural grain to shine. Test the stain on a hidden area to confirm the desired tone. Apply the stain evenly using a clean cloth or brush, working with the grain, and wipe off excess promptly to avoid blotches. After the stain dries completely, proceed with sealant application. Use a high-quality polyurethane or water-based sealant for durability and freedom from harsh fumes. Apply thin, even coats with a synthetic brush, sanding lightly between coats to guarantee ideal adhesion and a flawless finish.