To fix a creaking floor, first locate exactly where it creaks by walking slowly and marking spots. Clear the area and gather wood screws, a drill, powdered graphite or talcum powder, and wood shims. Sprinkle powder in gaps to reduce friction, then secure loose boards with screws or nails driven into joists. If gaps remain, slide wood shims between the subfloor and joists for stability. Test by walking on the sol, and repeat as needed until quiet. There are more detailed tricks that can really make your floor sturdy.
Identify the Source of the Creak
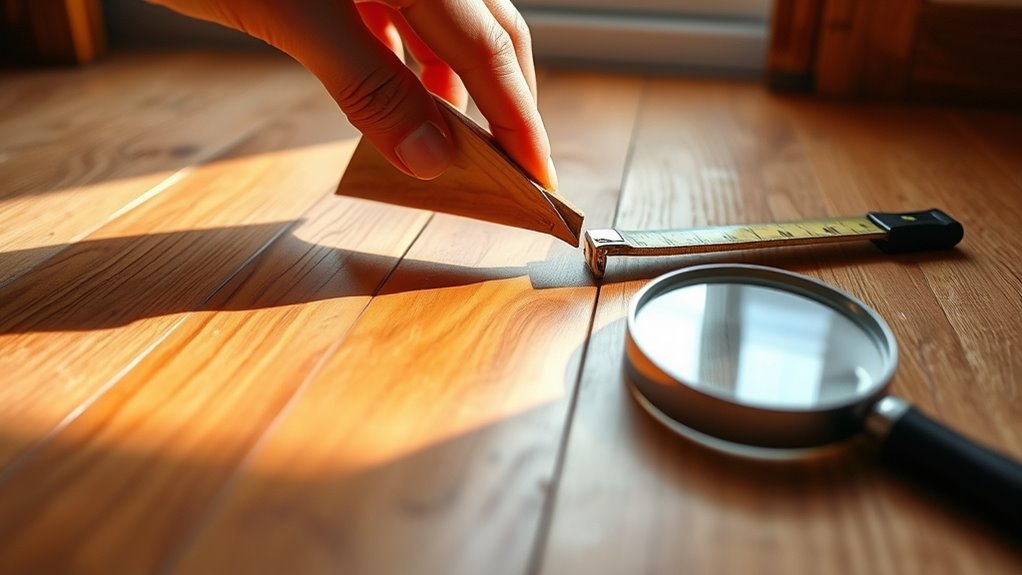
Before you can fix a creaking floor, you need to pinpoint exactly where the noise is coming from. Start by walking slowly across the floor, paying close attention to every step. Floor noise often occurs where boards rub against each other or the joists beneath. Creaking causes include loose nails, worn-out fasteners, or gaps caused by seasonal wood movement. Use a flashlight to inspect the underside of the floor if accessible. Tap the boards gently to detect any movement or hollowness. Mark the exact spots that creak to avoid guesswork when repairing. Identifying the source of the creak lets you target the problem directly, saving time and effort. Understanding these details gives you the freedom to fix the noise efficiently and confidently.
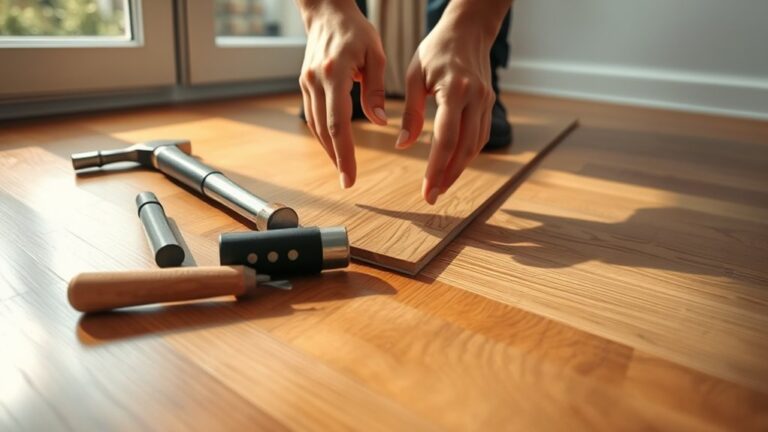
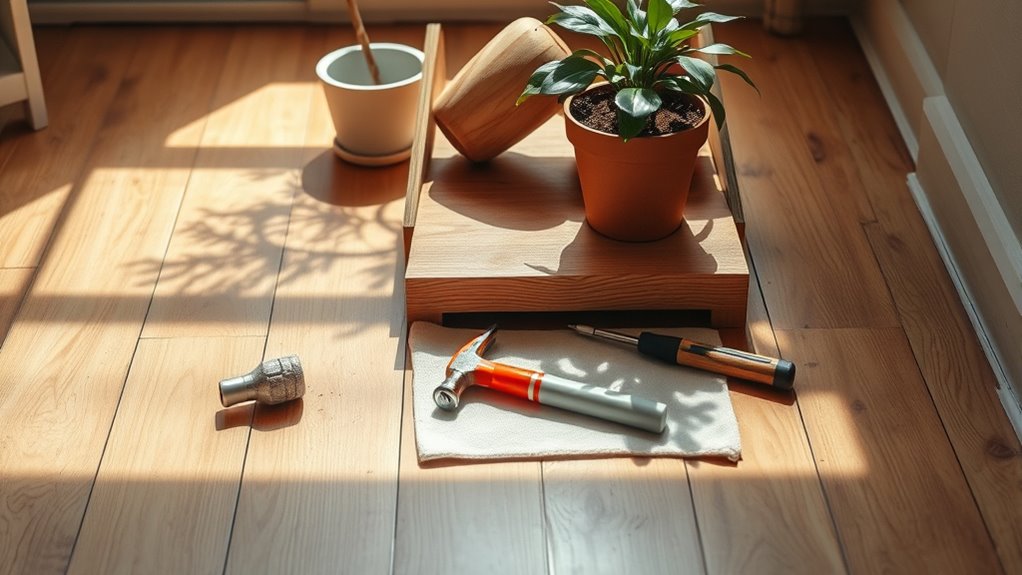
Gather the Necessary Tools and Materials
Fixing a creaking floor requires having the right tools and materials on hand to guarantee a smooth repair process. Proper tool selection guarantees you address the issue efficiently without causing extra damage. Different material types suit various floor constructions, so knowing what fits your floor is essential. Here’s a practical list to prepare you:
Having the right tools and materials ensures an efficient, damage-free fix tailored to your floor’s construction.
- Wood screws (appropriate length and type)
- Drill with screwdriver and drill bits
- Construction adhesive or wood glue
- Shim or thin wooden wedges
- Putty or wood filler
These items cover the basics for tightening loose boards, filling gaps, and securing the floor firmly. Choosing quality materials and the right tools lets you work confidently, freeing you from ongoing creaks and enhancing your floor’s stability.
Clear the Area Around the Creaking Step
Start by moving any furniture away from the creaking step to give yourself plenty of working space. Clear out dust and debris from the area to prevent interference while you work. Make sure you have good lighting so you can clearly see the problem spots.
Remove Nearby Furniture
Clear away any furniture near the creaking floorboard to give yourself enough room to work comfortably. Adjusting your furniture arrangement before starting helps prevent accidental damage and eases access to the problem area. Consider how your room layout will be affected as you move items and plan where to place them temporarily.
- Move lightweight pieces like chairs and small tables first.
- Use sliders or blankets under heavy furniture to avoid scratching floors.
- Stack smaller items safely to keep the workspace clear.
- Keep essential tools nearby but out of the way.
- Take photos of your current furniture arrangement to restore it easily.
Clearing the area thoroughly guarantees you can focus on fixing the creak without obstacles, making the process smoother and safer.
Clear Debris and Dust
Before you tackle the creaking floorboard, make certain you remove all debris and dust from the surrounding area. Effective dust removal is key to preventing particles from interfering with your repair. Use practical cleaning techniques like sweeping, vacuuming, and wiping with a damp cloth to clear the space completely. This guarantees a clean working environment and helps you identify the exact source of the creak.
| Technique de nettoyage | Outil nécessaire | But |
|---|---|---|
| Balayage | Broom | Remove loose debris |
| Passer l'aspirateur | Aspirateur | Eliminate fine dust |
| Wiping | Chiffon humide | Clear remaining dust |
Ensure Good Lighting
Why is good lighting essential when fixing a creaking floor? Without proper visibility, you might miss small cracks or loose boards causing the noise. Good lighting helps you inspect thoroughly and work safely. Whenever possible, use natural light by opening windows or doors—it’s the clearest way to spot trouble areas. If natural light isn’t enough, bring in bright, portable lamps.
Before you start, clear the area to let light reach every corner. Here’s what to focus on:
- Remove furniture and rugs around the creaking step
- Open curtains or blinds to maximize natural light
- Use a flashlight or work lamp for shadowy spots
- Position lights to reduce glare and shadows
- Keep your workspace tidy to avoid tripping hazards
Good lighting means you’ll fix the creak right the first time.
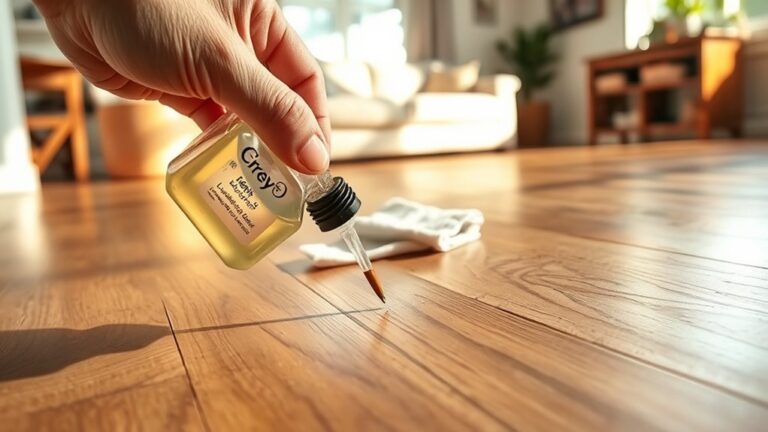
Apply Powdered Graphite or Talcum Powder
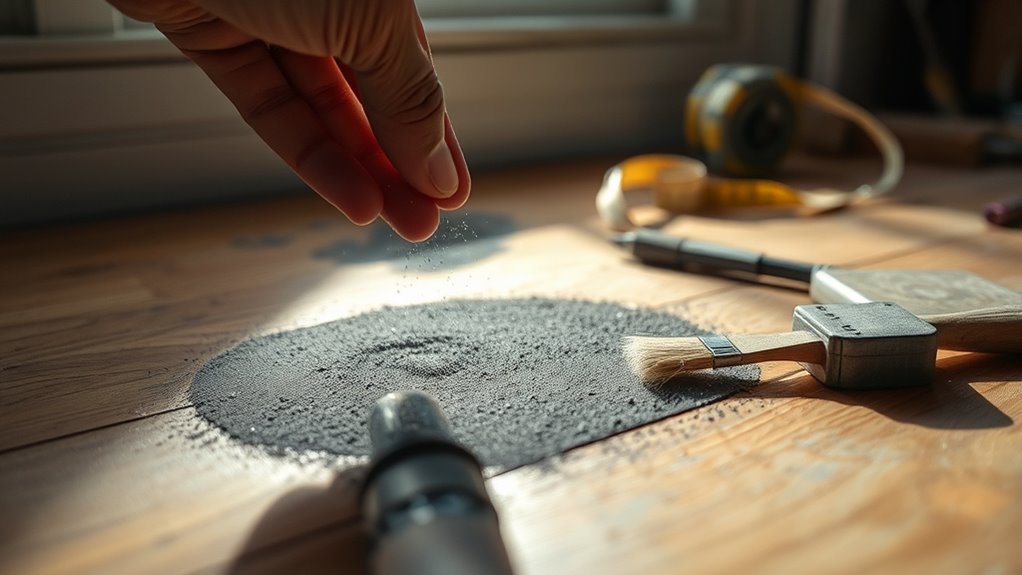
You’ll want to pick powdered graphite or talcum powder based on what’s easiest to apply and safest for your home environment. Carefully sprinkle the powder into the gaps where the floorboards rub together to reduce friction. Make sure to follow safety guidelines, like wearing a mask if needed, to avoid inhaling the powder.
Choosing the Right Powder
Several types of powders can help reduce floor creaks, but powdered graphite and talcum powder are among the most effective and easy to apply. When choosing the right powder, consider the specific powder types and their benefits to match your floor’s needs. Powdered graphite offers excellent lubrication without attracting moisture, ideal for wooden floor joists. Talcum powder is finer and absorbs moisture, helping reduce friction in tight spaces.
Keep these points in mind:
- Graphite is non-staining and long-lasting
- Talcum powder is inexpensive and widely available
- Both powders are dry lubricants, preventing squeaks
- Choose based on moisture exposure and floor material
- Consider ease of cleanup depending on application methods
Selecting the right powder makes your floor fix more durable and effective.
Techniques d'application
Applying powdered graphite or talcum powder correctly is key to stopping that annoying creak in your floor. Here’s an application techniques overview: sprinkle the powder directly into the gaps between floorboards, then work it in by gently tapping or sweeping. This method lubricates the wood, reducing friction—the main cause of creaking. The application techniques benefits include ease of use, no staining, and long-lasting results.
| Étape | Action | But |
|---|---|---|
| 1. Identify gaps | Locate creaky floor spaces | Target powder application |
| 2. Apply powder | Sprinkle into cracks | Lubricate contact points |
| 3. Work powder in | Tap or sweep gently | Distribute evenly |
| 4. Clean excess | Wipe surface if needed | Prevent residue buildup |
Follow these steps for a smooth, noise-free floor.
Précautions de sécurité
While using powdered graphite or talcum powder is effective for stopping creaks, you should take certain safety precautions to protect yourself and your home. Wearing appropriate safety gear like gloves and a dust mask is essential to avoid inhaling fine particles or skin irritation. Make certain your work environment is well-ventilated and free from pets or children during application. Keep powders away from open flames since they can be flammable. Clean up any spills immediately to prevent slipping hazards or staining.
- Wear gloves and a dust mask for protection
- Make certain good ventilation in your work environment
- Keep powders away from heat sources or flames
- Restrict access to children and pets during the job
- Clean spills promptly to avoid accidents or damage
Following these steps helps you work safely and confidently while fixing creaks.
Secure Loose Floorboards With Screws or Nails
If you notice a floorboard shifting or lifting when you step on it, securing it with screws or nails is an effective way to stop the creak. First, identify the best fastener based on your floor type and accessibility. Use countersunk screws or finishing nails to avoid surface damage. Pre-drill holes for screws to prevent wood splitting.
| Fastener Type | Best Use Case |
|---|---|
| Wood Screws | Durable hold, visible areas |
| Drywall Screws | Tight spaces, subfloor access |
| Finishing Nails | Minimal surface damage |
| Brad Nails | Thin boards, less structural use |
Choose screw types or nail options wisely to guarantee a secure, long-lasting fix that lets you enjoy your floor’s freedom from creaks.
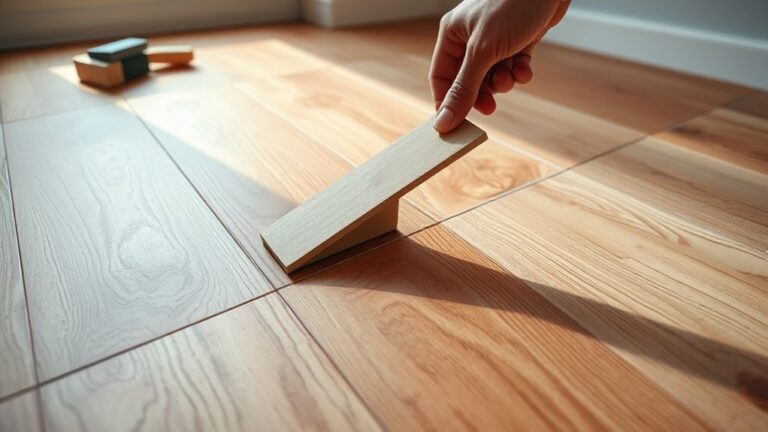
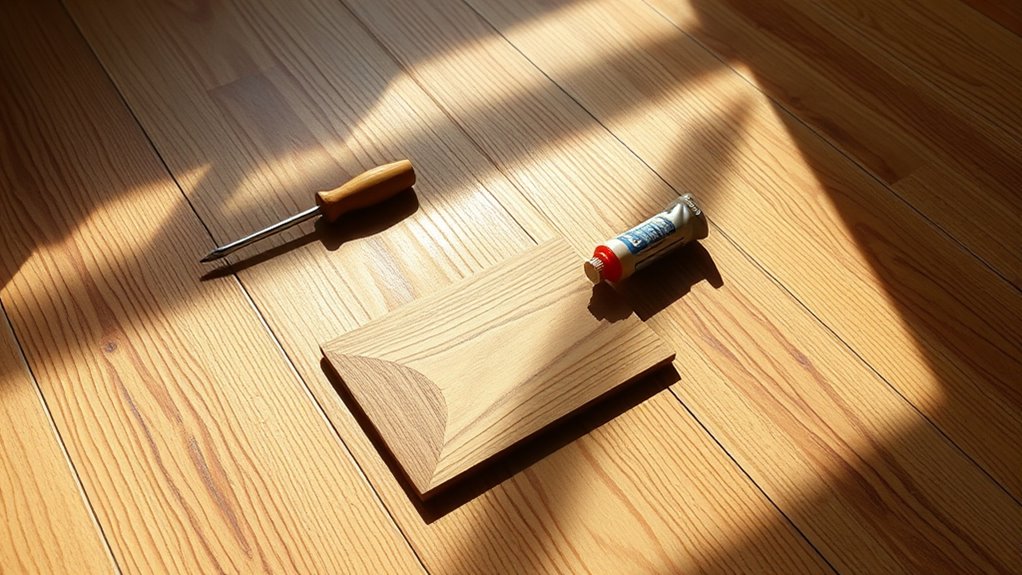
Use Wood Shims to Stabilize the Subfloor
When your floor still creaks despite securing loose boards, you can stabilize the subfloor by inserting wood shims between joists and the subfloor itself. Shim installation is an effective method for subfloor stabilization, filling gaps that cause movement and noise. To do this properly:
- Locate gaps by probing between the subfloor and joists.
- Select thin, tapered wood shims for a snug fit.
- Apply a small amount of wood glue on the shim’s edge to keep it in place.
- Gently tap the shim into the gap until it’s tight but doesn’t lift the subfloor.
- Trim any protruding shim ends flush with the joist.
This approach locks the subfloor down solidly, reducing flex and eliminating persistent creaks underfoot.
Test and Repeat as Needed
After installing wood shims to stabilize your subfloor, you’ll want to test the floor by walking over the area to check if the creaking has stopped. Use different test methods: walk slowly, apply pressure on trouble spots, and listen closely for any noises. If the floor still creaks, don’t hesitate to repeat the process. Remove the affected boards if needed, add or adjust shims, and secure everything tightly. This trial-and-error approach guarantees you address all loose spots without unnecessary work. By systematically testing and repeating as needed, you regain control over your floor’s stability and silence. Remember, persistence pays off—each test method helps you pinpoint remaining issues, allowing you to fix your floor thoroughly and enjoy your space without those annoying creaks.