To fix a creaking floor, first, walk slowly to pinpoint the noisy spots. Gather a drill, screws, nails, filler, and lubricant like silicone spray or talcum powder. Access the floor from below or above safely, then secure loose boards by pre-drilling and screwing them tightly to the joists. Sprinkle lubricant between seams to reduce friction. After these steps, test the floor for silence. You’ll find more detailed tips to guarantee your floor stops creaking completely.
Identifying the Source of the Creak
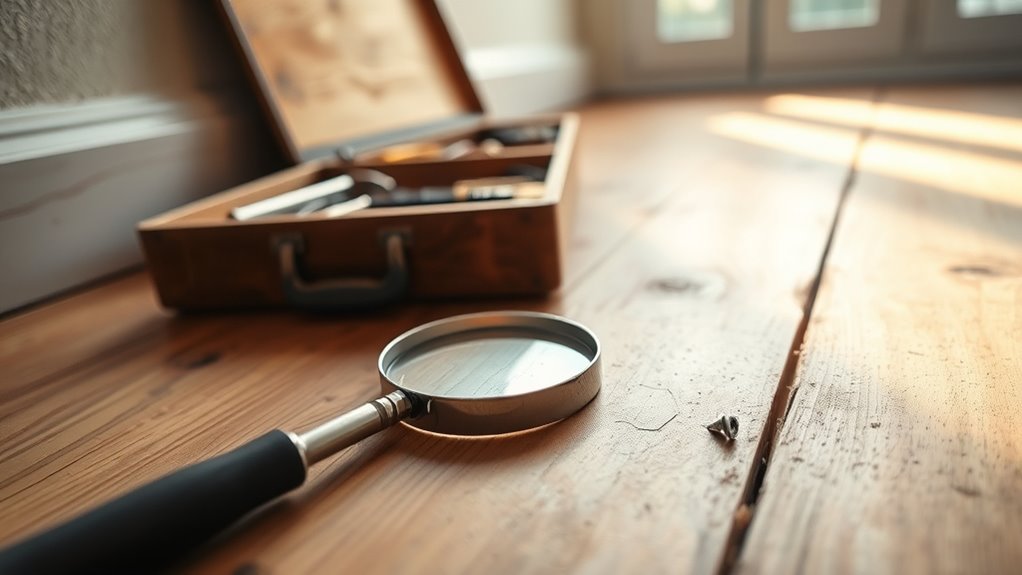
Where exactly is that creaking noise coming from? To fix it, you first need to pinpoint the exact spot. Creak causes often stem from loose joints or gaps in the floor structure—typically between floorboards, joists, or subflooring. Walk slowly across the floor, paying close attention to the areas where the sound is strongest. Mark these spots for further inspection. Check for visible gaps, loose nails, or warped boards. Understanding the floor structure beneath is essential; if the subfloor isn’t securely fastened to the joists, it can shift and produce noise. By accurately identifying the source, you regain control, eliminating the creak’s interference with your living space. This focused approach guarantees you address the root cause rather than just masking the sound.
Gathering the Necessary Tools and Materials
Before you start fixing the creak, make certain you have the right tools like a drill, screws, and wood glue. Choose materials that match your floor type to guarantee a secure repair. Clear your workspace to keep everything organized and avoid any accidents.
Essential Tools Overview
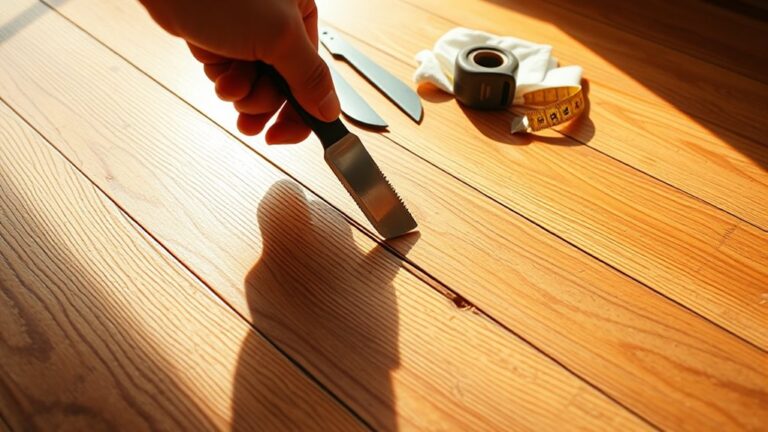
Gathering the right tools is vital to effectively fix a creaking floor. You’ll need specific tool types such as a cordless drill, wood screws, a hammer, a pry bar, and a stud finder. Each tool has a distinct role, so make sure you have them ready before starting. Proper tool maintenance is important; keep drill bits sharp and clean, and check your hammer and pry bar for damage to avoid inefficiency or injury. A well-maintained toolkit not only speeds up your work but also guarantees safer handling and better results. By organizing your tools beforehand, you’ll enjoy the freedom to work smoothly and confidently without interruptions, making your floor repair project more straightforward and satisfying.
Selecting Suitable Materials
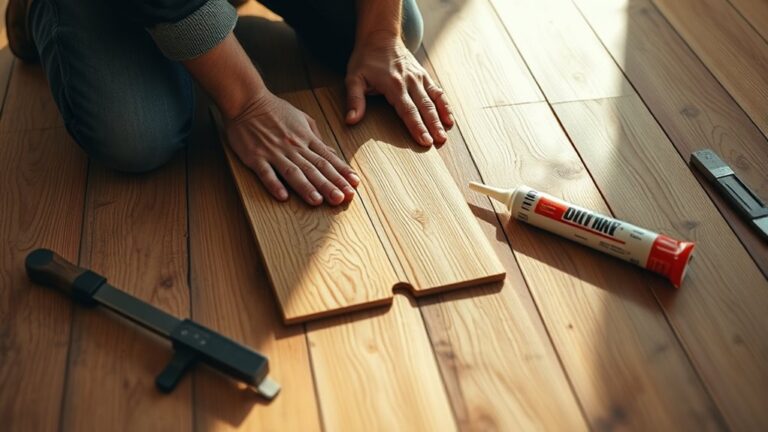
Choosing the right materials is essential to guarantee a durable and effective floor repair. You’ll want to select wood types that match your existing floor to maintain consistency and strength. Opt for hardwoods like oak or maple if your floor is solid wood, as they withstand wear and provide long-lasting support. Adhesive options are equally important; choose a high-quality wood glue designed for sol to assure a strong bond without damaging the finish.
Here’s what you’ll need to gather:
- Matching wood types for patching or shimming
- Strong, flexible adhesive options suitable for wood floors
- Screws or nails compatible with your floor’s material
Preparing Your Workspace
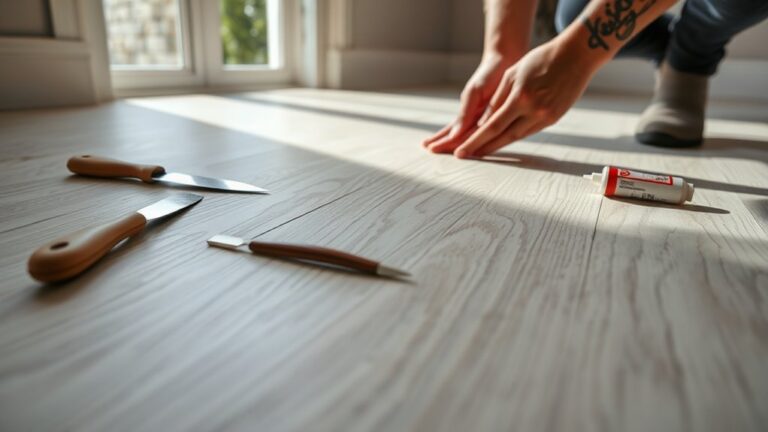
Since a well-organized workspace guarantees efficiency and safety, you’ll want to collect all necessary tools and materials before starting. Begin by clearing the area around the creaky floor—removing furniture and any clutter to facilitate unrestricted movement. Focus on workspace organization by designating a spot for each tool: a drill, screws, shims, wood glue, and a pry bar. Lay down a drop cloth to protect surfaces and gather safety gear like gloves and goggles. Clutter removal is essential; a tidy environment helps you locate items quickly and prevents accidents. Confirm you have everything within arm’s reach to maintain momentum. This preparation not only streamlines the repair process but also gives you the freedom to work confidently, avoiding interruptions caused by missing or misplaced tools.
Accessing the Floor From Below or Above
Whether you access the floor from below or above depends largely on your home’s construction and the tools you have available. Before you start, a thorough floor inspection is key to pinpointing the creak’s source. If you have a basement or crawl space, ceiling access can make your job easier by allowing you to work from underneath. Alternatively, removing floorboards from above might be necessary in homes without accessible spaces below.
Considérez ces points :
Keep these tips in mind for a smooth and effective creak repair process.
- Use a flashlight during floor inspection to spot loose boards or gaps.
- Verify safe ceiling access by using a sturdy ladder or opening a hatch.
- Prepare the necessary tools based on your access choice, like a pry bar or flashlight.
Choosing the right access method gives you freedom to fix creaks efficiently and effectively.
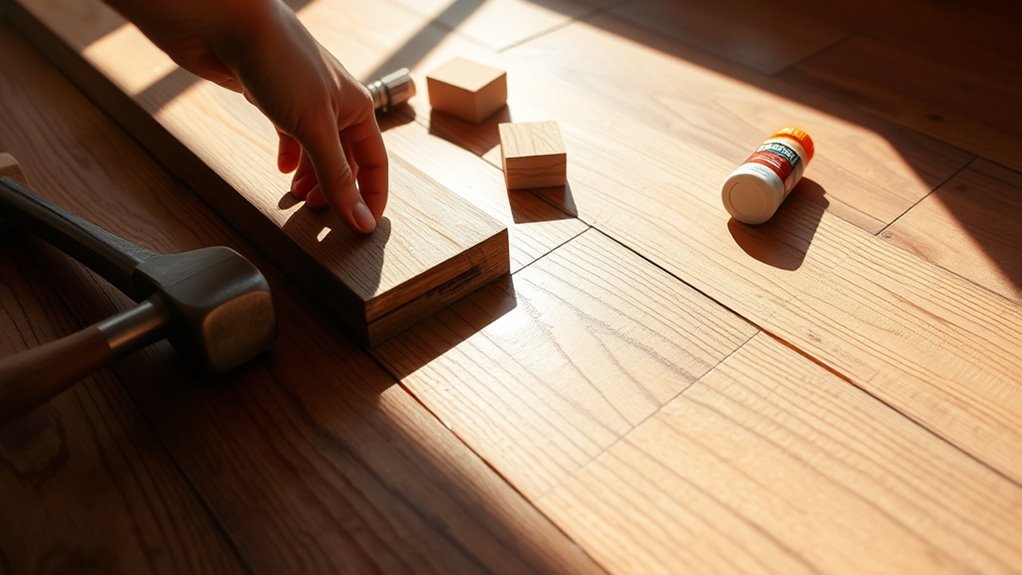
Securing Loose Floorboards With Screws or Nails
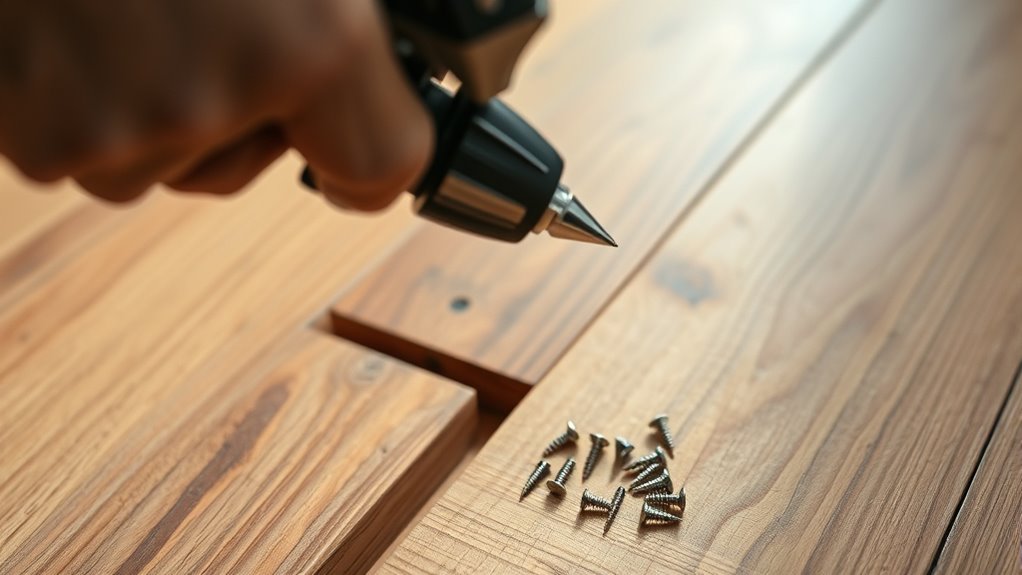
Securing loose floorboards is a straightforward way to stop creaks and improve your floor’s stability. First, identify the exact locations where the boards move. When choosing screw types, opt for trim screws or wood screws with a countersunk head to sit flush with the floor. Pre-drill holes to prevent splitting. For nail options, finish nails or ring shank nails provide strong holding power without damaging the wood surface. Drive screws or nails into the joists beneath for maximum support. Be sure to countersink nails slightly and fill holes with wood filler for a smooth finish. This method gives you freedom from annoying noise and shaky floors, restoring confidence in your space with a simple, clean fix.
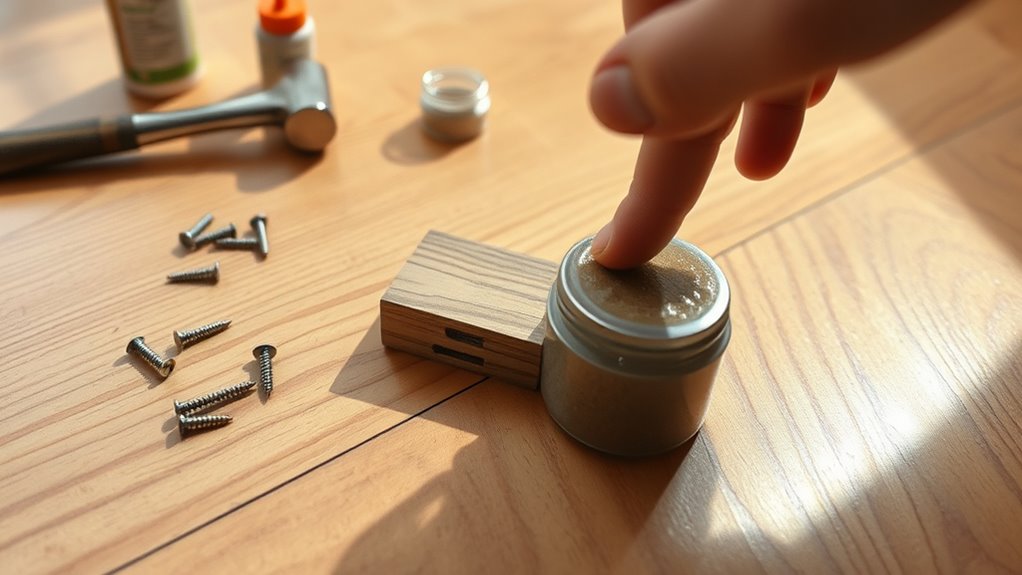
Using Lubricants and Powder to Reduce Friction
A common cause of creaking floors is the friction between wooden boards rubbing against each other or the subfloor. To reduce this, you can apply specific lubricant types or powder options designed to minimize friction quietly and efficiently. Here’s what you can use:
- Lubricant types: Silicone spray or powdered graphite work well, as they penetrate gaps without damaging wood.
- Powder options: Talcum powder or baby powder easily settle between boards to reduce noise.
- Application tips: Lightly sprinkle or spray along seams, then work it into cracks by stepping or gently tapping the boards.
Testing and Final Touches to Ensure a Silent Floor
Once you’ve applied lubricants or powders, you’ll want to carefully test the floor by walking over each section to identify any remaining creaks. Conduct a thorough sound testing, paying close attention to spots where friction might still cause noise. For the final inspection, check for any loose boards or gaps that could require additional fastening or filler. If you notice persistent creaks, consider applying more lubricant or tightening nails and screws as needed. Walk slowly and methodically to guarantee no section is overlooked. Once satisfied, clean up any excess powder or lubricant to prevent slipping. Performing this detailed final inspection assures your floor stays silent, giving you the freedom to move around without distraction or noise. This step guarantees your hard work results in a truly quiet, comfortable space.