To fix a squeaky floor, first locate the exact spot by walking and listening carefully. Then, secure loose floorboards or subfloor using wood screws angled into the joists to stop movement. For hardwood, use a drill with a countersink bit and fill holes with wood filler. If you have carpet, gently lift the edge to access and tighten the subfloor underneath. Applying powdered graphite can reduce friction too. Keep following these tips to fully eliminate squeaks and improve stability.
Identifying the Source of the Squeak
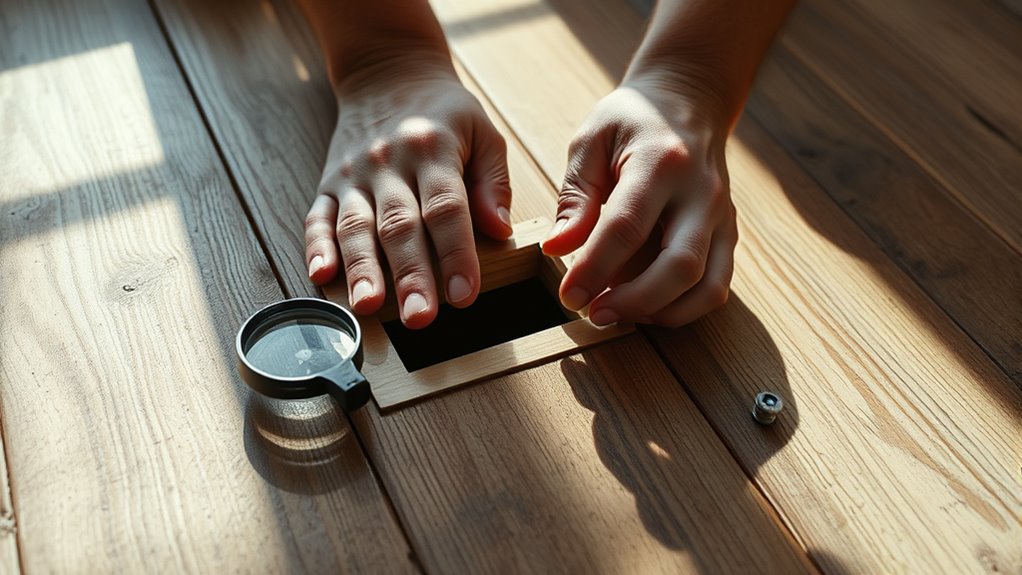
Where exactly is that annoying squeak coming from? To pinpoint the source, start by walking slowly across the floor and listening carefully for the squeak. Pay attention to areas where floor movement is most noticeable, such as near walls or doorways. Squeak causes often stem from loose floorboards or joists rubbing together, creating friction. Check for gaps or uneven surfaces by applying slight pressure with your foot; if the floor shifts or creaks, you’ve found the problem spot. You can also use your hands to feel for movement between boards. Identifying the exact location of the squeak is essential because it allows you to target repairs effectively, freeing you from the annoyance and restoring the solid feel of your floor.
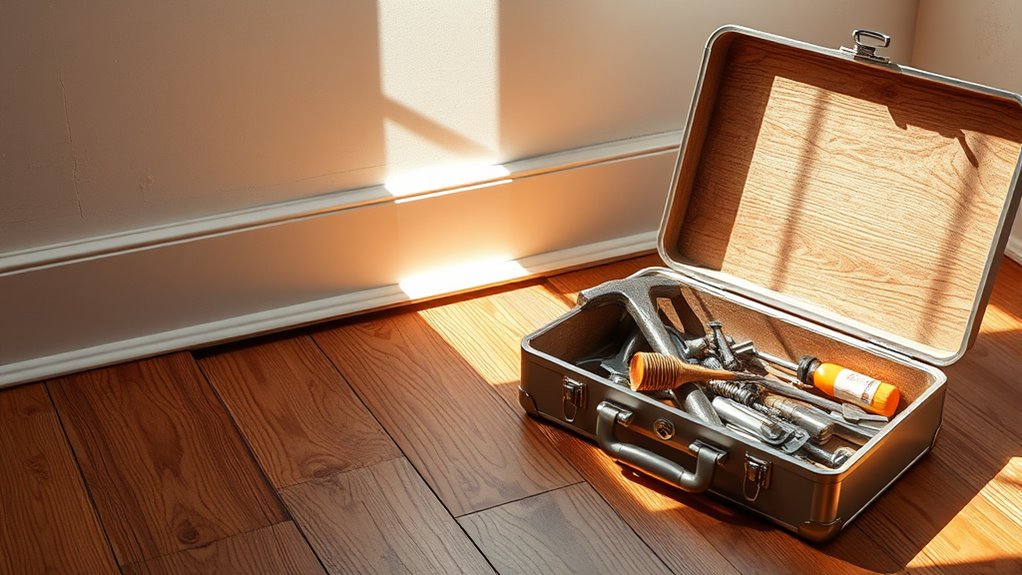
Tools and Materials Needed for Repair
Once you’ve located the squeaky spot, gathering the right tools and materials will make your repair smoother and more effective. For squeaky floorboards repair techniques, your essential tools checklist should include a cordless drill or screwdriver, wood screws (1.5 to 2 inches), a stud finder, and a pry bar. You’ll also need wood glue for added stability and a hammer for adjustments. A tape measure and pencil help with precise placement, ensuring you target the problem accurately. If you’re working on finished floors, pick up wood filler or putty to conceal screw heads. Having these tools ready empowers you to address squeaks confidently and maintain your floor’s freedom from noise and movement, making your repair both efficient and lasting.
Fixing Squeaks Between Floorboards
To fix squeaks between floorboards, start by pinpointing the exact spots where the noise comes from as you walk across the floor. Once you’ve identified the loose boards, secure them using screws or nails to stop any movement. If the squeak persists, apply a lubricant like powdered graphite into the joints to reduce friction and silence the floor.
Identifying Squeak Locations
Start by walking across the floor slowly and paying close attention to the sounds beneath your feet. Pinpointing squeak locations is essential for effective squeak prevention and floor maintenance. Use these tips to identify problem spots accurately:
- Walk in different directions to catch sounds missed from one angle.
- Mark squeaky spots with painter’s tape for easy reference.
- Press down on floorboards to replicate movement causing noise.
- Use a helper to step on suspected boards while you listen below, if accessible.
- Shine a flashlight between floorboards to spot gaps or loose nails.
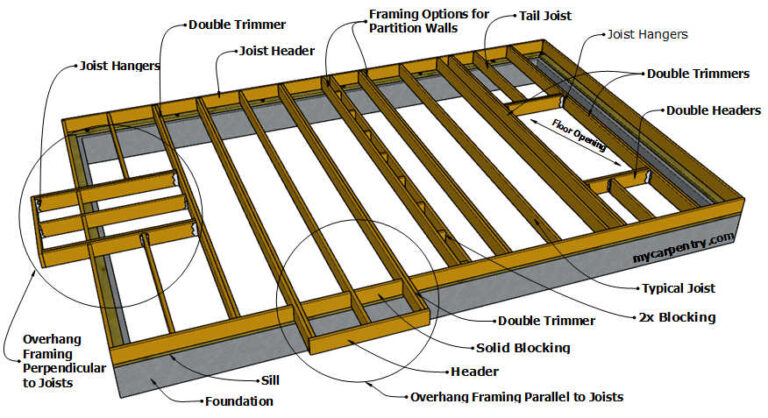
Securing Loose Boards
Three main methods can help you secure loose floorboards and stop squeaks between them. First, check floorboard alignment—misaligned boards create friction, so gently tap them back into place using a rubber mallet. Next, perform a joist inspection beneath the squeaky area to guarantee the support is solid and no joists have shifted or weakened. If you find loose boards over joists, drive screws through the floorboards into the joists to firmly secure them. Be sure to countersink screws and fill holes for a smooth finish. Finally, consider applying construction adhesive between loose boards and joists for added stability. Taking these steps will give you freedom from annoying squeaks by stabilizing your floor’s structure efficiently and effectively.
Lubricating Floorboard Joints
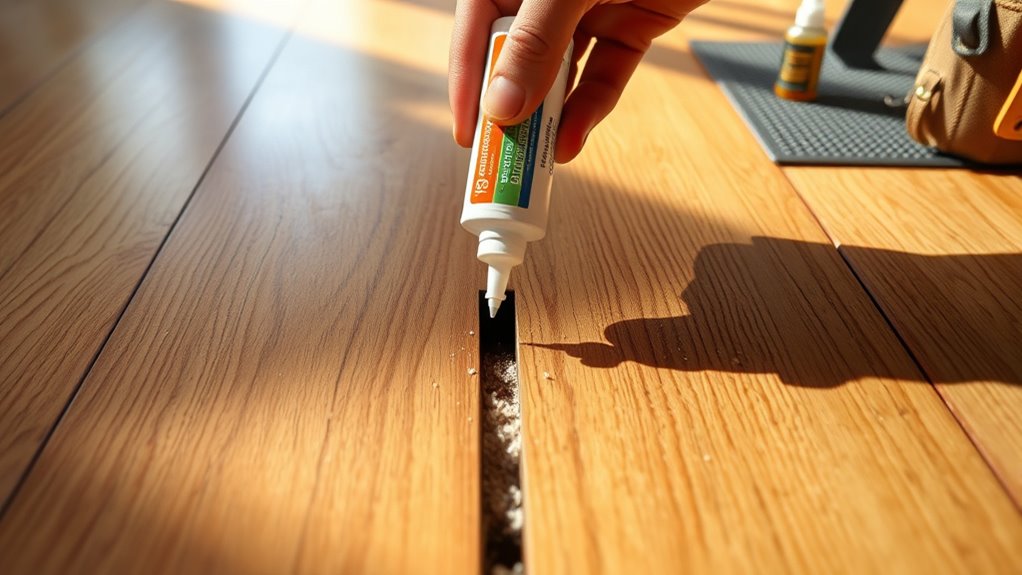
A simple way to stop squeaks caused by friction between floorboard joints is to apply lubrication directly to the gaps. This method tackles squeaky floorboards by reducing the rubbing that creates noise. To get started, choose the right lubrication technique and apply it carefully. Here’s what you should consider:
- Use powdered graphite or talcum powder for dry lubrication.
- Apply a silicone-based spray for longer-lasting results.
- Avoid oil-based lubricants that attract dust and dirt.
- Clean the joints thoroughly before applying lubrication.
- Work the lubricant into the gaps by gently pressing the boards together.
Securing Loose Subflooring
Although squeaky floors often originate from loose subflooring, securing it properly can eliminate most noises. Start with a thorough subfloor inspection to identify any areas where the boards have shifted or gaps have formed. Tighten loose screws or nails by driving them deeper or replacing them with longer screws designed for subfloor attachment. If the subfloor has moisture damage, address moisture control immediately to prevent further warping or deterioration. Use a moisture barrier or improve ventilation to keep the subfloor dry. Where gaps exist between the subfloor and joists, apply construction adhesive before fastening to enhance stability. By methodically securing the subfloor and controlling moisture, you’ll restore your floor’s solid feel and enjoy a quieter, freer living space.
Using Powdered Graphite or Talcum Powder
When your floorboards rub against each other causing squeaks, powdered graphite or talcum powder can be an effective solution to reduce friction. You’ll want to focus on the powdered graphite application or talcum powder effectiveness by following these steps:
- Locate the squeaky gaps between floorboards.
- Sprinkle powdered graphite or talcum powder directly into the gaps.
- Use a soft brush or cloth to work the powder deeper into the cracks.
- Walk over the treated area to help settle the powder and reduce movement.
- Reapply as needed when squeaks return.
This method lets you fix minor squeaks without drilling or nails, preserving your floor’s freedom from invasive repairs. Both powdered graphite and talcum powder lubricate the contact surfaces, cutting down squeaks efficiently and quietly.
Installing Screws to Tighten the Floor
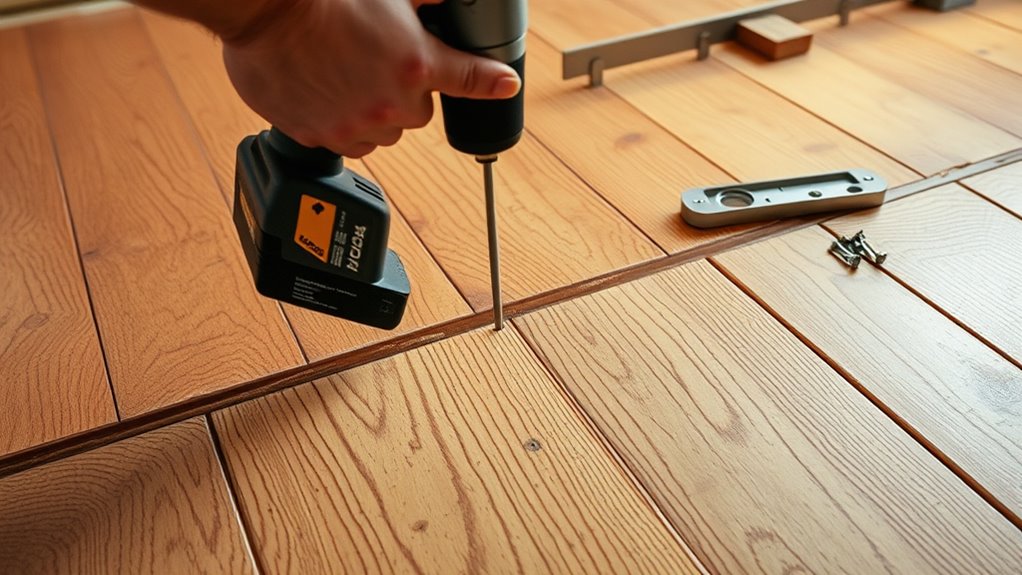
If powdered graphite or talcum powder doesn’t fully stop the squeaks, tightening the floor with screws can provide a more permanent fix. Start by identifying the floor materials—wood subfloors typically require wood screws, while concrete slabs need masonry screws. Choose screw types designed for your specific sol to guarantee a secure hold without causing damage. Locate the squeaky spots by walking across the floor and mark them. Pre-drill pilot holes to prevent splitting, then drive the screws through the floorboards into the joists below. Space screws about every 6 to 8 inches along the squeaky area for maximum stability. Be careful not to over-tighten, which can crack the floorboards. This method locks the floor materials tightly together, eliminating movement and the annoying squeaks once and for all.
Applying Construction Adhesive for Stability
To add stability to your squeaky floor, start by choosing a construction adhesive that’s designed for wood and subfloor use. Apply the adhesive carefully along the joists or beams before pressing the subfloor back down, ensuring full contact without gaps. This technique helps lock everything in place and prevents future movement that causes noise.
Choosing the Right Adhesive
Because the right adhesive guarantees a lasting fix, choosing one designed for wood and construction tasks is essential. When selecting adhesives, consider their types and specific applications to make certain your floor stays stable and squeak-free. You’ll want an adhesive that bonds wood firmly, resists moisture, and cures quickly.
Keep these in mind when picking the right adhesive:
- Polyurethane adhesives: Great for strong, flexible bonds.
- Construction adhesives: Designed for heavy-duty wood applications.
- Latex adhesives: Easier cleanup, suitable for dry areas.
- Epoxy adhesives: Extremely durable, ideal for high-stress spots.
- Moisture-resistant adhesives: Essential for humid environments.
Choosing the correct adhesive type guarantees your repair lasts, letting you enjoy that freedom of a quiet, solid floor beneath your feet.
Application Techniques for Floors
Applying construction adhesive correctly involves several key steps to guarantee your floor remains stable and squeak-free. First, clean the subfloor and joist surfaces thoroughly to remove dust and debris. Use a caulking gun to apply a continuous bead of adhesive along the joist edges and any gaps where the subfloor meets the framing. Be sure to apply enough adhesive to fill voids but avoid excessive amounts that can squeeze out. After applying the adhesive, press the subfloor firmly against the joists to ascertain a tight bond. This technique is essential for effective floor maintenance and long-term squeak prevention. Finally, secure the floor with screws or nails as an added measure. Proper adhesive application will give you freedom from annoying creaks and a solid, quiet floor.
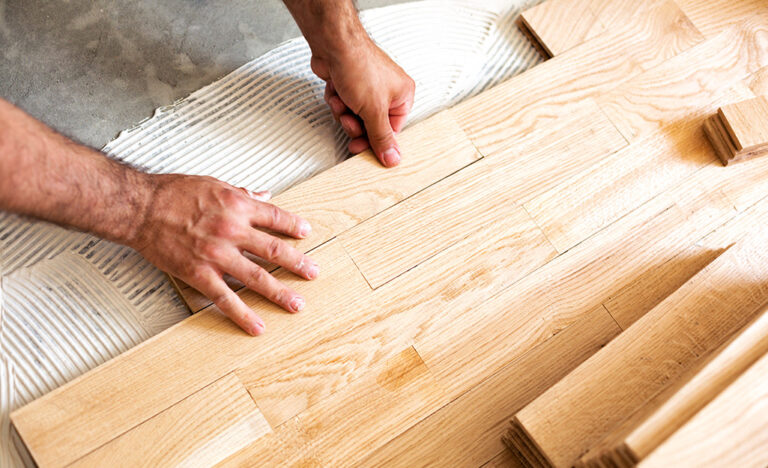
Repairing Squeaky Hardwood Floors From Above
When squeaks come from hardwood floors, repairing them from above is often the quickest way to silence the noise without removing your floorboards. You’ll want to locate the exact squeaky floorboards by walking and listening carefully. Once identified, secure the boards to the subfloor using special screws or shims designed for floor repair. Here’s a simple checklist:
- Mark squeaky spots clearly.
- Use a drill with a countersink bit.
- Drive screws at an angle through the hardwood into joists.
- Insert thin shims coated with wood glue between joists and subfloor if needed.
- Cover screw holes with wood filler and sand smooth.
This method provides a clean fix while preserving your floor’s finish and letting you enjoy your space freely, without annoying creaks.
Addressing Squeaks in Carpeted Floors
While fixing squeaky hardwood floors from above is straightforward, carpeted floors require a different approach since the noise is hidden beneath the carpet and padding. To address squeaks, you’ll need to locate the source by feeling for movement underfoot and then gently lift the carpet edge where possible. Tightening loose subfloor screws or adding shims between joists can reduce friction causing the noise. Remember, carpet padding can compress over time, contributing to squeaks, so consider replacing it during floor maintenance.
| Étape | Action | Outils nécessaires |
|---|---|---|
| Locate squeak | Press and identify movement | Kneepad, flashlight |
| Access subfloor | Lift carpet edge carefully | Couteau utilitaire |
| Secure subfloor | Add screws or shims | Drill, wood shims |
| Replace padding | Swap worn carpet padding | New padding, staples |
Preventative Measures to Avoid Future Squeaks
To prevent future squeaks, you’ll want to focus on maintaining tight connections between your floor components and guaranteeing stable support. Regular floor maintenance plays a key role in squeak prevention, helping you avoid costly repairs and keeping your space comfortable. Here’s what you should do:
- Inspect and tighten loose floorboards or nails periodically.
- Use shims to fill gaps between joists and subfloor.
- Apply powdered graphite or talcum powder to reduce friction.
- Guarantee proper humidity levels to prevent wood from expanding or contracting excessively.
- Reinforce weak joists or add blocking for additional support.