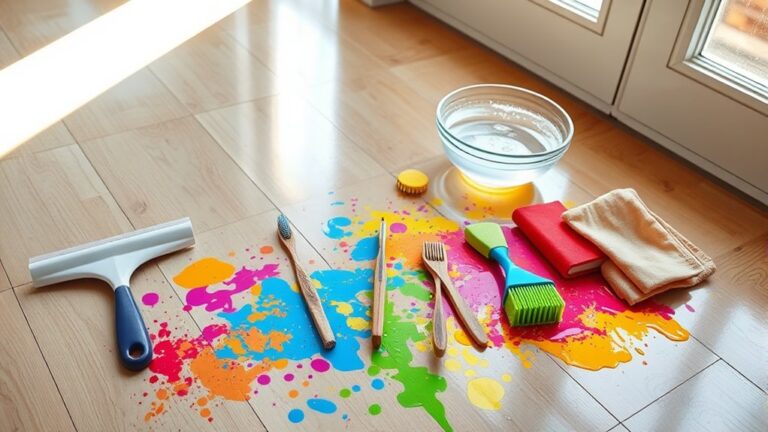
Start by gathering supplies and prepping your room—remove furniture, tape edges, and ventilate. Thoroughly clean and sand the floor to guarantee smooth adhesion. Vacuum and wipe away all dust before applying your first thin, even coat of polyurethane with a brush or applicator. Let it dry fully, then sand lightly between coats to maintain smoothness. Repeat for two to three coats, finishing with touch-ups for perfection. Keep following these steps carefully to achieve a lasting, beautiful finish.
Gather Your Supplies and Prepare the Room
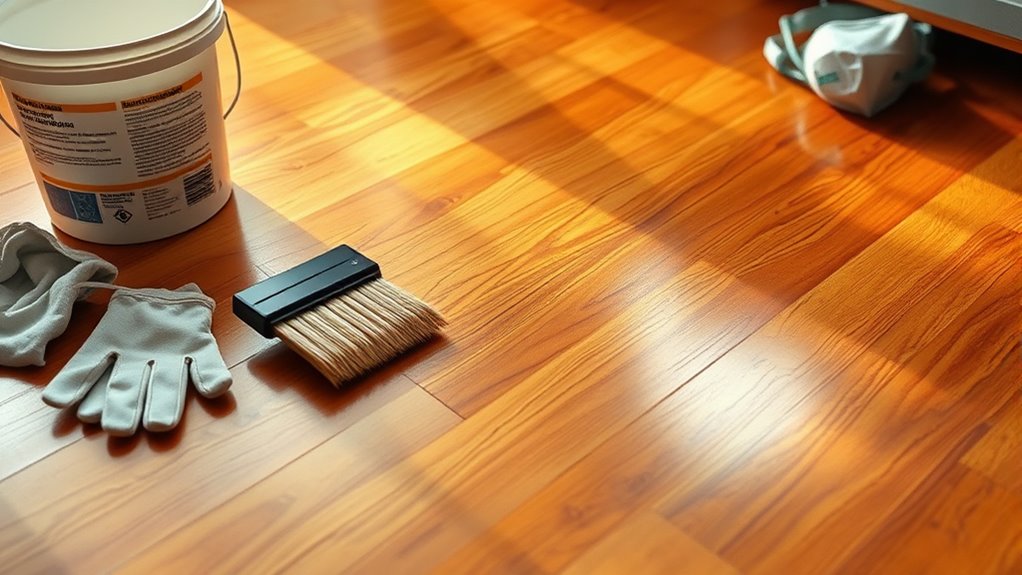
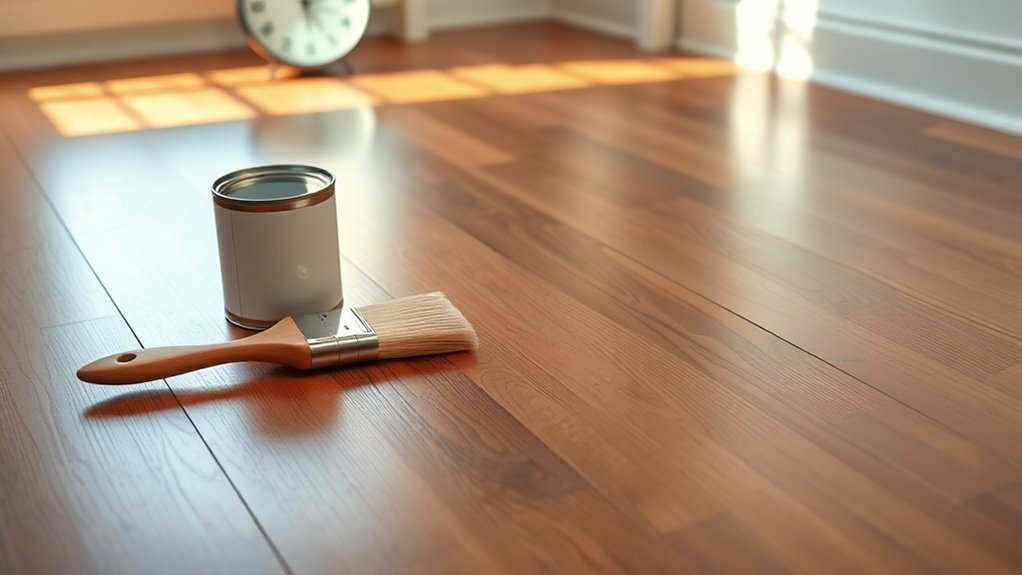
Before you begin applying polyurethane, make certain you’ve gathered all necessary supplies and prepared the room properly. Start with a thorough supplies checklist: polyurethane, high-quality brushes or applicators, painter’s tape, drop cloths, and a respirator mask. Consider having a stirring stick and a small container for pouring the finish. Next, assess your room layout to maximize efficiency. Remove all furniture and rugs to create an open workspace. Use painter’s tape to protect baseboards and adjacent areas. Lay down drop cloths to catch any drips or spills. Ascertain good ventilation by opening windows or using fans. Preparing the room and organizing your supplies upfront grants you the freedom to work seamlessly, avoiding interruptions and assuring a smooth polyurethane application.
Clean and Sand the Hardwood Floor
Start by thoroughly removing all dirt and debris from the sol to guarantee a smooth finish. Next, use the right sanding techniques—begin with coarse grit and gradually move to finer grit to even out the surface. Keep your sanding consistent to avoid uneven spots that will show under the polyurethane.
Removing Dirt and Debris
Although it might seem simple, thoroughly removing dirt and debris is essential to guarantee the polyurethane adheres properly. Start by sweeping the floor with a soft-bristle broom to pick up larger particles. Then, use a vacuum with a hardwood floor attachment to remove fine dust from cracks and corners. Next, apply a damp microfiber mop to capture any remaining dirt without saturating the wood. Choose cleaning methods that leave no residue, as leftover grime can interfere with adhesion. For dust prevention, avoid harsh air blowers that scatter particles and instead rely on gentle suction tools. Taking these steps helps maintain a clean, debris-free surface, setting a perfect foundation for your polyurethane application and giving you freedom from imperfections.
Sanding Techniques and Tips
With your floor cleaned and free of debris, it’s time to prepare the surface by sanding. Start by selecting the right sanding equipment: a drum sander for large areas and an edge sander for corners and edges. Choose sanding methods that suit your floor’s condition—coarse grit sandpaper (around 36-40 grit) to remove old finish and smooth out imperfections, then finer grits (60-80 grit) to even the surface. Always sand along the wood grain to avoid scratches. Move steadily, overlapping each pass for uniformity. Keep sanding equipment moving to prevent gouges. After the main sanding, use a fine-grit buffer for the final smooth finish. Proper sanding guarantees polyurethane adheres well and your floor shines beautifully, giving you the freedom to enjoy a flawless hardwood surface.
Remove Dust and Debris Thoroughly
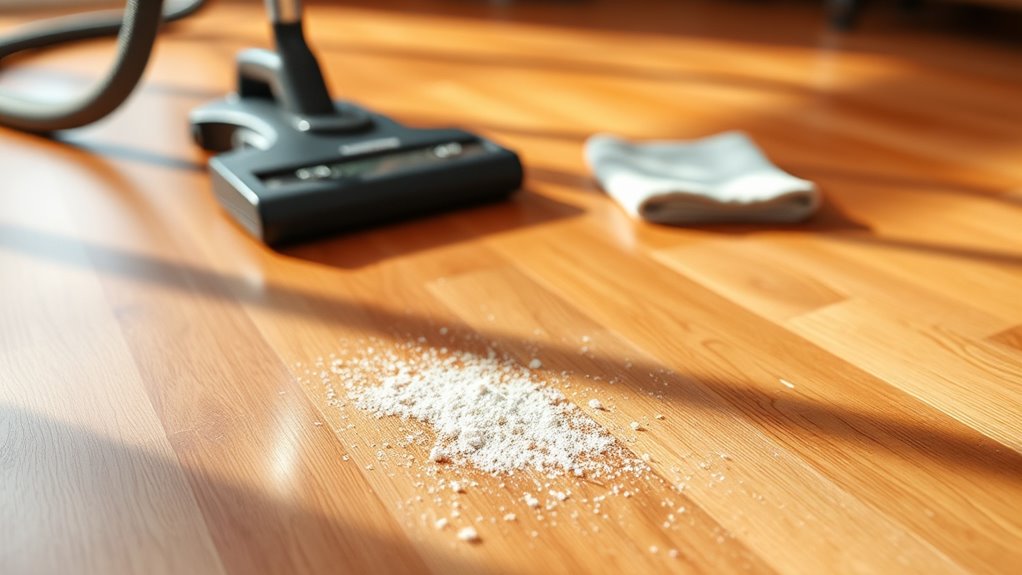
Before applying polyurethane, you’ll need to remove all dust and debris from the floor to assure a smooth finish. Effective dust control and debris removal prevent imperfections and guarantee your work shines. Here’s how to get it right:
- Vacuum thoroughly using a brush attachment to lift dust from every corner and groove.
- Wipe the floor with a slightly damp microfiber cloth to catch any remaining fine particles.
- Let the floor dry completely before proceeding to avoid trapping moisture under the finish.
Taking these steps gives you a clean surface, free from dust and debris, so your polyurethane adheres flawlessly. This careful preparation saves you from frustration and helps achieve a durable, beautiful floor finish you’ll be proud of.
Apply the First Coat of Polyurethane
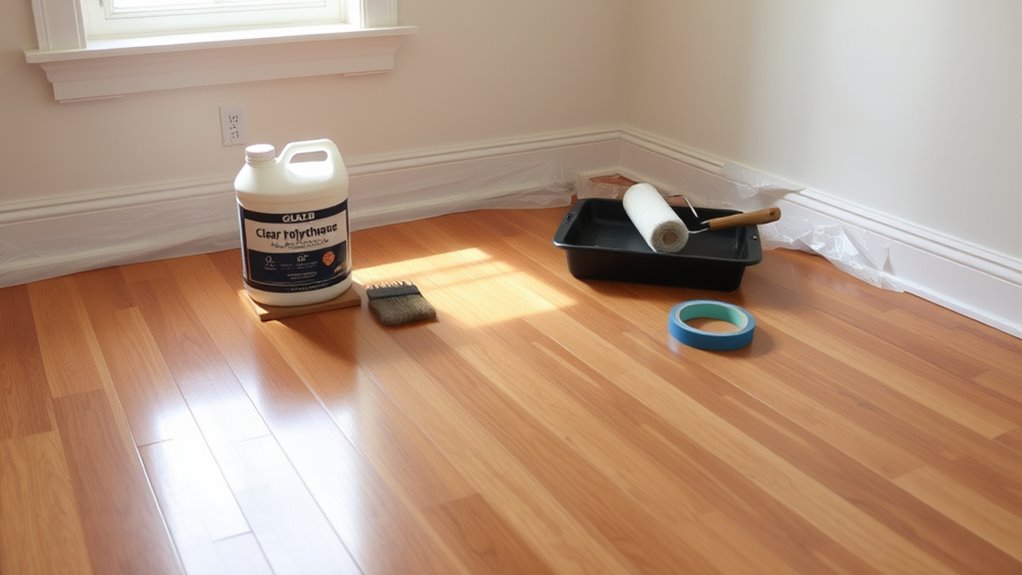
Start by stirring the polyurethane gently to mix it well without creating bubbles. Use a high-quality brush or a lambswool applicator to guarantee smooth application. Apply thin, even coats following the grain of the wood—this helps avoid streaks and bubbles. Don’t rush; steady, deliberate strokes give the best finish. Remember, proper application techniques are key to achieving a durable, flawless surface. Avoid over-brushing as it can introduce bubbles and uneven layers. Keep ventilation good to aid drying times, but steer clear of direct airflow that might cause dust to settle. Applying thin coats not only speeds up drying times but also reduces the risk of peeling or bubbling later. Taking your time here sets the foundation for a lasting, beautiful hardwood floor finish.
Allow the First Coat to Dry Completely
After applying your first coat of polyurethane, you need to let it dry fully to confirm a strong, even finish. Proper drying time and ideal drying conditions are vital for the next steps. Here’s what to do:
- Check the label for drying time — Most polyurethane dries within 4 to 6 hours, but some formulas need up to 24 hours. Stick to the manufacturer’s recommendation.
- Maintain good ventilation — Open windows or use fans to circulate air, helping moisture evaporate and speeding up drying.
- Control temperature and humidity — Keep the room between 65°F and 75°F with low humidity to prevent sticky or uneven drying.
Following these steps confirms your first coat hardens properly, setting you free to continue with confidence.
Sand Between Coats for a Smooth Finish
After the first coat dries, lightly sand the floor using fine-grit sandpaper to smooth out imperfections. Be certain to clean up all dust thoroughly before applying the next coat to guarantee proper adhesion. This step is vital for achieving a flawless, durable finish.
Importance of Light Sanding
Although applying polyurethane gives your hardwood floors a protective coat, light sanding between each layer is essential to achieve a smooth, professional finish. Light sanding benefits your project by removing dust nibs and uneven spots, ensuring better adhesion for the next coat. To make the most of sanding techniques, follow these steps:
- Use a fine-grit sanding block or pad to gently scuff the surface without cutting through the polyurethane.
- Sand in the direction of the wood grain to avoid scratches that will show through.
- Wipe the floor thoroughly with a tack cloth to remove all dust before applying the next coat.
Choosing the Right Grit
When sanding between polyurethane coats, choosing the right grit is essential to avoid damaging the finish while ensuring proper adhesion. Start with a finer grit, typically between 220 and 320, to gently scuff the surface without cutting too deep. This grit selection prevents scratches that are visible after the next coat dries. Follow a proper grit progression if you need to remove imperfections—begin with a slightly coarser grit, like 150, and move up to finer grits. Avoid skipping grit levels to maintain a smooth, even finish. Remember, the goal is to dull the previous coat just enough for the new layer to bond well, not to sand through it. Proper grit selection guarantees a flawless, long-lasting hardwood floor finish.
Cleaning Dust Thoroughly
Since even the smallest dust particles can ruin your finish, cleaning dust thoroughly between coats is essential. Effective dust control guarantees a smooth, flawless surface. Follow these cleaning techniques to keep your hardwood floors pristine before applying the next polyurethane coat:
- Vacuum and Wipe: Use a vacuum with a soft brush attachment to remove loose dust, then wipe the floor with a lint-free cloth slightly dampened with mineral spirits to pick up fine particles.
- Tack Cloth: Gently wipe the floor with a tack cloth to capture any remaining dust without leaving residue.
- Air Flow and Inspection: Increase ventilation to help settle airborne dust and carefully inspect the surface under good light to confirm it’s dust-free.
These steps give you complete freedom to achieve a professional, smooth finish every time.
Apply Additional Coats and Final Touches
You’ll need to apply at least two to three additional coats of polyurethane to guarantee a durable, even finish. After each coat dries, lightly sand the floor with fine-grit sandpaper to create a smooth surface for the next layer. Use a tack cloth to remove all dust before applying the next coat. When applying additional coat techniques, maintain consistent brush strokes and avoid over-brushing to prevent bubbles or streaks. For final touch ups, inspect the floor thoroughly once the last coat dries. Address any missed spots or imperfections with a small brush and a thin layer of polyurethane. This careful attention assures your hardwood floors look flawless and hold up against wear, giving you freedom to enjoy your space without worry.