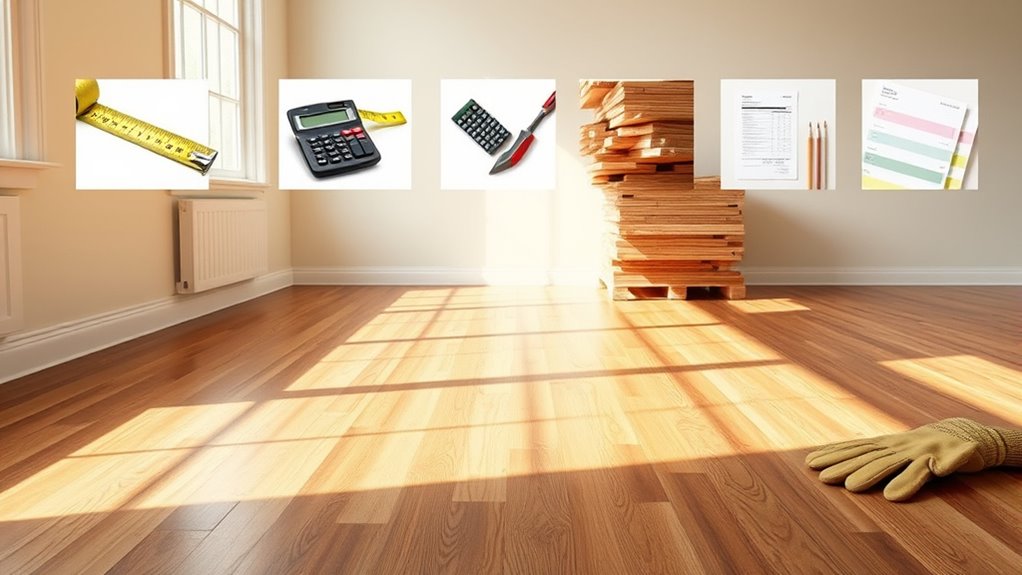
When installing hardwood floors on 1,000 sq ft, seven main factors shape your total cost. You’ll need to choose the wood type and quality—like oak or maple—since durability and style vary. Proper subfloor prep and your chosen installation method affect complexity and labor. Labor rates differ by location, while extra costs include underlayment, moldings, and finishing products. Maintenance choices also influence long-term expenses. Understanding these details guarantees you plan effectively for a smooth project.
Type of Hardwood Material
Before you begin installing hardwood floors on your 1000 sq feet space, it’s crucial to choose the right type of hardwood material. Hardwood types vary widely, from oak and maple to cherry and walnut, each offering distinct durability, grain patterns, and color tones. Your choice affects both the room’s aesthetic and how the floor withstands daily wear. Material costs differ considerably; for instance, oak is generally more affordable, while exotic woods like Brazilian cherry come at a premium. Consider your lifestyle and how much freedom you want in maintenance and design when selecting. Understanding these hardwood types and their associated material costs allows you to balance budget with beauty and longevity, ensuring your floor suits both your personal style and practical needs.
Quality and Grade of Wood
When choosing hardwood floors for your 1000 sq feet space, the species of wood you select directly affects durability, color, and maintenance needs. You’ll also want to evaluate grade variations, as higher grades offer fewer knots and imperfections, resulting in a smoother, more uniform appearance. Understanding these factors helps you balance aesthetics with long-term performance.
Wood Species Impact
Choosing the right wood species greatly affects both the durability and appearance of your hardwood floors. Each species offers unique wood characteristics, such as grain pattern, hardness, and color variation, which directly influence your floor’s look and lifespan. For example, oak and maple provide high species durability, resisting dents and scratches better than softer woods like pine. If you want floors that endure heavy foot traffic, selecting a species with a high Janka hardness rating is essential. Additionally, the natural oils in certain species, like hickory, enhance moisture resistance, making them ideal for humidity-prone areas. Understanding these wood characteristics lets you confidently choose sol that aligns with your lifestyle and aesthetic preferences, ensuring that your investment in 1000 sq feet of hardwood pays off in both beauty and resilience.
Grade Variations Effects
Although the wood species you select sets the foundation, the grade of hardwood you choose greatly impacts both the floor’s appearance and durability. Grade variations reflect the wood’s quality, affecting knot presence, color consistency, and grain uniformity. Higher grades offer fewer imperfections, delivering a clean, refined look that enhances your space’s aesthetic appeal. Conversely, lower grades include more natural defects and color variation, which can create a rustic or character-rich floor. Understanding these aesthetic differences helps you align your floor’s style with your desired ambiance. Additionally, higher-grade wood generally resists wear better, extending longevity and minimizing maintenance. When budgeting, factor in that premium grades cost more but often provide greater value through durability and timeless style, giving you freedom to choose what best suits your lifestyle and design preferences.
Subfloor Preparation Requirements
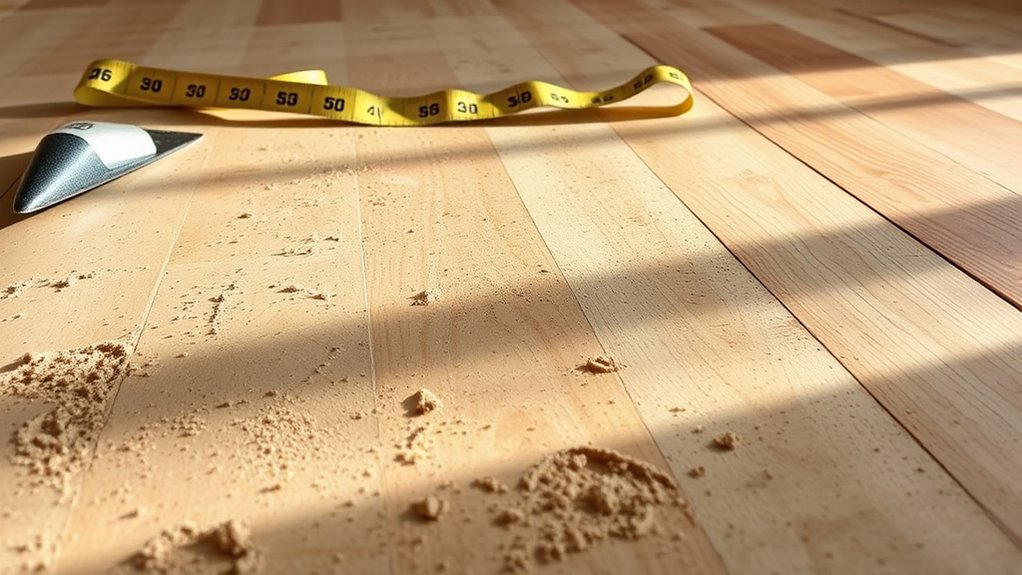
Before you lay down any hardwood, you need to confirm the subfloor is completely clean, dry, and level. Different subfloor types—plywood, concrete, or OSB—each require specific prep. Installing a moisture barrier is essential, especially over concrete, to prevent humidity damage. You’ll also want to inspect for squeaks, loose boards, or uneven spots, addressing them before installation. Here’s a quick guide to visualize your prep needs:
| Subfloor Type | Preparation Needed | Moisture Barrier Required? |
|---|---|---|
| Contre-plaqué | Clean, sand, level | Sometimes |
| Béton | Clean, dry, level | Always |
| OSB | Inspect, sand, level | Recommended |
| Existing Wood | Secure loose boards | Depends on moisture level |
| Radiant Heat | Verify compatibility | Oui |
Taking these steps guarantees your hardwood floors will last and look flawless.
Installation Method and Complexity
When installing hardwood floors on 1000 sq feet, you’ll need to choose between nail-down and floating methods, each requiring different subfloor preparations. Nail-down installation demands a sturdy, clean wooden subfloor, while floating floors can accommodate more variations. Also, consider your room’s shape, since irregular layouts can increase installation complexity and time.
Nail-Down vs. Floating
Since choosing the right installation method directly affects both the durability and appearance of your hardwood floor, understanding the differences between nail-down and floating floors is essential. Nail down benefits include a secure, permanent attachment to the subfloor, enhancing stability and longevity. This method is ideal for solid hardwood and offers a classic look with minimal movement, but it requires professional skill and more labor time. On the other hand, floating advantages lie in its ease and speed of installation. Floating floors aren’t nailed or glued; they “float” over the underlayment, allowing for expansion and contraction. This method is more DIY-friendly and suitable for engineered wood. Your choice depends on the balance you want between installation complexity, durability, and the freedom to modify the floor later.
Subfloor Preparation Needs
A properly prepared subfloor is essential for a successful hardwood floor installation, directly influencing the final result’s durability and appearance. Before you begin, assess the subfloor condition thoroughly, focusing on moisture levels and surface evenness. High moisture can warp wood, so moisture barriers or drying may be necessary. Depending on your installation method—nail-down or floating—the preparation varies in complexity. Key steps include:
- Inspecting for damage or rot and repairing as needed
- Confirming the subfloor is level within tolerance limits
- Installing moisture barriers to protect against dampness
- Cleaning and removing debris to guarantee proper adhesion or nailing
Addressing these factors not only safeguards your investment but also guarantees your hardwood floor lays flat, resists warping, and lasts for years to come.
Room Shape Impact
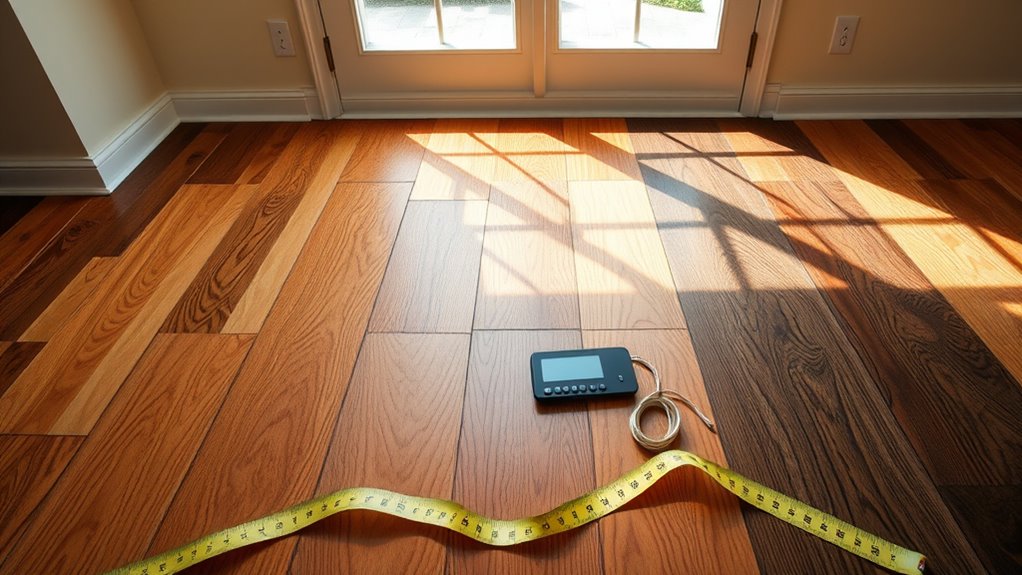
Although installing hardwood floors on a simple rectangular room may seem straightforward, the shape of your room greatly influences both the installation method you choose and the overall complexity of the project. Irregular room dimensions, such as L-shapes or multiple alcoves, require more intricate design layouts and precise measurements. You’ll need to account for additional cutting, fitting, and possibly custom patterns to guarantee seamless changes. Complex shapes often demand advanced installation techniques like diagonal or herringbone patterns, increasing labor time and costs. Understanding your room’s exact dimensions upfront allows you to plan the design layout efficiently, avoiding material waste and installation errors. Ultimately, the more unique your room shape, the higher the skill level and attention to detail needed to achieve a flawless hardwood floor installation.
Labor Costs in Your Area
Labor costs can vary greatly depending on where you live, so it’s essential to research local rates before budgeting for your hardwood floor installation. Understanding the local market helps you anticipate pricing trends and avoid unexpected expenses. When evaluating labor costs, consider these factors:
- Regional demand for skilled installers, which can drive prices up or down
- Average hourly rates in your area, reflecting local wage standards
- Complexity of the job, influenced by room layout and prep work needed
- Availability of qualified professionals, impacting how competitive pricing is
Additional Materials and Accessories
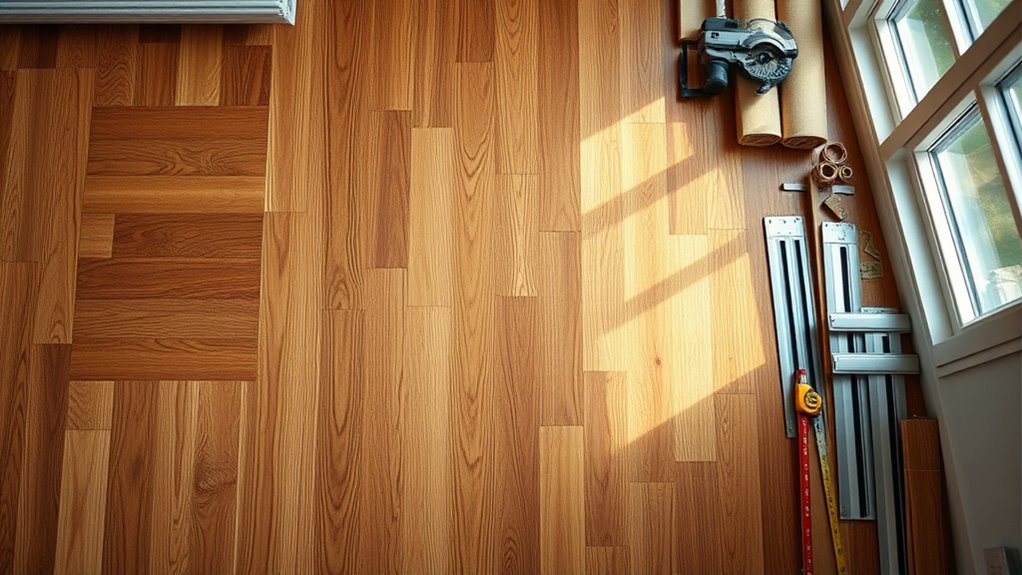
Since installing hardwood floors involves more than just the wood itself, you’ll need to account for additional materials and accessories that guarantee a seamless and durable finish. Accessory costs include underlayment, adhesives, and moldings, which secure stability and aesthetic appeal. You’ll also require specific installation tools, such as nail guns and spacers, to achieve professional results. Factoring these into your budget avoids unexpected expenses and keeps your project on track.
| Material/Accessory | Typical Cost Range |
|---|---|
| Sous-couche | $0.50 – $1.00/sq ft |
| Adhésif | $30 – $60 per tub |
| Moldings & Trim | $1 – $3 per linear ft |
| Installation Tools | $50 – $200 (one-time) |
Being precise about accessory costs and installation tools empowers you to plan effectively and enjoy your new floors without surprises.
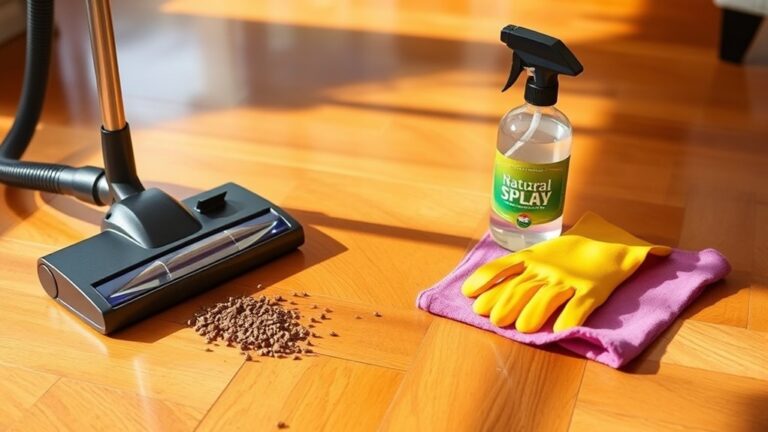
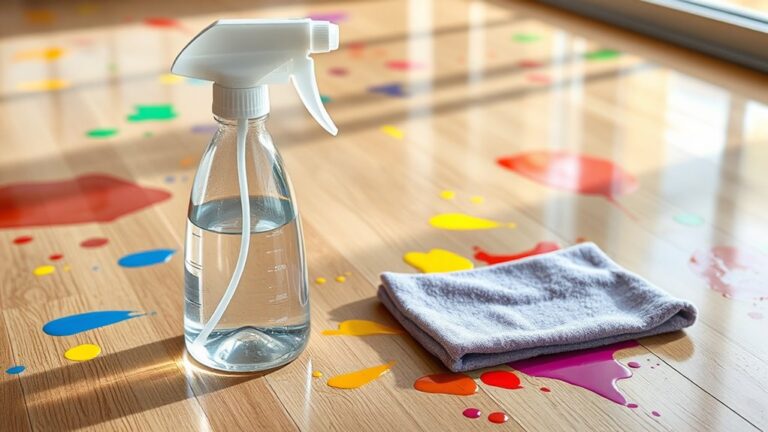
Finishing and Maintenance Costs
Finishing your hardwood floors typically involves applying stains, sealants, or protective coatings, which can cost between $1 and $3 per square foot depending on the products you choose. Your choice of finishing techniques directly impacts durability and appearance, so it’s essential to pick options that match your lifestyle. Maintenance frequency also affects long-term expenses—regular upkeep keeps floors looking fresh and extends their lifespan. Consider these factors:
- Oil-based finishes offer rich color but need more frequent reapplication.
- Water-based finishes dry faster and require less maintenance.
- Regular sweeping and occasional refinishing preserve the floor’s beauty.
- Using proper cleaning products prevents damage and costly repairs.