Installing hardwood floors step by step typically takes several days to over a week, depending on your room size, prep work, and wood acclimation. You’ll start by measuring and clearing the space, then removing old flooring and guaranteeing a clean, level subfloor. After laying underlayment, you’ll install, sand, stain, and seal the planks, with drying and curing times between each stage. Each phase requires patience to guarantee durability and finish quality. Keep going to understand exactly what’s involved in every step.
Assessing the Room Size and Preparing the Space

Before you begin installing hardwood floors, you’ll need to accurately assess the room’s dimensions and prepare the space. Start by taking precise room measurements, including length, width, and any irregular sections or alcoves. Use a tape measure and record dimensions methodically to calculate the total square footage. Next, verify adequate space clearance by removing all furniture, rugs, and baseboards. Clear space allows for unimpeded installation and prevents damage. Check the subfloor for levelness and cleanliness; any debris or uneven areas must be addressed to guarantee a smooth, durable finish. Proper room measurements combined with thorough space clearance set a solid foundation, allowing you to work efficiently and maintain your freedom to customize the installation process without unexpected interruptions or constraints.
Choosing the Right Hardwood Flooring Material
Once you’ve prepared the room and confirmed the subfloor is properly leveled and clean, you’ll need to select the hardwood sol material that best suits your needs. Your choice influences durability, installation time, and maintenance. Primarily, you’ll choose between engineered hardwood and solid hardwood. Consider these factors:
Choose the ideal hardwood flooring—engineered or solid—based on durability, installation, and maintenance needs.
- Bois dur d'ingénierie: multi-layered, dimensionally stable, ideal for moisture-prone areas
- Solid hardwood: single-piece wood, can be sanded and refinished multiple times
- Wood species and hardness: affects wear resistance and scratch susceptibility
- Finish type: prefinished for quicker installation or unfinished for customization
Selecting the right material grants you freedom in design and functionality, ensuring your floor performs well and complements your space’s style.
Acclimating Hardwood Planks to Your Home Environment
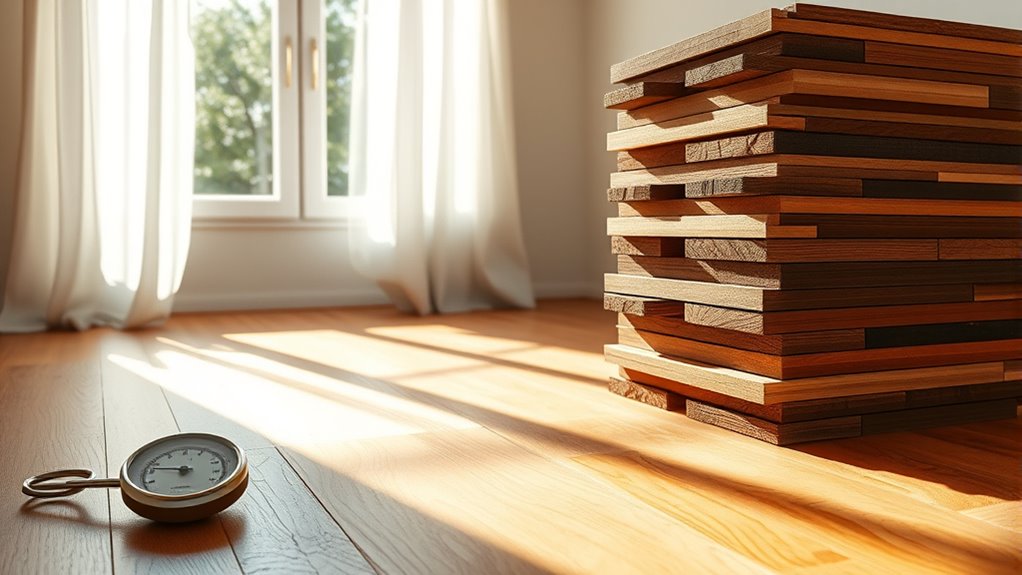
Properly acclimating your hardwood planks to your home’s environment is essential to prevent warping, gaps, or buckling after installation. Start by storing the planks in the room where they’ll be installed for at least 72 hours. This allows the wood to adjust to your home’s specific humidity and temperature conditions. Maintain consistent humidity control between 30-50% and monitor temperature closely, ideally between 60°F and 80°F. Use a hygrometer and thermometer to guarantee these levels remain stable. Avoid exposing the wood to direct sunlight or drafts during acclimation, as fluctuations can cause uneven moisture absorption. By carefully managing humidity control and temperature monitoring, you give your hardwood the freedom to stabilize, guaranteeing a smooth installation and long-lasting flooring performance without structural issues.
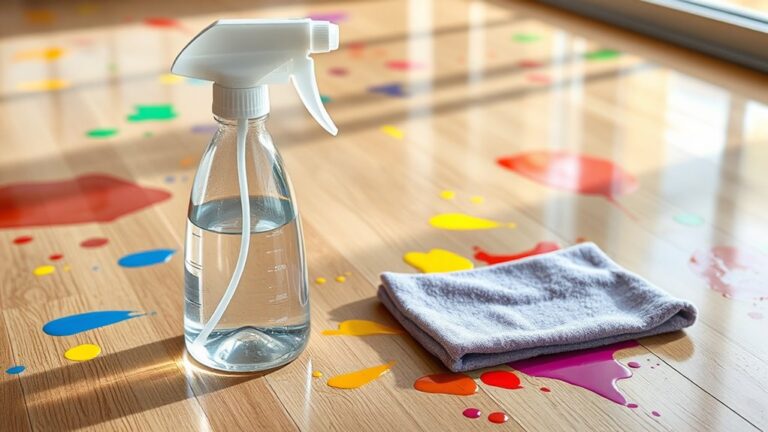
Removing Old Flooring and Cleaning the Subfloor
Although it might seem straightforward, removing old flooring requires careful attention to avoid damaging the subfloor beneath. You’ll want to select appropriate removal techniques based on the existing material—whether it’s tile, carpet, or vinyl—to preserve the subfloor’s integrity. Once the old flooring is removed, a thorough subfloor inspection is critical. Look for:
- Nails or adhesive residue that might interfere with new installation
- Cracks, warping, or water damage compromising structural soundness
- Uneven areas needing sanding or leveling
- Debris and dust requiring thorough cleaning
Performing these steps guarantees a stable, clean surface, essential for the longevity and performance of your new hardwood floors. Skipping or rushing this phase can lead to costly repairs and installation issues later.
Installing the Underlayment or Moisture Barrier
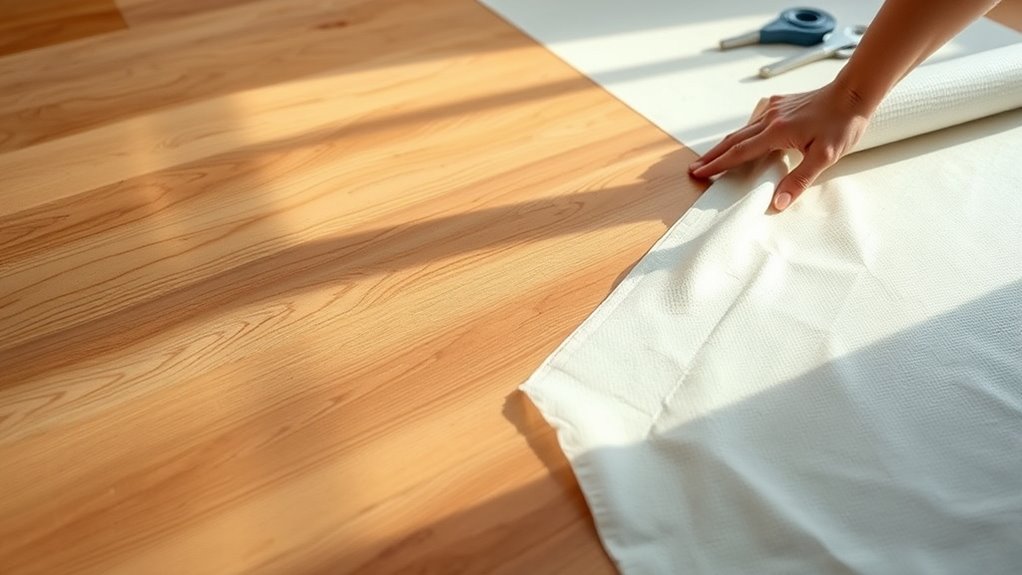
Before laying your hardwood floors, you need to select the appropriate underlayment or moisture barrier based on your subfloor type and environmental conditions. Proper installation requires overlapping seams and securing edges to prevent moisture infiltration and provide stability. Following these steps guarantees your flooring remains durable and free from damage caused by moisture.
Choisir le bon matériau
Selecting the right underlayment or moisture barrier is critical to guarantee the durability and stability of your hardwood floors. Your choice affects how well the flooring resists moisture, reduces noise, and adapts to subfloor irregularities, directly impacting the performance of various hardwood types and ultimately your flooring costs.
Consider these key factors when choosing materials:
- Moisture resistance level suitable for your environment
- Compatibility with the hardwood types you’ve selected
- Thickness and cushioning for sound absorption and comfort
- Durability to withstand long-term wear and maintain floor integrity
Investing time in selecting the appropriate underlayment or barrier guarantees a solid foundation, preventing warping, mold, or costly repairs down the line. Your freedom to enjoy flawless flooring starts with this foundational step.
Techniques d'installation appropriées
When you begin installing your hardwood floors, properly laying the underlayment or moisture barrier is essential to guarantee a stable and moisture-resistant base. Start by selecting the appropriate underlayment material compatible with your subfloor type. Use installation tools like a utility knife, tape measure, and staple gun to cut and secure the underlayment precisely. Overlap seams according to manufacturer guidelines and seal them with moisture-resistant tape to prevent water infiltration. Verify the surface is clean and dry before installation to optimize adhesion and durability. Proper underlayment installation not only protects against moisture damage but also enhances sound insulation and floor stability. This step considerably reduces future floor maintenance needs, preserving your hardwood’s integrity and appearance for years to come. Attention to detail here grants you long-lasting freedom in your living space.
Laying Out the Hardwood Flooring Pattern
To guarantee a balanced and visually appealing hardwood floor, you’ll need to carefully plan the layout pattern before installation begins. The pattern layout determines both aesthetics and material efficiency. Consider your space’s shape, lighting, and focal points to select the best design option. Popular patterns include:
- Straight lay: parallel planks for a classic, clean look
- Diagonal: planks set at a 45-degree angle to elongate the room
- Chevrons: interlocking planks creating a zigzag effect
- Chevron: angled planks forming continuous V shapes
Measure and snap chalk lines to guide placement, ensuring symmetry and minimizing waste. This precise planning grants you freedom to customize your floor’s appearance while optimizing installation flow and material use, setting the foundation for a flawless hardwood floor.
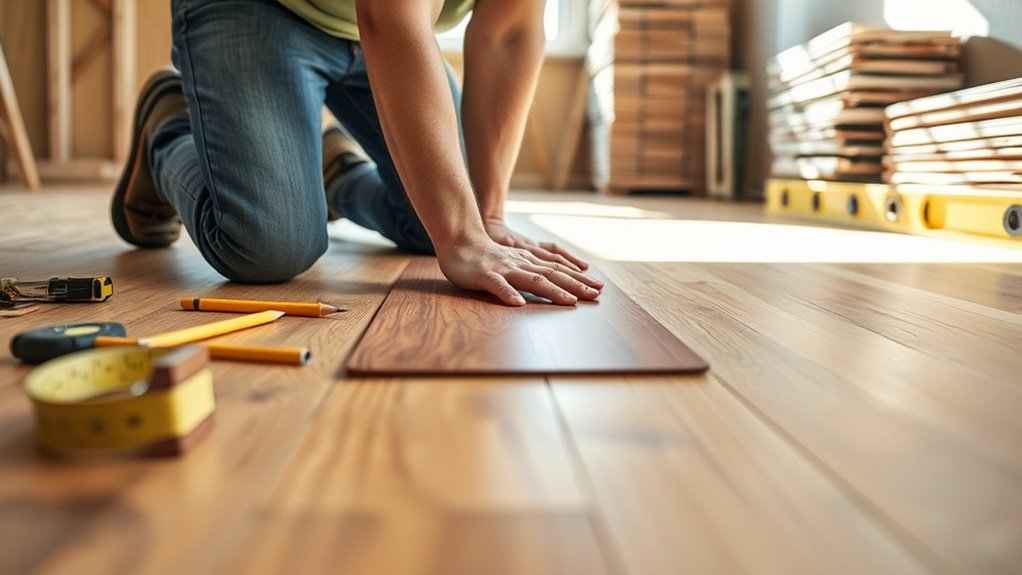
Nailing or Gluing Down the Hardwood Planks
Two primary methods are used to secure hardwood planks: nailing and gluing. With nailing techniques, you’ll use a flooring nailer or stapler to fasten each plank to the subfloor, ensuring stability and minimizing movement. Precision is key—nails should be driven at a consistent angle and spacing to prevent gaps or damage. Alternatively, gluing methods involve applying a high-quality adhesive directly to the subfloor before laying each plank, creating a strong bond and reducing noise transmission. This method is ideal for concrete subfloors or areas prone to moisture. Both approaches demand careful execution to maintain plank alignment and floor integrity. Choosing between nailing and gluing depends on subfloor type, room conditions, and your desired floor performance, giving you the freedom to tailor your installation precisely.
Finishing Touches: Sanding, Staining, and Sealing
Three critical steps complete your hardwood floor installation: sanding, staining, and sealing. Proper sanding techniques guarantee a smooth, even surface by gradually moving from coarse to fine grit sandpaper. After sanding, apply stain evenly to achieve your desired color without blotches. Finally, sealing protects the wood and enhances durability. Consider these key points:
Sanding, staining, and sealing are essential steps to ensure a smooth, beautiful, and durable hardwood floor finish.
- Use a drum sander for large areas and an edge sander for corners.
- Test stains on scrap wood for color accuracy.
- Choose sealing options like polyurethane for high durability or penetrating oil for a natural finish.
- Apply multiple thin sealant coats, sanding lightly between each.
Following this method assures a flawless finish that preserves your floor’s beauty and longevity, giving you the freedom to enjoy your space without worry.
Allowing Time for Drying and Curing Before Use
Although the sanding, staining, and sealing steps are essential, you can’t rush the drying and curing process if you want your hardwood floors to last. Proper drying times vary depending on the type of finish and environmental conditions, typically requiring 24 to 72 hours before light foot traffic is allowed. The curing process, however, extends beyond initial drying—full hardness and durability often develop over 7 to 30 days. During this period, avoid placing heavy furniture or rugs to prevent surface damage and guarantee the finish sets correctly. By respecting these timelines, you preserve the integrity and appearance of your floors, granting you the freedom to enjoy a long-lasting, beautiful surface. Patience here is key; it guarantees your investment withstands daily wear without premature deterioration.