First, identify whether the paint is latex or oil-based and check your floor’s finish. Gather a gentle remover safe for hardwood, a plastic scraper, mild soap, and soft cloths. Test the remover on a hidden spot to avoid damage. Apply the remover carefully, then gently scrape softened paint with your scraper. Clean the area with soapy water, dry thoroughly, and restore the finish as needed. Following these steps guarantees effective paint removal without harming your floor—explore further for detailed tips on preservation and care.
Assess the Type of Paint and Floor Finish
Before you begin removing paint from hardwood floors, you’ll need to identify the type of paint and the floor’s finish. Different paint types—latex, oil-based, or enamel—respond uniquely to removal methods, so knowing this helps you choose the safest, most effective approach. Simultaneously, determine the floor finishes, such as polyurethane, shellac, or wax, since these affect how aggressive your removal technique can be without damaging the wood. For instance, oil-based paints may require stronger solvents, but harsh chemicals can ruin delicate finishes. By accurately evaluating both paint types and floor finishes, you maintain control and protect your hardwood’s integrity. This methodical evaluation guarantees you gain the freedom to restore your floors efficiently and confidently, avoiding unnecessary damage or extended labor.
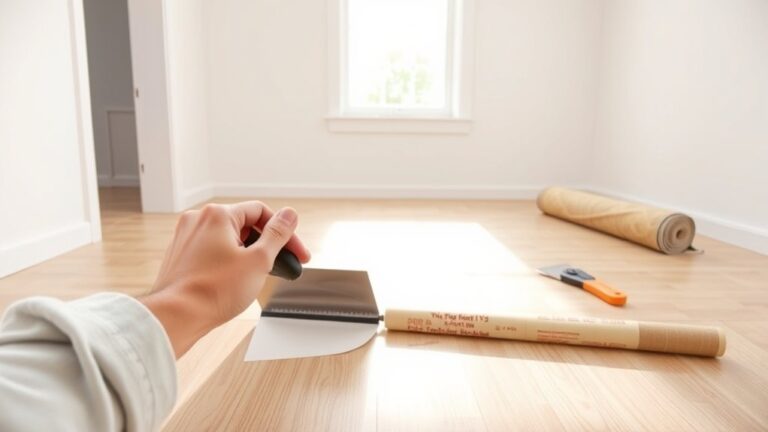
Gather Necessary Materials and Tools
Before you start, make certain you have all essential cleaning supplies like a putty knife, gentle solvent, and soft cloths. Don’t forget protective gear such as gloves and safety goggles to keep yourself safe. Having everything ready will guarantee a smooth and effective paint removal process.
Essential Cleaning Supplies
Although removing paint from hardwood floors can be challenging, having the right supplies on hand will make the process more efficient and effective. To preserve your floor’s integrity, select appropriate cleaning solutions and surface protection materials. Here’s a concise list to guide you:
| Fournir | But |
|---|---|
| Paint remover | Softens dried paint for easy removal |
| Mild detergent | Cleans residues without damaging wood |
| Soft cloths | Applies solutions gently |
| Plastic scraper | Removes paint without scratching floor |
| Surface protection | Shields unaffected areas during cleaning |
With these essentials, you’ll maintain control and freedom throughout the project, ensuring thorough paint removal with minimal damage. Prepare meticulously, and you’ll restore your hardwood floor’s natural beauty efficiently.
Protective Gear Needed
Three key pieces of protective gear are vital when removing paint from hardwood floors: gloves, safety goggles, and a respirator mask. Wearing gloves protects your hands from harsh chemicals and paint residues, while safety goggles shield your eyes from splashes and debris. Protective eyewear is a significant part of safety precautions to prevent potential eye injuries. A respirator mask safeguards your respiratory system by filtering out harmful fumes and dust particles generated during the process. Before you begin, verify your gloves fit snugly, your goggles provide a sealed fit, and your respirator mask is rated for chemical vapors. By methodically equipping yourself with this gear, you maintain control and freedom throughout the task, minimizing risks and guaranteeing a safer, more effective paint removal experience.
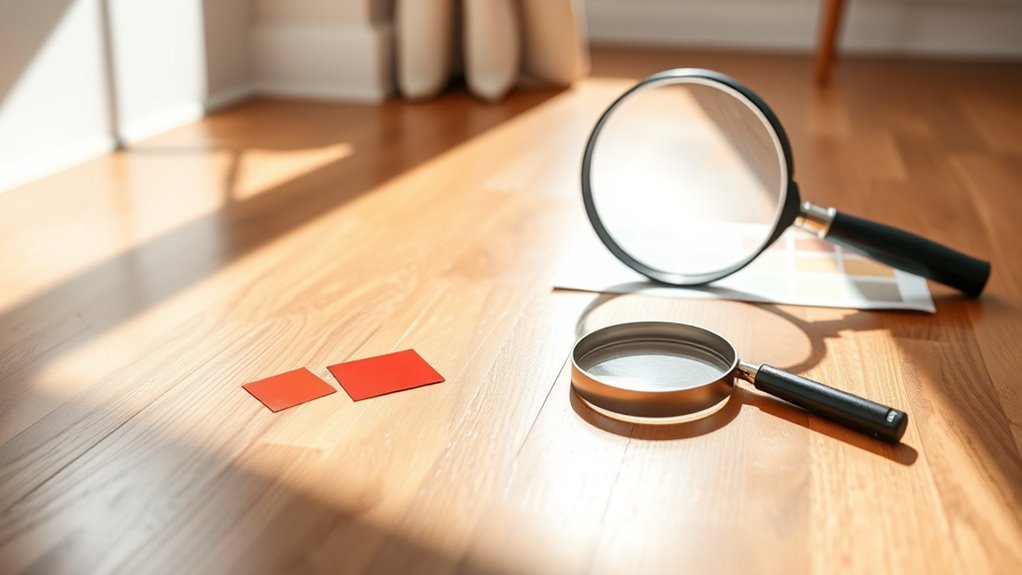
Test a Small Hidden Area First
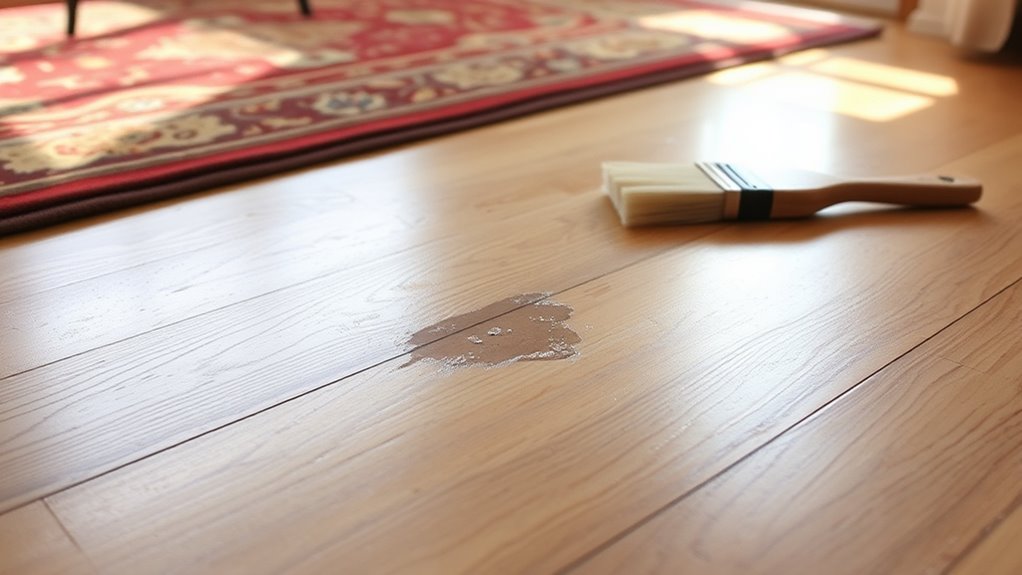
Start by selecting a discreet area of your hardwood floor to test the paint removal method. Carefully apply your chosen solution and observe how the paint reacts without damaging the finish. This step guarantees you can proceed confidently without risking visible harm to your sol.
Choose Discreet Test Spot
Where should you begin when removing paint from hardwood floors? Start with careful test area selection. Choose a discreet spot—like under a piece of furniture or along a baseboard—where any potential damage will remain unseen. This hidden spot evaluation is vital to protect your floor’s finish and guarantee your chosen removal method won’t cause discoloration or warping. By testing in a concealed area, you maintain control and freedom over the process, minimizing risk. Apply a small amount of your paint remover or solvent and observe its effect without disturbing larger visible sections. This methodical approach ensures you’ll proceed confidently, preserving your hardwood’s integrity while effectively tackling the paint removal task.
Observe Paint Reaction
Once you’ve selected a discreet test spot, apply a small amount of paint remover or solvent and closely observe how the paint and wood react. Pay attention to changes in paint adhesion—does the paint soften, bubble, or begin lifting? This indicates the chemical reaction between the remover and the paint is effective. Equally important is monitoring the wood’s surface for swelling, discoloration, or damage. This step lets you gauge how the hardwood will respond before treating larger areas. By carefully observing this interaction, you gain critical insight into the safest and most efficient removal method, minimizing risk to your floor’s integrity. Testing first empowers you with freedom to proceed confidently, avoiding costly mistakes and ensuring the best outcome for your hardwood floors.
Assess Floor Finish Impact
Understanding how your floor’s finish reacts to paint removers is essential to preserving its appearance and durability. Before applying any remover broadly, test a small hidden area to observe the impact on your specific floor finish type. This careful approach safeguards paint durability and prevents damage.
| Floor Finish Type | Reaction to Remover | Action recommandée |
|---|---|---|
| Polyurethane | Resistant, minimal effect | Proceed with caution |
| Wax | May dissolve or dull finish | Use gentle, specialized remover |
| Varnish | Can soften or discolor | Test carefully, avoid harsh solvents |
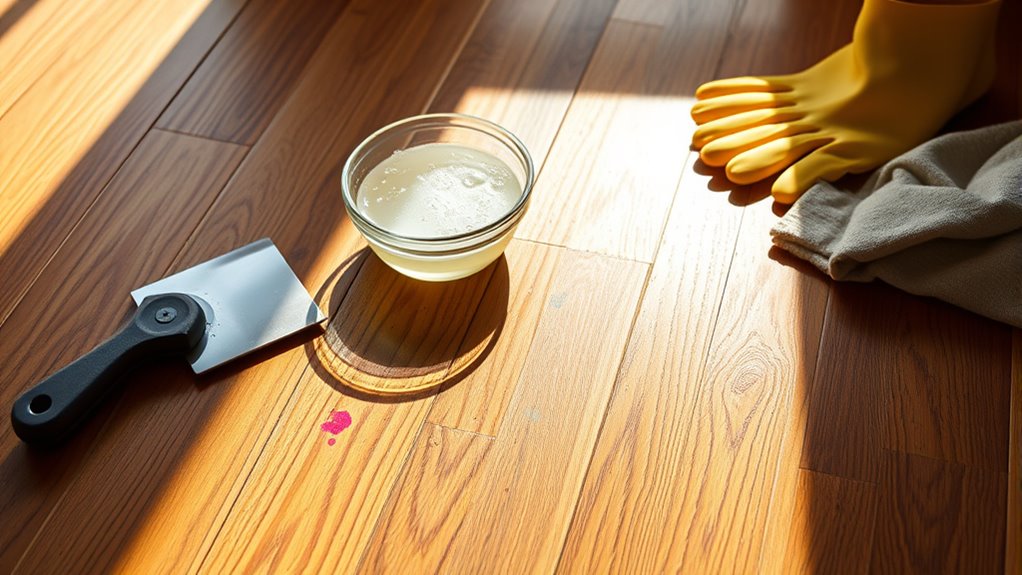
Use a Gentle Paint Remover or Solvent
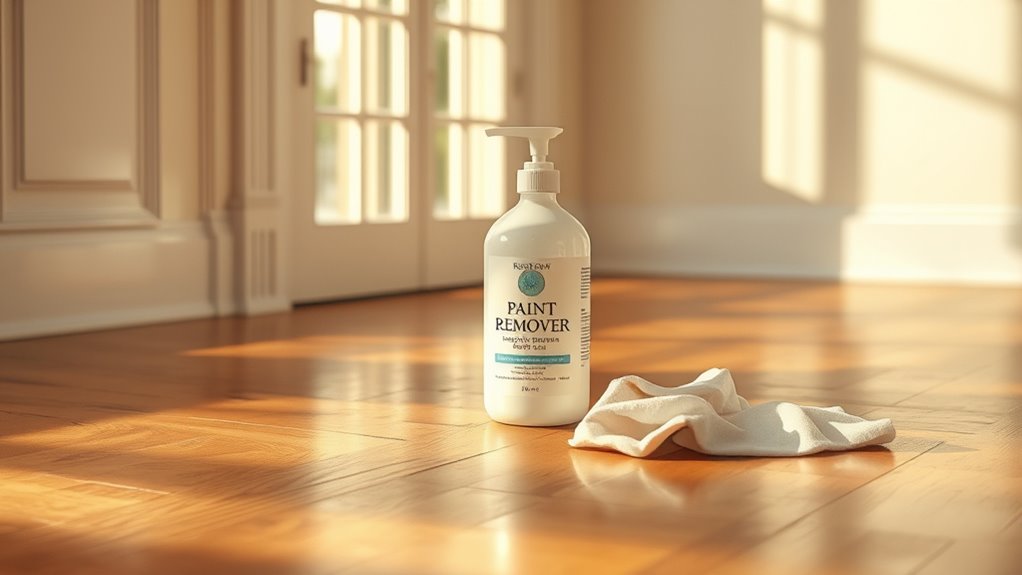
Anyone tackling paint removal from hardwood floors should choose a gentle paint remover or solvent specifically designed to protect wood surfaces. Start by selecting safe removers labeled for hardwood use; these gentle solvents minimize damage to your floor’s finish and wood grain. Apply a small amount to a hidden area first to test for any adverse reaction. When you’re ready, work in small sections, using a soft cloth or sponge to apply the solvent carefully. Avoid saturating the wood to prevent moisture damage. Let the remover sit briefly to soften the paint without penetrating the wood. This methodical approach guarantees you maintain your floor’s integrity while regaining freedom from unwanted paint. Always follow manufacturer instructions and ventilate the area well for your safety.
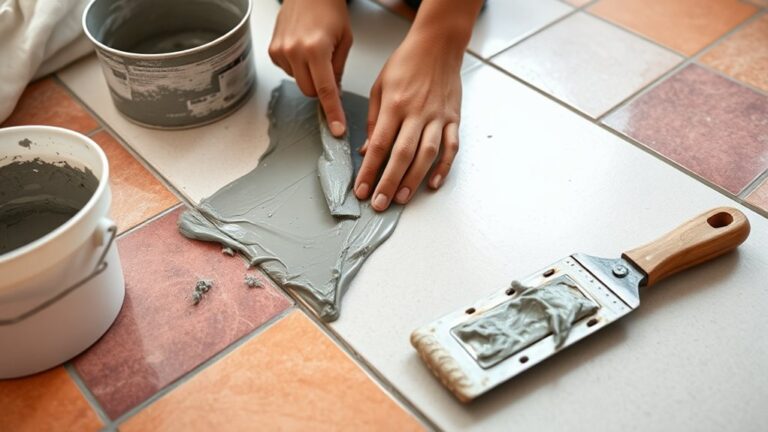
Scrape off Paint Carefully With a Plastic Scraper
After softening the paint with a gentle remover, you’ll want to carefully scrape it off to avoid damaging the hardwood surface. Using the right scraper type is essential in effective paint removal techniques. A plastic scraper minimizes the risk of scratching the wood compared to metal alternatives. Apply gentle pressure at a low angle, working slowly to lift the softened paint without gouging the floor.
| Scraper Type | Matériel | Idéal pour |
|---|---|---|
| Plastic Scraper | Polycarbonate | Hardwood floors, delicate surfaces |
| Metal Scraper | Stainless Steel | Hard surfaces, tough paint |
| Razor Blade | Steel | Stubborn paint, but risky |
| Rubber Scraper | Flexible rubber | Residue removal, gentle scraping |
Choose a plastic scraper for freedom from damage and precise paint removal.
Clean the Floor With Mild Soap and Water
Once you’ve removed the paint, you’ll want to clean the floor thoroughly with mild soap and water to eliminate any remaining residue. Start by mixing a solution with the correct soap ratio—about one teaspoon of mild dish soap per quart of warm water. This guarantees effective cleaning without damaging the hardwood. Use a mop with a flat head or microfiber pad to control moisture and avoid oversaturation. Employ a mop technique that involves gentle, even strokes following the grain of the wood. Avoid scrubbing aggressively; instead, let the soap solution lift any leftover paint particles or dirt. After mopping, rinse the floor with clean water using the same technique to remove soap residue. Finally, dry the surface promptly with a soft cloth to prevent water damage, preserving your floor’s freedom and longevity.
Restore and Protect the Hardwood Surface
Although removing paint and cleaning the floor are essential steps, restoring and protecting the hardwood surface will guarantee its durability and appearance. Start by lightly sanding the affected area to smooth any roughness, then apply a wood stain that matches your floor’s original color. Afterward, seal the surface with a high-quality polyurethane or varnish to shield it from future damage. Incorporate floor maintenance tips such as regular dusting and promptly wiping spills to preserve the finish. Additionally, use hardwood protection methods like placing felt pads under furniture and avoiding harsh chemicals. By systematically following these steps, you’ll maintain your hardwood floors’ natural beauty and extend their lifespan, giving you the freedom to enjoy a pristine, resilient surface.