To remove paint from your floor, first identify the paint type and floor material to choose a compatible remover. Gather scrapers, protective gear, and cleaning supplies. Test a small, hidden area with the remover to guarantee safety. Gently scrape off excess paint, apply the remover carefully, then rinse with warm water. Repeat as needed until clean. Dry the sol thoroughly before applying a protective finish. Follow these precise steps to effectively restore your floor’s surface, with techniques to optimize each phase.
Identify the Type of Paint and Floor Surface
Before you begin removing paint from a floor, you need to identify both the type of paint and the floor surface. Knowing paint types—such as latex, oil-based, or enamel—is essential because each reacts differently to removal methods. Simultaneously, recognize floor materials: hardwood, concrete, tile, or vinyl. This identification guides your approach, ensuring you choose techniques that won’t damage the floor. For example, harsh solvents may harm wood but work well on concrete. You’ll want to test small, inconspicuous areas to confirm compatibility. Understanding these variables grants you the freedom to proceed confidently, minimizing risks. Accurate identification lets you select the safest, most effective method tailored to your specific paint type and floor material, streamlining the removal process and preserving your floor’s integrity.
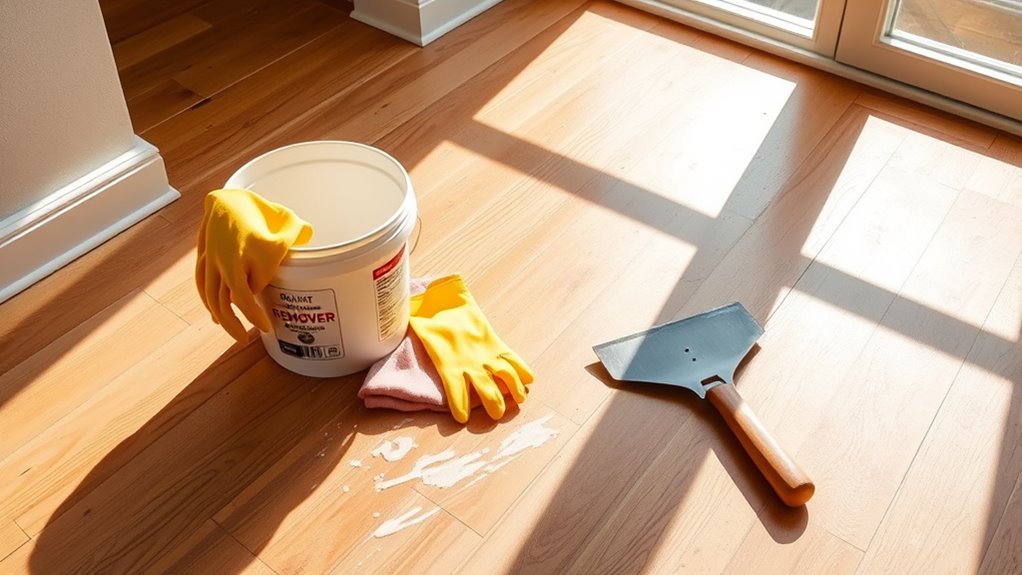
Gather Necessary Tools and Materials
To effectively remove paint from your floor, you’ll need a specific set of tools and materials tailored to the paint type and floor surface you’ve identified. Begin by assembling essential paint removal tools such as scrapers, putty knives, or wire brushes, chosen for their compatibility with your floor’s finish. Select chemical paint removers or solvents appropriate for either oil-based or latex paints, guaranteeing they won’t damage the flooring. Equip yourself with protective gloves and goggles for safety. Additionally, gather floor cleaning supplies including absorbent cloths, sponges, buckets, and a mild detergent to clean residues post-removal. Ventilation aids like fans may be necessary to dissipate fumes. Having this precise toolkit ready guarantees efficiency, control, and minimal damage, granting you the freedom to restore your floor effectively.
Test a Small Hidden Area
Start by selecting an inconspicuous spot on your floor to avoid visible damage. Apply a small amount of your chosen paint remover and observe how the paint and floor material react. This test will help you determine the safest and most effective removal method before proceeding.
Choose Inconspicuous Spot
Where should you test your paint removal method to guarantee it won’t damage your floor? Select a hidden location that is out of sight during regular use, such as beneath a piece of furniture or inside a closet corner. This concealed test area allows you to evaluate your chosen paint removal technique without compromising the floor’s visible surfaces. Ascertain the spot represents the same material and finish as the rest of your flooring to obtain accurate results. Apply the paint remover cautiously, observing manufacturer guidelines and safety precautions. By methodically choosing this inconspicuous spot, you maintain your freedom to proceed confidently, knowing you’ve minimized risk. This strategic step is essential before committing to a full-scale paint removal process, preventing irreversible damage and preserving your floor’s integrity.
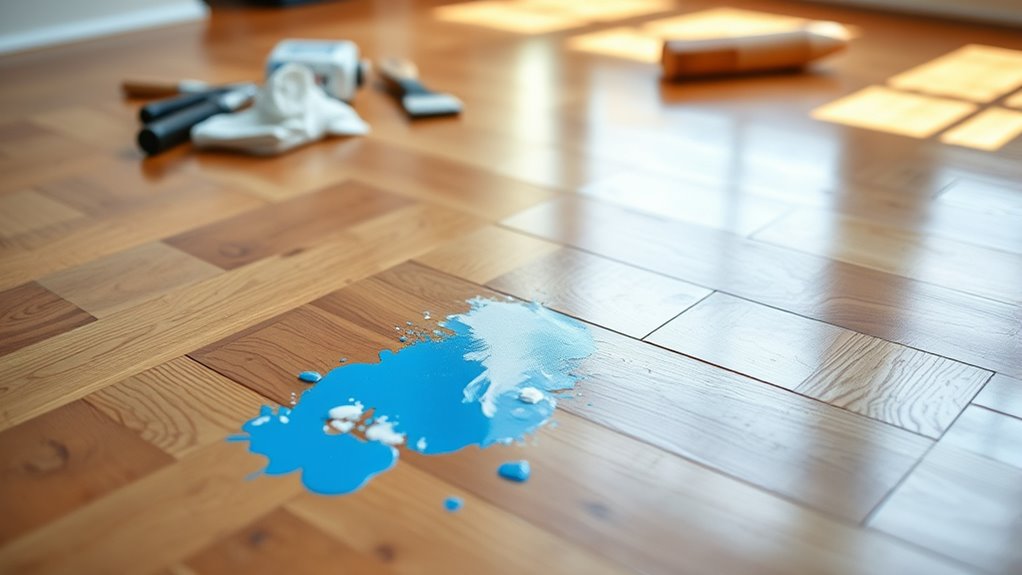
Assess Paint Reaction
How will the paint react to your chosen removal method? To find out, test a small hidden area first. Different paint types—latex, oil-based, acrylic—respond uniquely to solvents or scrapers. Apply a minimal amount of your selected remover on an inconspicuous spot, observing the interaction closely. Note whether the paint softens, bubbles, or resists removal. Simultaneously, assess floor compatibility: some floors like hardwood or laminate can be damaged by harsh chemicals, while others tolerate them better. This test prevents unexpected damage and guarantees your method effectively targets the specific paint without compromising the floor’s finish. By systematically evaluating paint reaction and floor compatibility, you gain control over the removal process, preserving your floor’s integrity while achieving freedom from unwanted paint.
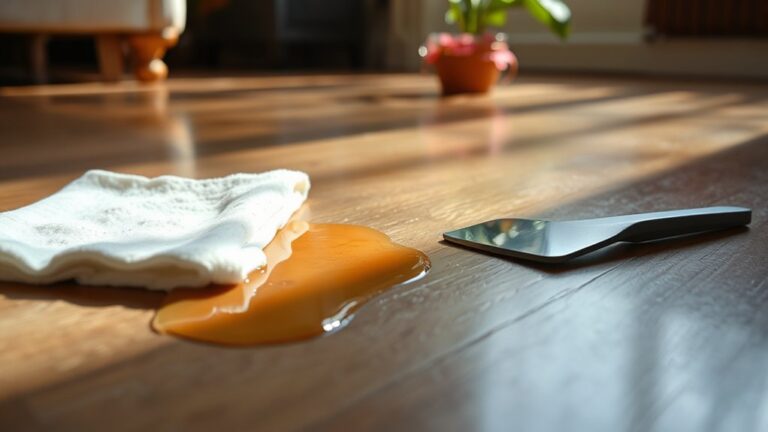
Scrape Off Excess Paint Gently
Carefully use a putty knife or a plastic scraper to lift and remove the excess paint from the floor surface. Applying moderate pressure, angle the tool between 30 to 45 degrees to avoid damaging the floor finish. Focus on small sections to maintain control and prevent gouging. This method aligns with effective paint removal techniques, balancing thoroughness and preservation. Always consider the floor surface—whether hardwood, tile, or concrete—as each demands specific care to maintain integrity. Avoid metal scrapers on delicate surfaces to prevent scratches. Work methodically, progressing evenly across the painted area. Removing bulk paint first simplifies subsequent steps and enhances overall efficiency. By mastering this gentle scraping, you gain freedom from stubborn paint while protecting your floor’s original condition.
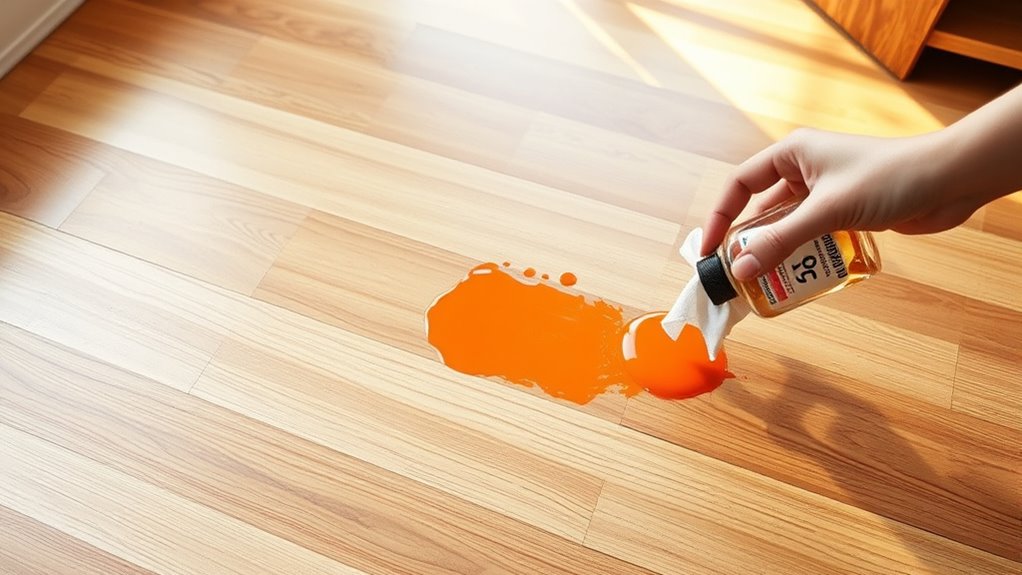
Apply a Suitable Paint Remover
Once you’ve removed the bulk of the paint by scraping, applying a suitable paint remover will help eliminate any remaining residue. Select the paint remover type based on floor material and paint composition. Always follow safety precautions: wear gloves, guarantee ventilation, and avoid skin contact.
| Paint Remover Type | Idéal pour | Précautions de sécurité |
|---|---|---|
| Solvent-based | Oil-based paints | Use respirator, gloves |
| Caustic Strippers | Thick, multiple layers | Protective eyewear, gloves |
| Bio-based Removers | Environmentally safe | Gloves, good ventilation |
| Gel Removers | Vertical surfaces | Avoid inhalation, gloves |
| Heat Guns | Stubborn paint | Heat-resistant gloves |
Choose wisely to maintain freedom in your method while protecting yourself and your floor.
Use a Soft Scrubbing Brush or Cloth
You’ll want to select a soft scrubbing brush or cloth specifically designed to avoid damaging your floor’s surface. Use gentle, consistent strokes to lift the loosened paint without spreading it further. Applying controlled pressure guarantees effective removal while protecting the underlying material.
Choosing the Right Brush
Selecting the right brush is essential for effectively removing paint without damaging the floor’s surface. When choosing brush types, prioritize soft scrubbing brushes or microfiber cloths, as their gentle bristle materials minimize abrasion. Natural bristles, like horsehair, offer flexibility and softness, ideal for delicate flooring. Synthetic bristles, such as nylon, provide durability but can be firmer; select softer variants to avoid surface scratches. Avoid stiff or wire brushes that risk gouging the floor. Consider the brush size to guarantee thorough coverage without excessive force. The goal is to balance effective paint removal with preserving the floor’s integrity. By methodically selecting brush types and suitable bristle materials, you maintain control and freedom during the cleaning process, guaranteeing a smooth, damage-free finish every time.
Effective Scrubbing Techniques
Although it might seem straightforward, effective scrubbing requires controlled pressure and consistent motion to avoid damaging the floor. Start by selecting a soft scrubbing brush or cloth to maintain floor safety while targeting paint removal. Apply gentle, circular motions, ensuring you don’t press too hard, which can scratch or wear down the surface. Focus on small sections, working methodically to lift paint without spreading it. Keep the brush or cloth damp but not soaked; excessive moisture can harm certain floor materials. Regularly check your progress and adjust pressure accordingly. These scrubbing techniques maximize paint removal efficiency while preserving your floor’s integrity, giving you the freedom to restore your space confidently and safely.
Rinse the Area With Warm Water
Start by gently rinsing the painted area with warm water to loosen any remaining paint residue. Warm water benefits include softening the paint particles, making them easier to remove without damaging the floor’s surface. Use a controlled rinsing technique: apply water steadily with a sponge or cloth, avoiding excessive amounts that could saturate the floor. Direct the flow to carry loosened paint away from the cleaned section, preventing re-deposition. Maintain consistent temperature to guarantee peak effectiveness; lukewarm is ideal. After rinsing, lightly blot the area with a dry cloth to absorb excess moisture and prepare the surface for any further cleaning steps. By following these precise rinsing techniques, you’ll efficiently clear residual paint while preserving the floor’s integrity and maintaining your freedom to proceed confidently.
Repeat the Process if Needed
If the paint residue persists after rinsing, you’ll need to repeat the removal process to confirm complete elimination. Begin by applying your chosen solvent or remover again, focusing on stubborn areas. Use a scraper or brush to gently lift the softened paint without damaging the floor surface. Afterward, rinse thoroughly to assess progress. If repeated attempts yield limited results, consider additional methods such as heat guns or specialized chemical strippers, confirming they’re compatible with your floor type. Always test these methods on a small, inconspicuous area first. By methodically repeating the process and employing alternative techniques when necessary, you maintain control over the removal while minimizing floor damage. This disciplined approach assures freedom from paint residue and restores your floor’s original appearance effectively and efficiently.
Dry the Floor Thoroughly
You need to dry the floor completely to avoid residual moisture that can cause damage or affect future treatments. Use absorbent materials and guarantee proper ventilation to accelerate drying. Thorough drying safeguards the floor’s integrity and prepares it for any subsequent work.
Importance of Complete Drying
Although it may be tempting to proceed immediately after cleaning, verifying the floor is completely dry is critical for effective paint removal. The drying importance cannot be overstated; residual moisture compromises adhesion between paint and remover, reducing efficiency. You need to prioritize moisture prevention to avoid slippage and uneven application, which can prolong the process or damage the floor. Any lingering dampness interferes with chemical reactions essential for loosening paint, resulting in incomplete removal. By checking the floor’s dryness through touch and visual inspection, you maintain ideal conditions for subsequent steps. Neglecting complete drying risks wasted effort and potential surface harm. Emphasizing thorough dryness guarantees your work is precise, efficient, and preserves the floor’s integrity, granting you the freedom to move forward confidently.
Optimal Drying Techniques
Since moisture presence directly affects paint removal efficiency, employing ideal drying techniques is essential to prepare the floor. You need to focus on drying methods that maximize moisture control to guarantee complete dryness before proceeding.
- Ventilation: Open windows and doors to create cross-ventilation. This accelerates evaporation and prevents moisture buildup.
- Déshumidificateurs: Use a dehumidifier to actively extract moisture from the air and floor surface, especially in enclosed spaces.
- Air Circulation: Position fans to circulate air uniformly across the floor, avoiding stagnant zones where moisture could linger.
Preventing Moisture Damage
To prevent moisture damage during paint removal, the floor must be dried thoroughly before any treatment begins. Start by removing excess water using absorbent towels or a wet vacuum. Next, verify adequate floor ventilation by opening windows and using fans to promote air circulation, accelerating evaporation. If the floor is porous, consider applying moisture barriers to prevent underlying dampness from seeping back. Monitor humidity levels with a hygrometer to maintain ideal drying conditions—ideally below 60%. Avoid sealing or painting until you confirm the floor is completely dry, as trapped moisture can cause warping or mold. By methodically managing moisture through thorough drying, effective ventilation, and moisture barriers, you protect the floor’s integrity and maintain your freedom to proceed with paint removal confidently and safely.
Apply a Protective Finish if Applicable
When you’ve thoroughly removed the paint and the floor is clean and dry, you should consider applying a protective finish to preserve the surface. Protective sealants not only enhance durability but also simplify future floor maintenance. Here’s how to proceed:
- Select the right protective sealant based on your floor type—polyurethane works well for hardwood, while epoxy suits concrete.
- Apply the sealant evenly using a brush or roller, following manufacturer instructions to guarantee proper adhesion and coverage.
- Allow sufficient drying time in a well-ventilated area before resuming regular use, guaranteeing the finish cures fully for maximum protection.