First, figure out what kind of floor you have and whether the polish is fresh or dry, so you choose the right cleaning method. Gather supplies like nail polish remover, soft cloths, or a scraper for dried spots. Test the remover on a hidden area to avoid damage. Then, gently apply it to the stain and scrub carefully. Finally, clean and dry the spot thoroughly to prevent damage. Keep going for tips on protecting your floor from future spills.
Assess the Type of Flooring and Nail Polish Stain
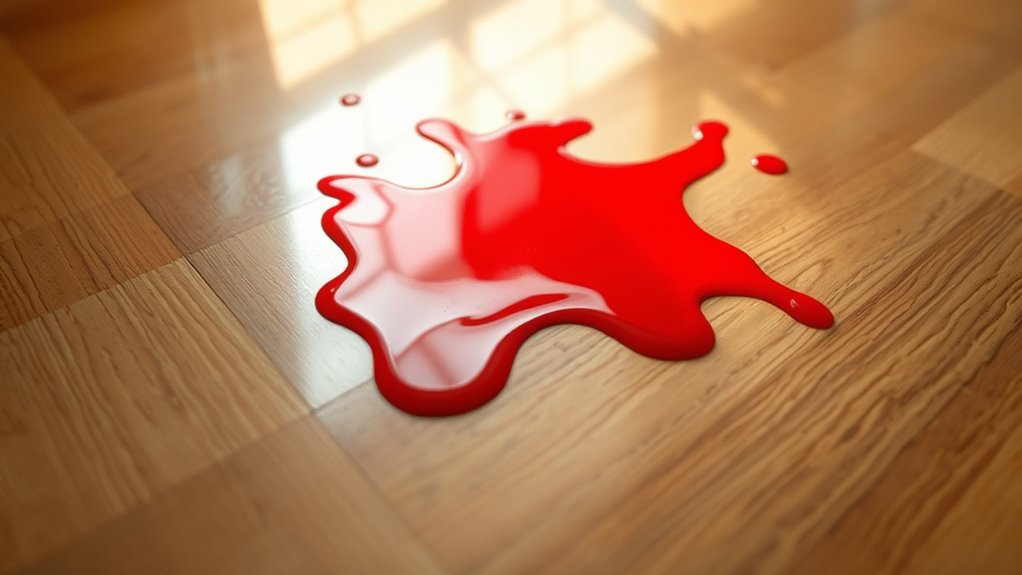
Before you start removing nail polish, it’s important to assess the type of sol you have and the nature of the stain. Different flooring types—like hardwood, tile, laminate, or vinyl—react differently to cleaning agents and methods. For instance, hardwood can be sensitive to harsh chemicals, while tile is more durable. Next, consider the stain itself: is it fresh or dried? Fresh stains are easier to remove, while dried polish may require stronger solvents or more time. Understanding these factors helps you choose the safest, most effective stain removal approach without damaging your floor. By tailoring your method to your specific flooring type and stain condition, you maintain your freedom to clean confidently and protect your floors from unnecessary harm.
Rassemblez les produits de nettoyage nécessaires
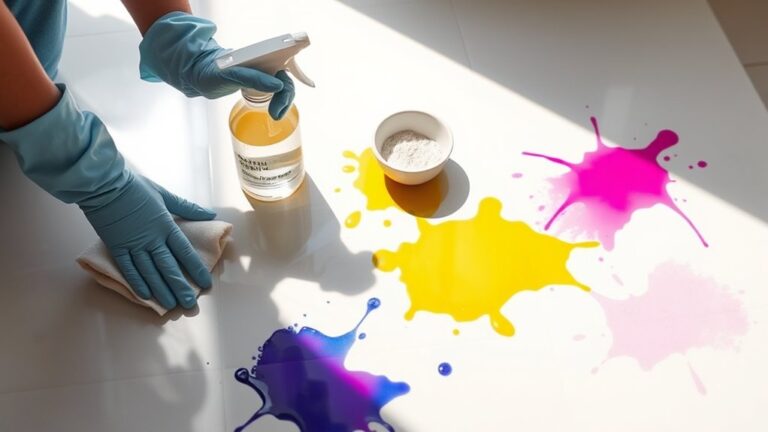
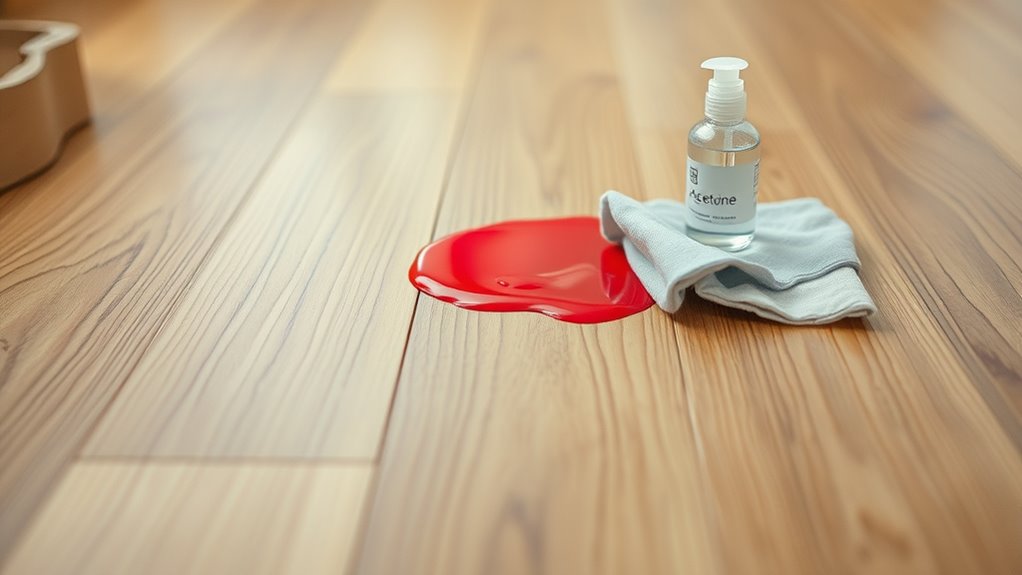
Since the right tools make all the difference, you’ll want to gather cleaning supplies that suit both your flooring type and the nail polish stain. Start with a gentle cleaning solution like warm soapy water for delicate floors such as hardwood or laminate. For tougher stains or durable surfaces like tile, consider nail polish remover or rubbing alcohol, but verify they’re safe for your floor. Have soft cloths, cotton balls, or sponges ready for applying solutions without scratching. A plastic scraper or an old credit card can help lift dried polish gently. Gloves will protect your hands during stain removal, and paper towels are handy for blotting excess liquid. By preparing the right cleaning solutions and tools ahead, you’ll tackle the stain efficiently and preserve your floor’s finish.
Test Nail Polish Remover on a Small Area
Although nail polish remover is effective at breaking down stains, you’ll want to test it on a small, hidden area of your floor first to verify it won’t cause discoloration or damage. This testing method helps you avoid worsening the stain or harming your flooring material. Dab a small amount of remover on an inconspicuous spot, wait a few minutes, and check for any adverse effects. This simple step verifies safe and efficient stain removal.
| Testing Method | But | Result to Watch For |
|---|---|---|
| Spot Application | Check for colorfastness | No discoloration |
| Temps d'attente | Allow chemical reaction | No surface damage |
| Inspection visuelle | Assess floor condition | No peeling or dullness |
Apply Remover and Gently Scrub the Stain
Once you’ve confirmed the remover is safe to use, apply a small amount directly onto the nail polish stain. Don’t soak the floor—just enough to dampen the area. Next, use a soft cloth or cotton ball to gently scrub the stain. Avoid harsh scrubbing, which can damage the surface; instead, focus on careful, circular scrubbing techniques that help lift the polish without spreading it. You might need to repeat this a few times, but patience is key for effective stain removal. If the polish starts to break down, dab with a clean section of your cloth to absorb loosened residue. This hands-on approach gives you control and helps you free your floor from stubborn nail polish without causing harm.
Clean the Area and Prevent Future Stains
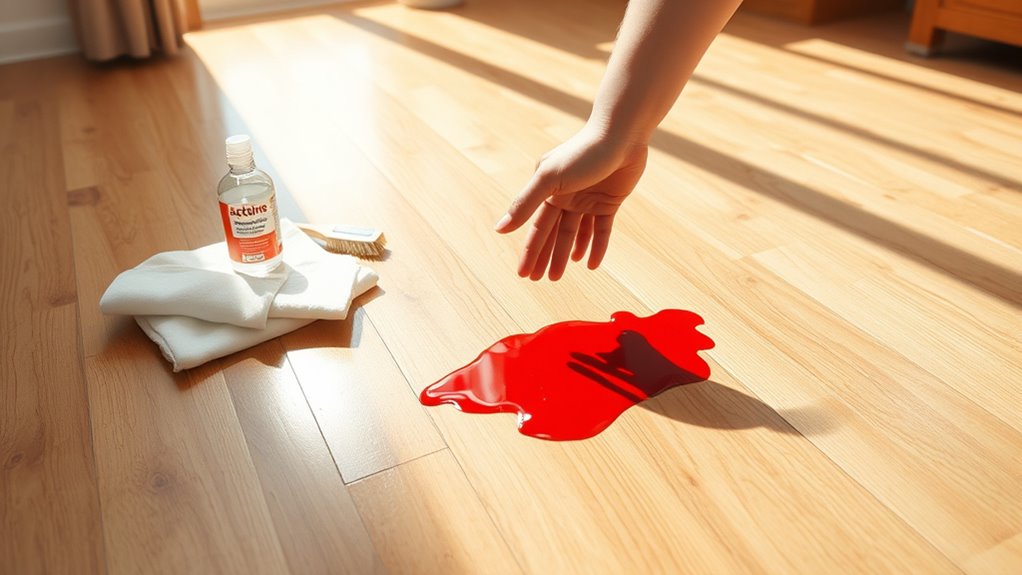
After you’ve gently scrubbed away the nail polish stain, it’s important to clean the area thoroughly to remove any leftover remover and polish residue. Use a damp cloth with mild soap to wipe the spot, ensuring no chemical traces remain that might damage your floor’s finish. Dry the area completely to prevent moisture damage. To avoid future mishaps, consider some preventive measures: place a protective mat or old newspaper in your nail polish workspace. You might also use floor protection products like clear sealants or protective films if spills happen often. Taking these simple steps lets you enjoy your creativity without worrying about stains, giving you the freedom to express yourself while keeping your floors spotless and well-maintained.