To tile your shower floor and walls in three easy steps, start by thoroughly cleaning and drying the surface, repairing any weak spots, and applying waterproofing. Next, carefully install durable, water-resistant tiles using thin-set mortar, working from the bottom up on walls and from the drain outward on floors, keeping grout lines even with spacers. Finally, grout the joints, wipe away excess, and apply a penetrating sealer to protect against moisture. Following this method sets you up for a long-lasting, attractive shower—explore further for detailed tips.
Preparing Your Shower Surface for Tiling
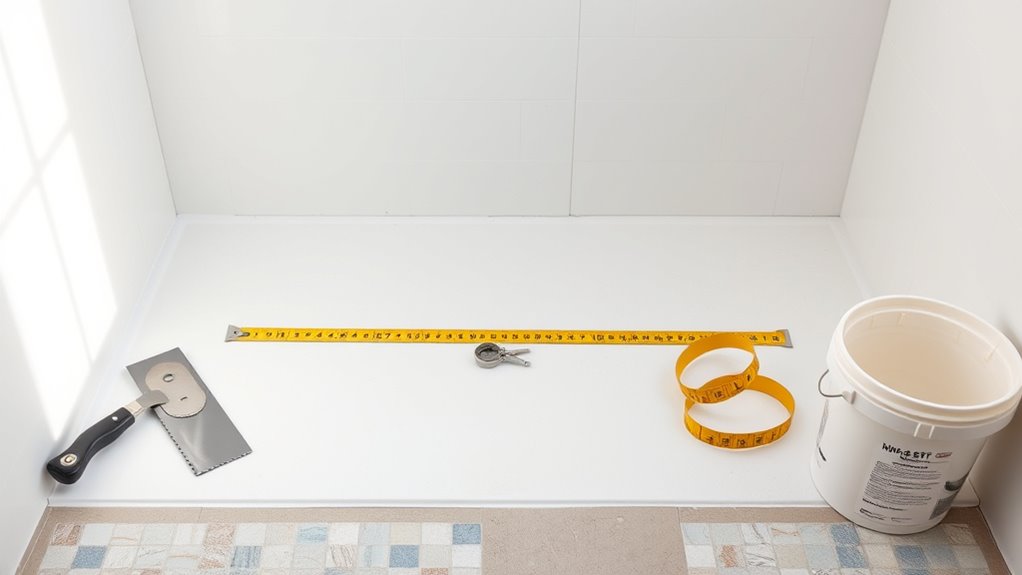
Before you begin tiling, it’s essential to make certain that your shower surface is clean, dry, and structurally sound. Start with thorough surface cleaning to remove soap scum, grease, and any loose debris. Use a non-abrasive cleaner and make sure the surface is completely dry before proceeding. Inspect for damage or soft spots, repairing any weak areas to provide a stable base. Next, apply effective waterproofing techniques to protect against moisture penetration. Use a waterproof membrane or liquid waterproofing product, following manufacturer instructions carefully. Pay special attention to corners and seams, as these are vulnerable spots. Proper preparation guarantees your tiles adhere firmly and prevents water damage, allowing you freedom from future maintenance issues. Taking these methodical steps lays a reliable foundation for a durable, long-lasting tiled shower.
Installing Tiles on the Shower Floor and Walls
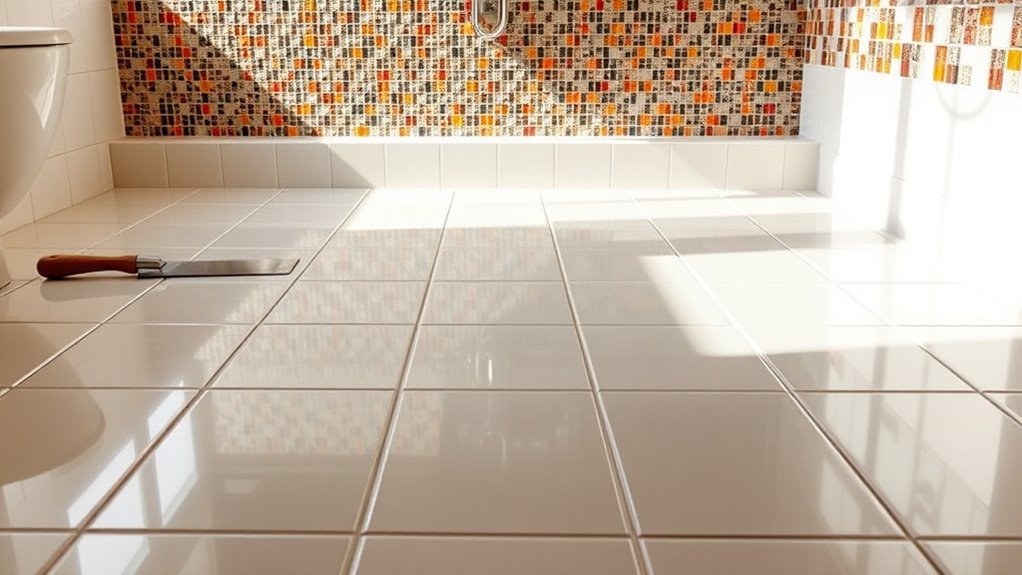
With your shower surface properly prepared and waterproofed, you can begin installing the tiles on both the sol and walls. Start by choosing the right tile selection—porcelain or ceramic for durability and slip resistance on the floor, and lighter options on the walls. Select adhesive types suitable for wet environments, like thin-set mortar with polymer additives for strong bonding. Spread adhesive evenly with a notched trowel, pressing tiles firmly to guarantee adhesion. Maintain consistent grout lines using spacers. Work methodically from bottom to top on walls and from drain outward on floors.
| Étape | Focus | Feeling |
|---|---|---|
| Tile selection | Freedom in choice | Confidence |
| Adhesive types | Durabilité | Security |
| Application | Precision | Control |
| Alignment | Cohérence | Satisfaction |
| Completion | Achievement | Pride |
Grouting and Sealing for a Durable Finish
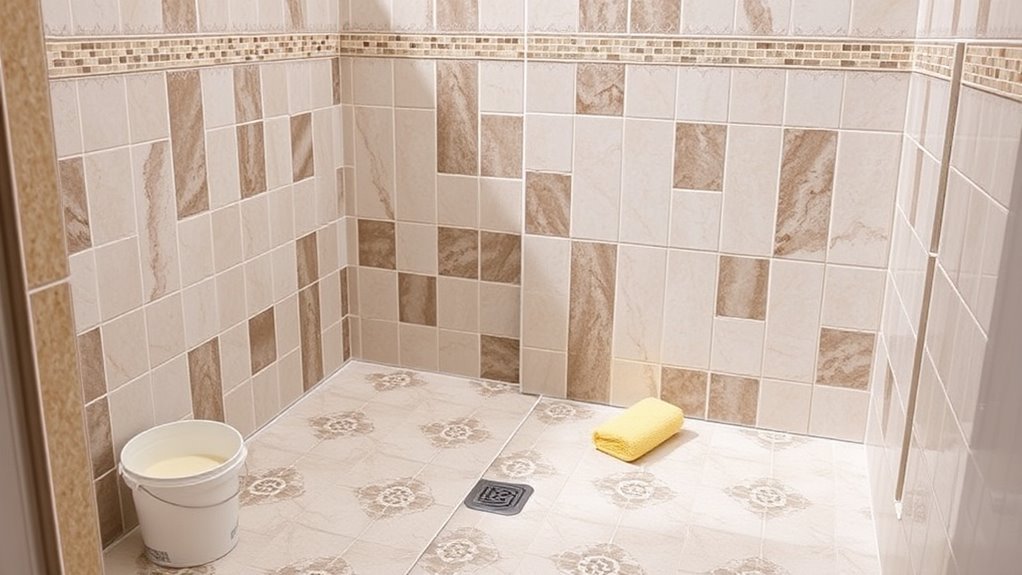
Once your tiles are firmly set and the adhesive has cured, you’ll need to apply grout to fill the joints, ensuring both structural integrity and water resistance. Choosing the right grout types—sanded or unsanded—depends on your tile spacing. Follow these steps for a durable finish:
- Mix grout according to manufacturer instructions for a smooth consistency.
- Use a rubber float to press grout diagonally into joints, filling gaps completely.
- Wipe excess grout with a damp sponge before it dries to avoid haze.
- After grout cures, apply appropriate sealing techniques with a penetrating sealer to protect against moisture and stains.
Proper grouting and sealing free you from frequent repairs, maintaining your shower’s durability and aesthetic appeal over time.