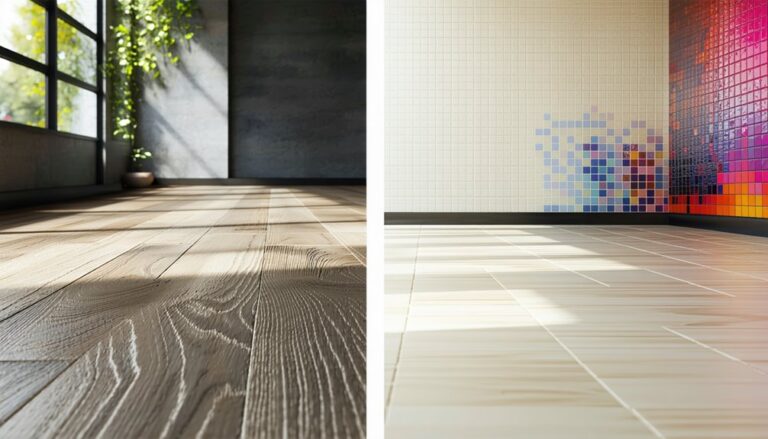
To restore hardwood floors, start by conducting a thorough assessment of their condition, looking for scratches, discoloration, and structural issues. Gather essential tools, including sandpaper, a floor sander, and a finishing applicator. Clean the surfaces with a suitable hardwood cleaner and sand using a drum or orbital sander to remove damage. After that, repair any scratches with wood filler and choose an appropriate sealant for protection. Remember to maintain stable humidity to prevent warping and regularly clean to preserve their appearance. You're on the path to revitalizing your floors, and more detailed steps await your discovery.
Assessing Floor Condition
Before diving into the restoration process, it's important to assess the condition of your hardwood floors to determine the best approach. Begin with a thorough sol inspection, observing for signs of wear, scratches, or discoloration. Pay close attention to areas with water damage or excessive sunlight exposure, as these can indicate deeper issues. Conduct a damage evaluation to identify any structural problems, like loose boards or warping. Use a moisture meter to check for excessive humidity, which can lead to further deterioration. Document your findings to create a clear picture of what needs addressing. This initial assessment not only saves you time but also guarantees you choose the right restoration techniques, allowing your floors to regain their natural beauty and integrity.
Rassembler les outils nécessaires
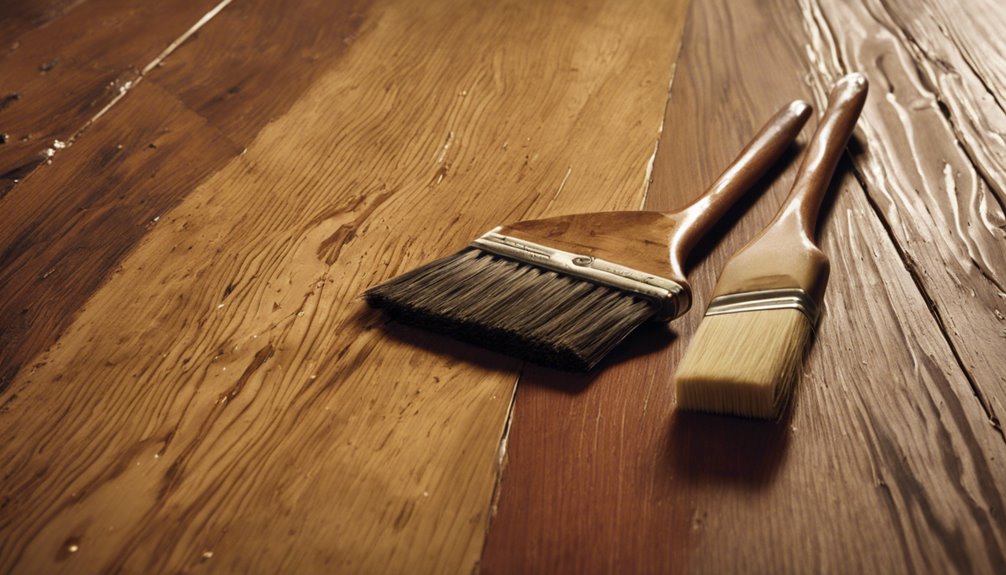
Having assessed the condition of your hardwood floors, the next step is to gather the necessary tools for the restoration process. Proper tool selection is essential to guarantee an efficient and effective restoration. Start by acquiring the following essential equipment:
- Papier de verre: Various grits for smoothing and refinishing the surface.
- Floor Sander: A drum or orbital sander to remove the existing finish.
- Finishing Applicator: A brush or roller for an even application of stain or sealant.
These tools will empower you to tackle the project with confidence. Remember, investing in quality tools will save you time and enhance the final outcome. Prepare well, and you'll be ready to transform your hardwood floors into a stunning feature of your home.
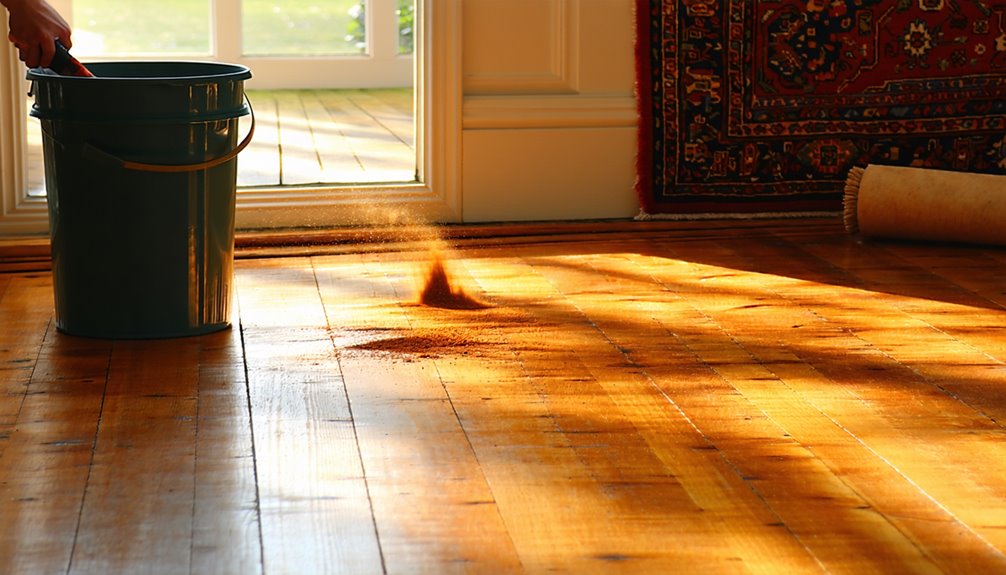
Cleaning the Surface

Before you begin cleaning your hardwood floors, you'll need to gather the necessary cleaning supplies, including a microfiber mop, vacuum, and suitable cleaning solution. It's essential to choose a cleaning solution specifically designed for hardwood to avoid damaging the finish. Finally, employing the proper cleaning technique will guarantee you effectively remove dirt and grime without scratching the surface.
Gather Necessary Cleaning Supplies
To effectively clean the surface of your hardwood floors, gathering the right cleaning supplies is essential. The proper tools not only enhance your cleaning efficiency but also guarantee floor protection during the process. Here's a concise list of must-have supplies:
- Balai en microfibre: Ideal for trapping dirt without scratching the surface.
- Soft-bristle broom: Perfect for sweeping away debris without damaging the finish.
- Gentle cleaner: Look for a pH-balanced solution compatible with hardwood.
Having these cleaning supplies ready allows you to maintain the beauty of your floors while preventing potential damage. Remember, the right tools make all the difference in preserving the integrity of your hardwood, ensuring it remains a stunning feature of your home for years to come.
Choose Appropriate Cleaning Solution
Selecting the right cleaning solution is essential for maintaining the longevity and appearance of your hardwood floors. You've got two main paths: eco-friendly options and commercial products. Eco-friendly options, such as vinegar diluted in water or specially formulated natural cleaners, not only protect your floors but also contribute to a healthier indoor environment. If you opt for commercial products, make certain they're specifically designed for hardwood surfaces, as they'll effectively remove dirt without damaging the finish. Always check for pH neutrality and avoid products containing harsh chemicals or abrasives. Before applying any cleaner, read the label for instructions and test it in a small, inconspicuous area to prevent potential damage. A thoughtful choice now can save you time and expense down the line.
Use Proper Cleaning Technique
When cleaning hardwood floors, it's vital to use the right technique to avoid damaging the surface. Employing effective cleaning methods is important for maintaining floor protection. Here are some key practices to follow:
- Use a microfiber mop: It effectively captures dust and dirt without scratching the finish.
- Avoid excessive water: Too much moisture can seep into the wood, leading to warping or swelling.
- Choose suitable cleaners: Opt for pH-balanced solutions specifically designed for hardwood floors.
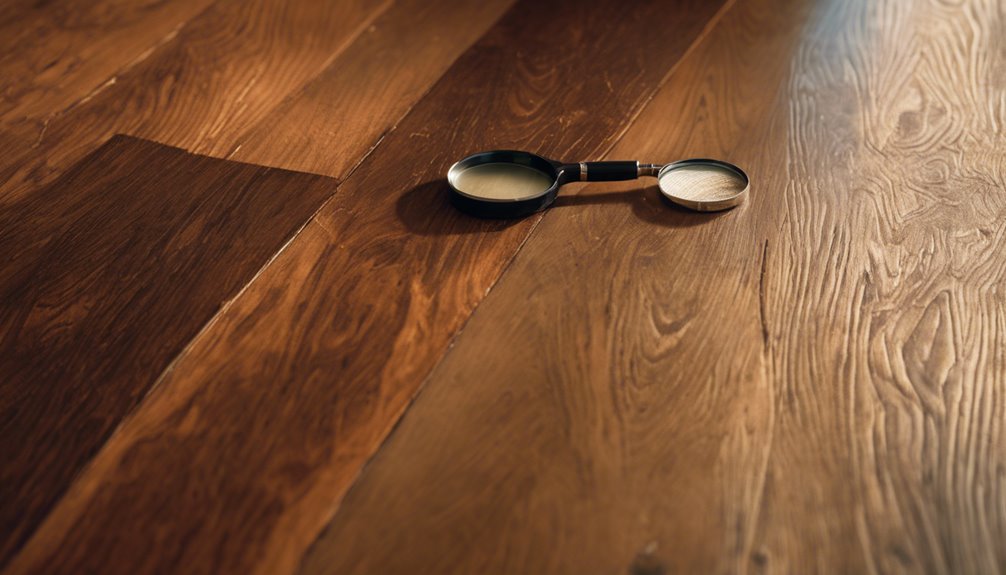
Sanding the Floors
Sanding the floors is an essential step in the restoration process, as it removes imperfections and prepares the surface for finishing. You'll need to choose appropriate sanding equipment, such as a drum sander or orbital sander, depending on your floor's condition. Various sanding techniques can be employed, including edge sanding for corners and using different grit levels for best results.
| Sanding Equipment | Recommended Grit | But |
|---|---|---|
| Drum Sander | 36-60 | For heavy material removal |
| Orbital Sander | 80-120 | For smoothing surfaces |
| Edge Sander | 120-220 | For finishing edges |
| Vacuum Attachment | N/A | For dust control |
Repairing Damaged Areas
To effectively repair damaged areas of your hardwood floors, start by evaluating the extent of the damage. This assessment will help you determine which repair techniques are most appropriate, whether it's filling in small scratches or replacing entire planks. Understanding the damage is essential for selecting the right tools and materials for a successful restoration.
Assessing Damage Extent
Evaluating the extent of damage to your hardwood floors is essential before starting any repair process. Understanding the different damage types and considering your floor's age will guide your repairs effectively. Here's how to assess:
- Surface Scratches: Look for light scratches that may only require refinishing.
- Water Damage: Check for discoloration or warping, which often indicates deeper issues.
- Structural Damage: Inspect for loose or cracked boards that may need replacement.
Choosing Repair Techniques
After evaluating the damage to your hardwood floors, you'll need to choose the appropriate repair techniques for each specific issue. For surface scratches, consider using a wood filler or an appropriate stain that matches your floor's finish. If you're dealing with deeper gouges, sanding the affected area and applying a suitable repair method like a patch may be necessary. For warped boards, replacement might be your best bet. Once repairs are completed, explore various finishing options to guarantee a seamless blend with the rest of your floor. Water-based finishes offer quick drying times, while oil-based options provide a rich, durable sheen. Selecting the right combination of repair methods and finishing options will help restore your floors to their original beauty.
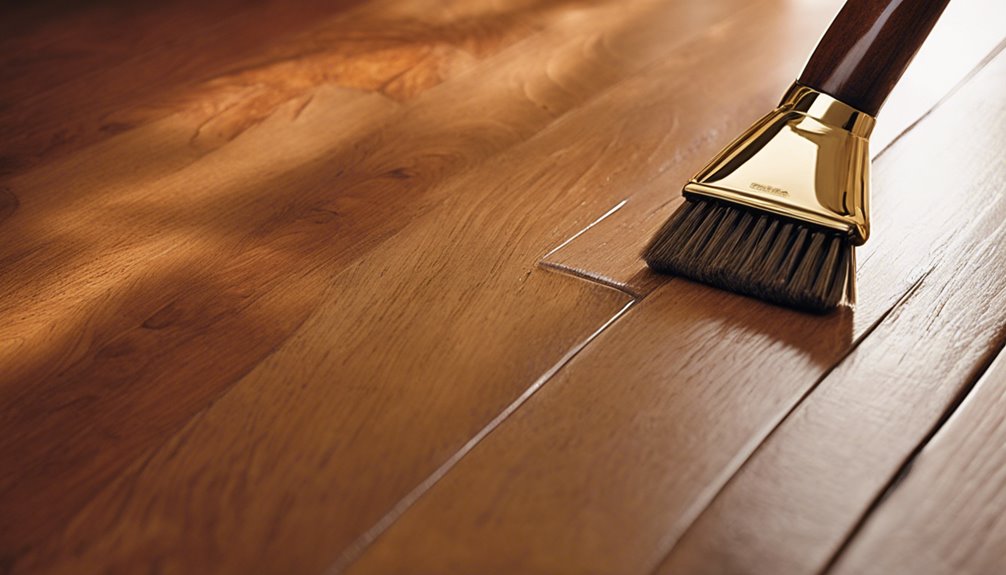
Applying Stain or Finish
When you're ready to enhance the appearance of your hardwood floors, applying stain or finish is an essential step that can greatly impact both aesthetics and durability. Start by selecting the right stain application technique, whether you choose to brush, pad, or spray. Each method has unique advantages, so consider your comfort and the finish type you prefer.
- Oil-based stains: Offer deep penetration and rich colors.
- Water-based stains: Dry quickly and emit fewer fumes.
- Gel stains: Provide more control and are ideal for vertical surfaces.
Once you've chosen your stain, apply it evenly, allowing adequate drying time before adding a protective finish. This guarantees your floors not only look stunning but are also well-protected against wear.
Sealing the Floors
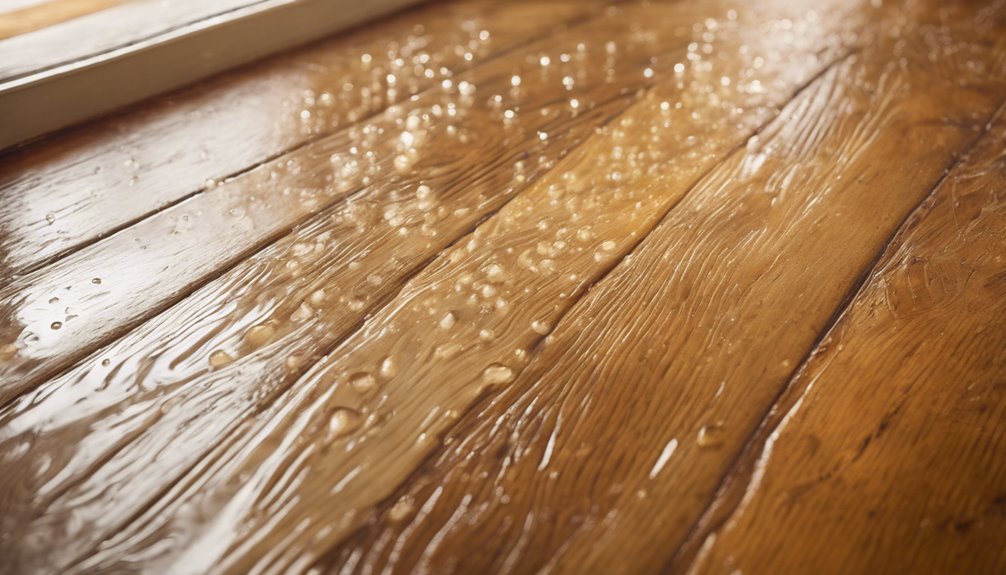
To guarantee your hardwood floors remain protected and maintain their beauty, sealing them is an essential step in the restoration process. You've got several sealant options to choose from, including polyurethane, water-based sealers, and natural oils. Each has its pros and cons, so consider your specific needs.
When applying sealants, there are various sealing techniques to guarantee an even coat. You should start by using a high-quality brush or roller, applying in thin layers to prevent bubbles and uneven drying. Allow adequate drying time between coats for the best results. Remember, proper ventilation during this process is vital. By sealing your floors effectively, you'll enhance their durability and safeguard the finish you've worked hard to achieve.
Maintaining Restored Floors
Even with a quality seal applied, maintaining restored hardwood floors is essential for preserving their appearance and longevity. Implementing routine maintenance not only enhances aesthetics but also guarantees floor protection against wear and tear. Here are key practices to take into account:
- Regular Cleaning: Use a soft broom or vacuum specifically designed for hardwood to remove dust and debris.
- Moisture Control: Wipe up spills immediately and avoid excessive wet cleaning to prevent water damage.
- Coussinets pour meubles: Install pads under furniture legs to minimize scratches and dents during movement.
Tips for Future Care
Although hardwood floors can withstand a fair amount of wear, implementing proactive care strategies can greatly extend their lifespan and maintain their beauty. Prioritize preventive maintenance by regularly applying a suitable finish to protect against moisture and scratches. Schedule regular inspections to identify any signs of damage or wear early, allowing for timely repairs that can prevent more extensive issues. Use area rugs in high-traffic zones and make sure you've got felt pads under furniture legs to minimize dents and scratches. Keep humidity levels stable to avoid warping, and clean spills promptly to prevent staining. Finally, avoid using harsh chemicals; instead, opt for pH-balanced cleaners specifically designed for hardwood. By following these tips, you'll enjoy your beautiful floors for years to come.
Questions fréquemment posées
Can I Restore Hardwood Floors Without Professional Help?
Did you know that nearly 60% of homeowners tackle DIY projects, including floor restoration? You can absolutely restore hardwood floors without professional help, using various DIY techniques. However, consider the cost considerations; while you might save on labor, you'll need to invest in quality tools and materials. With patience and the right resources, you can achieve impressive results, giving you the freedom to customize your space and enhance its value.
How Long Does the Restoration Process Typically Take?
The restoration timeline for hardwood floors can vary based on the project's scope and your experience. Typically, the entire project duration ranges from a few days to a week. If you're sanding and refinishing, expect at least three days: one for sanding, one for staining, and another for sealing. However, drying times can extend this timeline, so you'll need to factor in additional days for ideal results. Planning ahead guarantees a smooth and efficient process.
What Types of Wood Can Be Restored?
You might think any wood can be restored, but that's not the case. When it comes to oak restoration or maple refinishing, these hardwoods are your best bets due to their durability and beautiful grain. They respond well to refinishing techniques, allowing you to bring back their luster. Other woods, like pine, can be trickier and may not yield the same stunning results. Knowing your materials is key to achieving that freedom in design.
Is It Safe to Use Vinegar for Cleaning Hardwood Floors?
Using vinegar for cleaning hardwood floors isn't generally recommended. While it's a natural cleaner, its acidity can damage the finish over time. Instead, consider vinegar alternatives like a pH-neutral cleaner designed for wood. For effective cleaning tips, always damp mop your floors and avoid excessive water, which can warp the wood. Regular sweeping and using felt pads under furniture will also help maintain your floor's integrity without risking damage from harsh substances.
How Often Should I Restore My Hardwood Floors?
You might think your hardwood floors need constant restoration—like a car needing oil changes every week! In reality, restoration frequency depends on usage and wear. Typically, you should consider restoring them every 5 to 7 years. To maintain their beauty, follow maintenance tips like regular cleaning and applying protective finishes. By doing so, you can enjoy your stunning floors for years without the stress of frequent restorations. Freedom comes with knowing when and how to care for them!