To install a tile shower floor, start by preparing a stable, sloped base and installing a waterproof membrane to prevent leaks. Next, apply a dense mortar bed with a consistent slope toward the drain. Plan your tile layout carefully, snap chalk lines, then set tiles with thinset mortar using spacers for even joints. After the tiles cure, grout the joints properly, then seal the grout to protect against moisture and stains. Follow these steps closely to guarantee a durable, watertight piso, and explore how each phase impacts longevity and finish quality.
Prepare the Shower Base
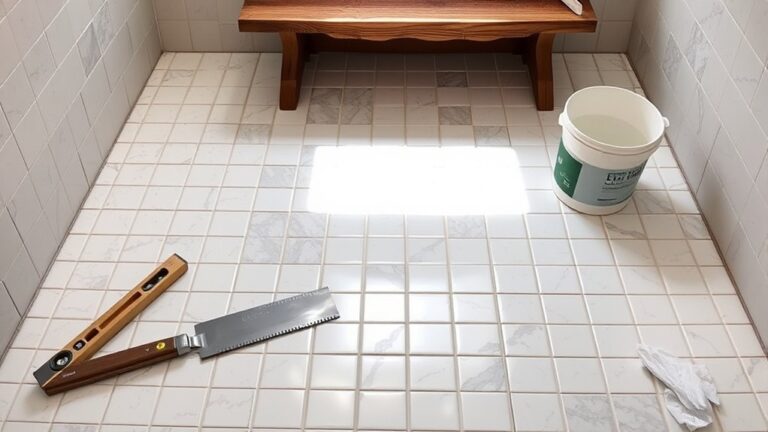
Before you begin tiling, you need to confirm the shower base is properly prepared to provide a stable, waterproof foundation. Start by selecting appropriate shower base materials, such as mortar beds or prefabricated foam panels, designed to support tile load and moisture resistance. Ensure the substrate is clean, solid, and free of debris. Pay close attention to slope considerations: the base must have a consistent 1/4 inch per foot slope toward the drain to prevent water pooling. Use a level and straightedge to verify uniform gradient across the entire base. Any imperfections or unevenness should be corrected before proceeding. Proper preparation of the shower base is essential for tile longevity and waterproof integrity, giving you the freedom to enjoy a durable, leak-free shower floor.
Install a Waterproof Membrane
You’ll need to select a waterproof membrane material, such as PVC, CPE, or liquid-applied membranes, based on your shower’s requirements. Carefully follow the manufacturer’s instructions for applying the membrane to guarantee a complete seal without gaps or wrinkles. Proper installation is critical to prevent water infiltration and protect the underlying structure.
Membrane Material Options
Although selecting the right membrane material can seem complex, understanding your options is essential to ensuring a fully waterproof shower floor. You can choose between sheet membranes like PVC membrane and CPE membrane, both offering durable, flexible barriers against moisture. PVC membranes are popular for their ease of installation and longevity, while CPE membranes provide chemical resistance and cost-effectiveness. Alternatively, liquid membranes offer seamless coverage, conforming to irregular surfaces without joints. When considering cost comparison, sheet membranes generally involve higher upfront material costs but quicker installation techniques, whereas liquid membranes may require more labor time but less material waste. Select a membrane based on your project’s specific needs, budget, and your comfort with installation methods. This choice directly impacts the shower floor’s durability and waterproof integrity.
Técnicas de aplicación
Applying a waterproof membrane involves several critical steps to guarantee a seamless barrier against moisture. First, thoroughly clean and dry the shower floor substrate. Next, measure and cut the membrane precisely, accounting for corners and drain openings—accurate tile cutting skills help in trimming excess without damaging the material. Choose an appropriate adhesive compatible with your membrane type; liquid-applied membranes often require a specific primer, while sheet membranes use thin-set or specialized waterproof adhesives. Apply adhesive evenly, avoiding bubbles or gaps that compromise the seal. Firmly press the membrane into place, ensuring full contact with the substrate. Overlap seams according to manufacturer guidelines and seal edges meticulously. Allow proper curing time before proceeding to tile installation, safeguarding your shower floor’s durability and moisture protection.
Apply a Mortar Bed
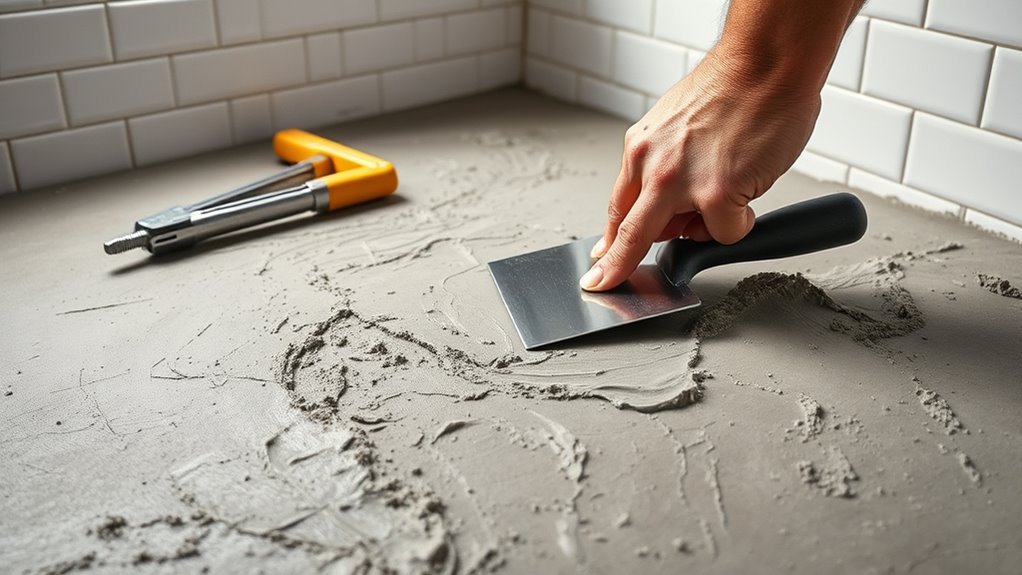
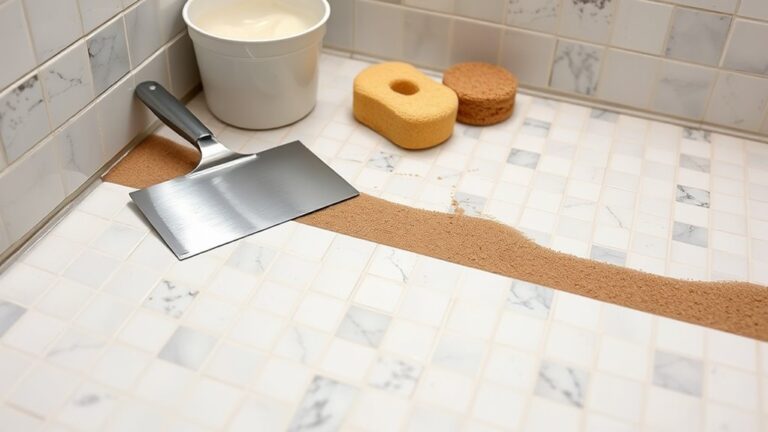
One essential step in creating a durable tile shower floor is to properly apply the mortar bed. First, select the appropriate mortar type—typically a dry-pack mortar for shower floors, known for its density and ability to form a solid substrate. Mix it to a stiff consistency, guaranteeing it holds shape without crumbling. Next, control the bed thickness carefully; aim for 1 to 1.5 inches to provide adequate slope and strength. Use a straightedge or screed board to level the mortar, maintaining the slope toward the drain for proper water flow. Compact the mortar thoroughly to eliminate voids, which can weaken the structure. By mastering these precise steps, you’ll establish a strong foundation that supports your tile installation and guarantees long-lasting freedom from leaks and cracks.
Plan the Tile Layout
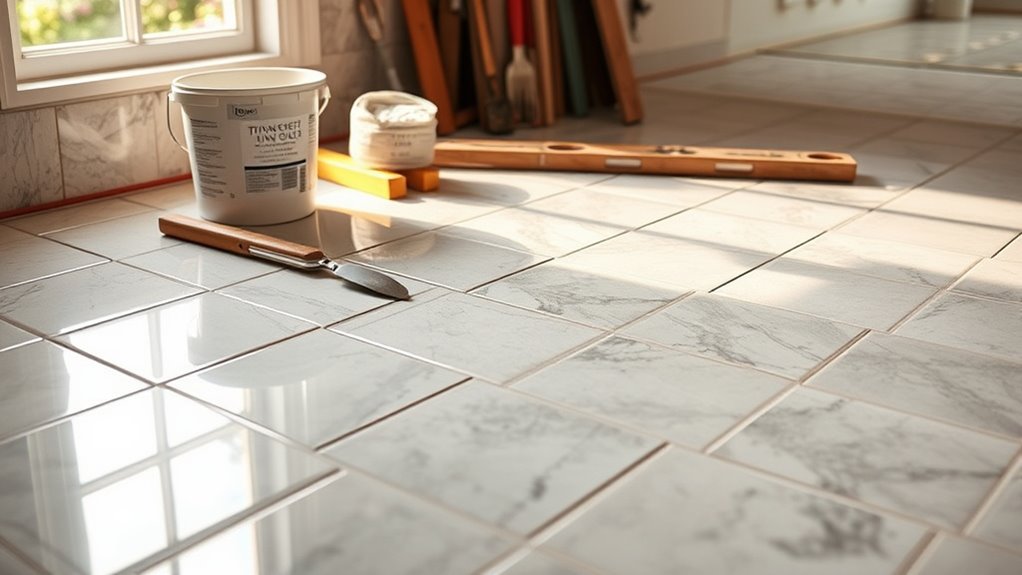
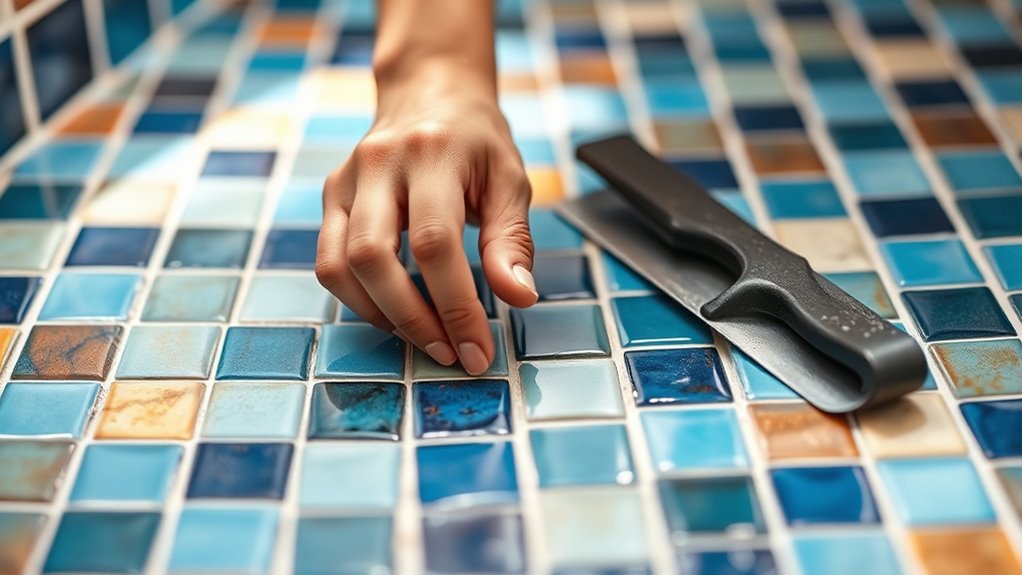
Before laying any tiles, you’ll need to carefully plan the tile layout to guarantee symmetry and proper alignment, which prevents awkward cuts and uneven grout lines. Start by measuring the shower floor dimensions precisely. Choose a tile pattern that complements the space, such as a grid, diagonal, or herringbone, considering both aesthetics and slip resistance. Mark the center point and snap chalk lines intersecting at 90 degrees to establish reference axes. Dry-lay tiles along these lines to visualize the arrangement and verify layout symmetry. Adjust placement to avoid narrow slivers of tile at edges, ensuring balanced cuts on all sides. This step is essential for achieving a professional finish and maintaining structural integrity. Once satisfied with the layout symmetry and tile patterns, you’ll be ready to proceed confidently to set the tiles in place.
Set the Tiles in Place
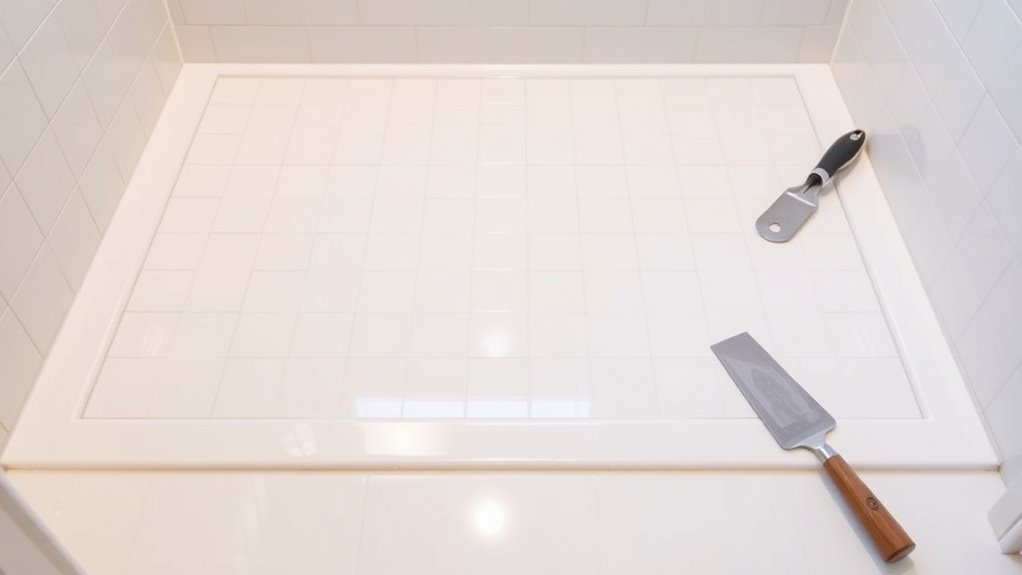
After finalizing your tile layout, spread a consistent layer of thinset mortar on the shower floor using a notched trowel. Carefully position each tile according to your plan, pressing firmly to guarantee proper adhesion and even spacing. Maintain alignment throughout to achieve a uniform, level surface.
Tile Layout Planning
Start by laying out the tiles dry on the shower floor to determine the ideal fit and pattern alignment. This dry run lets you visualize tile patterns and adjust placement for best layout symmetry, ensuring an aesthetically balanced finish. Align tiles with grout lines parallel to shower walls, checking for uniform spacing and consistent gaps. Focus on maintaining straight rows or deliberate pattern shifts, depending on your chosen design. Use spacers to simulate grout joints and measure edges where tiles meet curbs or drains, trimming as needed to avoid awkward cuts. Adjust tiles until you achieve a harmonious balance between full tiles and border cuts, maximizing symmetry. This planning step is essential—it gives you freedom to refine the layout before any adhesive is applied, preventing costly mistakes.
Applying Thinset Mortar
Mix the thinset mortar to a smooth, peanut butter-like consistency, ensuring it’s neither too wet nor too dry for ideal adhesion. Choosing the right thinset type is essential; modify your mixing techniques based on the specific mortar’s instructions. Use a margin trowel for small batches and an electric mixer for larger volumes to maintain uniformity.
| Thinset Type | Recommended Mixing Ratio | Application Notes |
|---|---|---|
| Unmodified Thinset | Water:Powder = 1:3 | Best for cement backer boards |
| Modified Thinset | Water:Powder = 1:4 | Enhanced flexibility |
| Rapid-Set Thinset | Water:Powder = 2:5 | Quicker curing time |
| Large Format Thinset | Water:Powder = 1:3 | Better bond on large tiles |
| Waterproof Thinset | Water:Powder = 1:4 | Ideal for wet areas |
Master these to set tiles for freedom in your shower floor installation.
Positioning and Pressing Tiles
While the thinset mortar remains workable, you’ll carefully position each tile according to your layout plan, guaranteeing alignment and spacing are consistent. Use tile spacers to maintain precise tile spacing, allowing for even grout lines. Press each tile firmly into the tile adhesive, applying uniform pressure to eliminate air pockets and assure a strong bond. Avoid sliding tiles once set, as this can disrupt the tile adhesive layer and misalign your layout.
- Align tiles to your reference lines for a professional finish.
- Use consistent pressure to secure each tile firmly.
- Maintain precise tile spacing for ideal grout application.
Grout the Tile Joints
Apply grout carefully to the tile joints using a rubber float, pressing it firmly to fill all gaps completely. Choose grout types appropriate for your shower floor—sanded grout works best for joints wider than 1/8 inch, while unsanded suits narrower joints. Mix the grout to a smooth, peanut butter-like consistency for ideal application. After filling, hold the float at a 45-degree angle and remove excess grout by scraping diagonally across the tiles. Wait about 15 minutes, then wipe the surface with a damp sponge, rinsing frequently to prevent haze. Avoid oversaturating the grout lines at this stage. Proper grout application guarantees structural integrity and water resistance. While sealing techniques come next, focus now on achieving uniform, fully packed joints to maximize durability and freedom from future repairs.
Seal the Grout and Finish
Once the grout has fully cured, you’ll need to seal it to protect against moisture and staining. Grout sealing is essential for maintaining your shower floor’s durability and appearance. Choose a sealant compatible with your grout colors to guarantee a uniform finish.
Sealing cured grout protects against moisture and stains, preserving your shower floor’s durability and appearance.
Follow these steps to finish professionally:
- Apply Sealant Evenly: Use a small brush or applicator to coat grout lines without overlapping tiles.
- Allow Penetration Time: Let the sealant soak in for the manufacturer’s recommended duration to maximize protection.
- Wipe Excess Sealant: Gently remove residue from tile surfaces with a damp cloth to avoid hazing.