To use floor tiles on your wall, first clean and prep the surface, filling cracks and sanding lightly for better adhesion. Choose durable, visually appealing tiles suited for vertical use. Apply a quality, vertical-friendly adhesive evenly, then set your tiles using spacers for uniform gaps. After curing, grout with the right type and seal to protect against moisture and stains. Regular cleaning and maintenance keep your wall stunning and lasting. Explore further to master each step with precision.
Preparing the Wall Surface
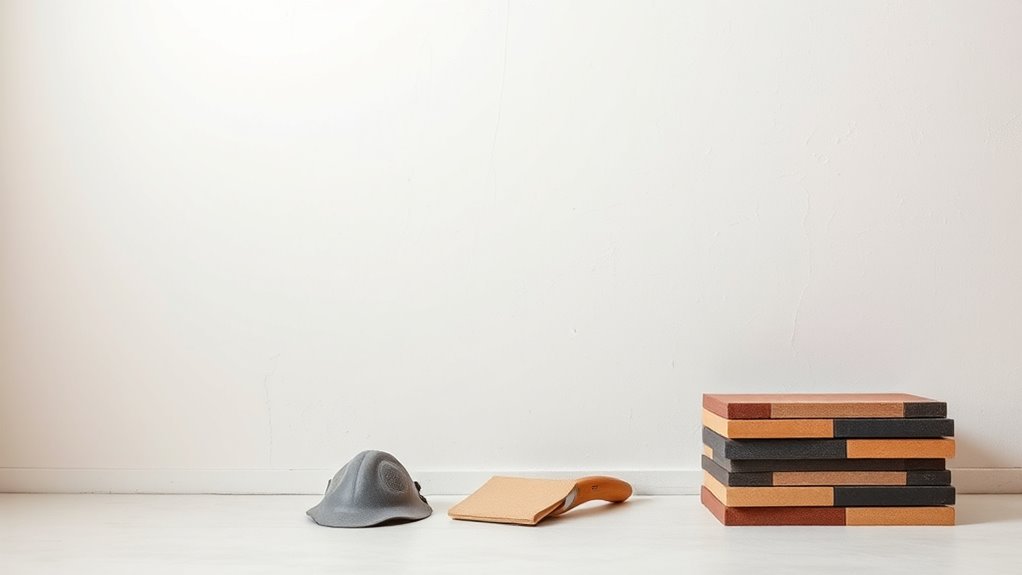
Before you begin applying piso tiles to your wall, preparing the surface is essential to guarantee a lasting and flawless finish. Your pre wall preparation starts with thorough wall surface cleaning—removing dust, grease, and any loose particles promotes ideal adhesion. Use a mild detergent and water, then rinse and let the wall dry completely. Inspect for cracks or holes, filling them with suitable filler for a smooth, even base. Sand the wall lightly to create a slight texture that helps the adhesive bond better without compromising the tile’s grip. This meticulous approach not only safeguards your design but grants you the freedom to express creativity with confidence, knowing the foundation is impeccably set for your floor tiles to transform the wall into a bold, enduring statement.
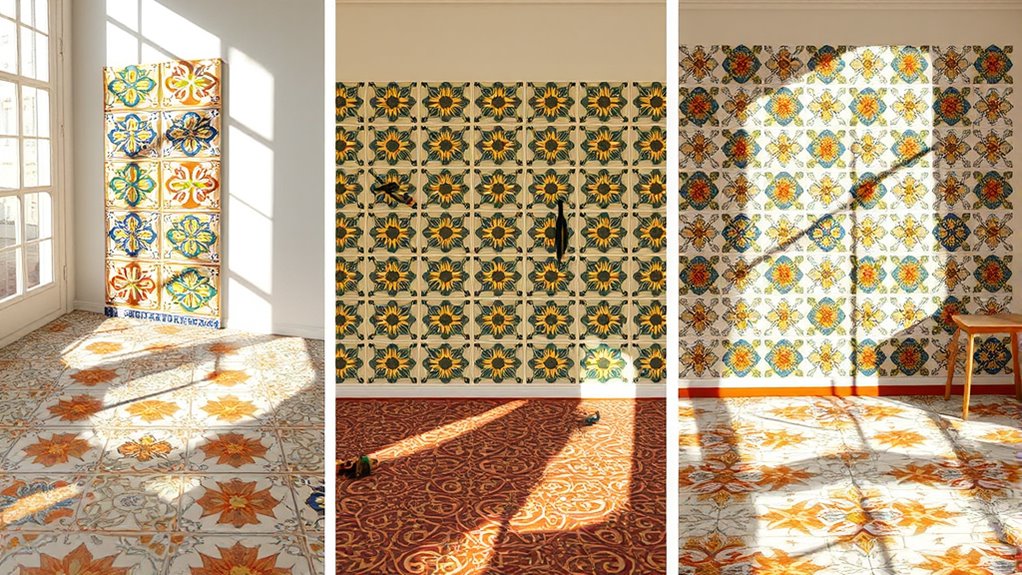
Selecting the Right Floor Tiles for Walls
With your wall surface impeccably prepared, the next step is choosing floor tiles that not only adhere well but also complement your design vision. When selecting tiles, consider their durability on vertical surfaces and slip resistance, even if they’re intended for floors. Pay close attention to tile color, as lighter shades can brighten a room, while darker hues add depth and sophistication. Design patterns play a significant role, too—geometric or mosaic styles can create striking focal points, while subtle textures offer understated elegance. Remember, you’re transforming a wall, so pick tiles that harmonize with your space’s overall aesthetic and lighting. Ultimately, your choice should reflect your personal style and the freedom to innovate with unconventional materials on your walls.
Applying Adhesive and Setting the Tiles
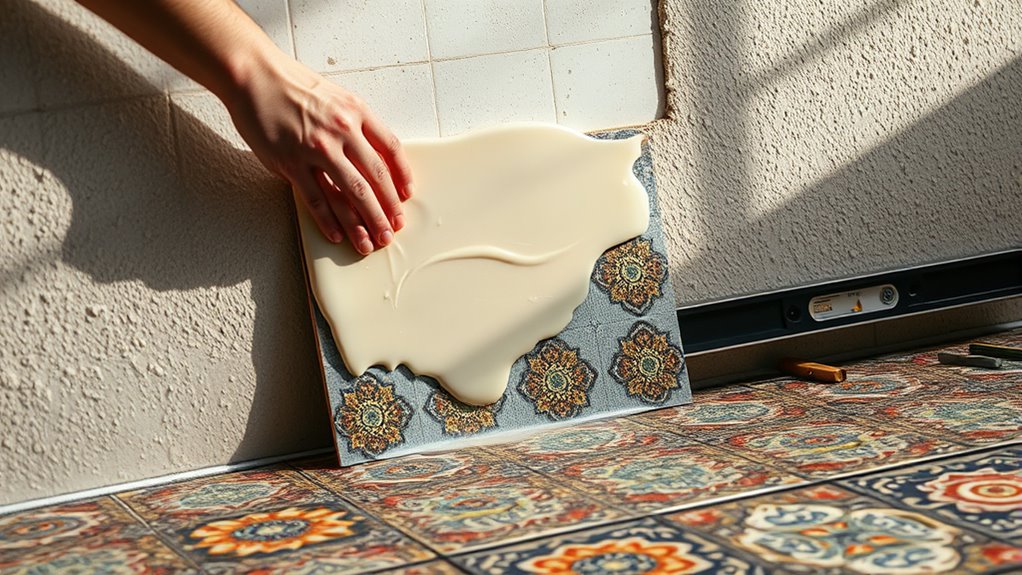
Start by selecting a high-quality adhesive specifically designed for vertical tile applications to guarantee strong, lasting bonds. Consider adhesive types like thin-set mortar or mastic, making sure they suit your wall’s surface and tile material. Spread the adhesive evenly with a notched trowel, maintaining consistent thickness to prevent uneven tiles. As you apply, plan your tile patterns carefully—whether classic grid, herringbone, or staggered—to enhance the space’s aesthetic freedom. Place each tile firmly into the adhesive, using spacers for uniform gaps and adjusting alignment as you go. Take your time setting tiles, pressing gently to eliminate air pockets. This precise approach guarantees your floor tiles adhere securely and elegantly on the wall, ready to transform your room with lasting style and durability.
Grouting and Sealing the Tiles
Once your tiles are firmly set and the adhesive has fully cured, it’s time to focus on grouting and sealing to assure both durability and a polished finish. Choose the right grout type—sanded for wider joints, unsanded for narrow gaps—to guarantee ideal adhesion and aesthetic harmony. Mix the grout to a smooth consistency, then apply it evenly using a rubber float, pressing firmly into the joints. Remove excess grout promptly to avoid haze. After the grout cures, apply appropriate sealing techniques: use a penetrating sealer for natural stone tiles or a surface sealer for ceramic. Sealing protects against moisture, stains, and grout discoloration, preserving your wall’s freedom to inspire. This precise process enhances both longevity and the refined look you’re aiming for.
Cleaning Up and Maintaining Your Tiled Wall
After sealing your tiles, the next step is to guarantee they stay as pristine as when you first installed them. Effective tile care begins with regular cleaning using a soft cloth or sponge and a gentle, pH-neutral cleaner to avoid damaging the grout or surface. Avoid abrasive tools that could scratch the tiles or degrade the sealant. For wall protection, promptly wipe off any spills or stains to prevent long-term damage or discoloration. Periodically inspect the grout lines for cracks or wear, resealing as needed to maintain a waterproof barrier. By adopting these simple maintenance habits, you preserve both the beauty and durability of your tiled wall, ensuring it remains a stunning, functional feature in your space for years to come.