To remove vinyl plank flooring in 10 easy steps, first gather tools like a utility knife, pry bar, gloves, and a scraper. Clear your room, protect surfaces, and ventilate the area. Start prying planks from a corner or edge after scoring them with a utility knife. Lift planks carefully to avoid damage. Inspect and clean the subfloor thoroughly for adhesive or damage. Dispose of materials responsibly. Accurate measurements and material selection follow next to prepare for new piso installation. More detailed guidance awaits beyond these basics.
Gather Necessary Tools and Materials
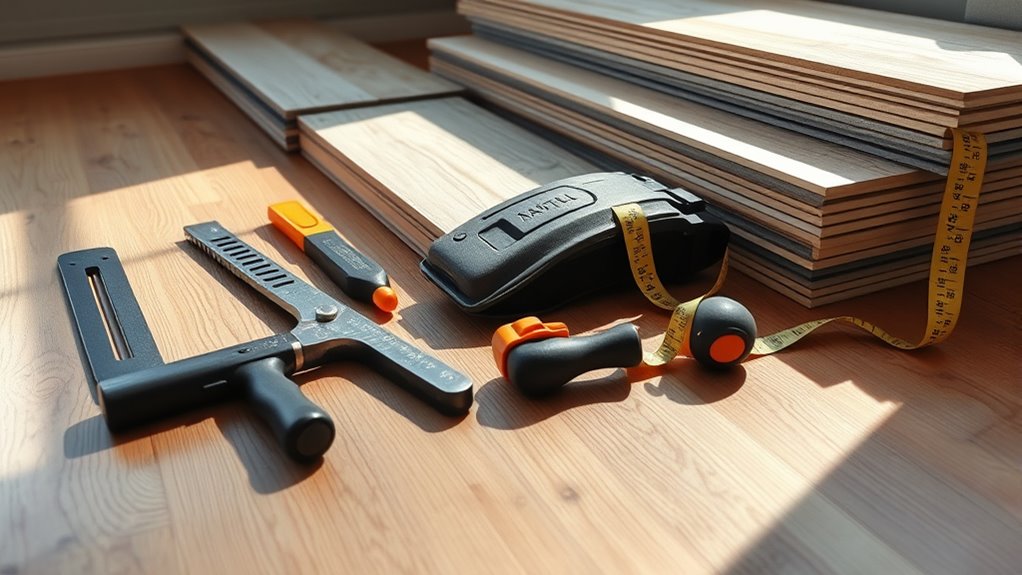
Before you begin removing vinyl plank flooring, you’ll need to gather a specific set of tools and materials to guarantee the process goes smoothly. Your tools checklist should include a pry bar, utility knife, floor scraper, hammer, and heavy-duty gloves for protection. A putty knife or chisel is essential for loosening stubborn planks, while a heat gun can soften adhesive if necessary. Material selection involves acquiring drop cloths to protect adjacent surfaces and a sturdy container for debris disposal. Additionally, consider safety gear such as goggles and a dust mask to shield yourself from particles. Having these items ready will streamline the removal process, giving you freedom to work efficiently without interruptions or risks due to missing equipment or improper materials.
Prepare the Room for Flooring Removal
With all your tools and materials at hand, the next step is to prepare the room to guarantee a safe and efficient flooring removal process. Begin by removing all furniture and personal items to clear the workspace completely. Implement room organization techniques by designating a specific area outside the room for temporarily storing these items. Next, verify proper ventilation by opening windows or using fans to dissipate dust and fumes. Lay down drop cloths or plastic sheeting to protect adjacent surfaces and minimize cleanup. Prioritize safety precautions: wear protective gloves, safety goggles, and a dust mask. Secure electrical outlets and cords to prevent tripping hazards. By methodically organizing the room and adhering to these safety measures, you set the foundation for a smooth, controlled removal process without unnecessary delays or risks.
Start at a Corner or Edge of the Room
Begin by carefully examining the room’s perimeter to locate an accessible corner or edge where the planks are least secured. You’ll want to identify a starting point that allows for gradual removal without damaging adjacent flooring or baseboards. This strategic choice guarantees an efficient and controlled removal process.
Locate Room Perimeter
To accurately locate the room perimeter, start by identifying a clean, unobstructed corner or edge where the vinyl planks meet the baseboard or wall. This helps define the boundary for removal and prevents damage to adjacent surfaces. Analyze the room layout carefully, noting any irregularities like alcoves or doorways that affect the flooring types and their arrangement. Use a measuring tape to confirm straight edges and guarantee alignment with the walls. Mark the perimeter lightly with chalk or painter’s tape to maintain a clear visual guide as you proceed. Precise perimeter identification minimizes errors during plank removal, preserving the integrity of the subfloor and expediting the process. This technical approach grants you control, enabling efficient, damage-free removal tailored to your room’s specific layout and materials.
Identify Starting Corner
Choosing one corner or edge of the room as your starting point is essential for an orderly vinyl plank removal. Begin with a thorough corner assessment to determine which area offers the easiest access and least resistance. Identify a corner where the plank alignment runs parallel to the wall, as this will allow you to lift the planks more efficiently without damaging adjacent sections. Avoid corners with irregular cuts or changes to other flooring types, as these complicate removal. Once you select your starting point, use a flat pry bar to gently lift the first plank along the seam. This precise approach respects the flooring’s design and adhesive pattern, enabling a controlled and systematic removal process that preserves the integrity of surrounding planks and accelerates your progress.
Use a Utility Knife to Cut Through the Vinyl Planks
Although vinyl planks are designed to interlock tightly, you’ll need a sharp utility knife to cut through them efficiently. Start by scoring along the plank’s length where you want to detach it, applying steady pressure to penetrate the durable vinyl plank durability layer without damaging the subfloor. Make multiple passes if necessary, ensuring a clean, straight cut. This precision reduces damage during flooring maintenance and preserves adjacent planks. Using a fresh blade improves control and safety, preventing slips. Keep your cuts aligned with plank seams for easier removal. By mastering this technique, you maintain control over the process and minimize unnecessary damage, empowering you to remove your vinyl flooring confidently and retain your freedom to upgrade or repair without professional help.
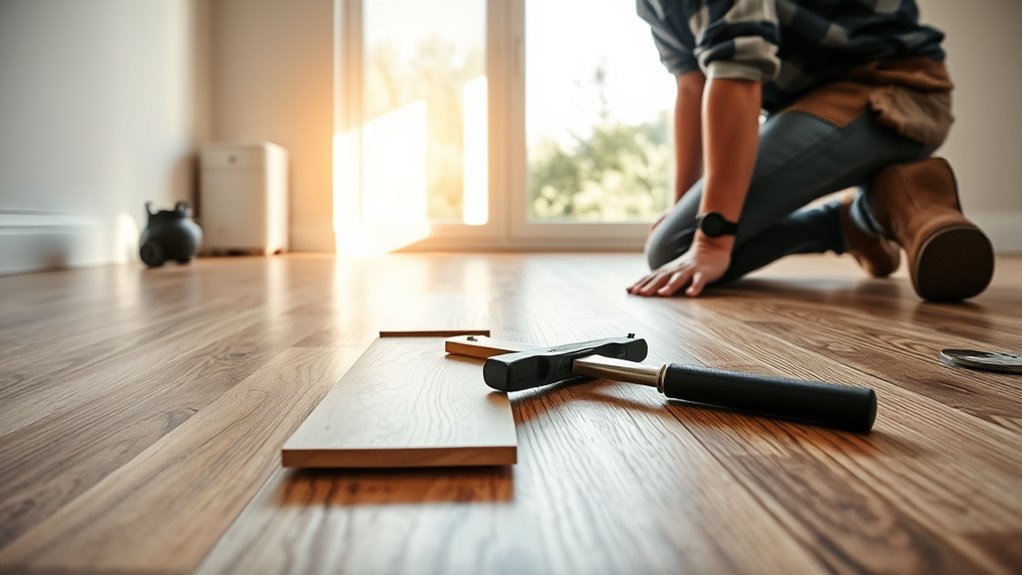
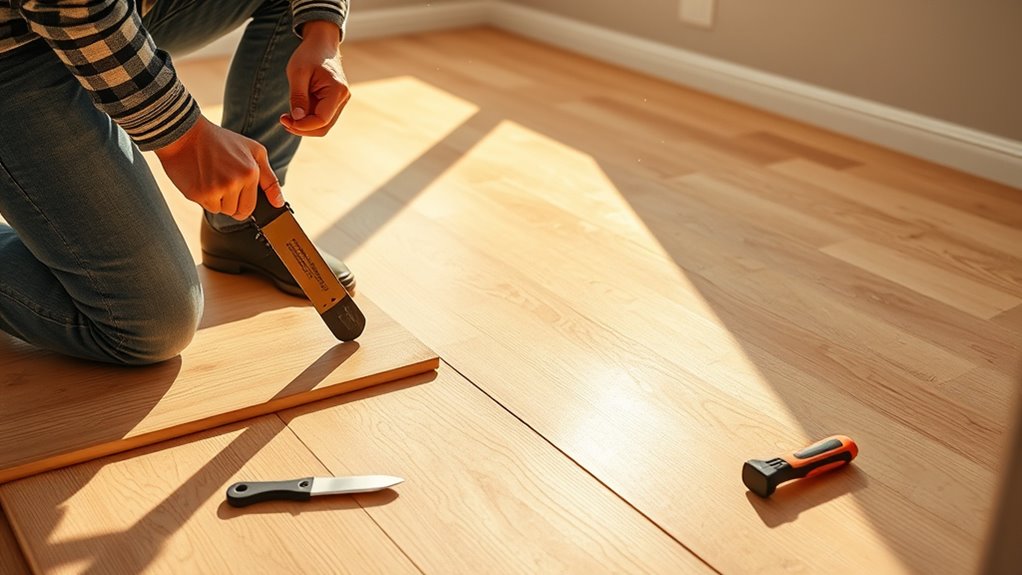
Pry Up the Vinyl Planks Carefully
Start by inserting a flat pry bar or putty knife gently under the edge of the vinyl plank you scored. To pry up the vinyl planks carefully, follow these steps:
- Apply steady, controlled pressure to lift the plank without cracking or damaging it, respecting the flooring types involved.
- Work incrementally along the plank’s length, easing it up to prevent tearing or splintering.
- Wear gloves and eye protection as safety precautions to avoid injury from sharp edges or flying debris.
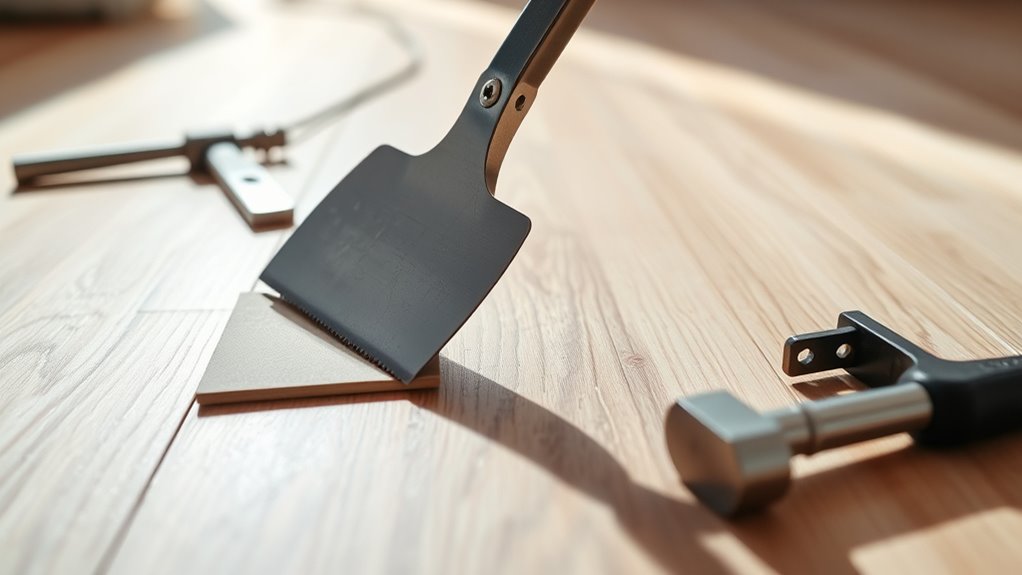
Remove Adhesive Residue From the Subfloor
Once you’ve carefully lifted the vinyl planks, you’ll likely notice adhesive residue left on the subfloor. To achieve a clean surface, start by selecting the appropriate adhesive removal techniques. Apply a commercial adhesive remover or a solvent recommended for your subfloor type, guaranteeing proper ventilation. Use a putty knife or scraper at a low angle to gently lift softened adhesive without damaging the subfloor. For stubborn spots, reapply the solvent and allow it time to penetrate before scraping again. Follow up with subfloor cleaning tips such as sweeping or vacuuming debris, then mop with a mild detergent solution to remove any remaining residue. This meticulous approach guarantees your subfloor is ready for any new flooring installation, granting you the freedom to proceed confidently.
Inspect the Subfloor for Damage
Before installing new flooring, you’ll need to thoroughly inspect the subfloor for any damage that could compromise its integrity. A precise subfloor inspection is essential to guarantee a stable foundation. Begin your damage assessment by:
- Checking for Moisture: Use a moisture meter to detect dampness, which can weaken the subfloor and promote mold growth.
- Identifying Structural Issues: Look for cracks, warping, or soft spots that indicate rot or compromised support.
- Examining Fasteners and Joints: Confirm nails or screws are secure and seams are tight; loose or missing fasteners can cause movement.
Addressing these points during your damage assessment ensures the subfloor’s readiness, empowering you to install new flooring confidently and maintain long-term durability.
Clean the Subfloor Thoroughly
Thoroughly cleaning the subfloor eliminates debris, adhesive residue, and dust that can interfere with the adhesion and stability of your new vinyl plank flooring. Begin by sweeping or vacuuming to remove loose particles. Next, use a scraper or adhesive remover to eliminate any stubborn glue remnants. Afterward, mop the surface with a mild detergent solution to clear away fine dust and dirt. Once dry, conduct a moisture assessment to verify the subfloor’s moisture content is within acceptable limits; excessive moisture can compromise flooring integrity. Use a moisture meter for accuracy. Address any moisture issues before proceeding. Proper subfloor cleaning not only guarantees a smooth, even surface but also promotes ideal bonding and longevity of your new flooring, giving you the freedom to enjoy a flawless installation without unexpected setbacks.
Dispose of Old Vinyl Planks Properly
After verifying the subfloor is clean and dry, you’ll need to focus on disposing of the old vinyl planks correctly. Proper disposal minimizes environmental impact and complies with local regulations. Here are essential disposal tips:
- Research recycling options: Check with local waste management facilities or specialized vinyl recycling centers to see if they accept vinyl planks for repurposing.
- Segregate materials: Separate vinyl planks from adhesives or underlayment to streamline recycling or disposal processes.
- Use authorized disposal sites: If recycling isn’t available, dispose of vinyl planks at approved landfills or waste transfer stations to prevent hazardous material contamination.
Following these steps guarantees you handle old vinyl flooring responsibly, maintaining your freedom to renovate sustainably and within legal boundaries.
Plan for Your New Flooring Installation
Before installing your new flooring, accurately measure the floor dimensions to determine the exact amount of material needed. Select materials that are compatible with your subfloor type and intended use, considering durability and moisture resistance. Proper planning guarantees a smooth installation process and peak performance of your new floor.
Medir las dimensiones del piso
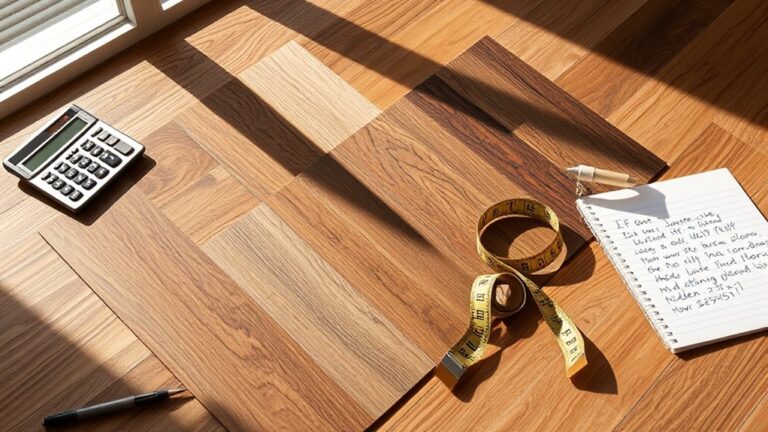
To accurately measure your floor dimensions for your new vinyl plank flooring installation, start by dividing the room into manageable sections, especially if it has an irregular shape. Employ precise floor measuring techniques to guarantee accurate measurements, which are essential for ordering the correct amount of material and minimizing waste. Follow these steps:
- Measure the length and width of each section using a retractable tape measure, recording the dimensions in feet and inches.
- Calculate the area of each section by multiplying length by width; then, sum these areas to get the total square footage.
- Add an extra 5-10% to your total to account for cutting errors and pattern matching.
Choose Appropriate Materials
Selecting the right materials is essential for ensuring durability, aesthetics, and ease of installation in your vinyl plank flooring project. Start by evaluating vinyl plank types—rigid core, luxury vinyl tile (LVT), or flexible vinyl—each offering distinct benefits. Rigid core planks provide superior stability and water resistance, ideal if you want freedom from frequent repairs. Consider plank thickness and wear layers; thicker planks with robust wear layers improve longevity and reduce flooring maintenance needs. Also, select adhesive or click-lock systems compatible with your subfloor. Prioritize materials that balance performance with your lifestyle, ensuring your flooring endures daily use without sacrificing design. Proper selection not only streamlines installation but also minimizes upkeep, granting you lasting freedom from worries about premature damage or complex repairs.