To remove stains from wooden floors step by step, first identify the stain type—water, oil, ink, or pet-related. Clear the area and gather supplies. Use vinegar and olive oil for watermarks, baking soda for grease, or rubbing alcohol for ink. For stubborn stains, apply vinegar and baking soda mixture. If needed, sand deeply then refinish with even coats of protective finish. Taking these targeted steps restores your floor’s look and helps prevent future damage. You can explore more refined techniques and tips that enhance results perfectly.
Identifying the Type of Stain on Wooden Floors
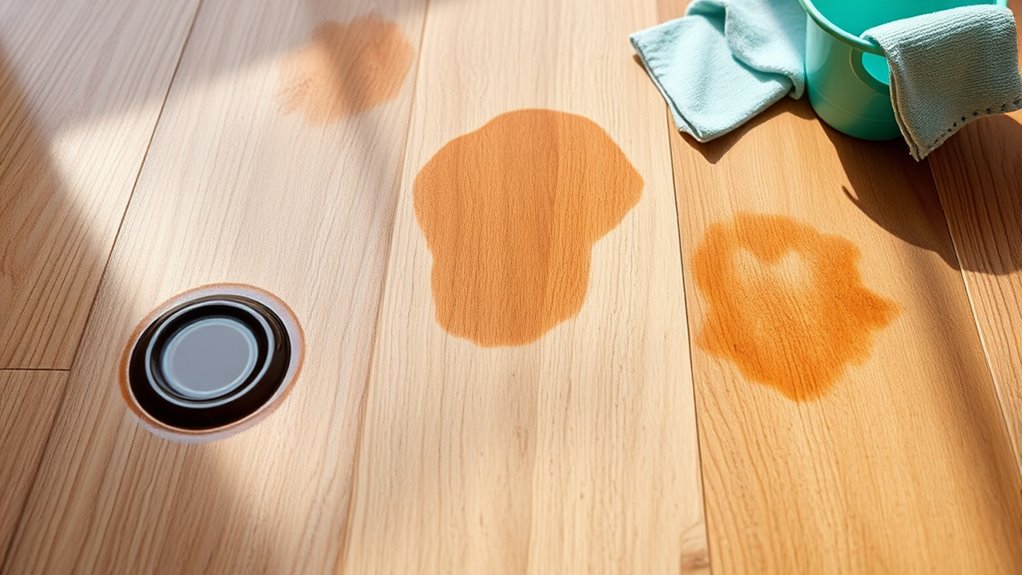
How can you effectively remove a stain if you don’t know what caused it? The first step is accurately identifying the stain type. Different stain types—such as water, oil, ink, or tannin—require distinct removal approaches. Start by examining the stain’s color, texture, and location on your wooden piso. Use identifying methods like blotting with a white cloth to test for oiliness or applying a mild cleaner to observe reaction. Consider recent activities that might hint at the stain’s origin. By pinpointing the stain type, you gain control, enabling targeted treatment that preserves your floor’s integrity. This methodical approach frees you from trial-and-error, empowering you to restore your wooden floor confidently and efficiently.
Preparing Your Wooden Floor for Stain Removal
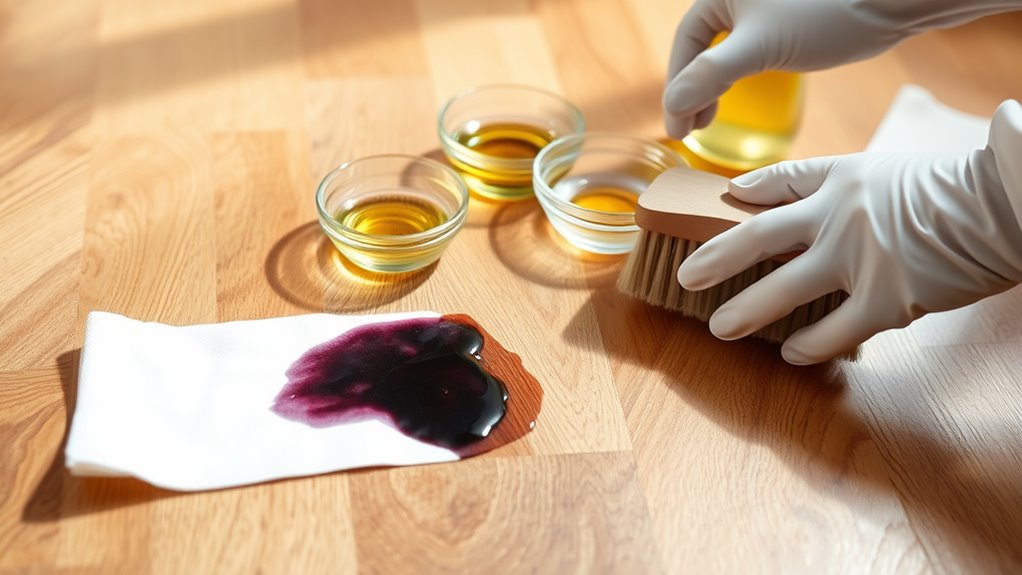
Once you’ve identified the stain type, the next step is preparing your wooden floor for effective removal. Proper preparation guarantees the cleaning process is safe and efficient, preventing further damage.
- Clear and Clean the Area: Remove furniture and sweep the floor to eliminate dust and debris. This creates a clean working surface and prevents dirt from spreading.
- Gather Appropriate Cleaning Supplies: Select the right cleaning supplies based on the stain type. Using incorrect products can worsen stains or damage wood.
- Protect Surrounding Floors and Furniture: Use floor protection such as plastic sheets or painter’s tape around the stain to avoid accidental spills and protect adjacent areas.
Removing Water Stains From Wooden Floors
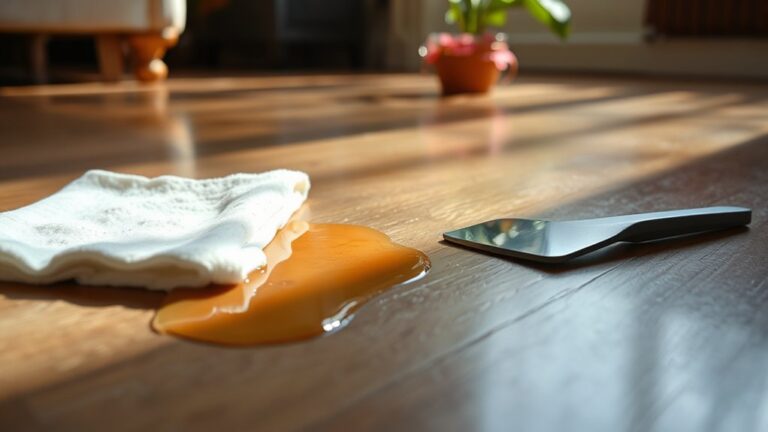
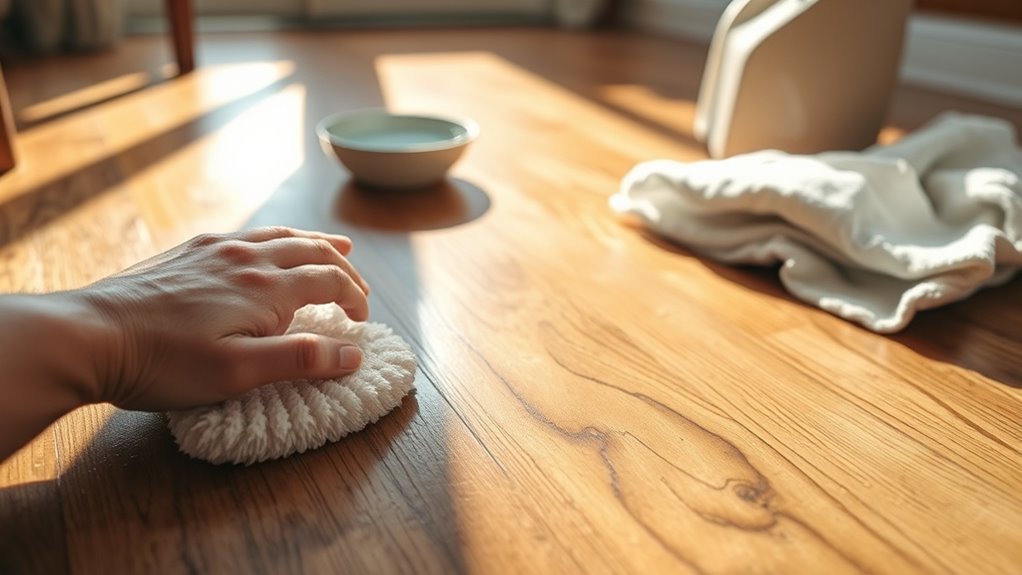
Water stains on wooden floors can be tricky, but with the right approach, you can restore your floor’s appearance effectively. Start by gently rubbing the area with a soft cloth dipped in a mixture of equal parts vinegar and olive oil to lift surface stains. For deeper water stain removal, lightly sand the affected spot with fine-grit sandpaper, then apply a matching wood finish. Always test any solution on a hidden area first. To prevent future stains, promptly wipe up spills and use coasters or mats under plants and furniture. Maintaining proper humidity levels also reduces risk. By addressing water stains carefully and implementing stain prevention strategies, you preserve your floor’s natural beauty and enjoy the freedom of a clean, well-maintained wooden surface.
Eliminating Oil and Grease Stains Safely
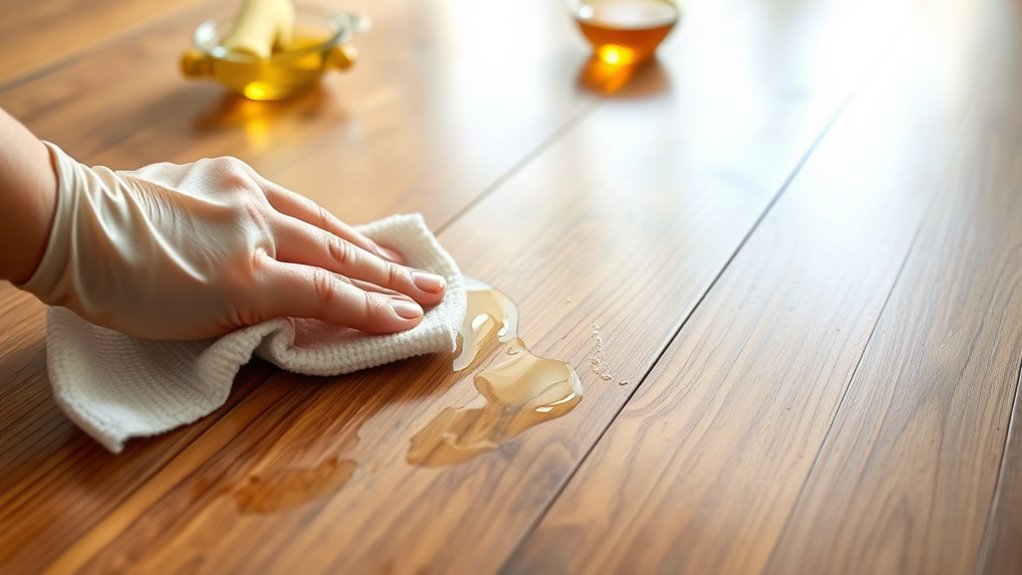
Besides water stains, oil and grease marks are common challenges that can mar the look of your wooden floors. To eliminate these safely, you’ll want to act quickly and use the right materials. Here’s how:
- Apply oil absorbents: Sprinkle baking soda or cornstarch over the stain to draw out excess oil. Let it sit for 15–30 minutes, then vacuum thoroughly.
- Use grease solvents: Choose a solvent designed for wood floors, applying it sparingly with a soft cloth. Test in an inconspicuous area first to avoid damage.
- Clean and dry: Wipe the area with a damp cloth, then dry immediately to prevent moisture absorption.
This method guarantees your wooden floors stay pristine without compromising their finish or structure.
Tackling Ink and Marker Stains on Wood
Although ink and marker stains can seem stubborn, you can effectively remove them from wooden floors by choosing the right approach and acting promptly. Start with mild ink removal techniques like gently dabbing the stain with a cloth soaked in rubbing alcohol or a specialized wood-safe cleaner. Avoid scrubbing, which can spread the stain or damage the finish. For marker stain solutions, try applying a small amount of non-acetone nail polish remover on a cotton swab, testing it first on an inconspicuous area. If these don’t work, a fine steel wool pad lightly used with mineral spirits can help, but only on unfinished or heavily sealed wood. Always dry the area thoroughly and consider reapplying a wood finish to protect your floor after treatment.
Cleaning Pet Stains Without Damaging Wood
When dealing with pet stains on wooden floors, it’s essential to act quickly to prevent permanent damage and odor absorption. Effective pet stain prevention starts with immediate cleanup using gentle cleaning solutions that won’t harm the wood’s finish. Follow these steps:
- Blot the stain with a clean, absorbent cloth to remove excess moisture without rubbing.
- Apply a wood-safe enzymatic cleaner designed specifically for pet stains; these break down organic matter without damaging wood fibers.
- Wipe the area with a damp cloth, then dry thoroughly to avoid warping or discoloration.
Using Vinegar and Baking Soda for Stubborn Stains
If pet stain treatments don’t fully remove discoloration, you can turn to a natural combination of vinegar and baking soda for tougher marks on your wooden floors. Vinegar benefits include its acidity, which helps break down stains without harsh chemicals, while baking soda acts as a gentle abrasive and deodorizer. Start by sprinkling baking soda directly onto the stain. Next, spray a mixture of equal parts water and white vinegar over the baking soda. You’ll notice bubbling—that’s the stain removal process working. Let it sit for 10-15 minutes, then gently scrub with a soft brush or cloth. Finally, wipe the area with a damp cloth and dry thoroughly. This method leverages effective cleaning methods while preserving your floor’s finish, giving you freedom from stubborn stains naturally.
Applying Commercial Wood Floor Cleaners Correctly
When selecting a commercial wood floor cleaner, you need to guarantee it suits your floor’s finish to avoid damage. Apply the cleaner sparingly with a soft cloth or mop, following the manufacturer’s instructions closely. Proper technique not only removes stains effectively but also preserves the wood’s integrity.
Choosing the Right Cleaner
Although many commercial wood floor cleaners are available, selecting the right one requires understanding your floor’s finish and the cleaner’s ingredients. This guarantees you protect your wood while effectively removing stains. Consider these three key points:
- Match the Cleaner to Your Floor Finish: Some cleaners suit sealed floors, others work better on waxed or oiled surfaces. Using the wrong type can damage the finish.
- Look for Natural Cleaners: If you want freedom from harsh chemicals, opt for natural cleaners. These often use plant-based ingredients, reducing risks to your health and floor.
- Choose Eco Friendly Options: Beyond safety, eco friendly cleaners minimize environmental impact. They break down safely and avoid harmful residues.
Técnicas de aplicación adecuadas
Choosing the right cleaner is only part of the process; applying it correctly guarantees you get the best results without harming your wood floor. Start by selecting appropriate cleaning tools—soft microfiber cloths or sponges work best to avoid scratches. Always test the cleaner on a small, inconspicuous spot to check for any adverse reactions. Different stain types require tailored approaches: for oily stains, a degreasing cleaner applied gently is ideal, while water-based stains may need a mild solution and quick drying. Apply the cleaner sparingly, working in small sections, and avoid saturating the wood to prevent damage. Use slow, controlled motions following the wood grain to lift stains effectively. After treatment, wipe excess moisture immediately and let the floor air dry fully to preserve its finish and longevity.
Sanding and Refinishing for Deep or Old Stains
When tackling deep or old stains, start by selecting the appropriate sandpaper grit to remove the damaged layer without harming the wood. You’ll want to sand evenly across the affected area to guarantee a smooth surface for refinishing. After sanding, apply the finish consistently to restore the floor’s appearance and protect it from future damage.
Choosing the Right Sandpaper
Selecting the proper sandpaper grit is essential for effectively removing deep or old stains from wooden floors without causing damage. Your grit selection directly influences the outcome of your sanding techniques, balancing efficient stain removal with preserving wood integrity.
- Coarse Grit (40-60): Ideal for stripping heavy finishes and deep stains but use cautiously to avoid gouging.
- Medium Grit (80-100): Best for smoothing out scratches left by coarse grit and refining the surface.
- Fine Grit (120-150): Perfect for final smoothing before applying any finish, ensuring even absorption.
Stick to this progression to maintain control and freedom over the refinishing process, avoiding over-sanding while effectively eliminating stains.
Applying Finish Evenly
Although sanding removes most of the visible stains, applying the finish evenly is essential to restore your wooden floor’s appearance and protect it from future damage. Start by choosing the right finish—polyurethane or oil-based—based on your floor’s type and desired look. Before applying finish, clean the surface thoroughly to remove dust and debris. Use a high-quality brush or applicator to spread the finish consistently, working along the wood grain. Apply thin, uniform coats, avoiding puddles or streaks. Allow each coat to dry completely before lightly sanding with fine-grit sandpaper to promote adhesion. Repeat the process until you achieve the desired coverage. By focusing on applying finish and ensuring evenness, you’ll safeguard your floor’s beauty and extend its lifespan with a smooth, professional result.
Preventive Measures to Avoid Future Stains on Wooden Floors
Since wooden floors are prone to absorbing liquids and oils, you’ll want to implement preventive measures that minimize exposure to potential staining agents. Preventive maintenance is essential for preserving your floor’s natural beauty and extending its lifespan. Start by applying high-quality protective coatings to create a barrier against spills and dirt. Here are three key steps:
Protect wooden floors by applying quality coatings and minimizing exposure to spills and oils for lasting beauty.
- Use area rugs and mats in high-traffic zones to catch debris and moisture before it reaches the wood.
- Clean spills immediately—don’t let liquids sit, as they penetrate quickly.
- Regularly inspect and reapply protective coatings as recommended to maintain an effective seal.
Following these steps guarantees your wooden floors stay stain-free and retain their rich, natural look, giving you the freedom to enjoy your space without worry.