To refinish engineered wood floors, first assess their condition for damage or wear, ensuring the veneer thickness allows light sanding. Gather tools like a drum sander, edge sander, and quality finishes. Clean the surface thoroughly, repair imperfections, then sand gently with appropriate grit in the wood grain direction while controlling dust effectively. Finally, apply a suitable finish—water- or oil-based—allow proper drying, and cure fully. Follow these steps carefully to restore your floors expertly and discover detailed techniques ahead.
Assessing the Condition of Your Engineered Wood Floors
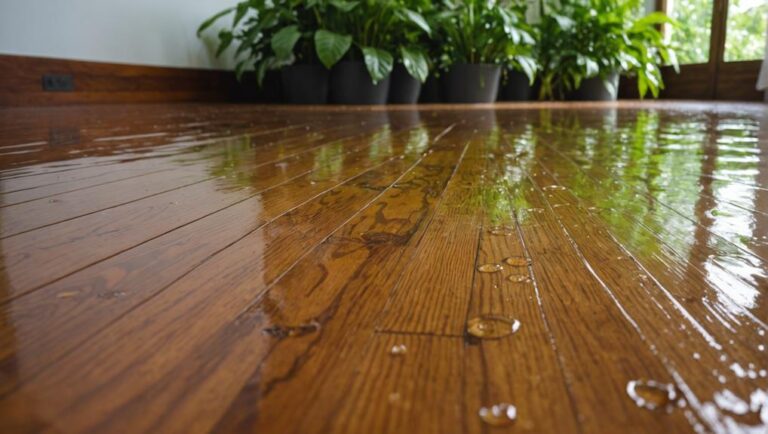
Before you begin refinishing, you need to thoroughly assess the condition of your engineered wood floors. Start with a detailed floor inspection, focusing on surface scratches, water damage, and wear patterns that can affect the refinishing process. Use proper lighting to detect subtle imperfections and unevenness. Conduct a damage assessment to determine if the top veneer layer is thick enough to withstand sanding without compromising the floor’s integrity. Pay attention to any delamination or warping, as these issues may require professional intervention before refinishing. Accurate evaluation allows you to decide whether sanding is feasible or if spot repairs are necessary. This step guarantees you maintain the floor’s structural stability while achieving a flawless finish, giving you the freedom to proceed confidently with your refinishing project.
Gathering Necessary Tools and Materials
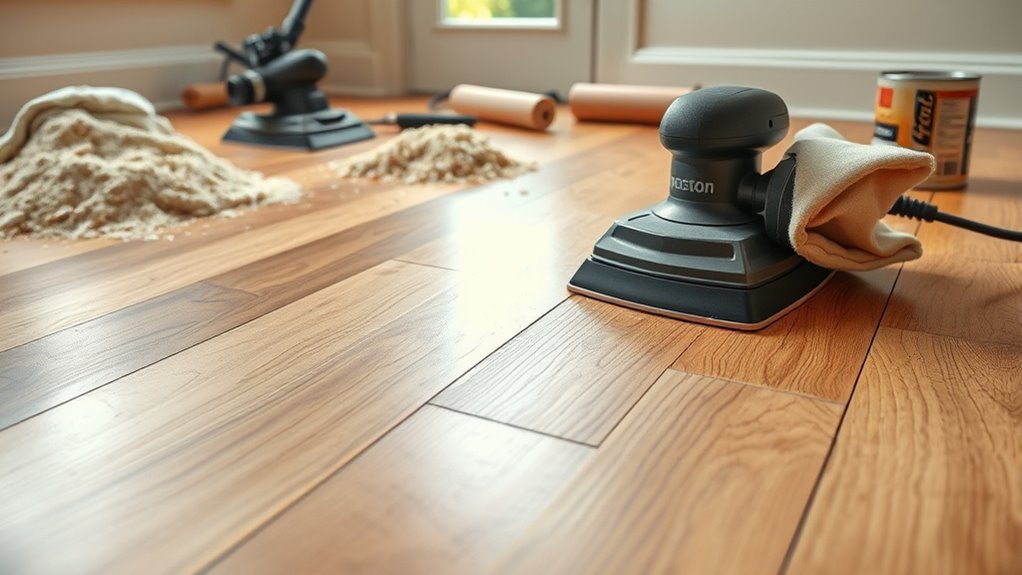
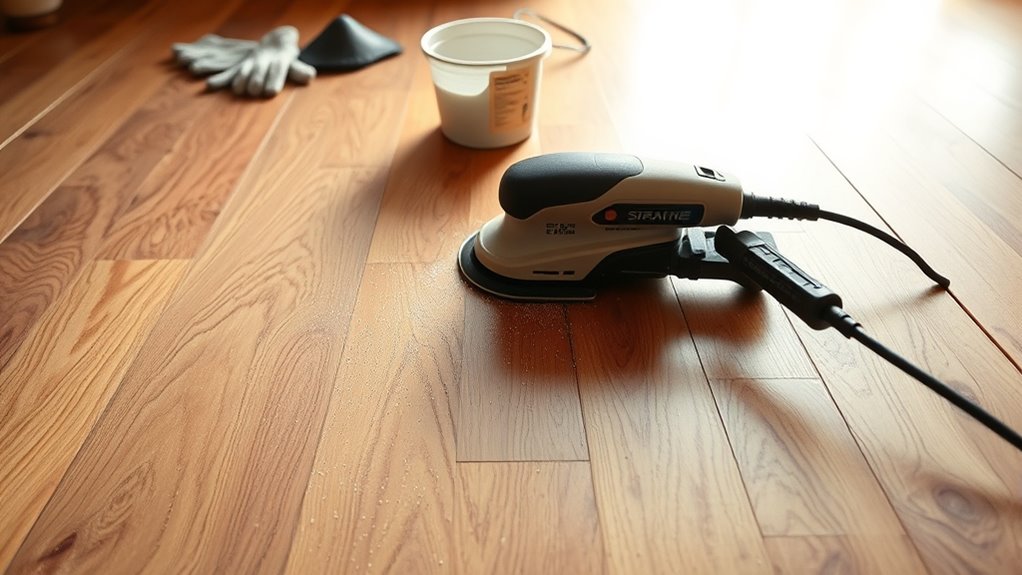
To successfully refinish your engineered wood floors, you’ll need a specific set of tools and materials that guarantee efficiency and quality results. Start by compiling a thorough tools checklist: a drum sander, edge sander, sanding screens of various grits, vacuum with a HEPA filter, tack cloths, and safety gear like dust masks and ear protection. For material selection, prioritize high-quality wood floor finish, appropriate wood filler, and primer designed for engineered surfaces. Choosing the right abrasives and finishes tailored to engineered wood ensures durability and aesthetic precision. Having this precise inventory ready liberates you from interruptions and maintains workflow momentum. This strategic preparation empowers you to execute each refinishing step confidently, achieving a professional-grade floor restoration without compromise.
Preparing the Floor Surface for Refinishing
Before you begin refinishing, thoroughly clean the floor to remove all dust, dirt, and debris that could interfere with adhesion. Inspect the surface for scratches, dents, or gaps, and make necessary repairs using appropriate fillers or wood patches. Finally, guarantee the floor is completely dry to prevent moisture-related issues during the refinishing process.
Cleaning and Debris Removal
Although sanding is a critical step in refinishing engineered wood floors, thorough cleaning and debris removal must be completed first to facilitate a smooth and even surface. You’ll need to identify debris types—dust, sawdust, pet hair, and grit—then apply the appropriate cleaning methods to fully clear the floor. Using a vacuum with a HEPA filter, followed by a microfiber mop, guarantees no particles remain to interfere with sanding or finishing.
| Debris Type | Cleaning Method | Objetivo |
|---|---|---|
| Dust | HEPA vacuum | Remove fine particles |
| Sawdust | trapeador de microfibra | Prevent surface scratches |
| Pet Hair | Sticky roller | Eliminate hair clumps |
| Grit | Damp cloth | Avoid sanding damage |
| Residue | Mild detergent wipe | Remove oils or stains |
Proper cleaning empowers you to refinish with freedom and precision.
Repairing Surface Imperfections
Three common types of surface imperfections you’ll encounter are scratches, dents, and gaps; addressing these defects accurately is essential for achieving a flawless finish. Begin surface repair by evaluating each blemish’s depth and severity. Minor scratches can be treated with a wood filler or putty matching the floor’s color. For dents, apply a damp cloth and use gentle heat with an iron to raise compressed fibers before filling. Gaps require precise filling with flexible wood filler to accommodate natural expansion and contraction. After applying fillers, sand the repaired areas smoothly, ensuring they blend seamlessly with the surrounding surface. Effective blemish treatment at this stage guarantees uniform absorption of stains and finishes, preventing visible inconsistencies. This meticulous surface repair lays the foundation for a professional-quality refinishing outcome.
Ensuring Proper Dryness
After repairing surface imperfections, you need to confirm that the floor is completely dry before moving on to refinishing. Proper moisture measurement is critical to avoid trapping moisture beneath the finish, which can cause warping or delamination. Use a reliable moisture meter designed for engineered wood to assess the floor’s moisture content accurately. Be mindful of prevailing climate conditions—high humidity or recent precipitation can elevate moisture levels, requiring extended drying times. Aim for moisture content within the manufacturer’s recommended range, typically between 6-9%. Guarantee adequate ventilation and stable indoor temperature to facilitate consistent drying. By rigorously verifying dryness, you prevent future damage and secure a durable, high-quality finish that preserves your freedom to enjoy the floor’s beauty without compromise.
Light Sanding Techniques for Engineered Wood
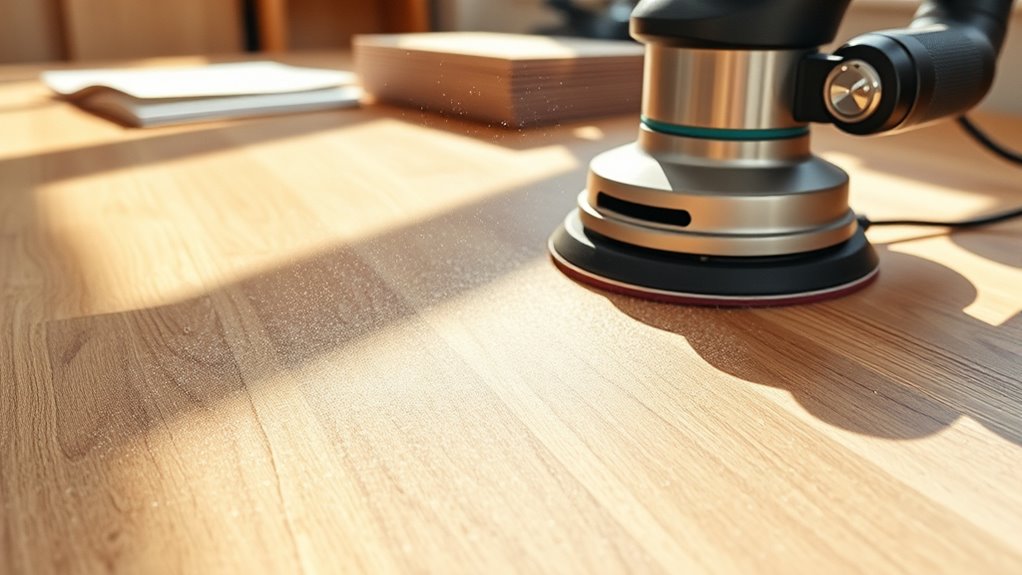
When light sanding engineered wood floors, you’ll need to select the appropriate grit to avoid damaging the veneer layer. Always sand in the direction of the wood grain to maintain surface integrity and prevent scratches. Additionally, implement effective dust control methods to protect both the floor and your workspace during the process.
Choosing the Right Grit
Although engineered wood floors require less aggressive sanding than solid hardwood, selecting the correct grit is essential to preserving the veneer layer while achieving a smooth surface. Your grit selection impacts the effectiveness of your sanding techniques and prevents damage to the thin top layer. Start with a finer grit to avoid over-sanding and gradually adjust based on floor condition.
| Grit Number | Objetivo | Uso recomendado |
|---|---|---|
| 120-150 | Light sanding | Initial pass on finished floors |
| 180-220 | Fine smoothing | Final sanding before finishing |
| 240+ | Ultra-fine polishing | Preparing for high-gloss finishes |
Your precise grit choice empowers you to refinish with confidence, ensuring longevity and freedom from costly errors.
Proper Sanding Direction
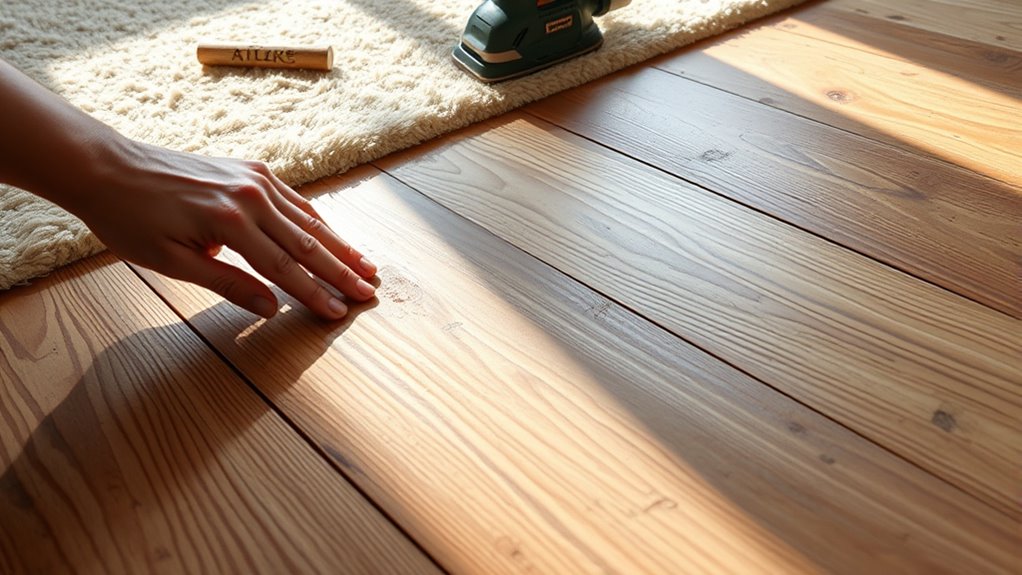
Since engineered wood floors have a delicate veneer layer, sanding direction plays a critical role in preserving the surface integrity. When applying sanding techniques, always sand parallel to the wood grain to avoid scratches that compromise the finish and durability. Light sanding should be performed with a fine-grit abrasive, ensuring you remove only the topcoat without penetrating the veneer. Avoid cross-grain or circular sanding motions, as these can cause uneven wear and damage the floor’s appearance. Consistent, controlled movements help maintain the engineered wood’s natural beauty while preparing it for refinishing. Proper sanding direction is essential for effective floor maintenance, extending the lifespan of your floors and preserving their aesthetic freedom. Stick to these principles, and your engineered wood will retain its strength and elegance for years.
Dust Control Methods
Controlling dust during light sanding is essential to maintain a clean work environment and protect the engineered wood’s surface. You should employ advanced dust containment systems designed to capture airborne particles at the source, minimizing residue buildup. Integrating vacuum dusting directly with your sanding equipment guarantees efficient removal of debris as you work, preventing dust from settling into seams or finishes. Opt for sanders compatible with high-efficiency vacuum attachments to maximize dust extraction. Additionally, sealing off the workspace and using air filtration units can further reduce airborne contaminants, preserving indoor air quality and safeguarding your freedom to work without restrictions. By implementing these precise dust control methods, you maintain the integrity of your engineered wood floors while creating an environment conducive to smooth, uninterrupted refinishing.
Cleaning and Removing Dust After Sanding
After sanding your engineered wood floors, you’ll need to remove all dust thoroughly to guarantee a smooth finish. Dust particles left behind from sanding techniques can compromise adhesion and result in an uneven surface. Begin by vacuuming the entire floor with a high-efficiency vacuum equipped with a brush attachment to capture fine dust from cracks and seams. Next, use a microfiber mop slightly dampened with water or a manufacturer-approved cleaner to pick up residual dust without saturating the wood. Avoid sweeping with a dry broom, as it redistributes dust. Inspect the floor under bright light to ascertain no particles remain. Proper dust removal after sanding restores the floor’s surface integrity, enabling you to apply finishes that bond effectively and last longer, providing you the freedom to enjoy flawless engineered wood piso.
Choosing the Right Finish for Engineered Wood Floors
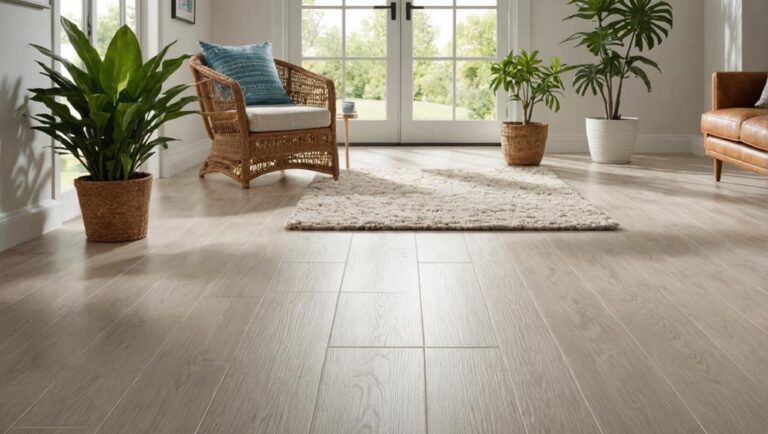
With the floor meticulously cleaned and free of dust, selecting the appropriate finish becomes your next priority to protect and enhance the engineered wood. You’ll need to evaluate finish types carefully—water-based polyurethane offers clarity and quick drying, ideal for preserving natural color, while oil-based finishes provide richer tones and robust durability considerations. Consider your lifestyle: high-traffic areas demand finishes with superior abrasion resistance, whereas lower-traffic zones might allow for finishes prioritizing ease of application. Additionally, matte, satin, or gloss sheens affect both aesthetics and maintenance. Make your choice based on the balance between desired appearance and the finish’s protective qualities. By understanding these factors, you guarantee your engineered floors maintain their beauty and strength, granting you freedom from frequent refinishing or premature wear.
Applying Finish and Allowing Proper Drying Time
Although selecting the right finish is essential, applying it correctly and allowing adequate drying time are equally important to guarantee durability and appearance. When applying finish, use a high-quality applicator to spread a thin, even coat, avoiding pooling or streaks. Work systematically, following the wood grain to guarantee uniform coverage. After application, employ recommended drying techniques—maintain consistent temperature and humidity levels to facilitate proper curing. Avoid heavy foot traffic until the finish is fully set, typically 24–48 hours depending on product specifications. If multiple coats are needed, lightly sand between layers to promote adhesion and smoothness. By mastering these steps, you guarantee your engineered wood floor achieves ideal protection and a flawless look, granting you the freedom to enjoy a resilient, beautiful surface for years to come.