To paint your garage floor, start by thoroughly cleaning and repairing cracks or stains, then etch the concrete for better adhesion. Use a high-quality epoxy paint with a matching concrete primer, applying both evenly with rollers or brushes in consistent strokes. Ascertain proper ventilation and maintain ideal temperature and humidity during drying and curing—typically 24-48 hours for drying and up to 7 days for full curing. Following these steps guarantees durability and resistance. You can explore further steps to optimize your garage floor’s finish.
Assessing Your Garage Floor Condition
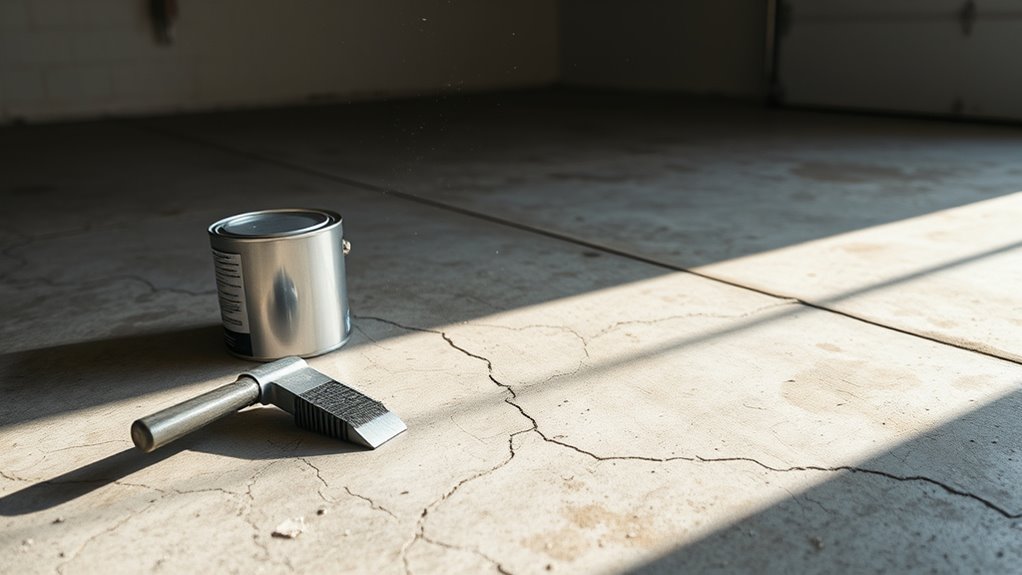
Before you begin painting, you need to thoroughly assess your garage piso condition to verify proper adhesion and durability of the paint. Conduct a detailed floor assessment by inspecting the surface for cracks, chips, oil stains, or moisture issues. Damage evaluation is critical; even minor imperfections can compromise paint adherence and longevity. Use a moisture meter to detect hidden dampness, and tap the floor to identify hollow areas indicating delamination. Note any unevenness or surface contaminants like grease, which require removal before painting. Document all findings systematically to address issues effectively during preparation. This precise evaluation guarantees you maintain control over the process, enabling your garage floor to achieve a resilient, high-quality finish that stands up to wear and tear, offering you the freedom of a durable, attractive workspace.
Gathering Essential Tools and Materials
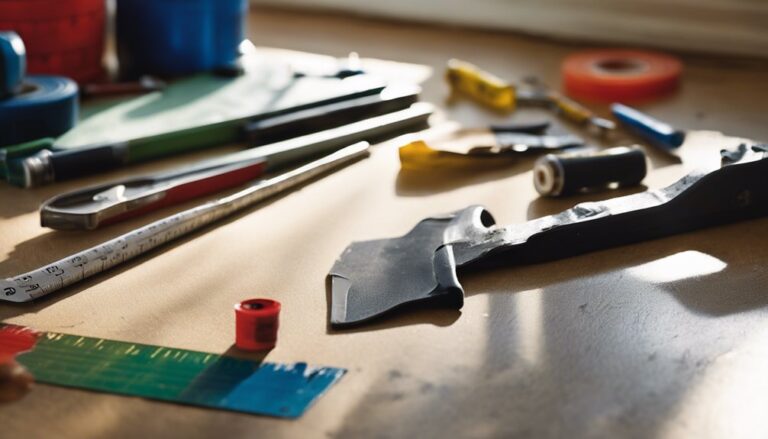
Once you’ve assessed your garage floor, you’ll need to gather specific tools and materials to guarantee a professional-quality paint job. Essential tools include a heavy-duty floor grinder or wire brush for surface preparation, a high-quality roller with an extension pole for even paint application, and a paint tray. Necessary materials involve an epoxy or concrete floor paint designed for durability and adhesion, a concrete etcher or degreaser to clean thoroughly, and a primer compatible with your chosen paint. You’ll also want painter’s tape to protect edges and ventilation masks to assure safety. Having these essential tools and necessary materials ready will streamline the process, giving you the freedom to focus on precise application and achieving a smooth, long-lasting finish.
Preparing the Surface for Painting
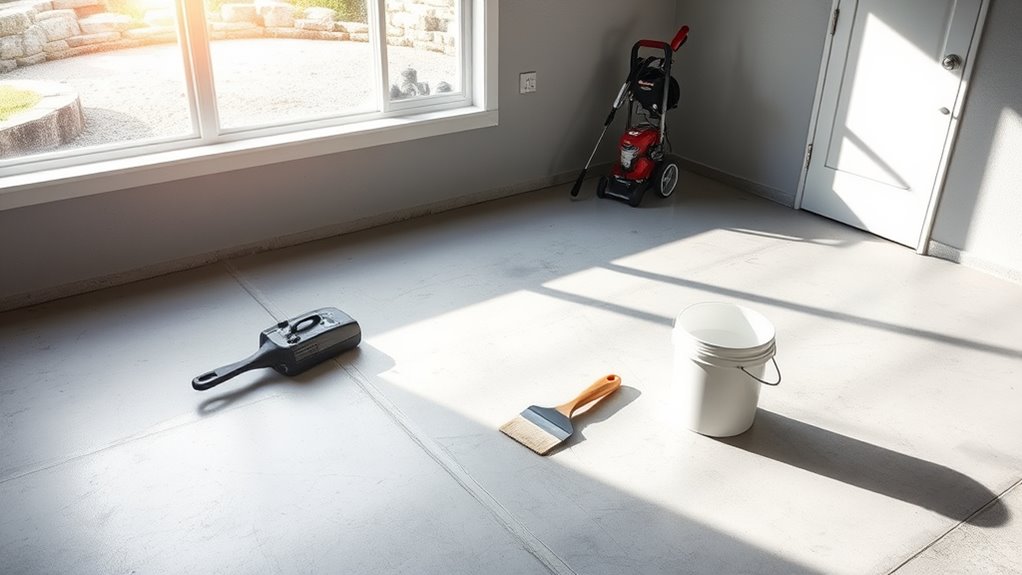
Three key steps are essential when preparing your garage floor for painting: cleaning, etching, and repairing. Start with effective cleaning methods to remove oil, grease, and dirt; degreasers and stiff brushes work best. Next, etch the concrete using a muriatic acid solution or a commercial etcher to open the surface pores, ensuring ideal paint adhesion. Rinse thoroughly and allow the floor to dry completely. Finally, inspect for cracks or holes and fill them with a suitable concrete patching compound. Proper surface preparation is critical—it guarantees durability and prevents peeling or flaking. By following these precise steps, you maintain control over the process and create a foundation that supports freedom from frequent repainting or repairs.
Choosing the Right Paint for Garage Floors
Selecting the right paint for your garage floor is essential to confirm durability and resistance to wear. You’ll want to focus on epoxy options, as these provide superior adhesion and chemical resistance compared to standard paints. Epoxy coatings form a tough, long-lasting surface that withstands heavy traffic, oil spills, and temperature fluctuations. Consider two-part epoxy systems, which chemically bond to concrete, enhancing paint durability and reducing peeling or chipping. Additionally, water-based epoxy paints offer easier application and quicker curing times, though they may sacrifice some longevity. Avoid conventional latex or oil-based paints, as they lack the robust protective qualities necessary for garage floors. By choosing the appropriate epoxy option tailored to your usage demands, you confirm a resilient, low-maintenance finish that preserves both function and aesthetics over time.
Applying the Primer and Paint
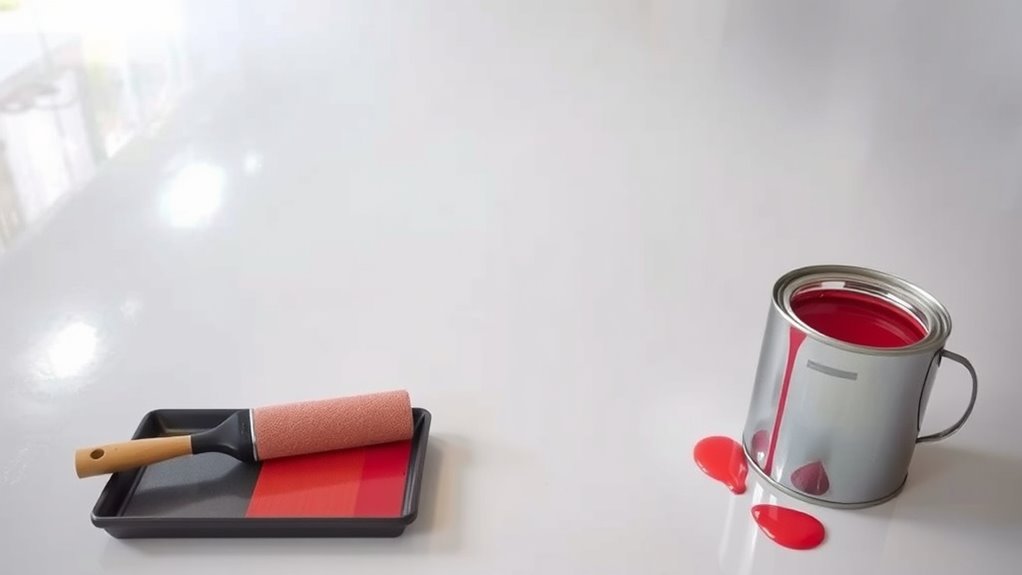
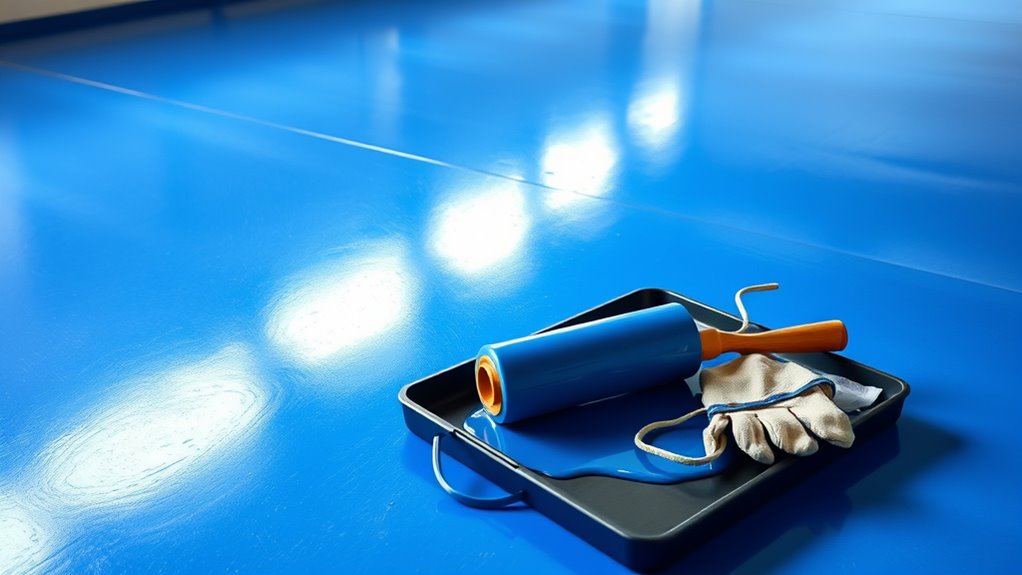
Before you start, select a primer specifically designed for concrete to guarantee proper adhesion and durability. Apply the primer evenly using a roller with a nap suited for rough surfaces to avoid streaks and patches. Once the primer is dry, use consistent, overlapping strokes to apply the paint, maintaining a wet edge for a smooth finish.
Choosing the Right Primer
Although applying paint directly to your garage floor might seem straightforward, choosing the right primer is essential for guaranteeing proper adhesion and durability. You’ll want to select from primer types specifically designed for concrete surfaces—epoxy primers offer excellent bonding and chemical resistance, while latex-based primers provide quicker drying times and easier cleanup. Consider your garage’s exposure to moisture and wear when deciding. For application, verify the floor is clean and dry, then use a roller or brush to apply the primer evenly. Avoid puddling or thin spots by following manufacturer application tips, such as recommended temperatures and drying times. Using the appropriate primer not only improves paint longevity but also resists peeling and cracking, giving you the freedom to maintain a durable, attractive garage floor.
Techniques for Even Coverage
When you apply primer and paint, maintaining even coverage is essential to achieve a smooth, durable finish that resists peeling and wear. Start by using roller techniques designed for flat surfaces: load the roller evenly and apply in consistent, overlapping strokes to avoid streaks or missed spots. Use a high-quality roller with a medium nap to guarantee proper paint absorption and release. For edges and corners, employ precise brush strokes, moving the brush steadily in one direction to blend seamlessly with the roller-applied areas. Avoid over-brushing, which can cause uneven texture. Working in small sections helps maintain a wet edge, preventing lap marks. By mastering these methods, you’ll guarantee your garage floor coating is both visually uniform and long-lasting, giving you the freedom to enjoy a professional-quality finish.
Adding a Protective Topcoat
To guarantee durability, you’ll need to select a topcoat compatible with your paint type and garage conditions. Applying the topcoat requires even strokes and proper tools to avoid bubbles or streaks. Keep in mind the manufacturer’s specified drying and curing times to achieve maximum protection.
Choosing the Right Topcoat
Since your garage floor will face constant wear and exposure to chemicals, choosing the right topcoat is essential for durability and protection. You’ll want to weigh various topcoat types and finish options to maximize longevity and maintain appearance. Here are four common topcoat types to evaluate:
- Epoxy – Offers excellent chemical resistance and a glossy finish.
- Polyurethane – Provides UV resistance and a range of sheen levels.
- Polyaspartic – Cures quickly with superior abrasion resistance.
- Acrylic – Budget-friendly with moderate protection and a matte finish.
Selecting the appropriate finish option—matte, satin, or gloss—depends on your preference for slip resistance and aesthetics. By understanding these topcoat types and finishes, you’ll equip your garage floor to withstand heavy use while enjoying the freedom of a durable, attractive surface.
Técnicas de aplicación
Applying a protective topcoat involves several critical steps to secure strong adhesion and lasting durability. Start by selecting the appropriate roller techniques for broad, even coverage; use a high-quality, medium-nap roller to apply the topcoat smoothly, avoiding excessive buildup. For edges and corners, employ brush techniques to maintain control and precision, guaranteeing complete coverage without streaks. Maintain a wet edge to prevent lap marks and work systematically across the surface. Apply thin, consistent layers rather than thick coats to avoid peeling or bubbling. Properly combining roller techniques with brush techniques allows you to achieve a uniform finish that withstands traffic and environmental stresses. Following these application protocols guarantees your garage floor remains protected while preserving the freedom to customize and maintain it over time.
Drying and Curing Times
While the protective topcoat may feel dry to the touch within a few hours, you’ll need to allow adequate drying and curing time to confirm maximum durability and adhesion. Proper drying tips and curing methods guarantee your garage floor withstands wear and tear. Follow these steps:
- Maintain a consistent temperature between 60-80°F to optimize curing.
- Confirm low humidity (below 70%) to prevent moisture interference.
- Avoid foot or vehicle traffic for at least 24-48 hours after applying the topcoat.
- Allow full curing for 7 days before heavy use to achieve maximum hardness and chemical resistance.
Allowing Proper Drying and Curing Time
Even after you’ve carefully applied the paint, you need to let it dry and cure properly to confirm durability and adhesion. Different drying methods, such as ambient air drying or using fans, can speed up surface drying, but curing importance goes beyond just the surface feel. Proper curing allows the paint to fully harden and bond with the concrete, preventing peeling and wear over time. Typically, you should avoid heavy traffic for at least 24-48 hours post-application and full curing can take up to 7 days, depending on temperature and humidity. By respecting these timelines and conditions, you confirm your garage floor coating achieves maximum strength and longevity, giving you the freedom to use your space without worry.