To make a floor plan in 10 easy steps, start by gathering tools like a tape measure, pencil, and graph paper. Measure your space accurately, noting wall lengths and door placements. Sketch the basic layout, then add architectural elements like windows and staircases. Define room functions and plan furniture placement carefully. Incorporate electrical and plumbing needs, then thoroughly review and refine your plan. Finally, digitize it for precision. Understanding these steps will help you create an efficient, functional design.
Reúne tus herramientas y materiales

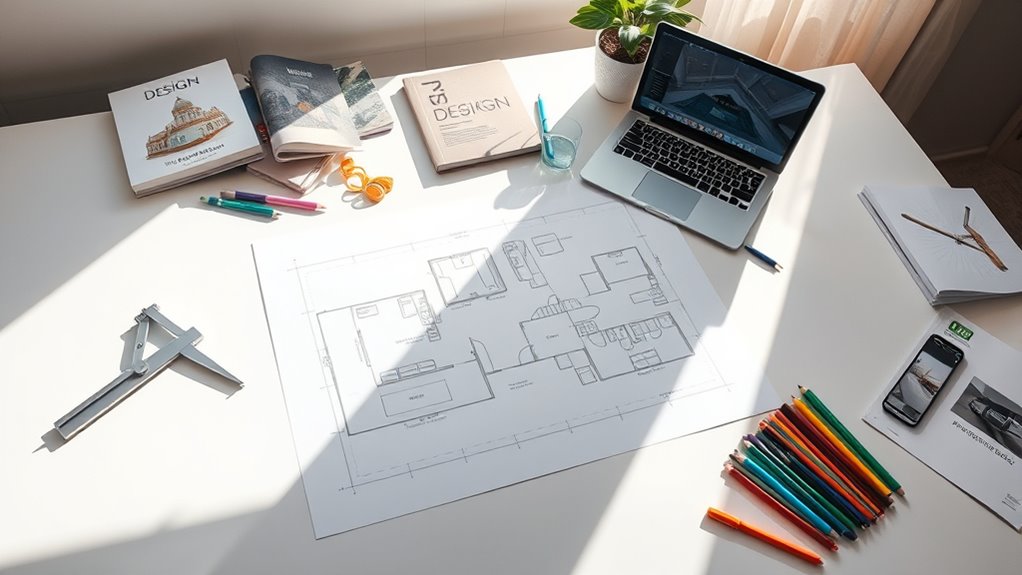
Before you begin drawing your piso plan, you’ll need to gather a specific set of tools and materials. Start with basic tools such as a pencil, eraser, ruler, and graph paper to guarantee precision in your layout. A tape measure or laser measure is essential for capturing dimensions accurately, but you’ll address that in the next step. Additionally, have a calculator handy for quick area calculations. Essential materials include a notebook to jot down notes and any reference images or existing blueprints for guidance. If you prefer digital methods, prepare software or apps designed for floor planning, paired with a reliable device. Organizing these basic tools and essential materials beforehand grants you the freedom to focus solely on crafting an accurate, efficient floor plan.
Measure the Space Accurately
You’ll need precise measuring tools like a tape measure or laser measure to capture accurate dimensions. Focus on recording wall lengths, door widths, and their exact locations within the space. Always double-check your measurements to guarantee your floor plan will be reliable and error-free.
Use Precise Measuring Tools
A reliable set of precise measuring tools is essential for capturing the exact dimensions of your space. Your tool selection directly impacts the accuracy of your floor plan. Employing advanced measuring techniques, such as laser distance meters or digital tape measures, enhances precision and reduces errors. Manual tools like steel tape measures remain useful but require steady hands and careful reading. Combining tools guarantees thorough data collection.
| Tool Type | Accuracy Level | Best Use Case |
|---|---|---|
| Laser Distance Meter | ±1/16 inch | Large rooms, quick readings |
| Digital Tape Measure | ±1/8 inch | Medium spaces, moderate detail |
| Steel Tape Measure | ±1/4 inch | Small spaces, simple layouts |
| Measuring Wheel | ±1/2 inch | Perimeters, irregular shapes |
| Smartphone Apps | Variable | Quick checks, supplementary |
Choose tools that fit your measuring techniques to maintain freedom and precision.
Note Wall and Door Dimensions
Three key measurements you’ll need to record accurately are wall lengths, door widths, and door heights. Begin by measuring each wall segment, noting wall thickness considerations, as these impact structural integrity and space planning. Use a consistent unit system to maintain precision. For doors, measure the width and height of the doorframe, paying close attention to the door swing analysis—determine whether the door swings inward or outward, and which side the hinges are on. This detail is essential for furniture placement and traffic flow. Record all dimensions clearly on your floor plan draft. By capturing these exact measurements, you guarantee your layout reflects real-world conditions, granting you the freedom to design confidently and avoid costly errors later in the process.
Double-Check All Measurements
Before finalizing your floor plan, double-checking all measurements is essential to affirm accuracy and prevent costly mistakes. Reassess each dimension using reliable measurement techniques, such as laser distance meters or steel tapes, to ascertain precision. Pay special attention to wall lengths, door widths, and ceiling heights. Confirm that angles are correct and consistent with your initial notes. Accuracy importance cannot be overstated, as even small errors can disrupt the entire layout and limit your design freedom. Cross-verify measurements by comparing them against architectural plans or by measuring multiple times if plans aren’t available. Document any discrepancies immediately and adjust your floor plan accordingly. This disciplined approach enables you to proceed confidently, knowing your floor plan accurately reflects the actual space, empowering your creative decisions without constraint.
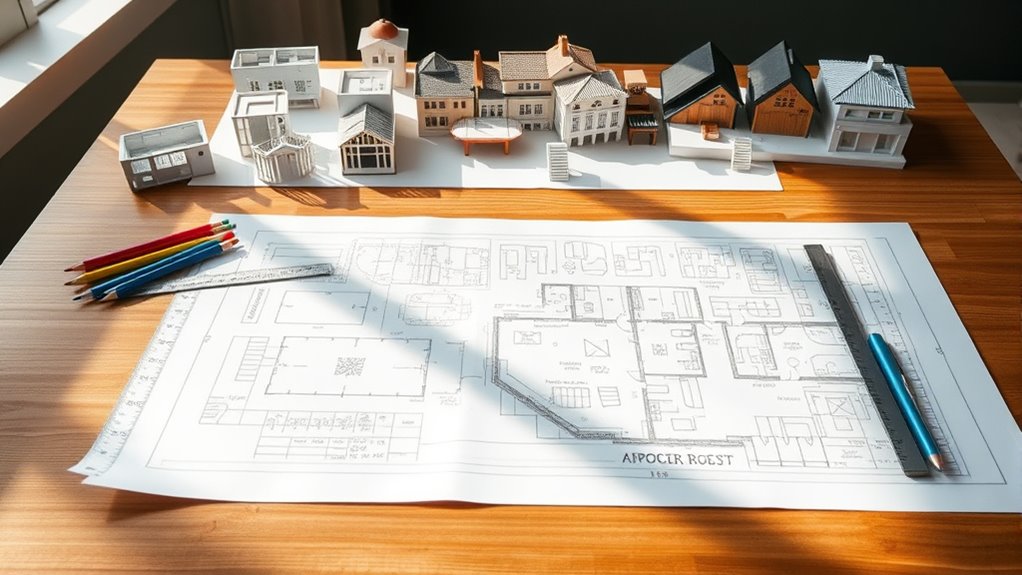
Sketch the Basic Layout
Start by outlining the primary rooms and their approximate dimensions on your paper or software. Use efficient sketch techniques like freehand drawing or digital grids to maintain accuracy. Choose layout styles that suit your needs—open, closed, or hybrid—to optimize space flow and functionality.
Maintain clarity by marking key areas with simple shapes, ensuring proportionality and spatial relationships. Here’s a quick reference for common room dimensions:
| Tipo de habitación | Typical Size (sq ft) |
|---|---|
| Sala de estar | 200 – 400 |
| Cocina | 100 – 200 |
| Dormitorio | 120 – 250 |
| Baño | 40 – 70 |
| Dining Room | 120 – 180 |
This structured approach gives you the freedom to modify and refine your floor plan efficiently.
Add Architectural Elements
Once you’ve established the basic layout, integrate architectural elements such as walls, doors, windows, and staircases to define functional spaces clearly. Start by selecting architectural styles that align with your overall vision; whether modern, traditional, or eclectic, these styles influence element shapes and placements. Apply core design principles like balance, rhythm, and proportion to position walls and openings logically, ensuring spatial coherence. Use precise measurements to indicate door swings and window sizes, facilitating natural light and circulation. Staircases must comply with safety standards and spatial constraints while complementing the style chosen. By accurately mapping these components, you create a structured yet flexible floor plan framework. This approach provides freedom to modify interior layouts later, maintaining integrity to your architectural style and design principles throughout the planning process.
Define Room Functions and Flow
Although defining room functions may seem straightforward, it requires deliberate consideration to optimize spatial efficiency and user experience. You need to clearly assign each room’s purpose based on predominant room activities. This guarantees that your floor plan supports natural flow efficiency, minimizing unnecessary movement and enhancing comfort.
To effectively define functions and flow, focus on:
To define functions and flow, prioritize spatial context, proximity, clear paths, and balance between private and communal spaces.
- Aligning room activities with their spatial context for intuitive use
- Prioritizing proximity between frequently connected spaces
- Creating unobstructed paths to facilitate smooth changes
- Balancing private and communal areas to suit lifestyle needs
Incorporate Doors and Windows
When incorporating doors and windows, focus first on ideal door placement to guarantee smooth traffic flow and accessibility. Carefully consider window sizes to balance structural integrity with adequate natural light. Prioritize window positioning to maximize daylight while minimizing glare and heat loss.
Door Placement Tips
Since doors and windows greatly affect traffic flow and natural light, their placement must be planned carefully in your floor plan. When positioning doors, consider how different door styles influence entry flow and spatial openness. Sliding doors, for example, save space and enhance movement, while swinging doors require clearance. Align doors to create intuitive pathways that support freedom of movement, avoiding bottlenecks or awkward shifts.
- Choose door styles that complement room function and entry flow
- Position doors to maximize unobstructed pathways
- Avoid placing doors opposite each other to prevent congestion
- Make sure doors don’t block windows or reduce natural light
Window Size Considerations
Three key factors determine ideal window size: natural light, ventilation, and integration with door placement. When planning your floor plan, select window styles that complement door locations to maintain flow and accessibility. Measure window dimensions precisely to balance daylight intake without compromising privacy or structural integrity. Consider operable window types to optimize ventilation while preserving security. Light control is essential; larger windows increase illumination but may require treatments or glazing options to prevent glare and heat gain. Align window sills and heads with adjacent doors for aesthetic consistency and functional harmony. Avoid placing oversized windows near doors that could restrict movement or furniture placement. By incorporating these technical considerations, you guarantee your design supports both freedom of use and environmental comfort, achieving a well-coordinated, efficient floor plan.
Natural Light Optimization
Balancing window and door placement not only affects flow and ventilation but also plays a significant role in optimizing natural light within your floor plan. To harness natural light effectively, strategically position windows and doors where sunlight enters unobstructed, enhancing design aesthetics and creating an open, airy environment. Consider the orientation of each opening to maximize daylight throughout the day without causing glare or overheating. Incorporate larger windows in living spaces and use doors with glass panels to extend light into adjoining rooms. Keep in mind:
- Align openings to capture morning or afternoon sun for warmth and brightness
- Use transom windows above doors to increase light penetration
- Avoid placing large windows opposite each other to prevent heat loss
- Integrate natural light to elevate mood and promote freedom in your living spaces
This precise approach guarantees your floor plan thrives on natural light and aesthetic harmony.
Plan Furniture Placement
When planning furniture placement, you should prioritize functionality and flow within the space. Consider how different furniture styles complement room aesthetics while maximizing usability. Arrange pieces to allow clear pathways and balance visual weight. Avoid overcrowding to maintain openness and freedom of movement. Use the table below to guide placement decisions based on room function and style.
| Room Function | Furniture Styles | Placement Tips |
|---|---|---|
| Sala de estar | Modern, Mid-century | Center seating around focal point |
| Dormitorio | Minimalist, Traditional | Keep bed accessible from both sides |
| Dining Room | Contemporary, Rustic | Allow at least 36” clearance around table |
This structured approach guarantees your floor plan supports both practical use and aesthetic harmony.
Consider Electrical and Plumbing Features
Although furniture placement defines your space’s usability, integrating electrical and plumbing features is essential for functionality and safety. When designing your floor plan, carefully map out the electrical layout to guarantee convenient access to outlets, switches, and lighting while avoiding clutter. Similarly, plan plumbing access points for kitchens, bathrooms, and laundry areas to optimize water flow and maintenance ease. Consider these key points:
- Position outlets to support your lifestyle without restricting movement
- Allocate plumbing access for efficient installation and future repairs
- Coordinate electrical and plumbing routes to prevent interference
- Guarantee compliance with safety codes and standards for peace of mind
Review and Refine Your Plan
Now that you’ve included electrical and plumbing features, it’s essential to review your floor plan for design flaws that could hinder functionality. Check for inefficient layouts or wasted space and make adjustments to optimize room usage. This refinement guarantees your plan is both practical and efficient before finalizing.
Identify Design Flaws
How can you guarantee your floor plan functions as intended before finalizing it? Conducting a thorough design evaluation is vital to spot flaws that could limit your freedom in living or working spaces. By critically analyzing your layout, you secure fluid movement, adequate lighting, and practical room relationships. This stage is essential for layout improvement.
Focus on these key points to identify design flaws:
- Inadequate circulation paths that hinder natural flow
- Poorly placed doors or windows restricting accessibility
- Imbalanced room sizes causing discomfort or underuse
- Insufficient consideration for future adaptability
Addressing these issues early empowers you to refine your plan, making certain it meets your lifestyle needs without constraints. Embrace this step to safeguard freedom in your space design.
Optimize Space Usage
After identifying design flaws, the next step is to optimize space usage by reviewing and refining your floor plan. Focus on enhancing space efficiency and layout flexibility to maximize the utility of every square foot. Consider multifunctional areas and adaptable furniture to allow freedom in how spaces are used.
| Aspecto | Optimization Strategy |
|---|---|
| Circulation | Minimize wasted pathways |
| Storage | Integrate built-in solutions |
| Room Size | Adjust dimensions for function |
| Colocación de muebles | Guarantee easy movement and access |
| Open Spaces | Use for flexible activities |
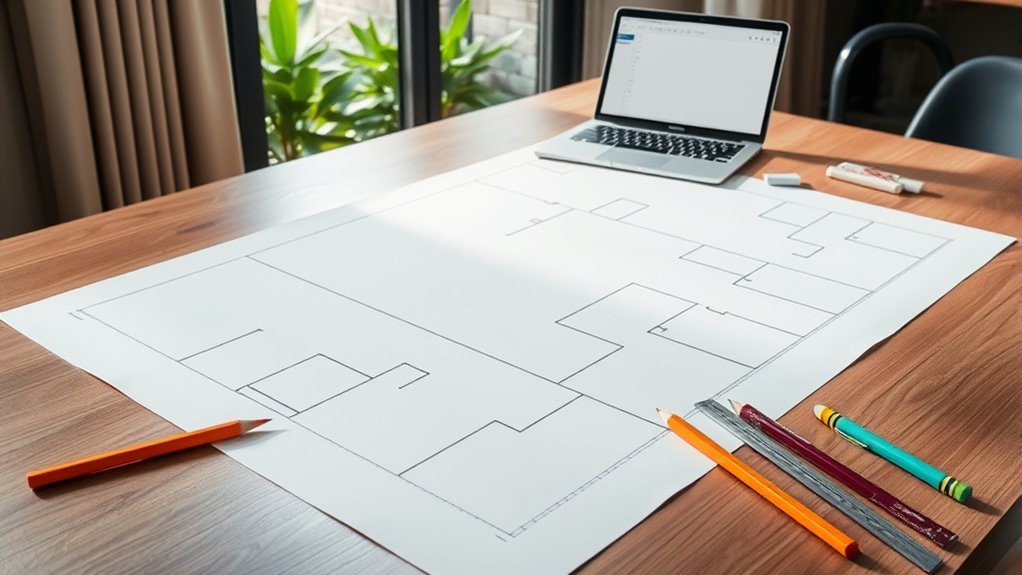
Digitize Your Floor Plan for Precision
A digital version of your floor plan enhances accuracy and allows for easy modifications. By using specialized floor plan software and digital tools, you gain control over every detail, ensuring your design aligns perfectly with your vision. These platforms provide precision measurements and flexible editing options, freeing you from the constraints of manual drafting.
Embrace the benefits:
- Swift adjustments without redrawing
- Exact scaling for true-to-life dimensions
- Integration with 3D modeling for immersive visualization
- Easy sharing and collaboration with architects or contractors
Digitizing your floor plan empowers you to experiment confidently, refine layouts efficiently, and communicate ideas clearly. It’s the technical edge you need to transform concepts into concrete plans—giving you the freedom to create spaces that truly resonate.