To install vinyl sheet flooring on concrete, first guarantee the surface is clean, dry, and level, repairing any cracks or uneven spots. Measure your room carefully, cutting the vinyl with sharp tools for an accurate fit. Apply the recommended adhesive evenly with a notched trowel, then lay the vinyl, smoothing out bubbles and wrinkles without stretching. Finish by trimming edges and sealing them properly to prevent moisture issues. Understanding these steps fully helps you create a professional, durable piso.
Preparing the Concrete Surface
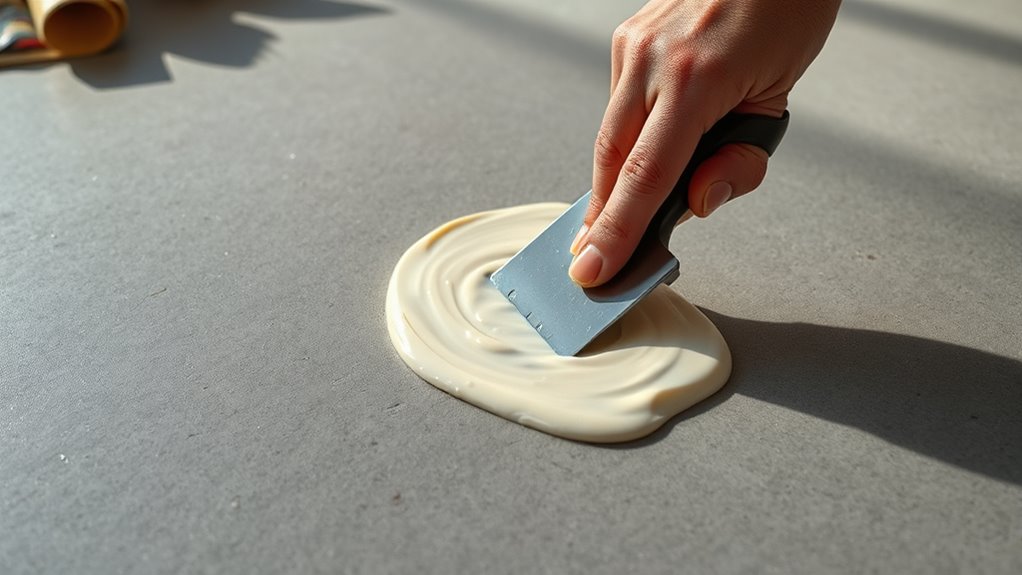
Before installing vinyl sheet flooring, you’ll need to verify the concrete surface is clean, dry, and level to confirm proper adhesion and a smooth finish. Begin with thorough concrete cleaning—sweep and vacuum to remove dust, dirt, and debris. Use a pH-neutral cleaner to eliminate any stains or residues; avoid harsh chemicals that might damage the substrate. Inspect the floor for cracks, holes, or uneven areas. For surface leveling, apply a self-leveling compound to fill imperfections and create a uniform plane. Ascertain the compound dries completely according to manufacturer instructions. Moisture testing is essential; excess dampness can compromise adhesion and cause flooring failure. By meticulously preparing your concrete, you maintain control over your installation, confirming durability and a flawless appearance that supports your freedom to customize your space confidently.
Measuring and Cutting the Vinyl Sheet
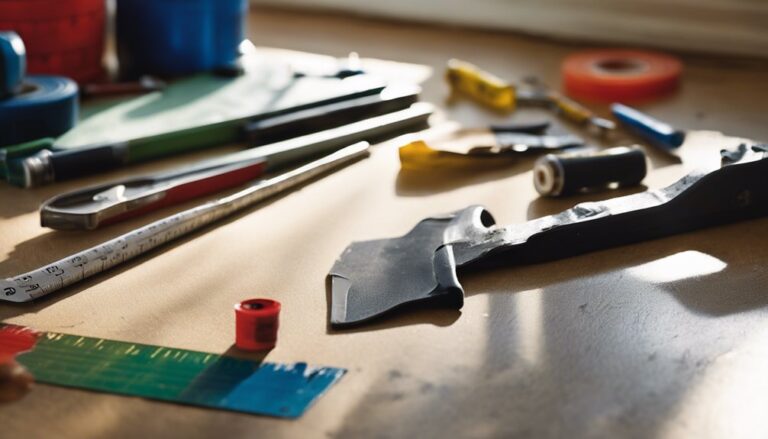
When measuring vinyl sheet flooring, you’ll want to account for room dimensions accurately to minimize waste and guarantee a seamless fit. Precise measuring techniques verify the sheet covers the entire floor without gaps or overlapping. Start by measuring length and width at multiple points to accommodate irregular walls. Use a durable measuring tape and mark the vinyl with a pencil or chalk.
When cutting, choose sharp, reliable cutting tools like a utility knife with fresh blades to achieve clean, straight edges. Score the vinyl lightly before cutting through to avoid jagged lines.
Key steps include:
- Measure multiple wall points for accuracy
- Mark vinyl with clear, visible lines
- Use a straightedge as a guide
- Employ sharp cutting tools for clean cuts
This precision grants you freedom to install confidently and efficiently.
Applying Adhesive to the Floor
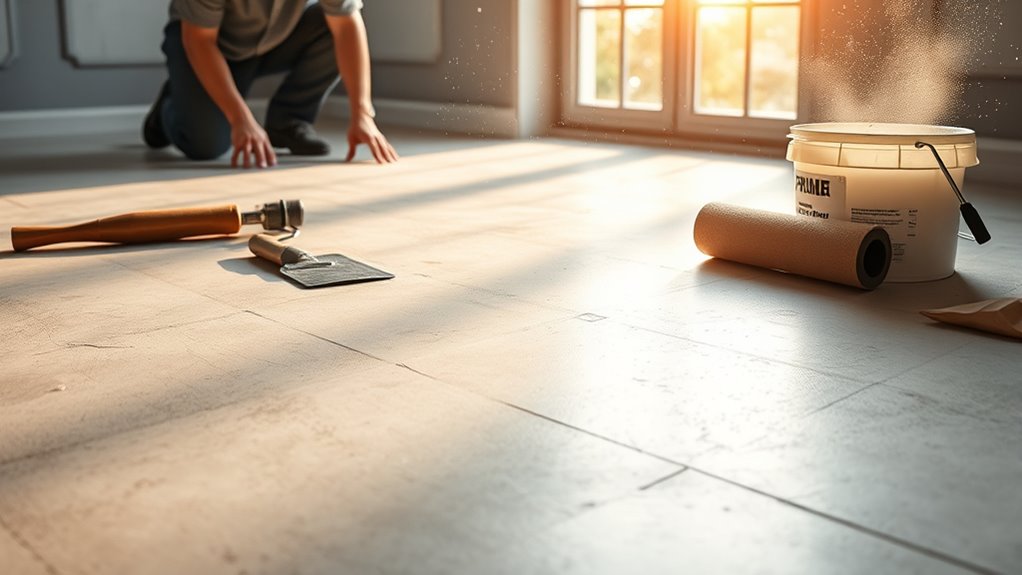
With your vinyl sheet accurately measured and cut, the next step is to apply adhesive evenly to the floor surface. Choose the appropriate adhesive type—typically pressure-sensitive or acrylic-based—based on your concrete’s porosity and the vinyl’s specifications. Prepare the concrete by confirming it’s clean, dry, and smooth to maximize adhesion. Use a notched trowel for precise application; the notch size depends on the vinyl thickness and adhesive viscosity. Spread the adhesive in consistent, even strokes, avoiding puddles or thin spots to guarantee uniform bonding. Follow manufacturer guidelines on open time before laying the vinyl. Employing the right application method ensures your flooring adheres securely, giving you the freedom to enjoy a flawless, durable surface without unexpected lifts or bubbles.
Laying the Vinyl Sheet Flooring
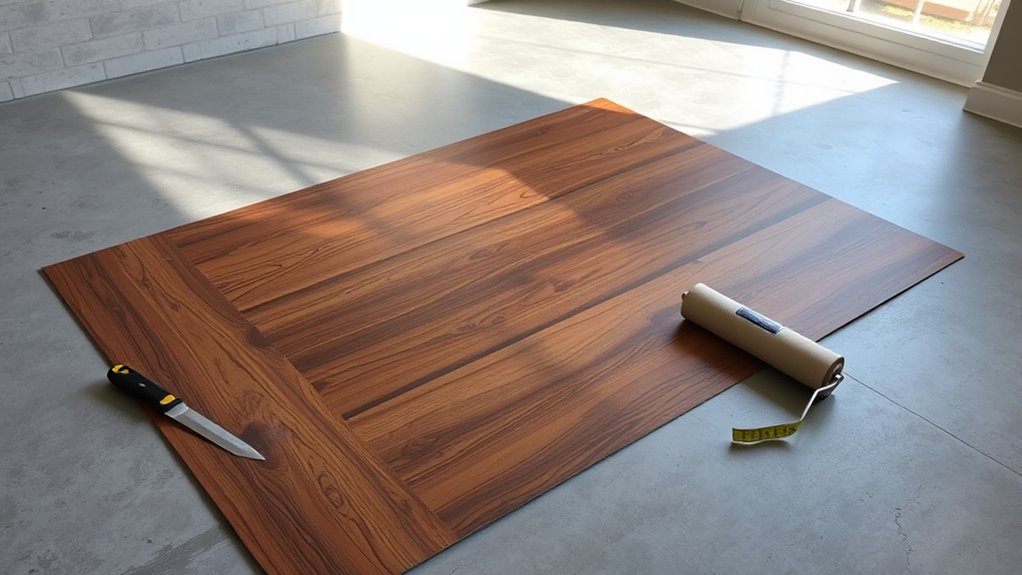
Carefully position the vinyl sheet onto the adhesive-coated floor, aligning it precisely with your measured layout to prevent misalignment or wrinkles. This step is essential in vinyl sheet installation to guarantee the flooring lays flat and adheres properly. Work slowly from one edge, gradually unrolling the vinyl while keeping the flooring layout intact.
Position the vinyl sheet carefully over adhesive, aligning to your layout to ensure a smooth, wrinkle-free installation.
Keep these key points in mind:
- Start from the longest, straightest wall to maintain alignment
- Use your flooring layout measurements as constant references
- Avoid stretching the vinyl; let it relax naturally
- Keep edges tight to walls and seams for a seamless finish
Smoothing Out Air Bubbles and Wrinkles
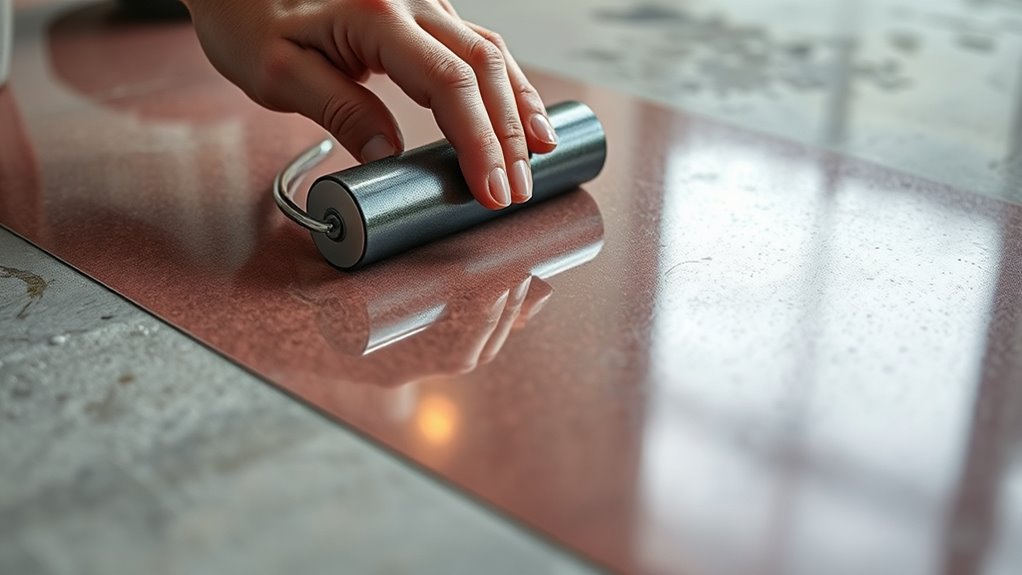
You’ll need to identify the root causes of air bubbles, often trapped air or dust beneath the vinyl. Use a flat roller or a pin to carefully remove bubbles without damaging the material. To prevent wrinkles, make sure the vinyl is properly aligned and tensioned during installation.
Identifying Air Bubble Causes
Several common factors cause air bubbles and wrinkles when installing vinyl sheet flooring. To maintain freedom in your space, you need to pinpoint these issues precisely. Air pressure trapped beneath the vinyl, uneven moisture levels in the concrete slab, improper adhesive application, and surface contaminants interfere with a smooth installation.
- Excess air pressure trapped under the vinyl during laying
- High or uneven moisture levels in the concrete substrate
- Applying adhesive unevenly or insufficiently
- Dust, dirt, or debris preventing full vinyl contact
Techniques for Bubble Removal
Although air bubbles and wrinkles can disrupt the vinyl’s appearance and durability, you can effectively remove them using targeted techniques. First, identify the bubble types—whether they’re trapped air pockets or adhesive-related blisters. For small bubbles, use a sharp utility knife to puncture them gently, then press out the air with a roller or a flat squeegee, which are essential removal tools. Larger bubbles require lifting the vinyl carefully to release trapped air and readjusting the adhesive beneath. Applying a weighted roller afterward guarantees the vinyl adheres evenly. For wrinkles, heat guns combined with firm pressure help relax and smooth the material without damage. By employing these precise removal tools and methods, you maintain freedom to create a flawless, durable vinyl sheet floor.
Preventing Wrinkles Formation
When installing vinyl sheet flooring, preventing wrinkles from forming starts with careful handling and precise alignment before the adhesive sets. Wrinkle prevention hinges on smooth, steady application and immediate correction of imperfections. Here are essential flooring tips to keep your surface flawless:
- Unroll the vinyl slowly and keep it taut to avoid creases.
- Align the sheet accurately with room edges to minimize adjustments.
- Use a weighted roller progressively, applying firm pressure to secure adhesion.
- Address any small wrinkles immediately by lifting and repositioning before the adhesive cures.
Trimming and Finishing Edges
You’ll need to carefully trim the vinyl sheet edges using a sharp utility knife to guarantee a clean fit along walls and corners. After cutting, seal the edges with an appropriate adhesive or sealant to prevent moisture infiltration. Finally, install baseboards to conceal the trimmed edges and provide a polished finish.
Cutting Vinyl Edges
Since vinyl sheet flooring rarely fits perfectly right out of the box, cutting and trimming the edges is essential for a clean, professional finish. Mastering precise cutting techniques guarantees your flooring fits snugly against walls and fixtures without gaps or overlaps. Use a sharp utility knife and straight edge to score the vinyl, then snap it cleanly along the line. For curves or irregular shapes, take your time to trim gradually, avoiding jagged edges. Proper edge finishing prevents peeling and enhances durability.
Keep these tips in mind:
- Measure twice, cut once to avoid mistakes
- Use a metal ruler or straight edge for accuracy
- Trim excess vinyl slowly for smooth curves
- Maintain a sharp blade for clean cuts
These steps empower you to achieve a flawless installation that complements your space.
Sealing and Baseboards
A secure seal along the edges is critical for protecting your vinyl sheet flooring from moisture and guaranteeing a polished appearance. Begin by applying appropriate sealing techniques, such as using a high-quality vinyl seam sealer or silicone caulk, to create a moisture-resistant barrier at all edges and seams. This step prevents water infiltration that could damage the concrete or flooring adhesive. Next, proceed with baseboard installation to conceal expansion gaps and provide a clean finish. When attaching baseboards, guarantee they sit flush against the wall without pressing tightly on the vinyl, allowing for natural expansion. Secure the baseboards using finishing nails or adhesive, maintaining uniform spacing and alignment. Proper sealing and baseboard installation not only enhance durability but also complete the professional look of your vinyl sheet flooring project.