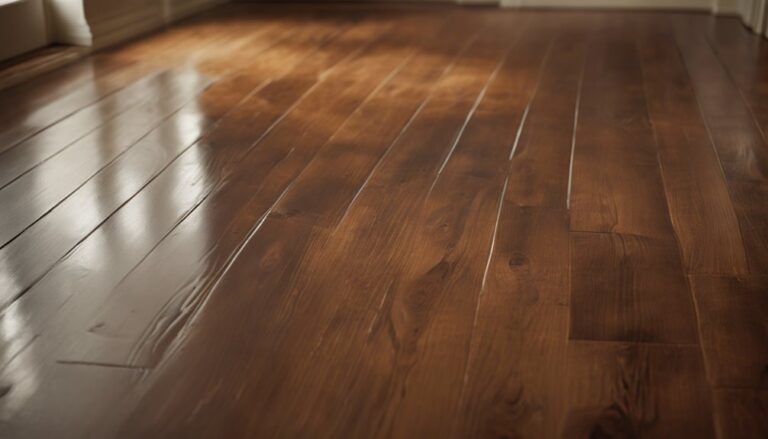
To install Pergo flooring, start by gathering your tools, including a rubber mallet, tapping block, and utility knife. Prepare your subfloor by ensuring it's clean, flat, and dry. Acclimate the planks in the room for at least 48 hours, maintaining a temperature between 60°F and 80°F. Plan your layout, keeping expansion gaps in mind. Install a suitable underlayment before laying the planks, beginning in a corner and clicking them together, staggering seams for stability. Finish with molding and connections to cover gaps. For more tips on achieving a seamless look, you might want to explore further.
Reúne tus herramientas y materiales
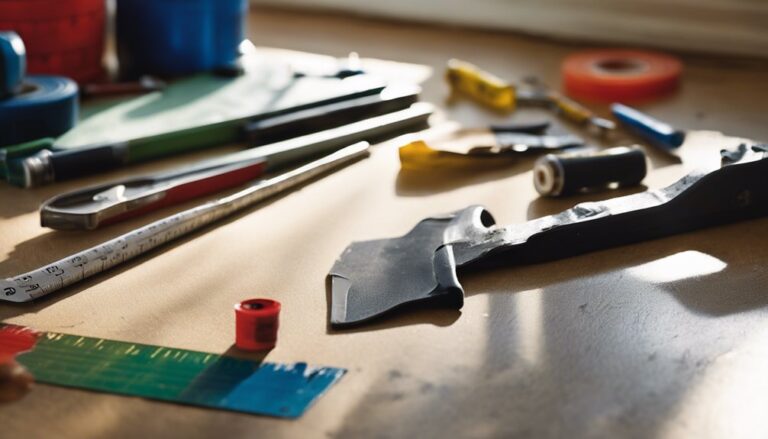
Before you immerse yourself in installing Pergo piso, you'll need to gather the right tools and materials. Start with essential tool types: a rubber mallet, tapping block, and a pull bar. These will help guarantee a snug fit between the planks. You'll also need a measuring tape, utility knife, and straight edge for precision cuts.
Next, focus on material selection. Choose high-quality Pergo planks that suit your style—there are various colors and textures available. Don't forget underlayment, which provides cushioning and sound absorption. Having everything ready allows you to work efficiently, guaranteeing you can enjoy your new flooring without unnecessary interruptions. With the right tools and materials in hand, you're one step closer to transforming your space.
Prepare el contrapiso
Before laying your Pergo flooring, you need to prepare the subfloor properly. Start by evaluating its current condition to identify any damage, then clean and level the surface to guarantee a smooth installation. Don't forget to check moisture levels, as excessive moisture can lead to serious issues down the line.
Assess the Current Condition
Evaluating the current condition of your subfloor is essential for a successful Pergo flooring installation. You want to verify your current home has a stable base for your new flooring options. Here are some key factors to contemplate:
- Moisture levels: Check for any signs of dampness or leaks.
- Structural integrity: Look for any damage, such as cracks or sagging.
- Flatness: Verify the surface is level; uneven surfaces can cause issues.
- Cleanliness: Clear away debris, dust, or any old flooring materials.
- Material type: Determine if your existing subfloor is suitable for Pergo.
Taking the time to assess these conditions will help you achieve a lasting and beautiful floor.
Superficie limpia y nivelada
Once you've assessed the condition of your subfloor, it's time to clean and level the surface to guarantee a proper foundation for your Pergo flooring. Start by removing any debris, dust, and old adhesives using effective cleaning techniques like a vacuum or a damp mop. Any loose boards or imperfections need to be addressed; use a leveling compound to fill in dips or cracks. Ascertain the surface is smooth and even, as this will prevent future issues with your flooring. If necessary, sand down high spots for a perfect finish. Remember, proper surface preparation is key to a successful installation and long-lasting results, so take your time to get this step right.
Check Moisture Levels
After verifying your surface is clean and level, the next step is to check moisture levels in your subfloor. Proper moisture measurement is essential for preventing future issues like warping or mold. Use a moisture meter to gauge the subfloor's condition, and keep an eye on humidity control in the space.
Here's what to take into account:
- Ideal moisture levels should be below 12%.
- Test in multiple areas for accuracy.
- Allow floor materials to acclimate to the room's humidity.
- Guarantee proper ventilation in crawl spaces or basements.
- Monitor seasonal changes that might affect moisture levels.
Acclimate the Flooring
Acclimating your Pergo flooring is an essential step in guaranteeing a successful installation. This acclimation process helps the planks adjust to your home's temperature and humidity, preventing future issues like warping or buckling. Ideally, you should let the flooring sit in the room where it'll be installed for at least 48 hours. Make sure the room's temperature is between 60°F and 80°F, as temperature considerations play a significant role in the acclimation. Keep the planks in their original packaging but open the boxes to allow air circulation. This simple step guarantees your flooring expands and contracts properly, allowing for a smooth installation and long-lasting performance. Take this time seriously, and you'll enjoy your beautiful new floor for years to come!
Planificar el diseño
With your Pergo flooring acclimated, it's time to plan the layout before installation. A well-thought-out layout design not only enhances aesthetics but also accommodates space considerations. Here are some tips to help you plan effectively:
- Measure your room dimensions accurately.
- Decide on the direction of the planks; it usually looks best parallel to the longest wall.
- Consider any existing features like doorways, vents, or furniture placement.
- Leave a gap around the edges for expansion.
- Create a visual guide using tape on the floor to map out your design.
Install Underlayment
Before laying your Pergo flooring, you'll need to choose the right underlayment to guarantee a smooth installation and enhance comfort. Make sure to properly lay the underlayment, as it plays an essential role in sound absorption and moisture protection. This step sets the foundation for your new flooring, so take your time to get it right.
Choose the Right Underlayment
Selecting the appropriate underlayment is essential for a successful Pergo flooring installation. The underlayment not only impacts comfort but also aids with sound absorption and moisture control. Here are some key factors to take into account when selecting:
- Underlayment types: Choose between foam, cork, or rubber based on your needs.
- Barrera de humedad: Verify it has a moisture barrier if you're installing over concrete.
- Espesor: Thicker underlayment can enhance sound insulation and comfort.
- Compatibility: Check if it's compatible with your specific Pergo flooring.
- Garantía: Look for options that come with a warranty for added peace of mind.
Properly Lay the Underlayment
As you prepare to install your Pergo flooring, laying the underlayment correctly is essential to guaranteeing a smooth and stable surface. Start by choosing the right underlayment type, like foam or cork, which provides various underlayment benefits, such as noise reduction and moisture protection. Unroll the underlayment, making sure to cover the entire area where you'll lay the flooring. Trim any excess material and guarantee the edges meet without overlapping. Secure it in place with tape if necessary, creating a seamless barrier. Remember to check that your subfloor is clean and dry before laying the underlayment, as this will maximize the durability of your Pergo floors. Taking these steps will lead to a successful installation!
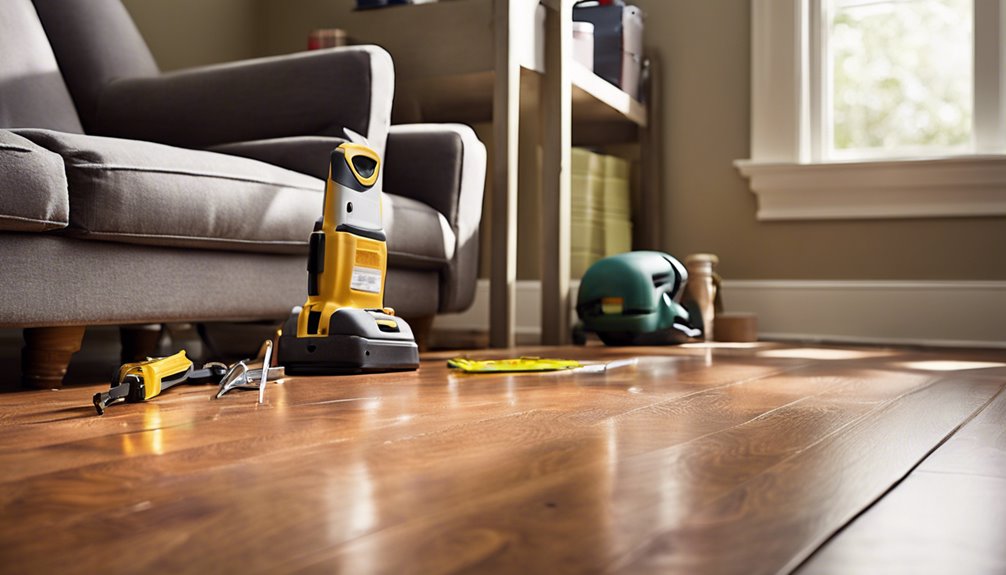
Begin Laying Planks
Now that you've prepared the subfloor and gathered your materials, it's time to lay the planks. Start by determining the plank orientation that suits your space best. Generally, you'll want the installation direction to run parallel to the longest wall or the main light source.
Here are a few tips to keep in mind:
- Verify the first row is straight and level.
- Use spacers to maintain expansion gaps along the walls.
- Stagger the seams for a more natural look.
- Tap planks together gently to avoid damage.
- Double-check for any gaps before moving on.
With these steps, you'll set a solid foundation for your beautiful new Pergo flooring! Enjoy the freedom of a stylish, durable space.
Cut and Fit Planks
After laying the planks, it's time to cut and fit them to confirm they fit perfectly in your space. Start by taking accurate plank measurements; this confirms you're cutting the right lengths. Use a measuring tape to determine any gaps or irregularities in your room. When it comes to cutting techniques, a circular saw or a laminate cutter works best for clean edges. Make sure to wear safety goggles to protect your eyes. For tricky areas, like corners or around pipes, you may need to make more precise cuts. Always double-check your measurements before cutting to avoid wasting materials. Once you've cut the planks, dry-fit them in place to confirm they align properly before final installation.
Toques finales
Finishing touches are essential for achieving a polished look with your new Pergo flooring. Once you've installed the planks, it's time to enhance the overall aesthetic. Here are a few key elements to reflect on:
- Install decorative molding to cover gaps and add a stylish frame to your flooring.
- Use transition strips where your Pergo meets other flooring types, ensuring a smooth shift.
- Fill any gaps with appropriate caulk for a seamless finish.
- Clean the edges meticulously to remove any dust or debris that might detract from the appearance.
- Reflect on baseboards for a professional touch that complements your new floor.
With these finishing touches, you'll enjoy a beautiful, cohesive look that showcases your new Pergo flooring perfectly.
Preguntas frecuentes
Can Pergo Flooring Be Installed Over Existing Carpet?
You can't install Pergo flooring over existing carpet. For a proper Pergo installation, you'll need to remove the carpet first. Carpets create an uneven surface and can trap moisture, which isn't ideal for laminate flooring. By removing the carpet, you guarantee a stable foundation for your Pergo, enhancing durability and longevity. It's a straightforward process that gives you the freedom to enjoy a beautiful, easy-to-maintain floor in your space.
How Long Does Pergo Flooring Typically Last?
Pergo flooring typically lasts around 20 to 30 years, depending on durability factors like foot traffic and environmental conditions. To maximize its lifespan, follow maintenance tips such as regular cleaning and avoiding excessive moisture. Keeping furniture pads under heavy items can also prevent scratches. By taking these steps, you can enjoy your beautiful flooring for years, giving you the freedom to live your life without worrying about wear and tear.
Is Pergo Flooring Waterproof or Water-Resistant?
Imagine stepping onto a floor that feels solid beneath your feet, yet can handle unexpected spills. Pergo flooring isn't completely waterproof, but it boasts impressive water resistance. This means it can withstand minor moisture and spills without warping, making it a practical choice for busy households. Its durability allows you to enjoy your space without worrying about every drop. So, if you're seeking freedom from constant upkeep, Pergo's a smart option!
Can I Install Pergo Flooring in a Bathroom?
You can install Pergo flooring in a bathroom, but you'll need to take into account the bathroom moisture. While Pergo is water-resistant, it's not completely waterproof, so spills and high humidity can be problematic. If you're concerned about potential water damage, you might want to explore flooring alternatives like tile or vinyl, which handle moisture better. Just be sure to maintain proper ventilation to keep your bathroom dry and your flooring in great condition.
What Is the Warranty on Pergo Flooring Products?
When considering Pergo flooring, it's important to know the warranty details. Typically, you'll find warranties ranging from 10 to 30 years, depending on the product line. This reflects the product durability that Pergo aims for, ensuring you get long-lasting flooring. If you're looking for freedom in your home design, rest assured that a strong warranty backs your investment, making it easier for you to enjoy your space without constant worry about wear and tear.