Are you tired of your old, worn-out floors and ready for a change? Imagine stepping onto a sleek, durable surface that not only elevates the look of your space but also stands up to the daily grind of life.
Installing LVT (Luxury Vinyl Tile) flooring is your ticket to transforming any room with minimal effort and cost. But where do you start? Don’t worry; you don’t need to be a professional installer to achieve stunning results. In this guide, you’ll discover the step-by-step process to lay down LVT flooring with confidence and ease.
Let’s delve into how you can upgrade your home with this stylish and resilient option, ensuring you get the most out of every square inch.

Preparación del contrapiso
Start by removing all dust and debris from the piso. Use a broom or a vacuum for this task. Make sure the surface is clear of any dirt. A clean floor ensures the LVT flooring sticks well. After cleaning, let the floor dry completely.
Look for any cracks or holes in the subfloor. Use a filler to fix these imperfections. Smooth out the filler with a putty knife. Wait for it to dry before moving on. This step ensures a smooth surface for the LVT.
The floor should be level and even. Use a level tool to check this. If you find high spots, sand them down. If there are low spots, fill them. A level floor makes installation easier and looks better.
Recopilación de las herramientas necesarias
Before starting, gather all the tools you need. Cinta métrica is important. It helps you measure the floor size. You will also need a cuchillo multiusos. It helps cut the flooring pieces. A straight edge is useful. It keeps your cuts straight. Make sure to have a mazo de goma. It helps to fit the pieces snugly. A pencil is needed for marking. Don’t forget a tapping block. It protects the edges while tapping. A pull bar is handy for tight spots.
Safety first. Wear gafas de seguridad. They protect your eyes from dust. Use guantes to keep hands safe. They prevent cuts and bruises. Knee pads are helpful. They protect your knees when kneeling. Always have a mascarilla antipolvo. It keeps your lungs safe from dust. Make sure your work area is well lit. Good lighting helps prevent accidents.
Acclimating Lvt Flooring
Carefully unpack each box of LVT flooring. Ensure all pieces are intact. Check for any damage. Avoid bending or dropping the pieces. Keep the flooring in its box until ready to use. This helps protect it.
Room temperature matters before installing LVT flooring. Let the flooring sit for 48 hours. The room should be around 65°F to 85°F. This helps the flooring adapt. A stable temperature is crucial. Avoid extreme hot or cold. This keeps the flooring in good shape.
Planning The Layout
Elegir a corner where you will start. This helps in a smooth layout. Start from a corner with the longest wall. It keeps everything straight. Measure the room first. This helps to know how many tiles you need. Always check if the floor is clean. Dust can make tiles not stick well. Have enough tiles ready before starting.
Decide on the tile direction. This affects the look. Diagonal can make a room feel larger. Straight lines give a neat look. Think about how light hits the room. This can change how tiles look. Avoid changing direction often. It can make the floor seem messy. Always follow the pattern you choose.
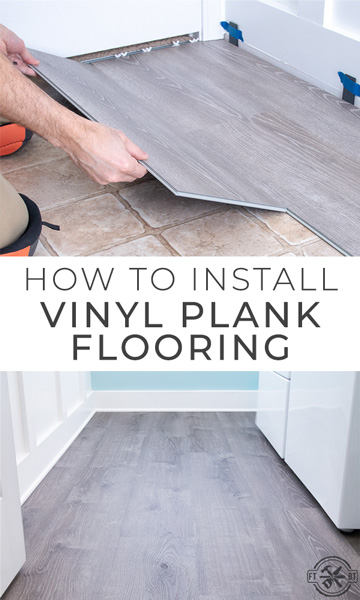
Installing Lvt Flooring
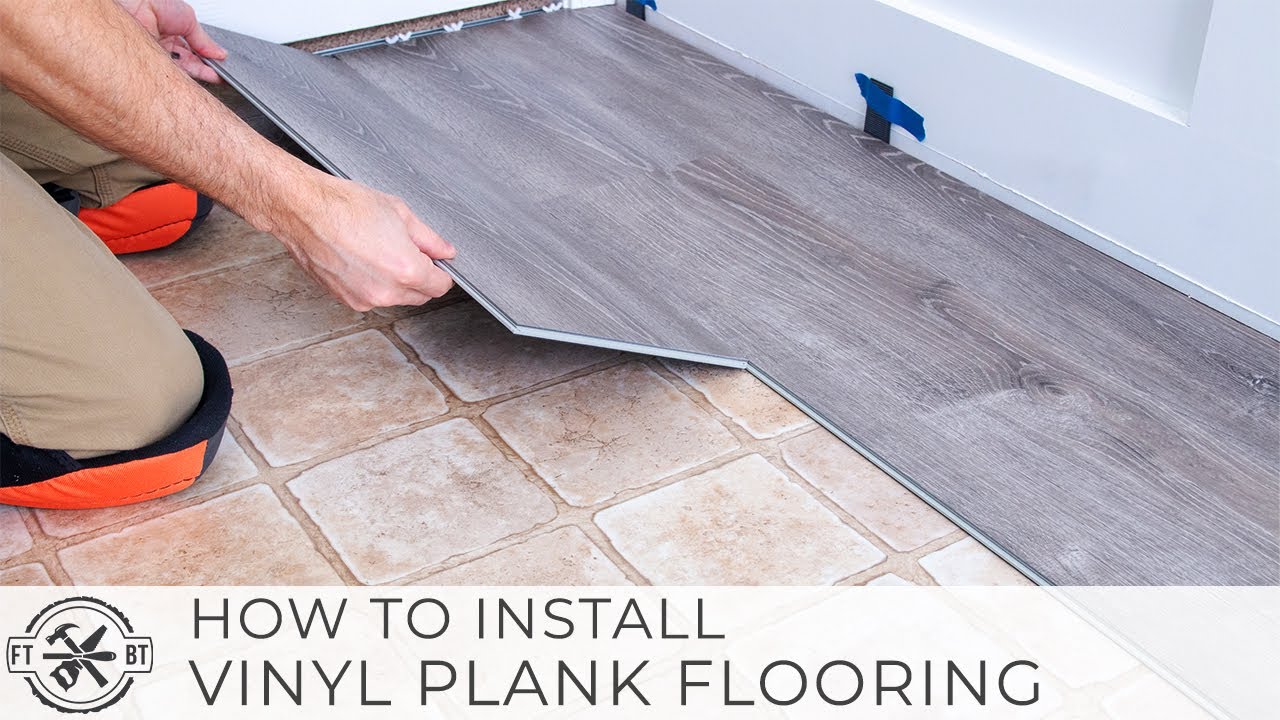
Start by cleaning the floor. Make sure it is dust-free. Next, measure the room. Cut the planks to fit. Align the first plank against the wall. Use espaciadores to keep a gap. This gap is important. It allows the floor to expand. Make sure the planks are straight. Adjust them if needed. Repeat this process for the entire row.
Lock the planks together. Use a tapping block. This ensures a snug fit. Start each new row with a shorter plank. This creates a staggered pattern. It looks more natural. Continue locking planks until the row is complete. Always check for gaps. Adjust if necessary. Repeat these steps for all rows.
Measure carefully around corners. Use a rompecabezas for precise cuts. Fit planks around doorways. This can be tricky. Take your time. Use a pull bar for tight spaces. It helps fit planks together. Don’t rush. Double-check your work. Ensure all planks are secure.
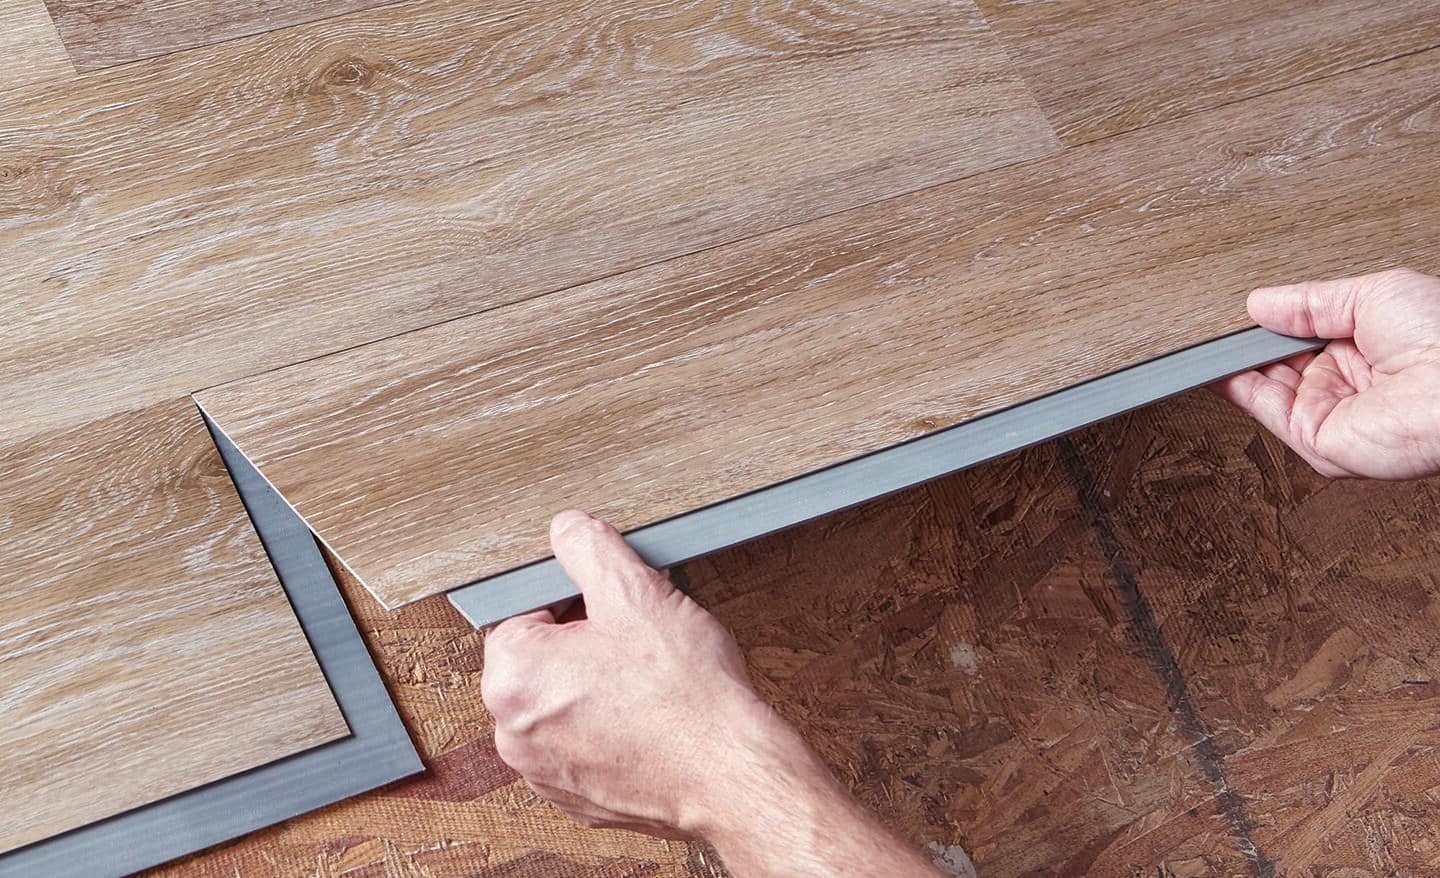
Cutting Lvt Planks
Cutting LVT planks is crucial for a perfect fit during installation. Use a utility knife for precise cuts. Measure twice to ensure accuracy and trim carefully to match room dimensions.
Tools For Cutting
Cutting LVT planks needs the right tools. A cuchillo multiusos is key. Make sure it’s sharp. A straight edge helps cut straight lines. A tape measure ensures the right size. Pencil marks where to cut. These tools make the job easy.
Measuring And Marking
Empezar por measuring the plank. Use the tape measure for this. Mark the plank with a pencil. Draw a line where you need to cut. Double-check the measurements before cutting. Always be careful with the knife. Cut slowly to keep it straight.
Toques finales
Adding the finishing touches to your LVT flooring installation ensures a polished and professional look. Trim excess material carefully and secure edges with molding for a seamless appearance. Properly aligning and securing the tiles enhances the room’s aesthetic while ensuring durability and longevity.
Installing Trim And Molding
Adding trim and molding makes the floor look neat. It covers the edges and gaps. Use a hammer and nails to attach the trim. Be careful not to hit your fingers. Trim comes in many styles and colors. Pick one that matches your floor. Measure the walls before cutting the trim. Use a saw to cut pieces to the right length. Sand the edges for a smooth finish. This step makes your floor look complete.
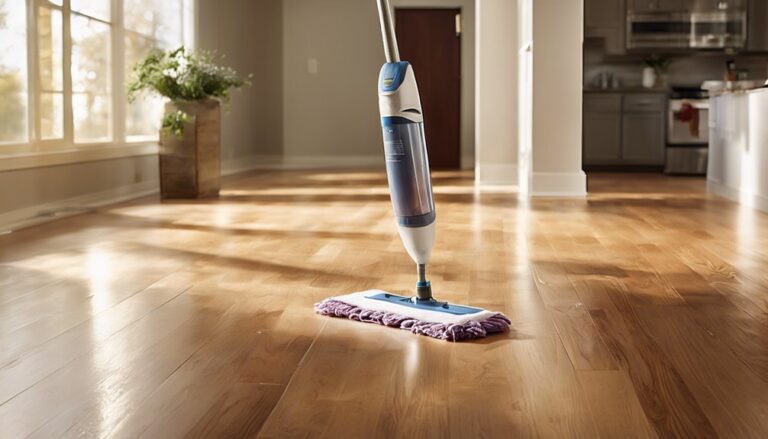
Cleaning The Finished Floor
Keep your new floor clean to make it last. Use a soft broom to sweep away dirt. A vacuum with a hard floor setting works well too. Avoid using too much water. Water can damage the floor. Use a damp mop for spills. Dry the floor quickly with a towel. This stops water damage. Regular cleaning keeps the floor looking new.
Consejos de mantenimiento
Start by preparing your surface. Ensure it’s clean and dry. Next, align the LVT flooring planks carefully. Use a utility knife to trim edges for a precise fit. Lastly, secure planks in place with gentle pressure. Regularly check alignment to maintain a seamless look.
Limpieza de rutina
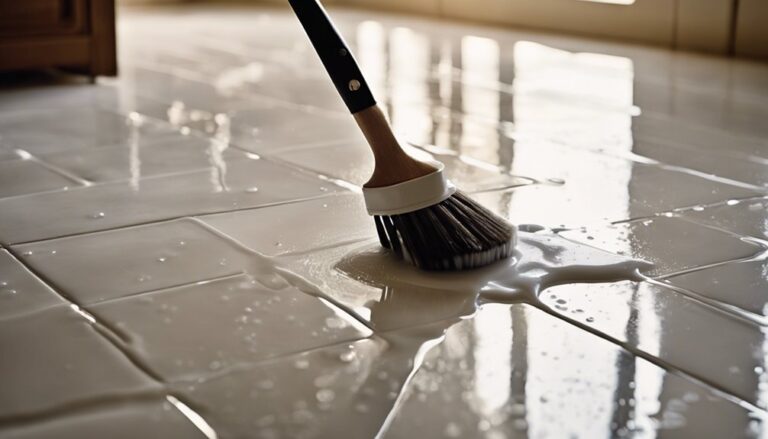
Clean your LVT flooring often to keep it shiny. Use a soft broom or a vacuum. Avoid using a beater bar. A damp mop can help for deeper cleaning. Never soak the floor with water. Water can seep into the seams and cause damage. Use a mild cleaner designed for vinyl. Avoid harsh chemicals that could harm the floor. Dry the floor after mopping to avoid water spots.
Preventing Damage
Protect your floor from heavy items. Use furniture pads under chairs and tables. Do not drag furniture across the floor. This can cause scratches. Place a mat at entrances to catch dirt and grit. Dirt can scratch the surface. Avoid high heels and shoes that can dent the floor. Keep your pets’ nails trimmed to prevent scratches.
Preguntas frecuentes
What Tools Do I Need For Lvt Installation?
For installing LVT flooring, you’ll need a tape measure, utility knife, straight edge, and adhesive. A roller helps ensure the tiles adhere properly. Knee pads are useful for comfort during the process. Safety goggles protect your eyes from dust and debris.
Can I Install Lvt Flooring Over Concrete?
Yes, you can install LVT over concrete. Ensure the concrete is clean, dry, and level. Use a moisture barrier if needed. Proper surface preparation helps achieve a seamless installation. Consult the LVT manufacturer’s guidelines for best results.
How Do I Prepare The Subfloor For Lvt?
Begin by cleaning the subfloor thoroughly. Remove any debris, dirt, or dust. Ensure the surface is level and dry. Repair any cracks or holes. Use a self-leveling compound if necessary to smooth uneven areas. Preparation is key for a successful installation.
Is Lvt Flooring Water-resistant?
Yes, LVT flooring is water-resistant, making it suitable for kitchens and bathrooms. It withstands spills and moisture effectively. Proper installation and maintenance enhance its water resistance. Check product specifications for details on water resistance levels.
Conclusión
LVT flooring installation is straightforward and rewarding. With the right tools, anyone can do it. Measure your space carefully. Prepare the subfloor. Follow the step-by-step instructions. Ensure each piece fits snugly. Trim edges neatly for a polished look. Keep your workspace clean and organized.
Enjoy your new, stylish floor. Maintenance is simple. Regular cleaning keeps it looking fresh. Embrace the beauty and durability of LVT. It’s a smart choice for any home. Save money with DIY installation. Feel proud of your work. LVT flooring transforms spaces beautifully.
Happy flooring!