To fix vinyl flooring, start by evaluating the damage. Look for scratches, dents, and peeling edges. Gather the right tools, like a vinyl repair kit and utility knife. Clean the area with a mild detergent and microfiber cloth. For scratches, use color-matched putty or try the heat method for deeper marks. Minor dents can often be pushed back into shape with a hairdryer, while peeling edges need strong adhesive to reattach. Regular maintenance will help keep your piso in top shape. Want to discover more tips for maintaining your vinyl flooring? There's plenty more to learn!
Evaluación de los daños
Before diving into repairs, it's vital to assess the damage to your vinyl flooring. Start with a thorough visual inspection—look for scratches, dents, or discoloration. Take your time; this damage assessment will guide your repair approach. Check for signs of peeling or bubbling, as these can indicate moisture issues beneath the surface. Don't forget to examine the seams, too, since they can be points of weakness. If you've got pets or kids, be on the lookout for wear and tear in high-traffic areas. Document your findings, as this will help you prioritize repairs and avoid overlooking any significant spots. By understanding the extent of the damage, you'll feel empowered to tackle the fixes needed for a fresh, beautiful floor again.
Recopilación de las herramientas necesarias
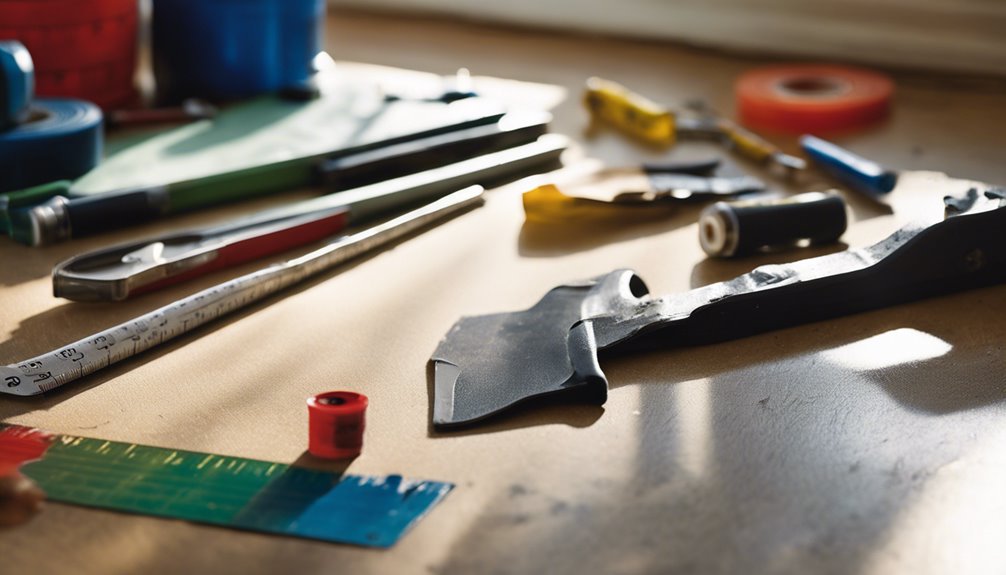
Once you've assessed the damage to your vinyl flooring, the next step is to gather the necessary tools for the repair job. Having the right equipment on hand will make the process smoother and more efficient. Here are some essential tools you'll need:
- Vinyl Repair Kit – This often includes adhesive and color matched filler.
- Utility Knife – For cutting and trimming damaged sections.
- Putty Knife – Perfect for applying filler smoothly.
- Measuring Tape – Guarantees accurate measurements for repairs.
With these essential tools, you'll be well-equipped to tackle your vinyl flooring issues. Embrace the freedom of DIY and take charge of your home repair!
Limpieza de la zona afectada
Before you start fixing your vinyl flooring, you'll need to gather some essential cleaning supplies. It's vital to use the right technique to clean the affected area effectively. Once you're equipped, you can tackle the mess and prepare for the repair.
Reúna los suministros de limpieza
To effectively clean the affected area of your vinyl flooring, you'll need a few essential supplies on hand. Having the right cleaning products makes all the difference in maintaining your floors and restoring their shine. Here's a quick list to gather:
- Mild detergent – Safe for vinyl and effective against dirt.
- Microfiber cloths – Perfect for gentle scrubbing without scratching.
- Soft-bristle brush – Great for getting into crevices and lifting grime.
- Maintenance kits – These often include specialized cleaners and tools designed for vinyl care.
With these supplies ready, you'll be well-equipped to tackle any mess. Remember, keeping your floors clean not only enhances their appearance but also prolongs their life, giving you the freedom to enjoy a beautiful home.
Apply Appropriate Technique
While you might be keen to get started, applying the right technique is essential for effectively cleaning the affected area of your vinyl flooring. First, verify you've followed the correct installation guidelines; this sets the stage for easy vinyl care. Begin by gently sweeping or vacuuming the area to remove loose dirt. Then, mix a few drops of a pH-balanced cleaner with warm water. Use a soft mop or cloth to apply this solution, working in small sections. Avoid soaking the floor, as excess moisture can damage the vinyl. After cleaning, rinse with a damp cloth and dry the area thoroughly. Proper technique not only restores your flooring but also prolongs its life, giving you the freedom to enjoy your space.
Repairing Scratches and Scuffs
Now that you've cleaned the area, it's time to tackle those pesky scratches and scuffs on your vinyl flooring. Start by evaluating the damage severity to determine the best DIY repair techniques for your situation. Plus, we'll cover some preventive maintenance tips to keep your floors looking great for years to come.
Assessing Damage Severity
Before diving into repairs, it is crucial to assess the severity of scratches and scuffs on your vinyl flooring. Knowing the damage indicators can help you decide the best course of action. Here's a quick guide to severity levels:
- Light Scratches: Barely visible, often just surface damage.
- Moderate Scuffs: Noticeable marks that affect the surface finish.
- Deep Gouges: Cuts that penetrate the vinyl layer, exposing the backing.
- Tears or Rips: Significant damage that may require replacement.
DIY Repair Techniques
Once you've assessed the severity of the damage to your vinyl flooring, you can move on to practical repair techniques that you can tackle yourself. For minor scratches and scuffs, consider using repair kits specifically designed for different vinyl types. These kits often include a color-matched putty or pen that blends seamlessly with your flooring. Simply clean the area, apply the product, and smooth it out with a cloth. For deeper scratches, heat can help; use a heat gun to soften the vinyl, then gently press the edges together. Always test any repair method in an inconspicuous area first to verify compatibility with your vinyl type. With a little effort, you can restore your flooring's beauty without professional help!
Consejos de mantenimiento preventivo
To keep your vinyl flooring looking pristine, it is essential to adopt regular preventive maintenance habits. By following these tips, you can enhance vinyl protection and minimize the need for repairs:
- Perform routine inspections: Regularly check for scratches and scuffs to catch issues early.
- Use mats and rugs: Place them at entryways to reduce dirt and debris that can cause wear.
- Clean spills promptly: Wipe up spills immediately to prevent staining and damage.
- Avoid harsh cleaners: Stick with gentle cleaners designed for vinyl to maintain its finish.
Fixing Dents in Vinyl
Although dents in vinyl flooring can be frustrating, fixing them is often simpler than you might think. Start with some effective vinyl repair techniques that cater to your needs. For minor dents, try using a hairdryer; heat the area slightly until it softens, then use a cloth to gently push the dent back into place. For deeper dents, consider employing dent removal methods like filling the space with a vinyl patch or a specialized filler. Once cured, sand it down for a smooth finish. Always remember, maintaining your flooring not only enhances its appearance but gives you the freedom to enjoy your space without worry. With a few practical steps, you can restore your vinyl floor to its pristine condition.
Addressing Peeling Edges
As vinyl flooring ages, it's not uncommon for the edges to start peeling, which can detract from its overall appearance and durability. Addressing this issue promptly is crucial for maintaining your flooring. Here are some practical steps to help you with peeling prevention and edge sealing:
- Limpiar el área: Remove dirt and debris from the peeling edge.
- Use Adhesive: Apply a strong vinyl adhesive along the edge to secure it back down.
- Press Firmly: Confirm the edge is flat and firmly pressed against the floor.
- Sella los bordes: For long-term protection, consider using a sealant specifically designed for vinyl flooring.
Consejos de mantenimiento preventivo
After addressing peeling edges, keeping your vinyl flooring in top shape requires regular preventative maintenance. By incorporating routine inspections and applying protective coatings, you can extend the life of your floors and maintain their beauty. Here are some essential tips:
| Tarea de mantenimiento | Frecuencia |
|---|---|
| Inspeccionar si hay daños | Mensual |
| Clean spills promptly | Según sea necesario |
| Apply protective coatings | Cada 6 meses |
| Use mats in high traffic areas | Always |
| Evite los productos químicos agresivos | Always |
Preguntas frecuentes
Can I Install Vinyl Flooring Over Existing Flooring?
Yes, you can install vinyl flooring over existing flooring, but there are some important installation tips to take into account. First, check the flooring compatibility; make sure the surface is smooth, clean, and dry. If your existing floor is too uneven, it might not provide the best foundation for your new vinyl. Also, always use an underlayment if needed to enhance comfort and durability. With the right approach, you'll enjoy a beautiful new floor in no time!
¿Cuánto tiempo suele durar el suelo de vinilo?
Vinyl flooring typically lasts between 10 to 20 years, depending on the quality and maintenance. If you're looking for flooring durability, investing in high-quality vinyl can greatly extend its vinyl lifespan. Regular cleaning and avoiding excessive moisture can also help you maximize its longevity. With proper care, you can enjoy a beautiful space that feels free and stylish for years to come. So, make wise choices, and your vinyl flooring will serve you well!
Is Vinyl Flooring Eco-Friendly?
When you're considering if vinyl flooring's eco-friendly, it's important to look at its recycling options and sustainable materials. While traditional vinyl isn't always the best for the environment, many manufacturers are now using greener practices, creating products that are more recyclable. If you choose a brand focused on sustainability, you can enjoy stylish flooring while reducing your ecological footprint. Always check for certifications that guarantee their commitment to eco-friendly practices!
Can I Use Steam Cleaners on Vinyl Flooring?
Sure, go ahead and release that steam cleaner on your vinyl flooring! Who doesn't love a good gamble, right? But seriously, you might want to rethink that. While steam cleaners can be great for some surfaces, they can damage vinyl. Stick to gentle methods for vinyl flooring maintenance to guarantee steam cleaner safety. A damp mop or specific cleaner will keep your floors looking fabulous without the risk of warping or peeling. Your floors deserve it!
How Do I Remove Stubborn Stains From Vinyl Flooring?
To remove stubborn stains from vinyl flooring, you'll want to try a few effective cleaning techniques. Start with a mixture of warm water and dish soap, applying it to the stain and letting it sit for a few minutes. For tougher stains, consider using a baking soda paste. Gently scrub with a soft cloth, then rinse with water. Always test any solution in an inconspicuous area first to guarantee it won't damage your flooring.