To fix a chipped tile floor, first gather tools like a putty knife, epoxy filler matching tile color, sandpaper, and cleaning cloths. Clean the chip thoroughly to remove dust and grease, ensuring good adhesion. Mix and apply the filler carefully, pressing it into the chip. Once dry, sand and shape it to blend with the tile’s contours and apply matching color. Let it fully cure before sealing for durability. For detailed guidance on perfecting this repair, keep exploring the process.
Gather the Necessary Tools and Materials
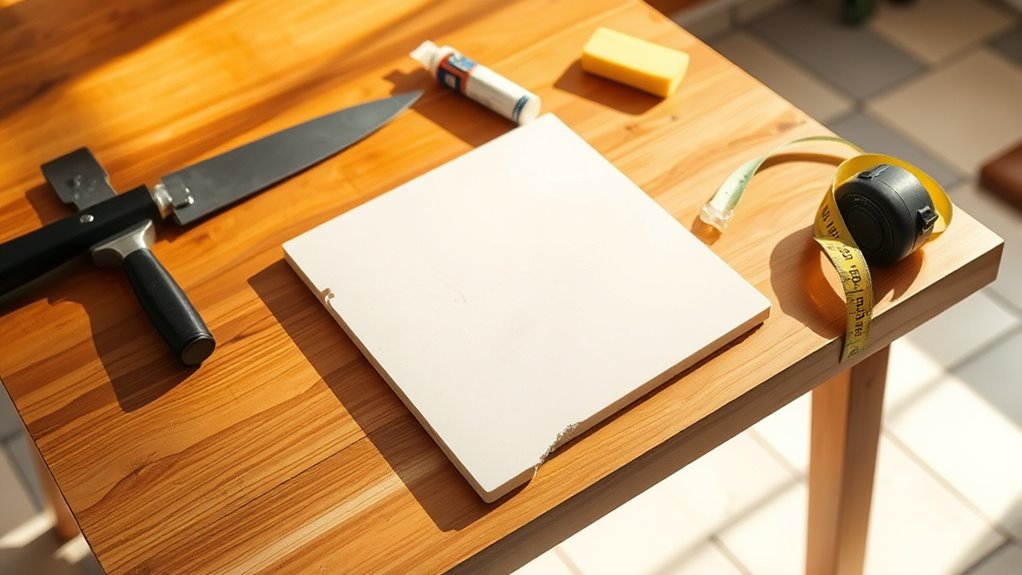
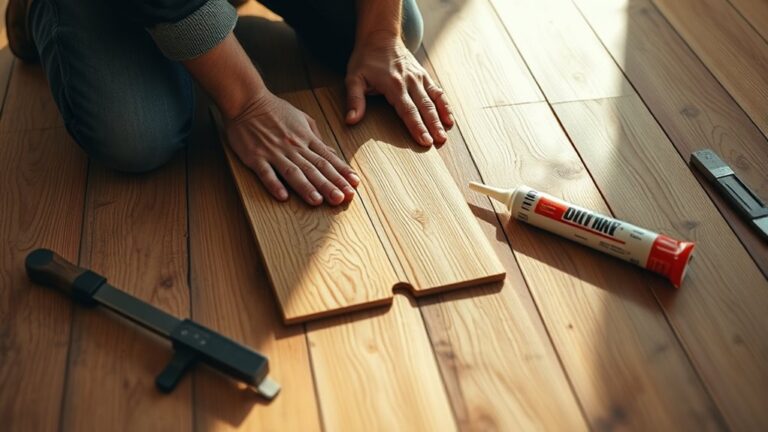
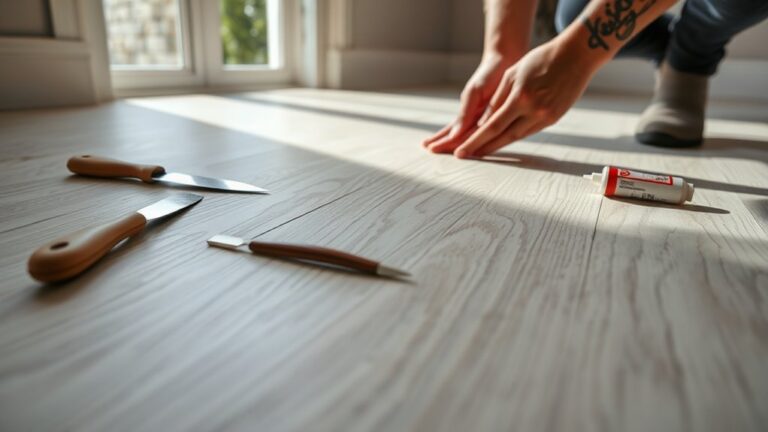
Before you begin repairing your chipped tile piso, you’ll need to gather all the necessary tools and materials to guarantee a smooth process. Start with essential tools such as a putty knife, fine-grit sandpaper, and a utility knife for precise chip removal and surface smoothing. You’ll also require epoxy or tile repair filler, matching the tile’s color for seamless blending. Additionally, have a clean cloth and rubbing alcohol ready to prepare the area. These items support effective tile repair techniques, ensuring a durable, visually cohesive fix. Avoid improvising with incorrect tools to prevent further damage. By assembling these materials beforehand, you maintain control and freedom throughout your repair, reducing frustration and enhancing the quality of your finished floor.
Clean and Prepare the Damaged Tile Area
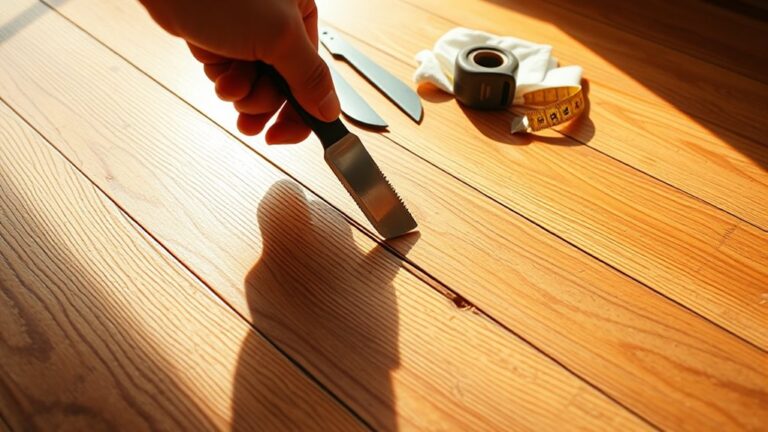
Once you have all your tools and materials ready, focus on thoroughly cleaning the chipped tile area to guarantee proper adhesion of the repair filler. Effective tile cleaning and surface preparation are essential for a durable repair. Follow these steps:
Thoroughly clean the chipped tile area to ensure proper adhesion and a long-lasting repair.
- Remove any loose debris and dust from the chip using a soft brush or vacuum to verify a clean base.
- Clean the area with a mild detergent solution and a sponge, eliminating grease, dirt, and residues that could interfere with bonding.
- Rinse with clean water and dry the surface completely using a lint-free cloth to prevent moisture from compromising the repair.
Mix and Apply the Tile Repair Compound
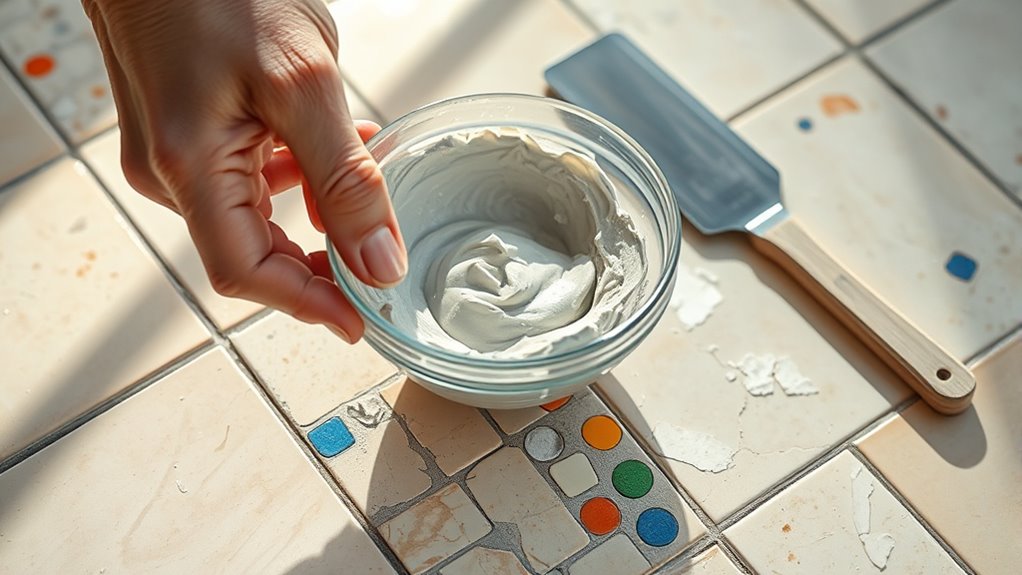
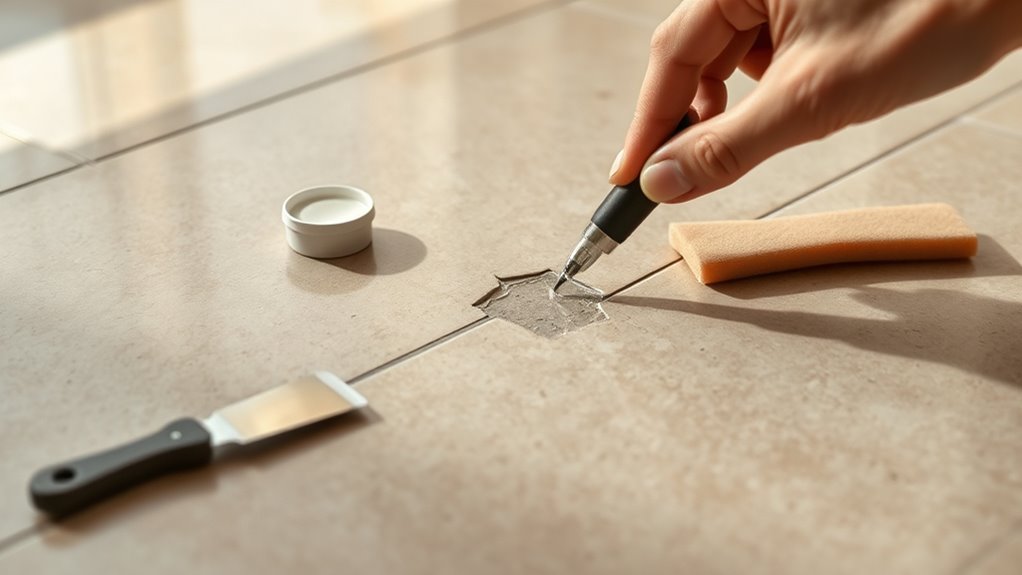
Start by carefully measuring and mixing the tile repair compound according to the manufacturer’s instructions to confirm the correct consistency and color match. Accurate compound application is essential for durable results. Use a small container and a mixing tool to blend the compound thoroughly. Apply the compound using a putty knife or similar tool, pressing firmly to fill the chip entirely without air pockets. Mastering these tile repair techniques guarantees a seamless patch.
| Paso | Tool Required | Key Tip |
|---|---|---|
| Measure compound | Taza medidora | Follow ratios precisely |
| Mix compound | Mixing stick | Achieve smooth, lump-free mix |
| Apply compound | Espátula | Press firmly, avoid bubbles |
| Check coverage | Visual inspection | Fill chip completely |
| Allow to set | None | Follow drying time closely |
Smooth and Shape the Repair to Match the Tile
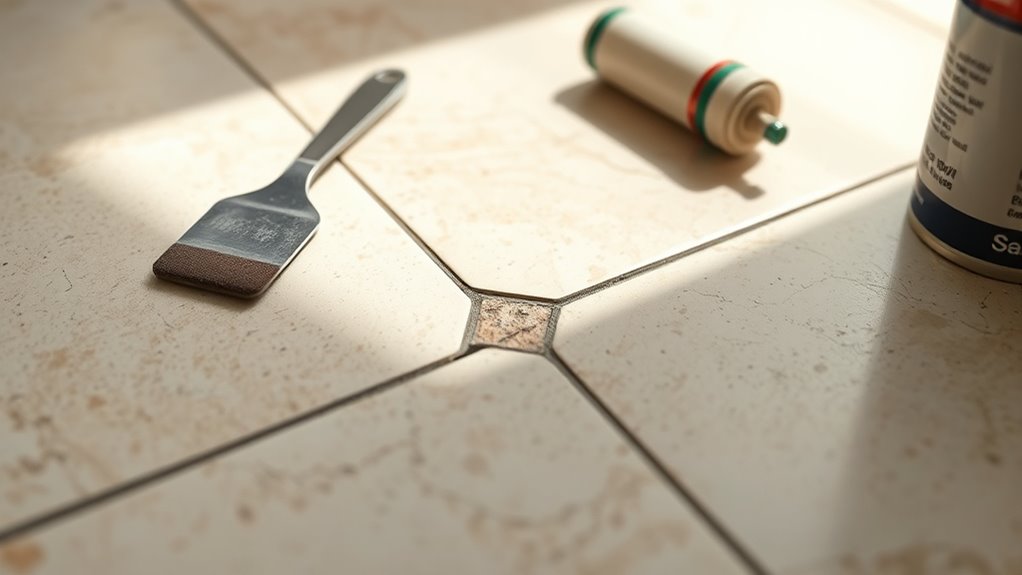
The next step involves smoothing and shaping the repair compound to seamlessly blend with the surrounding tile surface. Achieving this requires attention to matching textures and color blending to guarantee the repair is unnoticeable.
- Use a fine-grit sanding block to gently shape the compound, following the tile’s original contours and surface texture.
- Apply a small amount of color-matched paint or tint, blending carefully to replicate the tile’s hue variations.
- Feather the edges by lightly sanding again after color application, refining the shift between the repair and tile.
Let the Repair Cure and Finish the Surface
Although the repair compound may appear dry to the touch, you’ll need to allow it to cure fully according to the manufacturer’s recommended time to confirm maximum hardness and durability. This cure time is critical; rushing this step compromises the bond strength and longevity of your repair. Once cured, inspect the surface finish carefully. If needed, lightly sand the area with fine-grit sandpaper to achieve a seamless shift between the repair and the original tile surface. Be precise—over-sanding can damage the repair or surrounding tile. Finally, apply a sealant or finish appropriate to your tile type to protect the repair and restore the tile’s appearance. Following these steps confirms your chipped tile floor regains its original resilience and aesthetic, letting you enjoy a durable, free-moving space without worry.