To fix a chipped floor tile in three easy steps, first gather epoxy or tile filler, a putty knife, and sandpaper. Then, clean and dry the damaged area, removing any loose pieces to guarantee a smooth surface. Next, apply the filler carefully with the putty knife, filling the chip completely, and let it dry. Finally, sand the spot gently to blend it with the tile. Keep following for tips on achieving a flawless, long-lasting repair.
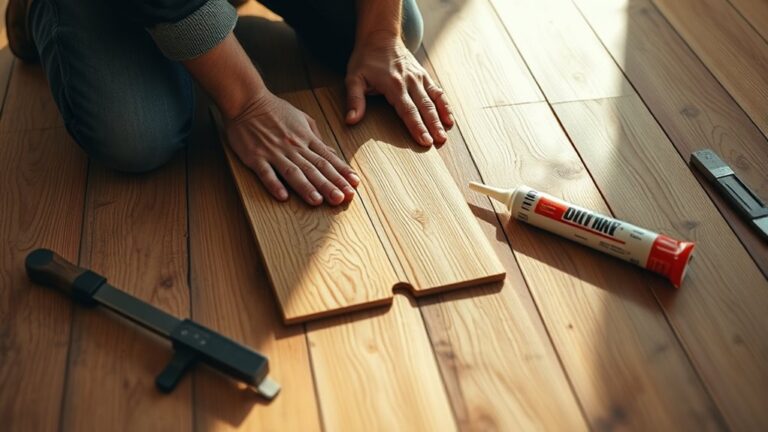
Gather the Necessary Materials
Before you begin repairing a chipped piso tile, you’ll need to gather a few essential materials to guarantee the job goes smoothly. Having the right essential tools at your disposal simplifies tile repair techniques effectively. Start with epoxy or tile filler, which matches your tile’s color for a seamless finish. You’ll also need a putty knife or small spatula to apply the filler precisely. Sandpaper or a sanding block is vital for smoothing the area once the filler dries. Don’t forget a clean cloth for wiping dust and excess filler. Depending on the chip’s size, a fine paintbrush can help with detailed touch-ups. Gathering these materials upfront assures you’re ready to tackle the repair confidently and regain your floor’s flawless look without unnecessary interruptions.
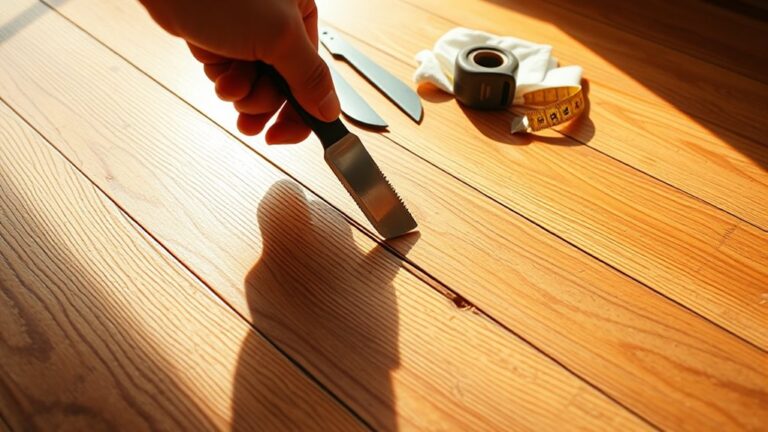
Prepare and Clean the Damaged Area
To get the best results, start by thoroughly cleaning the chipped area on your tile. Use gentle cleaning techniques like a soft brush and mild detergent to remove dirt, dust, and debris without causing further damage. After rinsing, let the area dry completely. Next, conduct a careful damage assessment. Look closely to determine the chip’s size, depth, and if there are any loose fragments. This step is vital because it guides how you’ll approach the repair. Removing any loose pieces guarantees a smooth surface for the repair compound later. By preparing the tile properly, you set yourself up for a durable fix that blends seamlessly. Taking your time here allows you the freedom to achieve professional-looking results without needing extra repairs.
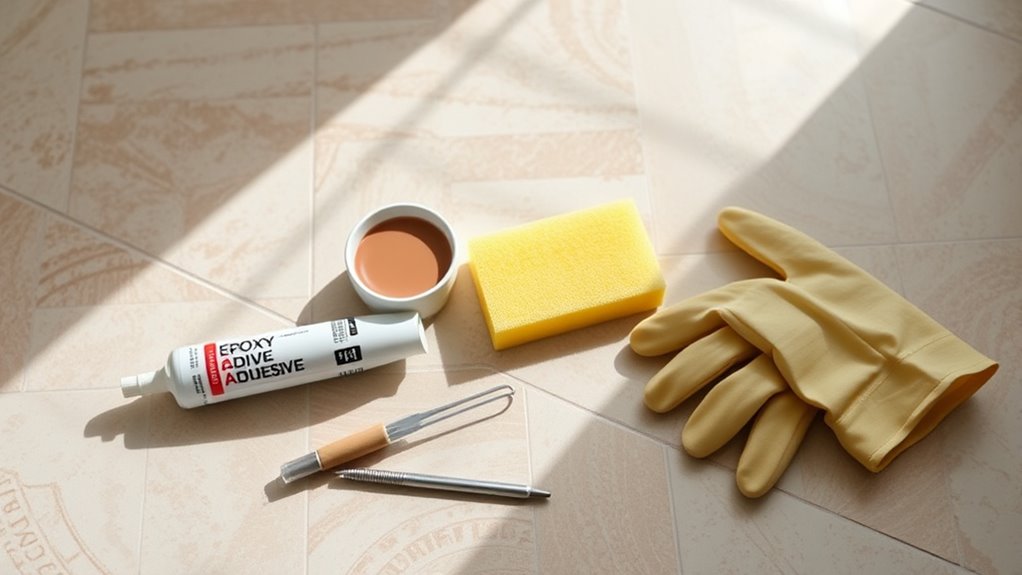
Apply Repair Compound and Finish the Tile
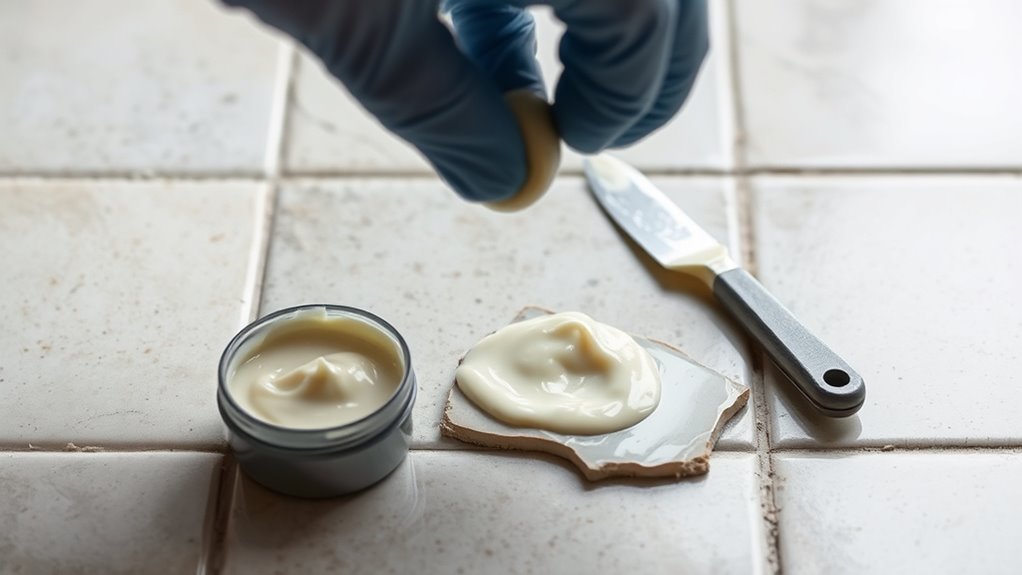
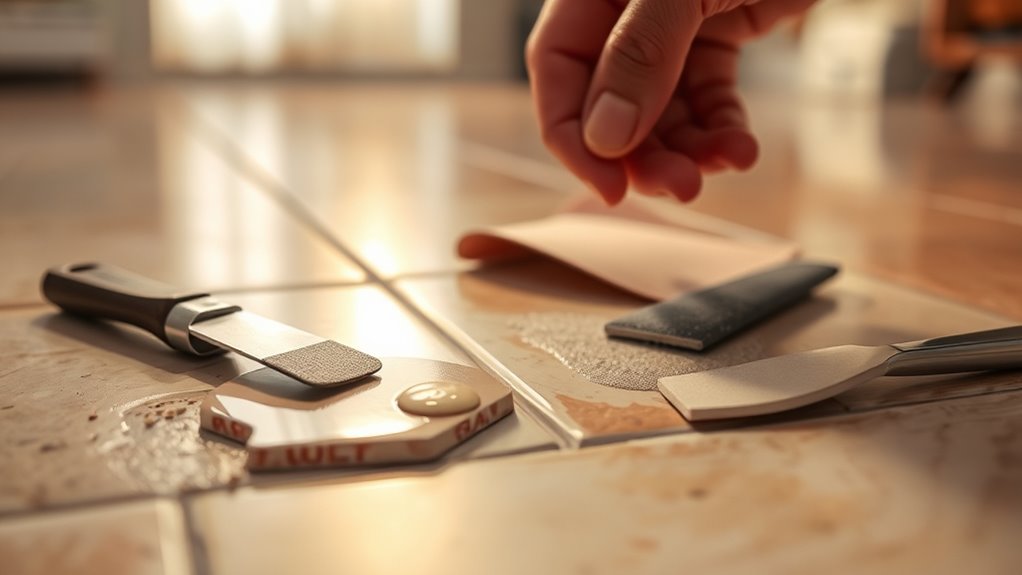
Once the chipped area is clean and free of loose debris, you can start applying the repair compound. Use a putty knife to carefully press the compound into the chip, ensuring it fills the area completely without air pockets. Smooth the surface as much as possible to match the tile’s contour. Let it dry according to the product instructions. After drying, gently sand the repaired spot with fine-grit sandpaper to blend it seamlessly into the surrounding tile. For best results, follow proven repair techniques like layering thin coats if needed and matching the compound’s color to your tile. Finally, apply a clear sealant or glaze to protect the repair and enhance tile finishing, restoring your floor’s look and durability while giving you the freedom to enjoy your space confidently.