To clean your pebble shower floor, start by rinsing with warm water, then use a soft-bristle brush and a gentle, pH-neutral cleaner to scrub between the stones carefully. Avoid harsh or abrasive chemicals to protect the grout and pebble surface. After washing, rinse thoroughly, squeegee off excess water, and dry with a microfiber cloth to prevent mold. Regular sealing will guard against stains and moisture damage. Follow these basics, and you’ll maintain a clean, slip-resistant piso while learning how to tackle tougher grime.
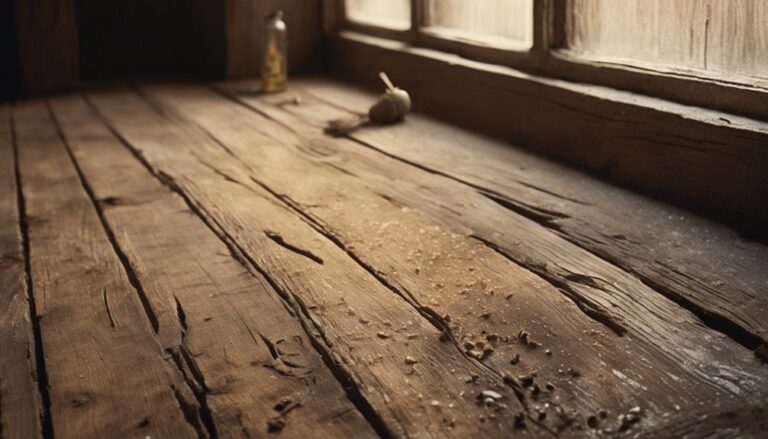
Understanding the Unique Features of Pebble Shower Floors
Pebble shower floors stand out because of their natural, textured surface, which offers both aesthetic appeal and practical benefits. When you choose pebble types, consider smooth river stones or flat pebbles, as each affects cleaning ease and water drainage. The irregular surface enhances grip, reducing slip risk, but it also requires thoughtful upkeep. Your maintenance frequency will depend on the pebble type and grout used; rougher textures may trap soap scum faster, demanding more frequent cleaning. Understanding these features helps you tailor a cleaning routine that preserves the floor’s freedom from mold and discoloration. By respecting the unique composition and texture, you guarantee your pebble shower floor remains both beautiful and functional with minimal effort.
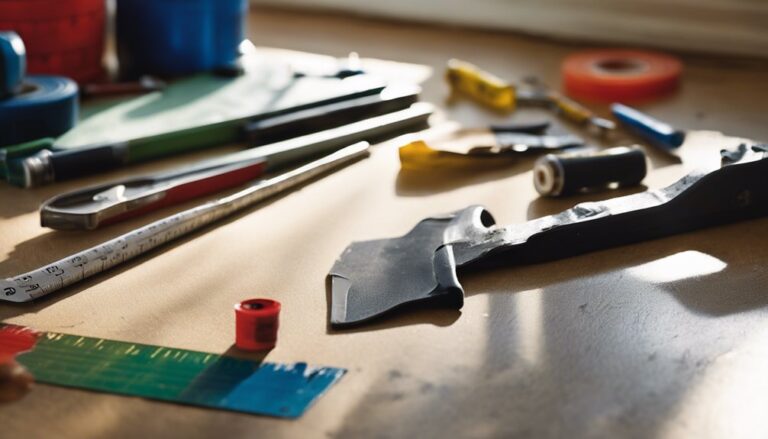
Essential Tools and Cleaning Supplies Needed
To clean your pebble shower floor effectively, you’ll need specific tools like a soft-bristle brush and a non-abrasive sponge. Choosing the right cleaning solution is essential—opt for pH-neutral, gentle cleaners that won’t damage the stone. Don’t forget protective gear such as gloves to safeguard your skin during the process.
Basic Cleaning Tools
Although cleaning a pebble shower floor might seem straightforward, having the right tools and supplies is essential to guarantee effectiveness without damaging the surface. You’ll want to focus on basic cleaning supplies and cleaning tool options that allow you to gently scrub without scratching the pebbles or grout.
| Herramienta | Objetivo |
|---|---|
| Soft-bristle brush | Removes dirt from uneven surfaces |
| Sponge | Wipes down and rinses pebbles |
| Microfiber cloth | Dries and polishes without abrasion |
| Balde | Holds water and cleaning solution |
| guantes de goma | Protects your hands during cleaning |
Select tools that give you control and ease of use, ensuring you maintain the natural beauty of your pebble shower floor while freeing yourself from harsh scrubbing.
Suitable Cleaning Solutions
When selecting cleaning solutions, it’s important you choose ones that effectively remove grime without harming the natural stone or grout. Opt for natural cleaners like diluted white vinegar or a gentle castile soap mix; these are tough on dirt yet safe for your pebble shower floor. Eco friendly options minimize chemical exposure and protect your bathroom’s delicate surfaces. Avoid acidic or abrasive cleaners, as they can erode the stone and weaken grout. You might also consider a pH-neutral cleaner specifically formulated for natural stone. Always test your chosen solution on a small, inconspicuous area first to guarantee it won’t cause discoloration or damage. By carefully selecting your cleaning products, you maintain both the beauty and integrity of your pebble shower floor while embracing safer, greener cleaning practices.
Protective Gear Essentials
A well-prepared cleaning session starts with having the right protective gear and essential tools on hand. Before you embark on scrubbing your pebble shower floor, make sure you wear protective gloves to shield your hands from abrasive scrubbing and cleaning chemicals. Safety goggles are equally important—they protect your eyes from splashes that might occur when applying solutions or rinsing. Alongside these, have a soft-bristle brush ready to reach between pebbles without causing damage. A bucket for mixing your cleaning solution and a non-abrasive sponge will also be helpful. By equipping yourself correctly, you’ll maintain safety and efficiency, ensuring your freedom to clean thoroughly without risking injury or damaging your shower floor’s natural texture. This preparation sets the foundation for effective, worry-free cleaning.
Preparing Your Shower Floor for Cleaning
Before you start cleaning, make certain to remove any loose debris from the pebble floor by sweeping or rinsing it thoroughly. Next, select a cleaner that’s safe for natural stone and won’t damage the grout or pebbles. Taking these preparatory steps guarantees an effective and gentle cleaning process.
Eliminar residuos sueltos
Start by thoroughly clearing your pebble shower floor of any loose debris, such as hair, soap scum flakes, and dust. Use a soft-bristle brush or a handheld vacuum with a brush attachment to gently lift particles without scratching the pebbles. Sweep in multiple directions to verify all crevices are free of trapped dirt. For stubborn debris, a microfiber cloth dampened with warm water can help capture fine dust. These debris removal techniques prevent buildup that compromises pebble adhesion and appearance. Regularly removing loose debris not only maintains cleanliness but also extends the life of your shower floor. Following these pebble maintenance tips keeps your surface vibrant and slip-resistant, giving you the freedom to enjoy a fresh, safe shower environment every day.
Choose Suitable Cleaner
Once you’ve cleared all loose debris from your pebble shower floor, selecting the right cleaner becomes the next step to guarantee effective and safe cleaning. You should prioritize eco friendly cleaners that protect both your health and the environment while preserving the natural stone’s integrity. Avoid harsh acidic solutions, as they can erode the pebble surface and damage grout over time. Instead, look for pH-neutral or mildly alkaline products specifically formulated for natural stone. If you prefer a homemade option, a gentle mixture of water and a small amount of liquid castile soap works well without compromising the pebbles. Always test your chosen cleaner on a small, inconspicuous area first to verify no adverse reactions occur. This careful approach ensures your shower floor stays pristine without sacrificing freedom from harsh chemicals.
Gentle Cleaning Methods for Daily Maintenance

Maintaining your pebble shower floor daily requires just a few simple steps to prevent buildup and preserve its natural texture. You’ll want to use natural cleaners like diluted vinegar or mild soap, avoiding harsh chemicals. Incorporate these daily habits: rinse the floor with warm water after each use and gently scrub with a soft brush to loosen debris. This method keeps the pebbles vibrant without damaging their grip or finish.
| Paso | Beneficio |
|---|---|
| Warm water rinse | Removes surface dirt |
| Soft brush scrub | Prevents grime buildup |
| Natural cleaner | Protects pebble texture |
| Daily routine | Saves time long-term |
| Air drying | Prevents mold growth |
Stick to this simple routine, and your shower floor will stay fresh and inviting, letting you enjoy freedom from tough maintenance.
Removing Soap Scum and Hard Water Stains
While daily care helps keep your pebble shower floor looking clean, soap scum and hard water stains can still accumulate over time, requiring more targeted attention. Start by mixing equal parts white vinegar and water in a spray bottle to tackle soap scum effectively. Spray the solution generously over the affected areas, letting it sit for 10 to 15 minutes to break down residues. Next, use a soft-bristle brush to gently scrub the pebbles, focusing on grout lines where buildup is common. For stubborn hard water stains, apply a paste made from baking soda and water, then scrub lightly. Rinse thoroughly with warm water to remove all cleaning agents. Regularly addressing soap scum and hard water guarantees your shower floor stays fresh and preserves the natural texture of the pebbles.
Tackling Mold and Mildew on Pebble Surfaces
Dealing with mold and mildew on your pebble shower floor requires a careful approach to protect both the stones and grout. You’ll want to balance effective mildew treatments with gentle mold prevention methods to keep your shower fresh without damage.
| Paso | Acción | Notas |
|---|---|---|
| 1 | Ventilate after each shower | Reduces moisture, mold prevention |
| 2 | Use a mild bleach solution | Treats mildew without harm |
| 3 | Scrub grout and pebbles gently | Avoids stone scratching |
| 4 | Enjuague bien | Removes cleaning residues |
| 5 | Dry floor with towel or squeegee | Prevents mold regrowth |
Following this methodical routine guarantees effective mold removal while preserving your pebble floor’s integrity and your freedom from recurring mildew.
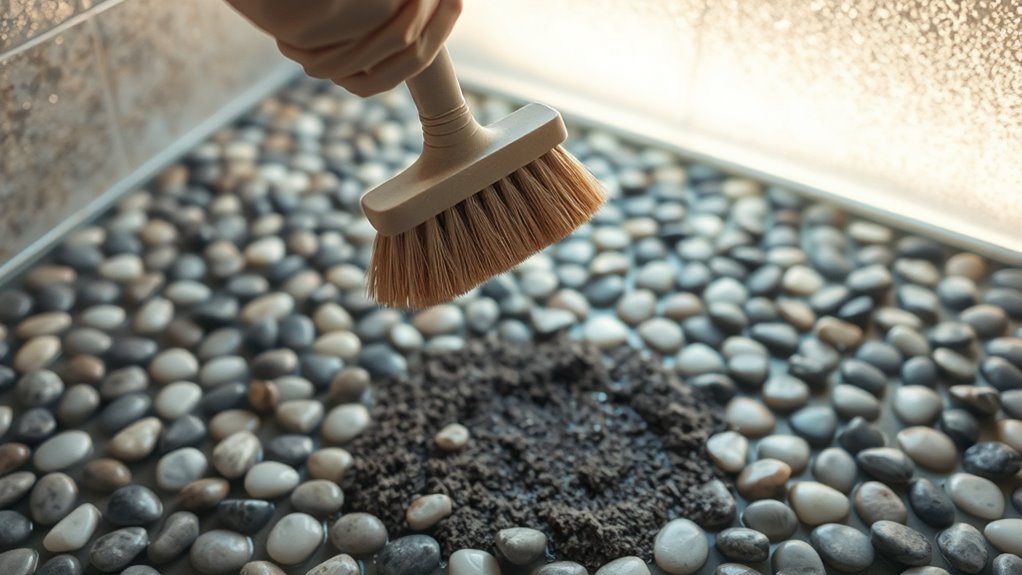
Deep Cleaning Techniques for Stubborn Dirt
To tackle stubborn dirt on your pebble shower floor, you’ll need effective cleaning solutions designed to break down grime without damaging the surface. Use a stiff-bristled brush or a specialized scrub tool to methodically agitate the dirt from crevices between the pebbles. Applying consistent, targeted scrubbing combined with the right cleaner guarantees thorough removal of built-up debris.
Effective Cleaning Solutions
Three powerful cleaning solutions stand out when tackling stubborn dirt on your pebble shower floor: a baking soda paste, a vinegar-water mixture, and a mild detergent. For natural cleaning, mix baking soda with water to create a thick paste, applying it directly to dirt spots. Let it sit for 10-15 minutes to loosen grime. Alternatively, combine equal parts white vinegar and water in a spray bottle; this eco friendly solution penetrates mineral deposits and soap scum effectively. Use a mild detergent diluted with warm water for regular maintenance, ensuring no harsh chemicals damage your pebbles. Each solution offers a balance of strength and gentleness, helping you maintain your shower floor’s texture and appearance while embracing eco friendly solutions that don’t compromise your freedom to enjoy a clean, safe space.
Scrubbing Methods and Tools
Once you’ve applied your chosen cleaning solution, scrubbing becomes key to lifting stubborn grime from the irregular surfaces of your pebble shower floor. Start with a soft-bristle brush to avoid damaging the stones and grout. For deeper dirt, a nylon scrub brush provides more abrasion without scratching. Avoid wire brushes, as they can erode the pebbles. When considering scrubbing techniques, use circular motions to reach crevices between stones effectively. A tool comparison reveals that handheld brushes offer control for targeted spots, while a long-handled brush helps cover larger areas with less strain. For the toughest buildup, a steam cleaner can loosen dirt without harsh chemicals. By selecting the right tool and method, you’ll restore your pebble floor’s natural beauty while maintaining its integrity.
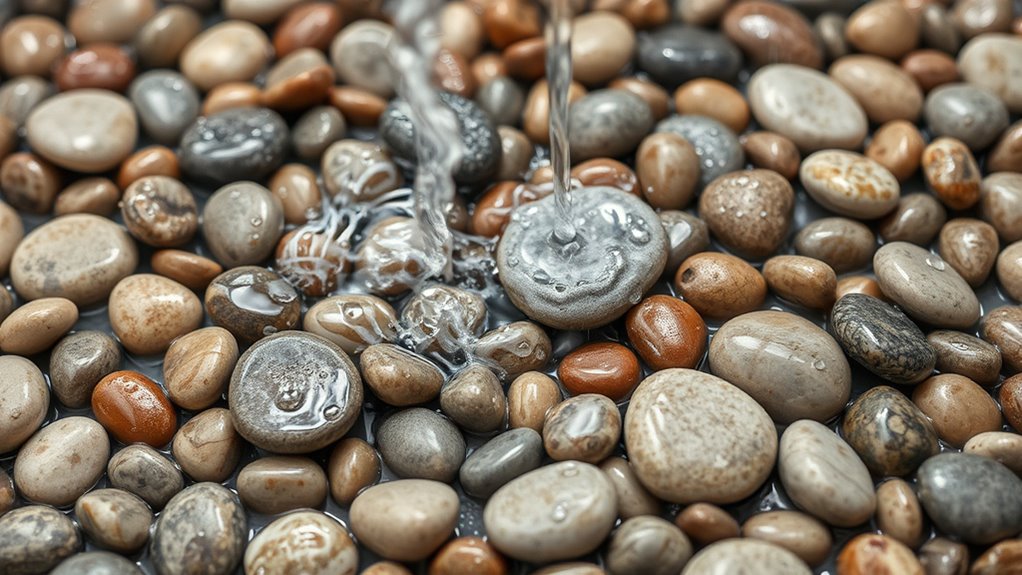
Proper Rinsing and Drying Practices
Although rinsing your pebble shower floor thoroughly may seem straightforward, doing it methodically guarantees no residue or cleaning agents remain trapped between the stones. Start with a gentle flow of warm water, directing it evenly across the entire surface. Avoid high-pressure sprays that could dislodge pebbles or grout. Move slowly, ensuring every crevice is flushed out. After proper rinsing, effective drying is essential to prevent mold and mildew growth. Use a squeegee to remove excess water, then wipe the floor with a microfiber cloth to absorb lingering moisture. Leave the shower door or curtain open afterward to promote air circulation. By following these precise steps, you maintain your pebble floor’s natural beauty and extend its lifespan, giving you the freedom to enjoy your clean shower confidently.
Sealing Your Pebble Shower Floor for Protection
A crucial step in maintaining your pebble shower floor’s durability and appearance is applying a high-quality sealer. Start by selecting from sealing options designed specifically for natural stone, such as penetrating or topical sealers. Penetrating sealers absorb deeply, preserving the natural look, while topical sealers form a protective layer on the surface. Before application, verify the floor is completely clean and dry. Use a small brush or roller for even coverage, applying the sealer in thin, consistent coats to avoid pooling. Allow adequate drying time between coats, following the manufacturer’s recommendations closely. After sealing, wipe off any excess to prevent sticky residues. Proper application techniques guarantee your pebble floor stays protected against moisture and stains, giving you freedom from frequent maintenance.
Tips for Preventing Future Stains and Build-Up
Since your pebble shower floor is sealed, maintaining its pristine condition requires consistent care to prevent stains and build-up. Prioritize preventive maintenance by wiping down the floor after each use to remove soap residue and excess moisture. Use a squeegee or microfiber cloth to speed up drying, reducing the chance of mildew. Avoid harsh chemicals that can degrade the sealant; instead, opt for pH-neutral cleaners specifically designed for natural stone. Schedule resealing every 1-2 years to reinforce stain protection and maintain the surface’s integrity. Regularly inspect grout lines for cracks or damage, repairing promptly to prevent water infiltration. By following these methodical steps, you preserve your shower’s natural beauty and guarantee freedom from stubborn stains and mineral deposits over time.