To clean your marble tile floors in seven easy steps, start by gathering gentle tools like a microfiber mop and pH-neutral cleaner. Sweep or dust regularly to remove dirt without scratching. Mix a mild cleaning solution with warm water, then mop carefully in straight lines. For stains, apply a poultice and let it sit. Dry and buff tiles with a soft cloth, then apply sealant for protection. These essentials will guide you to keep your floors pristine and lasting longer.
Gather the Right Cleaning Supplies
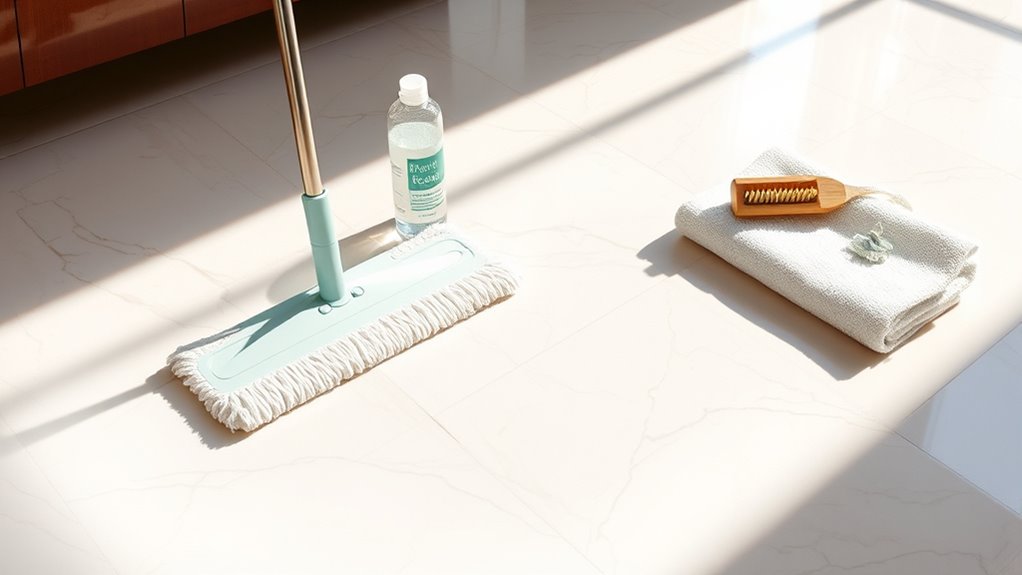
Before you begin cleaning your marble tile floors, you’ll need to gather specific supplies that won’t damage the stone. Start with gentle cleaning tools: a soft microfiber mop or cloth is essential to avoid scratches. Avoid abrasive brushes or sponges. For marble care, select a pH-neutral cleaner formulated specifically for natural stone; harsh chemicals can etch or dull the surface. Have a bucket of warm water ready for rinsing. You might also want a spray bottle for spot cleaning. Avoid vinegar, bleach, or ammonia-based products. Wearing soft-soled shoes or going barefoot helps prevent dirt and grit from scratching your piso while you work. By choosing the right cleaning tools and products upfront, you’ll protect your marble’s natural beauty and maintain the freedom to clean confidently and effectively.
Sweep or Dust the Marble Floor
You’ll want to sweep or dust your marble floor regularly using a soft-bristle broom or a microfiber dust mop to prevent scratches. Aim to clean high-traffic areas daily and less frequented spots at least twice a week. Avoid abrasive tools or harsh materials that can damage the marble’s surface.
Choose Appropriate Tools
Although marble is durable, it requires gentle care when cleaning, so selecting the right tools for sweeping or dusting is critical to avoid scratches. You need to focus on tool types that offer softness and efficiency, ensuring your cleaning methods preserve the marble’s integrity. Avoid rough brooms or abrasive materials.
| Tool Type | Beneficio |
|---|---|
| Trapeador de microfibra | Captures fine dust |
| Soft-bristle Broom | Protects surface |
| Dust Mop | Easy, gentle cleaning |
Choosing the right tool grants you freedom from worry about damage while maintaining your marble’s shine. Use gentle, effective tools to clean your marble floors confidently and keep their natural beauty intact.
Frequency of Sweeping
Regularly sweeping or dusting your marble floors is essential to prevent abrasive particles from scratching the surface. Establishing a consistent cleaning frequency within your maintenance schedule guarantees your floors remain pristine and durable. Here’s how to approach it effectively:
- Sweep daily in high-traffic areas to remove dirt and grit promptly.
- For moderate use spaces, schedule sweeping every 2-3 days.
- Adjust the frequency seasonally—more often during dusty or wet months.
- Always use a soft broom or microfiber dust mop to avoid damage.
Avoiding Abrasive Materials
Maintaining the right cleaning tools is just as important as sweeping frequency when caring for marble floors. To protect your marble’s smooth surface, avoid abrasive substances that can scratch and dull its natural shine. Use a soft microfiber dust mop or a broom with fine, non-scratch bristles to sweep or dust the floor gently. Harsh scrubbing pads or rough brushes are off-limits, as these abrasive materials compromise the stone’s integrity. Adopting proper cleaning techniques means removing dirt and grit without grinding them into the marble. You want to preserve your freedom to enjoy a pristine floor without damage from careless methods. By choosing gentle tools and techniques, you guarantee that your marble flooring remains beautiful and resilient for years to come.
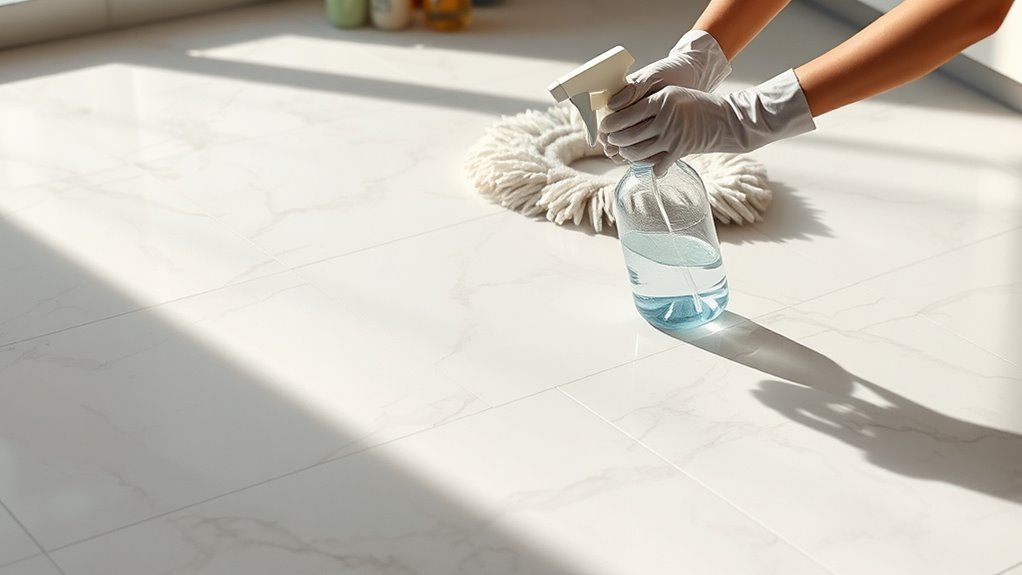
Prepare a Gentle Cleaning Solution
To prepare a gentle cleaning solution for your marble tile floors, you’ll need to combine warm water with a few drops of a pH-neutral, non-abrasive cleaner specifically formulated for natural stone. Using gentle ingredients protects your floor’s integrity while ensuring effective cleaning.
Follow these steps for proper cleaning proportions:
- Fill a bucket with one gallon of warm water.
- Add 2 to 3 drops of your chosen pH-neutral cleaner.
- Stir gently to mix the solution evenly.
- Avoid excess cleaner to prevent residue buildup.
This precise formulation balances safety and effectiveness, letting you maintain your marble’s natural beauty without worry. Stick to these proportions to enjoy freedom from harsh chemicals and preserve your floor’s delicate surface.
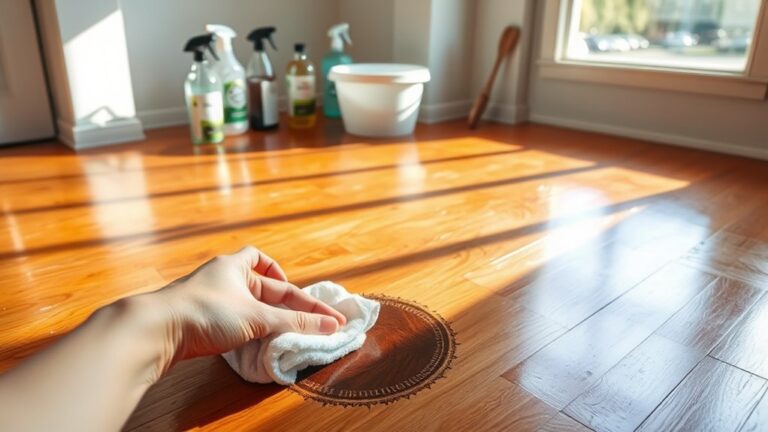
Mop the Floor With Care
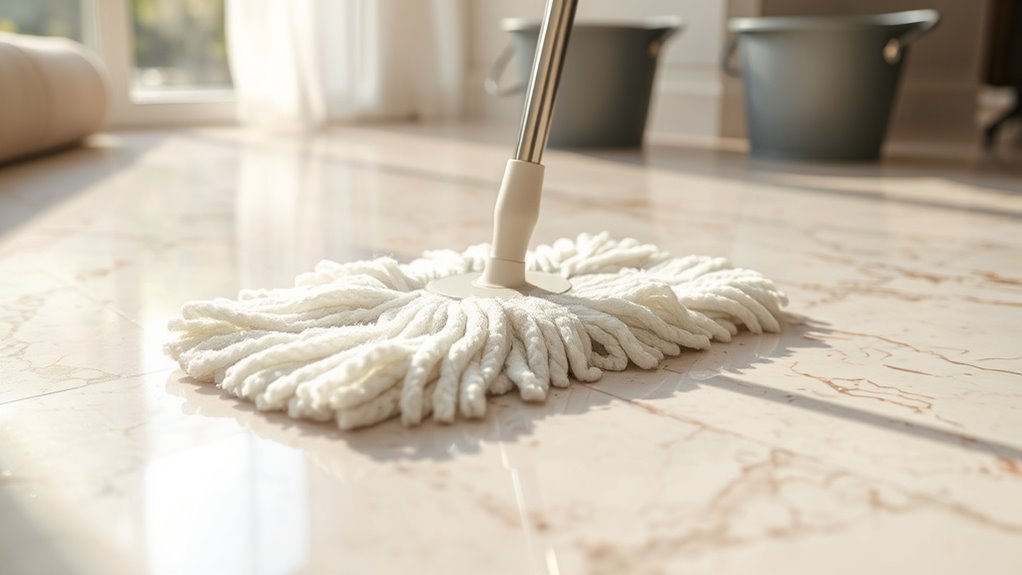
Although marble is durable, you’ll need to mop your floor gently to avoid scratches or etching. Use a soft mop with microfiber or a sponge head, and avoid harsh scrubbing. Employing the right mopping techniques guarantees effective floor care while preserving marble’s natural beauty.
| Mopping Techniques | Floor Care Tips |
|---|---|
| Use lukewarm water | Avoid acidic or abrasive cleaners |
| Mop in straight lines | Change water frequently |
| Use gentle pressure | Dry floor promptly to prevent water spots |
Remove Stains Using a Poultice
To effectively remove stains from your marble tile floors, you’ll need to prepare a poultice with the right consistency and ingredients for the specific stain type. Apply the poultice evenly, covering the stain completely, then allow it to sit and draw out the discoloration. After the prescribed time, carefully remove the poultice and clean the area to restore your marble’s natural beauty.
Poultice Preparation Tips
Three key ingredients are essential when preparing an effective poultice for removing stains from marble tile floors: an absorbent powder, a suitable liquid, and careful mixing. Your poultice ingredients selection will determine its success. Here’s how to get started:
- Choose an absorbent powder like talc, baking soda, or kaolin based on the stain type.
- Select a liquid that complements the powder—water, hydrogen peroxide, or acetone often work well.
- Mix slowly to create a thick paste, ensuring it’s neither too runny nor too dry.
- Prepare the poultice in small batches to maintain freshness and potency for poultice application techniques.
Application and Removal Methods
Once you’ve prepared your poultice, applying it correctly is crucial for effectively drawing out stains from your marble tile floors. Start by spreading a thick, even layer of the poultice over the stained area using a plastic spatula or putty knife—this guarantees proper contact with the surface. Cover the poultice with plastic wrap and tape down the edges to keep it moist and active. Let it sit for 24 to 48 hours, depending on stain severity. Once dry, gently remove the poultice with a soft cloth or plastic scraper to avoid scratching. Rinse the area with a neutral pH cleaner and water to remove any residue. Mastering these application techniques and removal solutions will empower you to restore your marble’s natural beauty effectively and confidently.
Dry and Buff the Marble Tiles
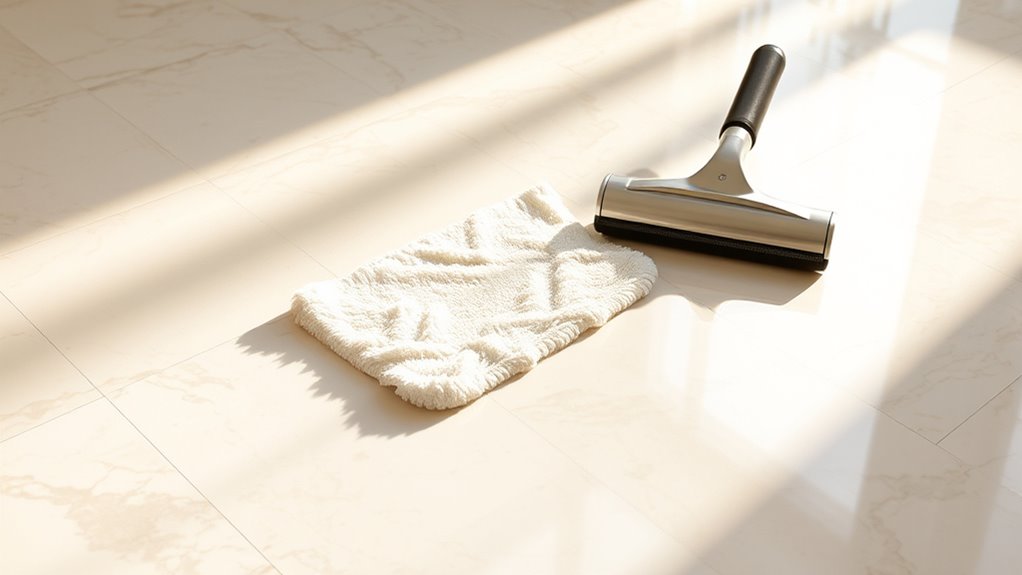
Although the marble tiles may appear clean after washing, you’ll need to confirm they’re thoroughly dried to prevent water spots and streaks. Effective drying methods guarantee your floor maintains its pristine look and avoids damage. Follow these steps for ideal results:
- Use a soft, dry microfiber cloth to gently blot excess water.
- Employ a clean, dry mop for larger areas, confirming no moisture lingers.
- Apply buffing techniques by using a dry, non-abrasive cloth to polish the surface in circular motions.
- Allow the tiles to air dry completely in a well-ventilated space to avoid trapped moisture.
Apply a Marble Sealant for Protection
Before your marble tile floors can truly shine and resist stains, you’ll need to apply a quality marble sealant. The marble sealant benefits include creating a protective barrier that repels liquids and prevents etching, preserving your floor’s natural beauty. Start by ensuring the tiles are completely dry and clean. Use a soft cloth or applicator pad to evenly spread the sealant, following the manufacturer’s instructions carefully. Applying sealant techniques emphasize thin, uniform coats to avoid buildup or streaks. Allow sufficient drying time between coats—usually 1 to 2 hours—and apply multiple layers if recommended. This methodical approach not only enhances durability but also grants you the freedom to maintain your floor effortlessly, keeping it pristine while enjoying your space without worry.