To clean your floor with vinegar, first sweep or vacuum to remove debris. Dilute vinegar with water—use about 1 cup per gallon for sealed hardwood or 1.5 cups for tile and vinyl. Mop the solution evenly without over-wetting, especially on wood floors. Rinse the mop regularly and let the floor dry completely. Avoid vinegar on marble or unsealed surfaces to prevent damage. If you want to maintain your floors well, there are simple steps and precautions worth knowing.
Benefits of Using Vinegar for Floor Cleaning
Although you might be used to commercial cleaners, vinegar offers a natural, effective alternative for floor cleaning. One of the key vinegar benefits is its ability to cut through grime and disinfect without harsh chemicals. As an eco friendly cleaner, vinegar reduces your exposure to toxins and minimizes environmental impact. It’s biodegradable and safe to use around children and pets, giving you greater freedom in your household. Vinegar also prevents residue buildup, leaving floors streak-free and shiny. Its affordability and versatility mean you won’t need multiple products cluttering your space. By choosing vinegar, you’re embracing a simple, sustainable approach that aligns with your values and lifestyle. This methodical choice lets you maintain a clean home while respecting both your health and the planet.
Preparing Your Floor for Vinegar Cleaning
Using vinegar for cleaning is a smart choice, but to get the best results, you need to prepare your floor properly first. Start by identifying your floor types to select the right cleaning tools. Remove loose debris with a broom or vacuum to avoid scratching. Next, mop lightly with warm water to lift surface dirt. Confirm the floor is dry before applying vinegar to prevent dilution.
| Step | Emotion | Reason |
|---|---|---|
| Identify floor | Confidence | Know what you’re dealing with |
| Clear debris | Relief | Avoid damage |
| Mop with water | Freshness | Remove surface grime |
| Dry floor | Readiness | Prepare for vinegar application |
| Gather tools | Empowerment | Control over cleaning process |
This methodical prep helps you clean freely and efficiently.
Diluting Vinegar for Different Floor Types
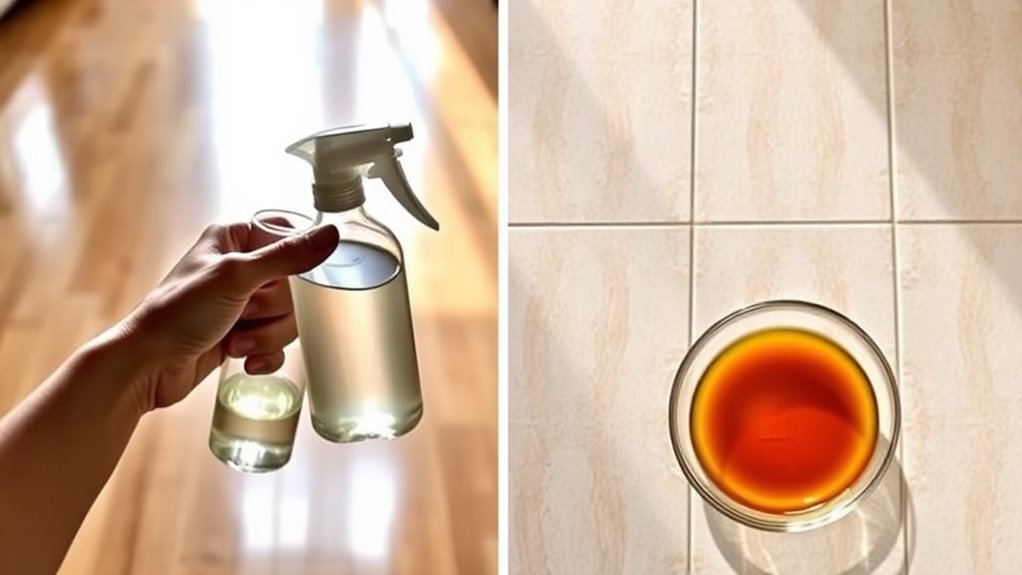
Since different floor materials react uniquely to vinegar’s acidity, you’ll need to dilute it accordingly to protect your surfaces while ensuring effective cleaning. For sealed hardwood floors, mix one cup of white distilled vinegar with a gallon of warm water to avoid damaging the finish. Tile and vinyl floors can handle a stronger solution—about one and a half cups of vinegar per gallon of water. Avoid using undiluted vinegar or harsh vinegar types like apple cider vinegar on sensitive floors. Marble, natural stone, or waxed surfaces have low floor compatibility with vinegar and require extra caution or alternative cleaners. Always test your chosen vinegar type and dilution on a small hidden spot first. This methodical approach respects floor compatibility and lets you harness vinegar’s cleaning power without risking damage.
Step-By-Step Guide to Cleaning Floors With Vinegar
First, you’ll prepare the vinegar solution by mixing the right ratio of vinegar and water based on your floor type. Next, use a mop or cloth to apply the solution evenly, avoiding excess moisture. Finally, follow specific cleaning techniques to guarantee your floor is spotless without damage.
Preparing Vinegar Solution
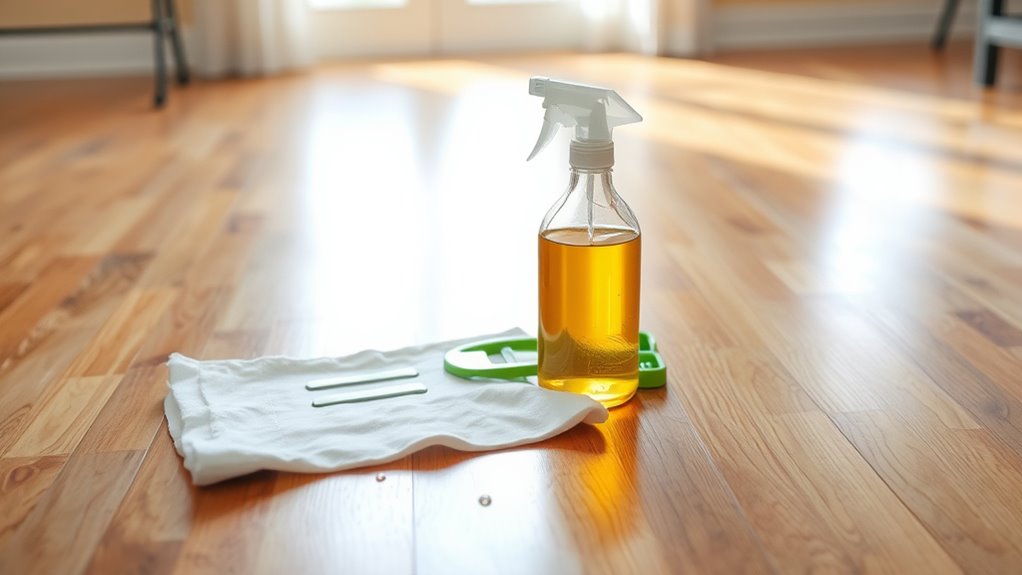
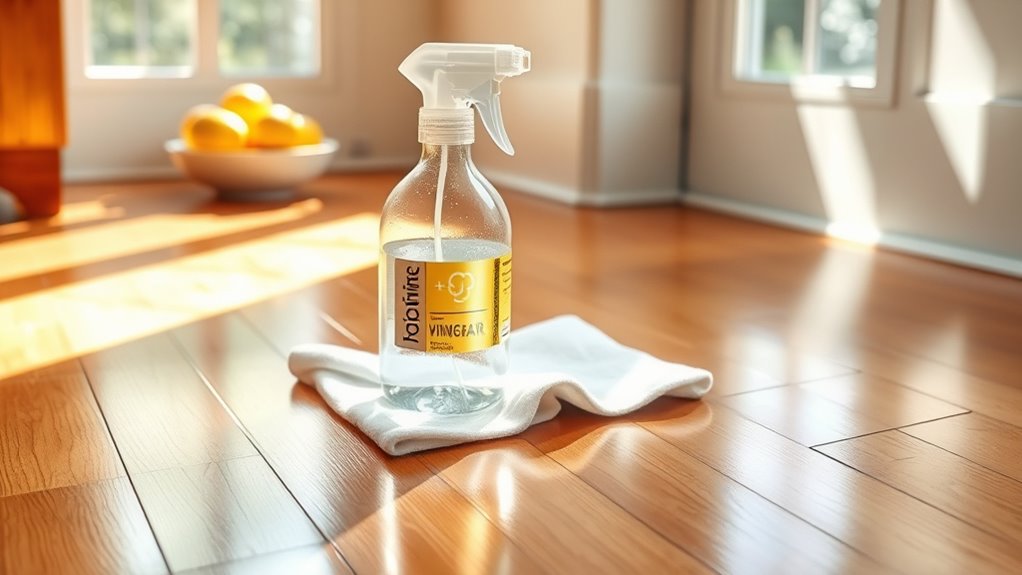
To prepare an effective vinegar solution for cleaning your floors, you’ll need just three simple ingredients: white vinegar, water, and optionally, a few drops of essential oil for fragrance. Focus on the right vinegar concentration and cleaning ratios to guarantee safety and efficiency. Typically, a 1:10 vinegar-to-water ratio works well for most floors, balancing acidity and cleaning power.
| Ingredient | Amount |
|---|---|
| White vinegar | 1 cup |
| Water | 10 cups |
| Essential oil (opt) | 5-10 drops (optional) |
Mix these in a bucket. Adjust ratios if your floors are delicate—lower vinegar concentration means gentler cleaning. This method frees you from harsh chemicals while keeping floors spotless and fresh.
Floor Cleaning Techniques
One essential step in cleaning floors with vinegar is to start by thoroughly sweeping or vacuuming to remove loose dirt and debris. Next, mix your prepared vinegar solution in a bucket. Dip a mop or cloth into the solution, wring it out well to avoid excess moisture, and mop the floor evenly. Focus on high-traffic areas but avoid saturating wood floors to maintain proper floor care. After mopping, rinse the mop in clean water and go over the floor again to prevent residue buildup. Finally, let the floor air-dry or wipe it dry with a clean cloth. Using vinegar as an eco friendly alternative helps you maintain cleanliness without harsh chemicals, giving you freedom from toxins while preserving your floor’s integrity.
Tips for Maintaining Floors After Vinegar Cleaning
To keep your floors looking their best after vinegar cleaning, stick to a regular sweeping routine to prevent dirt buildup. Be careful not to use excess water, which can damage certain floor types. Also, placing protective mats in high-traffic areas helps reduce wear and tear over time.
Regular Sweeping Routine
Regularly sweeping your floors is essential for maintaining the cleanliness achieved through vinegar cleaning. To prevent dust accumulation, establish a consistent sweeping frequency—ideally daily or every other day, depending on foot traffic and environmental factors. This routine keeps dirt from settling into crevices and prolongs the fresh appearance of your floors. Use a broom with fine bristles or a microfiber dust mop to capture even the smallest particles without scattering them. Focus on high-traffic areas where debris quickly builds up. By integrating this methodical approach into your cleaning regimen, you minimize the need for frequent deep cleans and maintain the natural shine that vinegar imparts. Staying disciplined with your sweeping frequency guarantees your floors remain clear, inviting, and free from dust buildup, giving you the freedom to enjoy a clean home effortlessly.
Avoid Excess Water
Avoiding excess water is essential when maintaining your floors after cleaning with vinegar. Too much moisture can lead to water damage, especially on wood or laminate surfaces, compromising their durability and appearance. Use a damp mop rather than a soaking wet one, wringing it out thoroughly before each pass. This method controls the amount of water applied and speeds up drying times. Adjust your cleaning frequency based on traffic and spills, preventing buildup without over-wetting. After mopping, make sure the floor dries completely by allowing airflow or using a dry cloth for any remaining moisture. Consistent attention to water control will keep your floors safe, prolong their life, and preserve the freedom to enjoy a clean, damage-free space.
Use Protective Mats
One of the simplest ways you can protect your floors after cleaning with vinegar is by placing protective mats in high-traffic and vulnerable areas. Protective mats act as a barrier against dirt, moisture, and wear, extending your floor’s lifespan and maintaining its appearance. Choose mats made from non-slip materials to guarantee safety and stability. Position them near entryways, in front of sinks, or under furniture that tends to scratch the floor. Regularly clean and rotate these mats to prevent dirt buildup and uneven wear. By integrating protective mats into your routine, you’ll enhance floor protection effectively without compromising your freedom to move and live comfortably. This small step complements your vinegar cleaning, securing your floors against future damage.
Precautions and When to Avoid Using Vinegar on Floors
Although vinegar is a natural and effective cleaner, you should be cautious about where and how you use it on floors. Vinegar sensitivity varies depending on the type of floor finishes. Avoid using vinegar on hardwood, waxed, or stone floors like marble and granite, as its acidity can damage or dull these surfaces. Always test a small, hidden area first to check for any adverse reactions. Don’t apply vinegar full strength; dilute it with water to reduce risk. If your floor has a specialized finish or sealant, consult manufacturer guidelines before proceeding. Vinegar’s acidity can break down finishes over time, leading to costly repairs. Being mindful of these precautions guarantees you protect your flooring while enjoying vinegar’s cleaning power without compromising your freedom to maintain a beautiful home.