To clean drywall dust from your floor, first seal the room to contain dust by taping plastic sheeting over vents and doorways. Use a vacuum with a HEPA filter, focusing on edges and corners, to lift fine particles without spreading them. Then, sweep gently with a fine-bristle broom onto a damp dustpan, avoiding quick pushes that kick dust airborne. Finally, mop the floor with a lightly damp microfiber mop, rinsing often. Keep seeking a detailed approach to fully master dust removal.
Preparing the Room for Dust Cleanup
Before you begin cleaning drywall dust, you’ll want to prepare the room properly to prevent dust from spreading and settling on other surfaces. Start with a thorough room assessment: identify all possible entry points where dust could escape, such as vents, doorways, and windows. Seal these gaps using plastic sheeting and painter’s tape to establish effective dust containment. Remove or cover furniture and belongings to protect them from dust particles. Keep doors closed or use temporary barriers to isolate the workspace. This preparation not only minimizes cleanup effort but also safeguards your freedom to move through the home without tracking dust elsewhere. Taking these methodical steps guarantees that dust remains confined, making your cleanup more efficient and less invasive.
Choosing the Right Cleaning Tools
Although drywall dust can be stubborn, choosing the right cleaning tools will make the process faster and more effective. Start with heavy duty brooms designed to handle fine particles without scattering them further. Their stiff bristles gather dust efficiently, preventing it from settling back onto surfaces. For detailed cleanup, microfiber cloths are indispensable. Their dense fibers trap dust instead of pushing it around, making them perfect for wiping baseboards and corners. Avoid regular dusters or dry mops that just spread dust into the air. Select tools that allow you to control the dust without stirring it up, so you maintain a cleaner space with less effort. By equipping yourself with these specific tools, you’ll streamline your cleanup and enjoy more freedom from dust’s clingy mess.
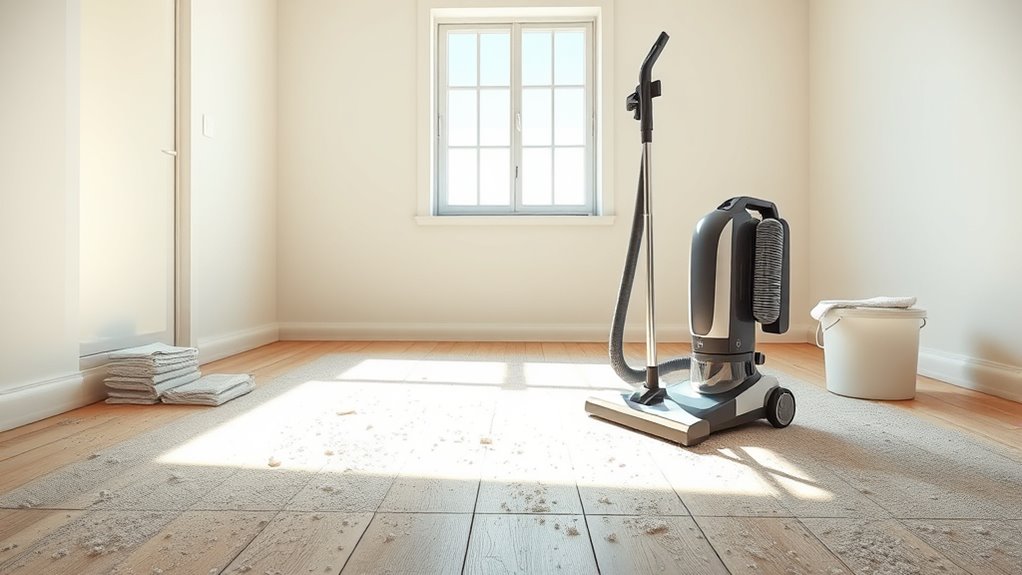
Using a Vacuum Cleaner Effectively
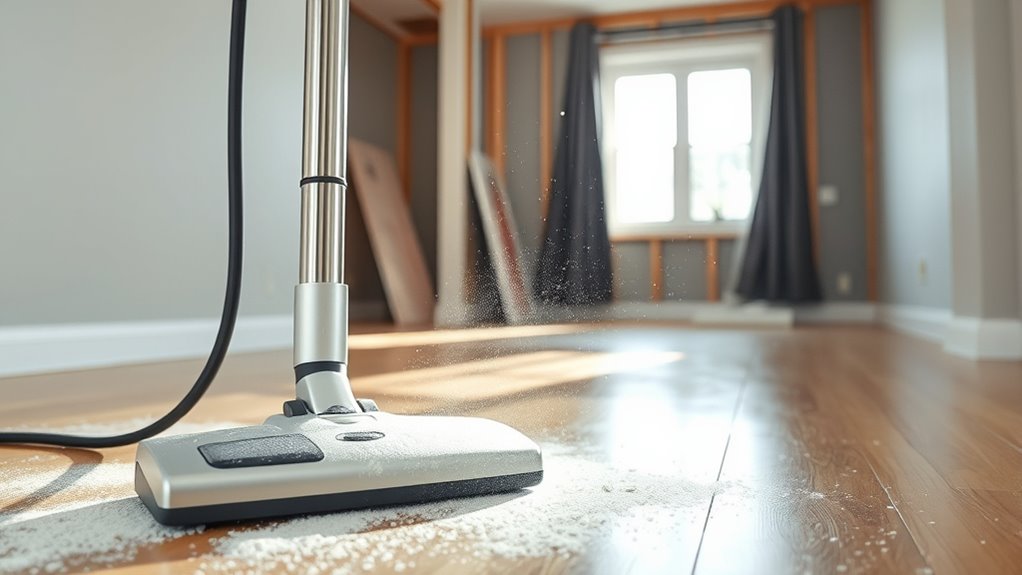
Once you’ve gathered the right tools, a vacuum cleaner becomes your best ally for tackling drywall dust. Start by selecting the appropriate vacuum settings — use a lower suction power on delicate floors to avoid damage, but make sure it’s strong enough to capture fine dust particles. Attach a brush or crevice tool for tight corners and edges. Keep in mind, filter maintenance is essential: clean or replace filters regularly to maintain suction efficiency and prevent dust from escaping back into the air. After vacuuming, examine your filter for clogging, especially if the dust is heavy. Following these steps lets you clean effectively while preserving your vacuum’s performance, giving you the freedom to keep your space dust-free without hassle or extra effort.
Sweeping Techniques to Avoid Dust Spread
When you sweep up drywall dust, you’ll want to use slow, deliberate motions to minimize the dust kicking back into the air. Start by choosing a broom with fine, synthetic bristles designed for dust containment. Avoid quick, sweeping strokes that scatter particles. Instead, use gentle pushes to gather dust into small, manageable piles. Work from the edges toward the center, keeping your movements controlled to prevent dust clouds. After gathering debris, sweep it directly onto a dampened dustpan or disposable surface to trap remaining particles. These sweeping methods guarantee you limit airborne dust and maintain a cleaner environment. Taking your time with careful, methodical techniques not only improves dust containment but also gives you greater control, making cleanup more efficient and less messy.
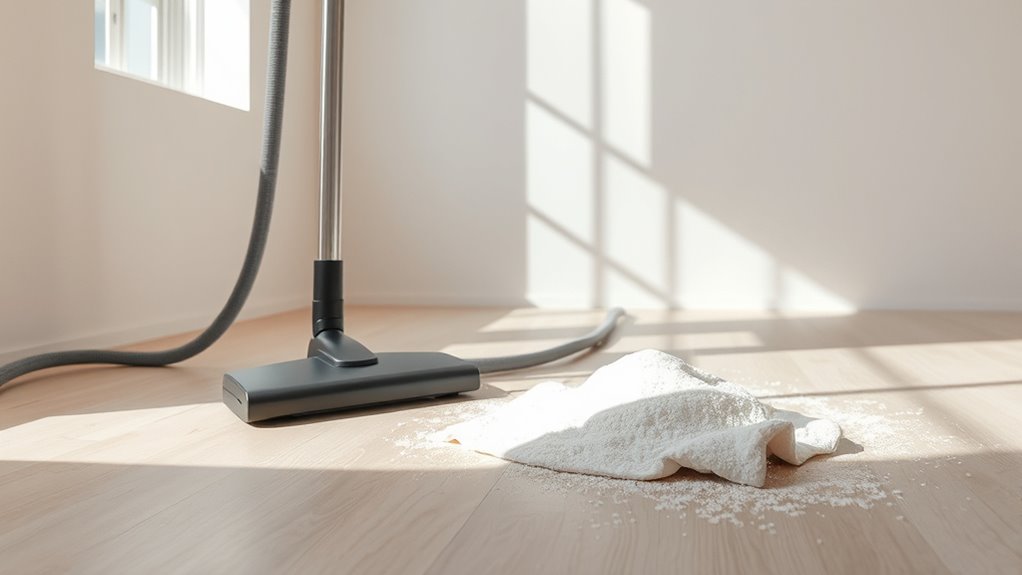
Damp Mopping for Final Dust Removal
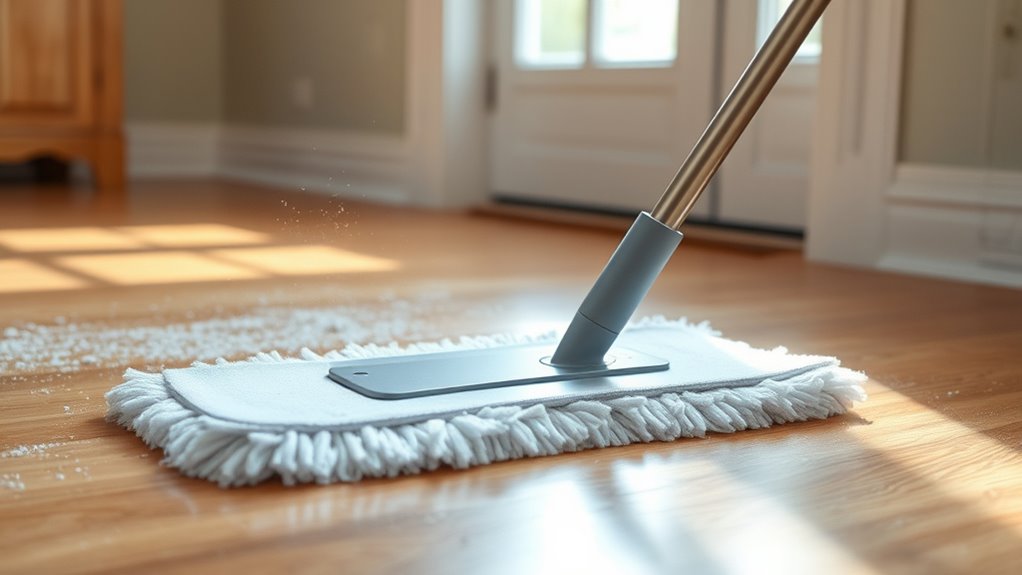
You’ll want to pick a mop with a microfiber head to trap fine drywall dust effectively. Lightly dampen the mop to avoid spreading dust into the air or creating mud. Use slow, overlapping strokes to capture all remaining particles and guarantee a thorough final cleaning.
Choosing the Right Mop
A mop with an absorbent, microfiber head works best for damp mopping drywall dust. When choosing the right mop, focus on mop materials that trap fine particles without spreading them around. Microfiber excels because its fibers attract dust and hold moisture efficiently. Among mop types, flat mops offer better control and coverage on smooth floors compared to string or sponge mops, which can push dust into crevices or leave streaks. Avoid cotton mops, as they tend to absorb too much water and become heavy. Select a mop with a detachable, washable head to maintain cleanliness and prolong use. Choosing the right mop not only makes cleanup easier but also guarantees you reclaim your space faster, giving you the freedom to move on to your next project.
Effective Damp Mopping Techniques
Although drywall dust can seem stubborn, damp mopping with the right technique guarantees thorough final removal without spreading particles back into the air. To master effective damp mopping, start by wringing your mop until it’s just damp, not soaking wet. This prevents excess water from seeping into piso. Then, mop in slow, deliberate strokes, overlapping each pass to capture remaining dust. Finally, rinse and wring frequently to avoid redistributing dust.
Visualize your process as:
- A controlled sweep, minimizing airborne dust
- Consistent moisture maintaining dust adherence
- Regular rinsing to keep your mop clean
Protecting Yourself During Cleanup
You’ll want to wear protective gear like a mask, goggles, and gloves to prevent irritation from drywall dust. Make sure the area is well-ventilated by opening windows or using fans to keep dust from accumulating in the air. Taking these steps helps protect your respiratory system and skin during cleanup.
Wear Protective Gear
Before you begin cleaning drywall dust, make sure to wear protective gear to prevent irritation and respiratory issues. Drywall dust is fine and irritating, so shielding your eyes, lungs, and skin is vital.
Start with safety goggles to keep dust from getting into your eyes, which can cause redness and discomfort. A high-quality dust mask or respirator is important to avoid inhaling harmful particles that can affect your lungs. Also, consider wearing long sleeves and gloves to protect your skin from dryness and irritation.
- Safety goggles that fit snugly around your eyes
- Dust masks rated for fine particles (N95 or higher)
- Long-sleeved clothing and gloves for skin protection
Wearing the right gear lets you clean freely, confidently, and safely without compromising your health.
Ensure Proper Ventilation
Since drywall dust can linger in the air long after sanding, guaranteeing proper ventilation is essential to reduce airborne particles and protect your lungs. Start by opening windows and doors to create cross-ventilation, allowing fresh air to flow through the space. Use fans strategically placed to push dust-laden air outside rather than recirculating it indoors. Consider employing specialized ventilation methods, such as exhaust fans or air scrubbers, to enhance dust removal. Additionally, using an air purification system with HEPA filtration can capture fine dust particles, improving indoor air quality. Maintain this airflow throughout the cleanup process and for several hours afterward to guarantee lingering dust settles or exits. By actively managing ventilation and air purification, you safeguard your health and maintain freedom from dust-related respiratory issues.
Handling Dust on Carpeted Floors
Although drywall dust may seem harmless, it can quickly embed itself into carpet fibers, making cleanup challenging. To tackle this, start by adjusting your vacuum settings to a lower suction to avoid damaging delicate carpet material. Next, vacuum the area slowly in multiple directions to loosen trapped dust. For stubborn dust, try these steps:
- Use a dry sponge or brush to lift surface dust gently.
- Apply a carpet cleaner suitable for your carpet material to break down residual dust.
- Rinse lightly with water and blot with a clean towel to prevent water damage.
Preventing Drywall Dust From Spreading
To keep drywall dust from spreading, start by sealing off the work area completely with plastic sheeting and tape. You’ll also want to set up dust barriers like zip walls or temporary curtains to contain particles. Taking these steps limits cleanup and protects the rest of your space.
Seal Work Area
Before you start sanding or cutting drywall, you’ll want to seal off the work area to keep dust from spreading throughout your home. Effective dust containment is essential for maintaining clean spaces and simplifying cleaning techniques later. Begin by:
- Closing doors and windows tightly to block airflow.
- Using painter’s plastic sheeting over doorways and vents to create a physical barrier.
- Sealing gaps with painter’s tape to prevent dust from sneaking through cracks.
These simple steps form a controlled zone where drywall dust stays contained, giving you freedom from worrying about dust invading other rooms. By methodically sealing the work area, you reduce cleanup time and protect your home’s air quality. This preparation is key to a smoother, cleaner drywall project.
Use Dust Barriers
One of the most effective ways to prevent drywall dust from spreading beyond your work area is by using dust barriers. Set up plastic sheeting or zip walls to enclose the space, sealing edges tightly with painter’s tape. This creates a controlled environment, limiting dust migration. For enhanced dust control, consider attaching a portable air filtration unit inside the barrier. These units capture airborne particles, improving air quality and reducing cleanup time. Make sure doors and vents are sealed or covered to maintain barrier integrity. By combining physical barriers with air filtration, you’ll confine drywall dust efficiently, protecting adjacent rooms and surfaces. This method lets you work freely without worrying about dust contamination, making cleanup more manageable and your space healthier.
Disposing of Drywall Dust Properly
Although drywall dust might seem harmless, disposing of it properly is crucial to prevent health risks and environmental damage. You want to minimize its environmental impact by following safe disposal methods. Start by collecting dust in sealed bags to prevent airborne particles. Then, label the bags clearly to alert waste handlers about the contents. Finally, dispose of the bags according to your local regulations, often at designated construction waste facilities. Here’s a quick checklist to guide you:
Properly bag and label drywall dust to prevent health risks and environmental harm before disposal.
- Seal drywall dust in heavy-duty plastic bags to contain fine particles.
- Label bags as construction debris to guarantee proper handling.
- Transport dust to authorized disposal sites to avoid environmental contamination.
Maintaining Clean Floors After Drywall Work
After properly disposing of drywall dust, the next step is to keep your floors spotless to prevent dust from spreading throughout your space. Focus on floor maintenance by regularly vacuuming with a HEPA filter vacuum to capture fine particles. Follow up with a damp microfiber mop to pick up any remaining dust without scattering it into the air. Avoid dry sweeping, which can cause dust to become airborne again. Place mats at entry points to reduce dirt tracked in and consider sealing floors temporarily during work. Consistently controlling dust buildup through these methods guarantees your floor stays clean and your living space healthier. By committing to thorough dust prevention, you maintain a dust-free environment that supports your freedom to enjoy your home without constant cleaning worries.