When you apply floor leveler, drying times depend on its type and conditions. Polymer levelers usually dry in 2 to 4 hours, while cement-based ones take 24 to 48 hours. Start with a clean, dry surface and apply a thin, even layer for faster drying. Temperature, humidity, and ventilation affect the process—you’ll notice the surface go from wet to matte as it dries. Final curing can take up to 72 hours before installing flooring. Keep going to understand each step in detail.
Understanding Floor Leveler Types and Their Drying Times
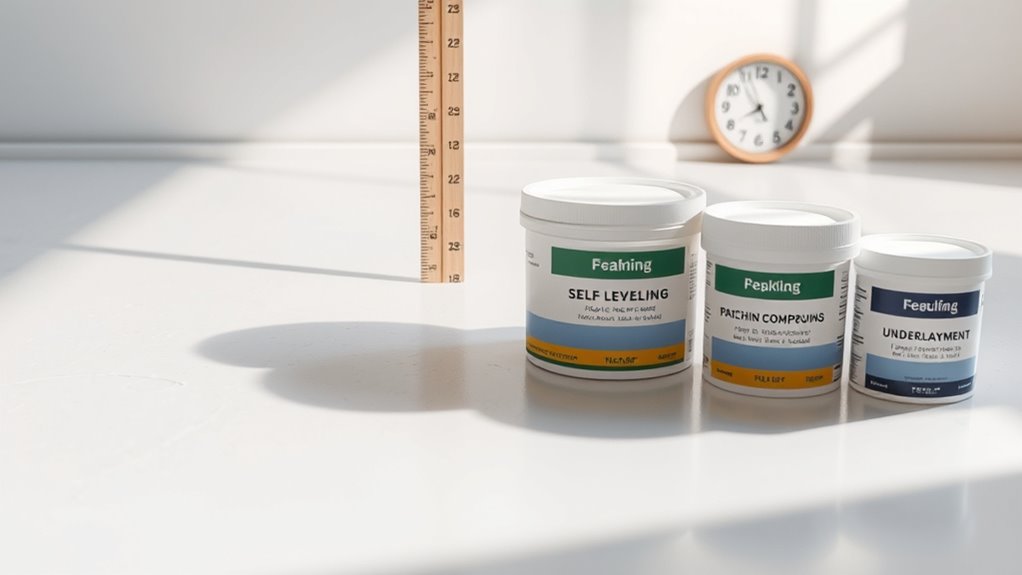
Although piso levelers serve the same basic purpose, their drying times vary considerably depending on the type you choose. Polymer based levelers dry faster due to their synthetic composition, allowing you to proceed with flooring installation within hours, typically 2 to 4 hours under ideal conditions. These levelers offer flexibility and improved adhesion, making them ideal for projects demanding quick turnaround and durability. Cement based levelers, on the other hand, rely on hydration and require longer drying times, usually 24 to 48 hours, depending on thickness and environmental factors. They provide excellent compressive strength and are suitable for heavy-duty applications. Understanding these differences lets you select a product aligned with your schedule and performance needs, granting you the freedom to manage your project efficiently without unnecessary delays.
Preparing the Surface Before Applying Floor Leveler
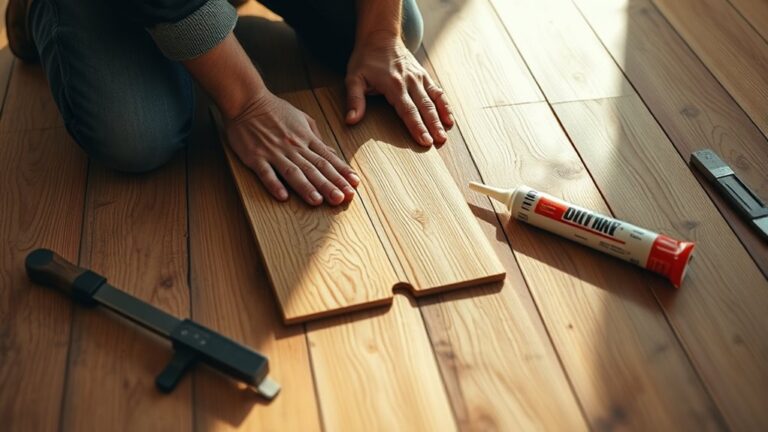
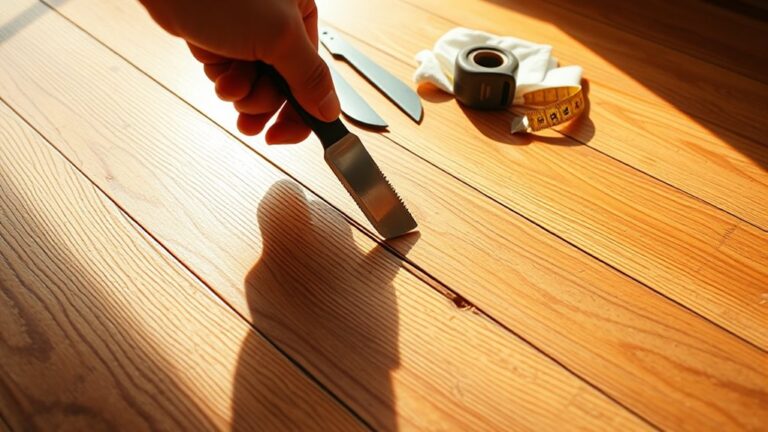
Choosing the right floor leveler type is just the beginning; the effectiveness of your leveling depends heavily on how well you prepare the surface beforehand. First, perform thorough surface cleaning to remove dust, grease, and loose debris—any contaminants can compromise adhesion and drying consistency. Use a vacuum or broom, followed by a damp mop if necessary, ensuring the surface is completely dry afterward. Next, conduct a moisture assessment; excessive moisture can delay drying or cause failure. Use a moisture meter to check the substrate, especially on concrete floors, and address any dampness issues before application. Proper surface cleaning and moisture assessment create a stable base, ensuring your floor leveler cures evenly and adheres properly, granting you the freedom to move forward confidently with your project.
Initial Drying Phase: What to Expect in the First Few Hours
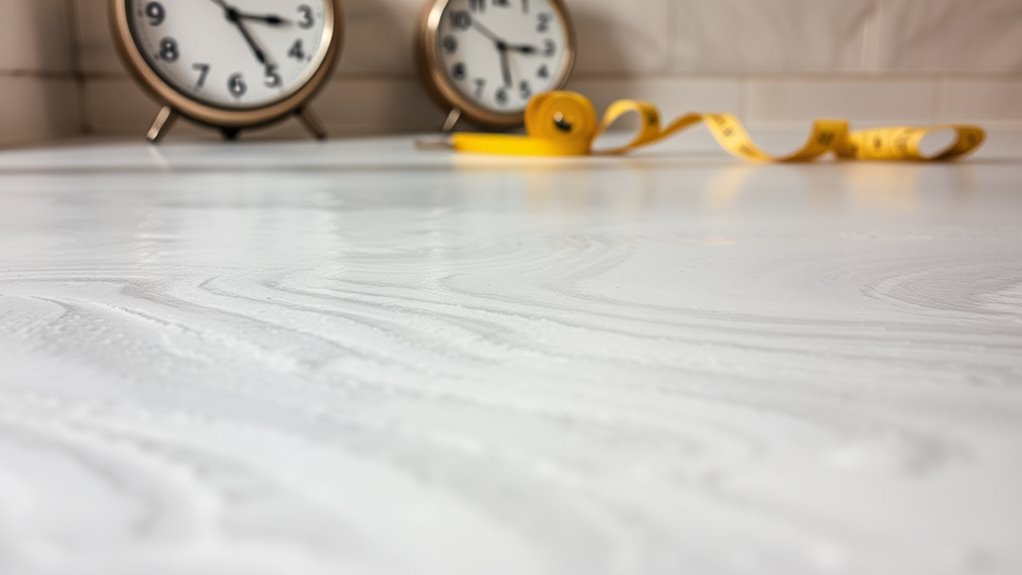
When you apply floor leveler, the initial drying phase sets the foundation for proper curing. In the first few hours, your initial observations will reveal how well the drying conditions are supporting the process. You’ll notice the surface evolving from wet to a dull, matte finish, indicating moisture evaporation.
Expect these key points during this phase:
- Surface temperature influences evaporation rate
- Ambient humidity affects moisture retention
- Air circulation speeds drying
- Thickness of the layer impacts drying time
- Avoid foot traffic to prevent surface damage
Factors Influencing the Drying Duration of Floor Leveler
Since drying time varies, you’ll need to evaluate several factors that directly affect how long your floor leveler takes to cure. First, application techniques play an essential role: thinner, evenly spread layers dry faster than thick, uneven ones. Your mixing consistency also influences drying, as overly watery mixtures extend curing time. Humidity impacts are significant—high moisture levels in the air slow evaporation, prolonging drying, while low humidity accelerates it. Temperature matters too; warmer conditions speed up the process, cooler ones delay it. Additionally, ventilation helps by removing excess moisture, aiding faster drying. Understanding these factors lets you control the environment and method to achieve ideal drying times, ensuring your project proceeds smoothly without compromising the floor leveler’s integrity or your freedom to move forward confidently.
Final Curing Process and When to Install Flooring
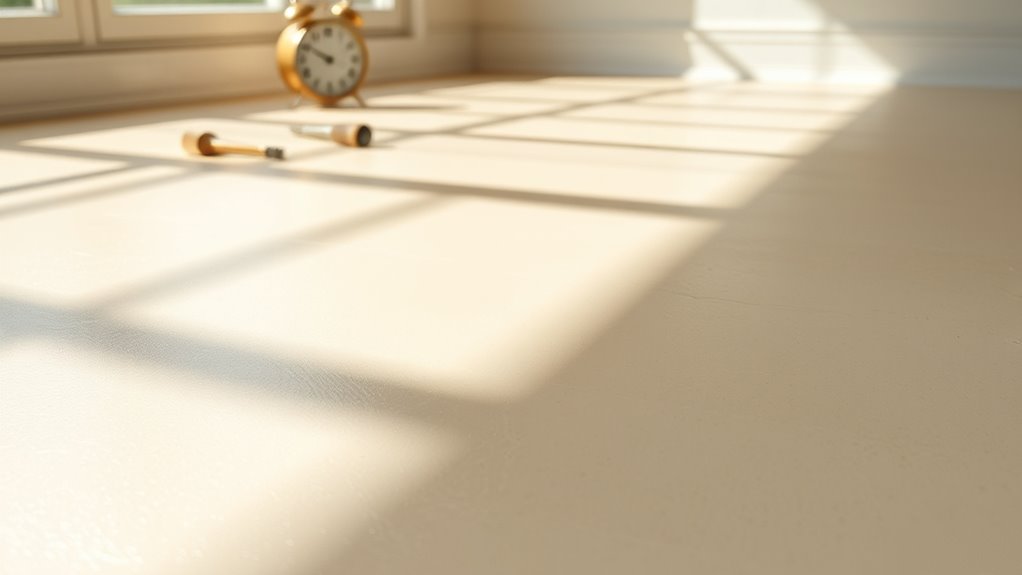
After considering factors like application thickness, humidity, and temperature that affect drying time, you’ll need to focus on the final curing process before installing flooring. Final curing guarantees the floor leveler reaches full strength and stability. Rushing flooring installation risks adhesive failure or surface damage.
To navigate the final curing phase effectively, keep these points in mind:
- Allow 24 to 72 hours for curing, depending on product specs
- Maintain consistent room temperature (ideally 65–75°F)
- Avoid moisture exposure during curing
- Test surface hardness before flooring installation
- Follow manufacturer’s guidelines strictly