To sand hardwood floors, start by evaluating their condition for scratches and discoloration, using a flashlight for hidden flaws. Gather necessary tools, including a drum sander, edge sander, and a vacuum. Clear the room of furniture and debris, ensuring good ventilation. Choose the right grit, beginning with coarse (40-60) to remove old finishes, and progress to fine (120-150) for a smooth finish. Vacuum between each grit change to minimize dust, and inspect for imperfections. Finally, apply protective finish layers for durability. This careful approach not only enhances appearance but also safeguards your investment in piso. More tips await you as you continue.
Evaluación del estado del suelo
Before diving into sanding your hardwood floors, it's essential to assess their condition thoroughly. Start with a floor assessment to identify any visible imperfections. Look for scratches, dents, or areas of discoloration. A damage inspection is critical; use a flashlight to illuminate any deeper flaws, like water damage or bowed boards. Knocking on the floor can reveal hollow spots that might indicate structural issues. If you find extensive damage, consider whether repairs are needed before sanding. Check the thickness of the wood—at least 1/4 inch is ideal for sanding. This thorough evaluation will guarantee your effort and resources are well spent, allowing you to achieve the desired smooth finish while maintaining the integrity of your hardwood floors.
Recopilación de las herramientas necesarias
Gathering the right tools is vital for a successful hardwood floor sanding project. You'll want to make sure you have the appropriate tool types to achieve an even finish and maintain efficiency. Here are three key items to gather:
- Lijadora de tambor: This powerful tool removes layers of wood quickly; be sure to adjust the grit size based on your floor's condition.
- Lijadora de bordes: Necessary for reaching corners and edges; it provides the final touches where the drum sander can't reach.
- Vacío: A high-efficiency vacuum is essential for removing dust and debris during the sanding process.
Before you start, check your tools for any needed maintenance to make sure they're in top condition. Proper upkeep will enhance performance and prolong their lifespan.
Preparing the Room
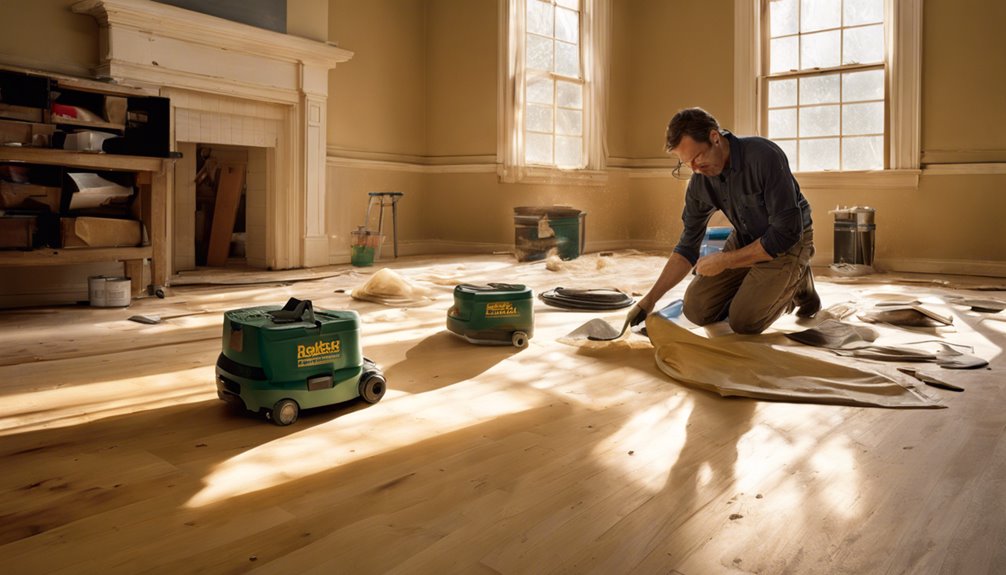
Once you've gathered your tools, it's time to prepare the room for sanding. Start by analyzing the room layout; visualize how you'll navigate your sander and guarantee ample space for movement. Remove all furniture from the area, including rugs and any decorations. This step is essential, as it not only protects your belongings but also provides a clear work zone. If large pieces are difficult to move, consider shifting them to the center and covering them with plastic sheeting. Don't forget to detach any wall hangings or fixtures that could obstruct your work. Finally, verify the room is well-ventilated to minimize dust accumulation and improve air quality while you sand. Your focus should be on creating an efficient workspace.
Choosing the Right Grit
Choosing the right grit for sanding hardwood floors is crucial for achieving a smooth, professional finish. Grit selection and grit progression are key to this process. Begin with a lower grit to remove imperfections:
- Coarse Grit (40-60): This grit level quickly removes old finishes and rough spots.
- Medium Grit (80-100): Use this for smoothing out the surface after initial sanding and to prepare for finer grits.
- Fine Grit (120-150): This final pass guarantees a silky finish, ready for staining or sealing.
Sanding Techniques
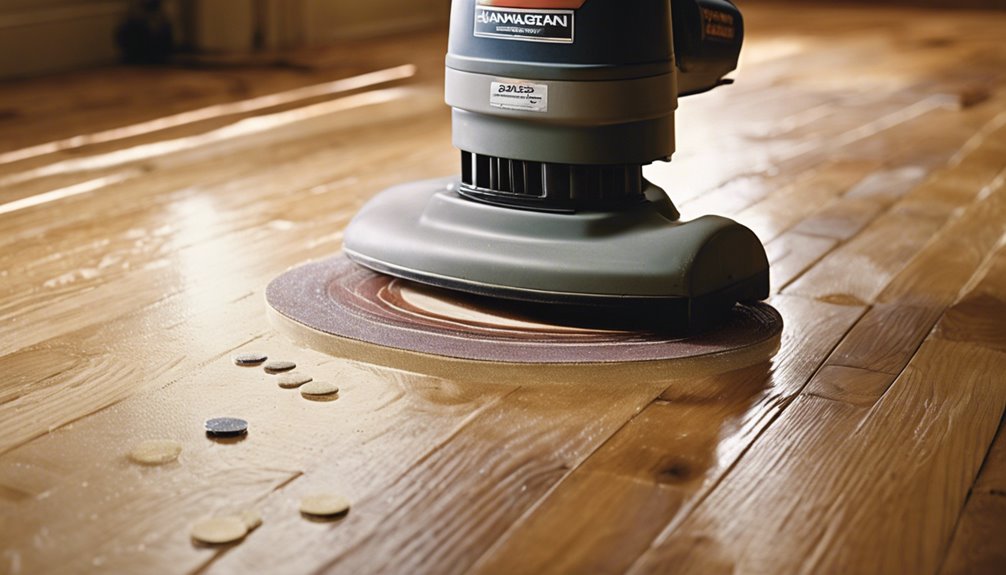
When sanding hardwood floors, selecting the right grit is essential for achieving a smooth finish. You'll need to decide between machine sanding for efficiency or hand sanding for more control in tight spaces. Each approach has its benefits, so understanding how they align with your project goals will guide your technique.
Choosing the Right Grit
Selecting the right grit for sanding hardwood floors is essential to achieving a smooth, even finish. Your grit selection will guide your sanding progression, ensuring you remove imperfections without damaging the wood. Start with a coarser grit to tackle deep scratches and old finishes, then move to finer grits for a flawless surface.
Consider these steps:
- Coarse Grit (36-60): Ideal for heavy sanding to eliminate rough spots.
- Medium Grit (80-120): Use this to refine the surface and prepare it for finishing.
- Fine Grit (150-220): Perfect for the final touches, ensuring a silky smooth texture.
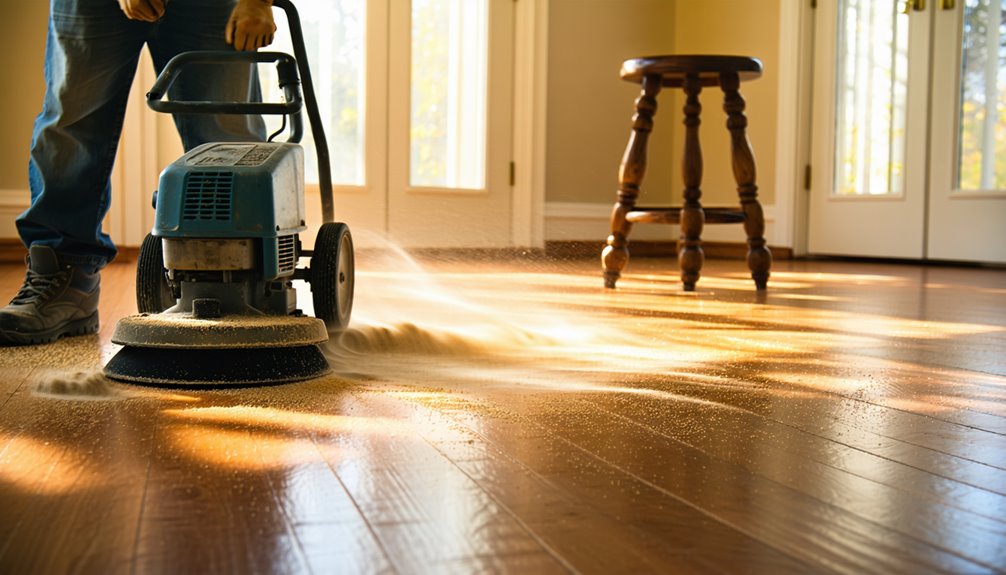
Machine vs. Hand Sanding
While both machine and hand sanding have their merits, understanding the differences between these techniques can greatly impact the quality of your hardwood floor restoration. Machine sanding, utilizing various machine types like drum or orbital sanders, offers speed and uniformity, effectively removing old finishes and leveling surfaces. The sanding benefits here include reduced labor time and consistent results. On the other hand, hand sanding allows for greater precision in tight spaces and edges where machines can't reach. It's particularly useful for touch-ups or intricate work, enabling you to control the sanding depth. Ultimately, the choice between machine and hand sanding depends on your project size, desired finish, and personal preference for control versus efficiency.
Dealing With Edges and Corners
Although sanding hardwood floors may seem straightforward, dealing with edges and corners requires particular attention to guarantee a uniform finish. Here are three essential steps to perfect edge sanding and corner techniques:
- Use an Edge Sander: This specialized tool allows you to reach tight spaces without damaging surrounding areas.
- Employ a Detail Sander: For corners, a detail sander or sanding sponge can effectively smooth out those hard-to-reach spots.
- Hand Sanding: After machine sanding, hand sand the edges using a finer grit to eliminate any scratches and ensure a seamless shift.
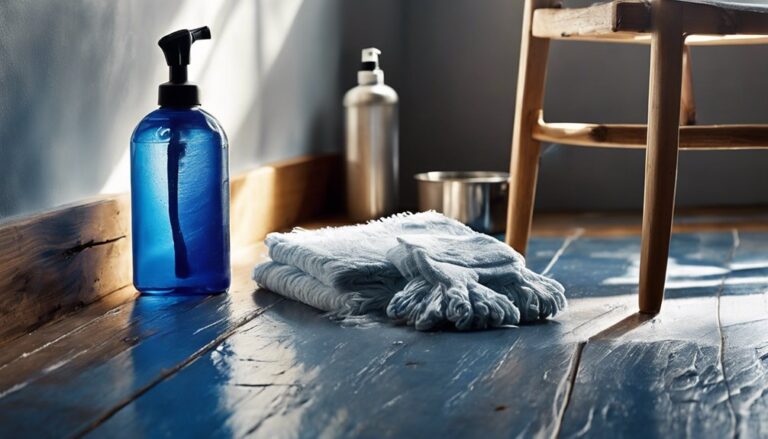
Cleaning Up Dust
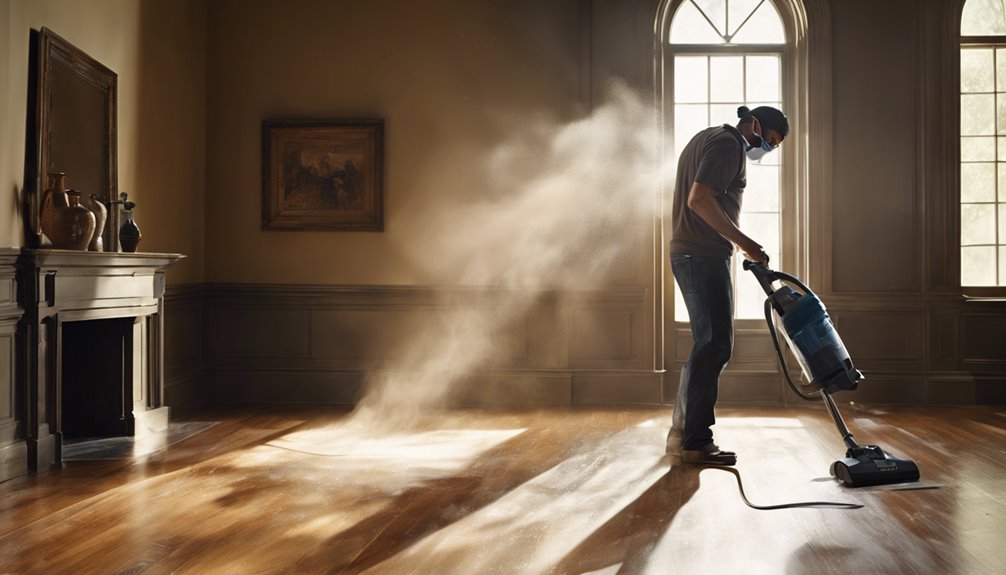
After you've meticulously sanded the edges and corners of your hardwood floors, the next step is to address the dust generated during the sanding process. Proper dust containment is essential to protect both your health and the quality of your finish. Start by using a high-efficiency particulate air (HEPA) vacuum, as it effectively captures fine dust particles. There are various vacuum options available, including shop vacs with dust bags or specialized sanding vacuums designed for this task. Be certain to vacuum thoroughly, paying close attention to corners and crevices where dust tends to accumulate. Once you've vacuumed, consider damp mopping the floor to make certain any remaining dust is eliminated, creating a clean surface for the next steps in your refinishing project.
Applying Finishing Coats
Once you've confirmed the surface is dust-free, it's crucial to apply the finishing coats correctly to achieve a durable and visually appealing result. Selecting the right finishing products and mastering various application techniques will guarantee a professional-looking finish.
- Choose your finish: Oil-based or water-based, each has its unique benefits.
- Utilice las herramientas adecuadas: Employ a high-quality paint roller or brush for even application.
- Apply in thin layers: Start with a thin, even coat to avoid drips and bubbles.
Allow each coat to dry fully before sanding lightly between layers. This process not only enhances durability but also provides a smooth, glossy surface that brings out the natural beauty of your hardwood floors.
Mantenimiento de sus pisos

To keep your hardwood floors in ideal condition, implement regular cleaning practices that prevent dust and debris buildup. Additionally, applying a protective finish will enhance durability and maintain the floor's aesthetic appeal. By adhering to these maintenance steps, you'll considerably extend the life of your flooring.
Prácticas de limpieza regulares
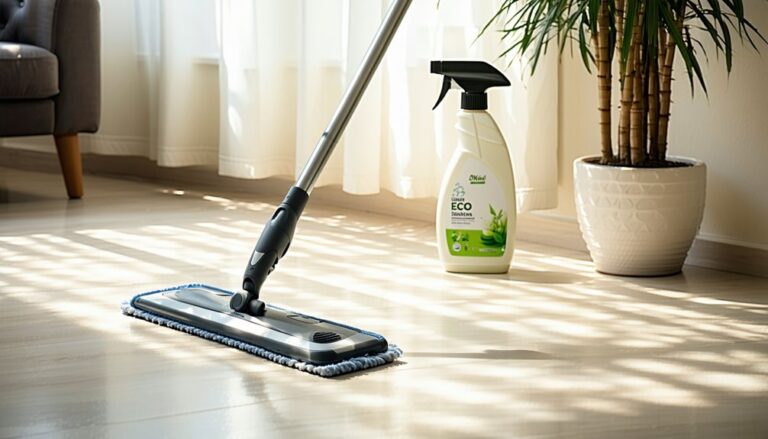
While regular cleaning practices might seem tedious, they're essential for maintaining the beauty and longevity of your hardwood floors. Implementing a consistent routine not only enhances your floors' appearance but also extends their lifespan.
Here are three key practices to incorporate into your cleaning frequency:
- Dust and Sweep Daily: Use a microfiber cloth or broom to remove dust and debris, preventing scratches.
- Mop Weekly: Use a damp mop with a wood-safe cleaner to lift grime without soaking the wood.
- Limpiar las manchas inmediatamente: Address spills and stains right away with a soft cloth to avoid permanent damage.
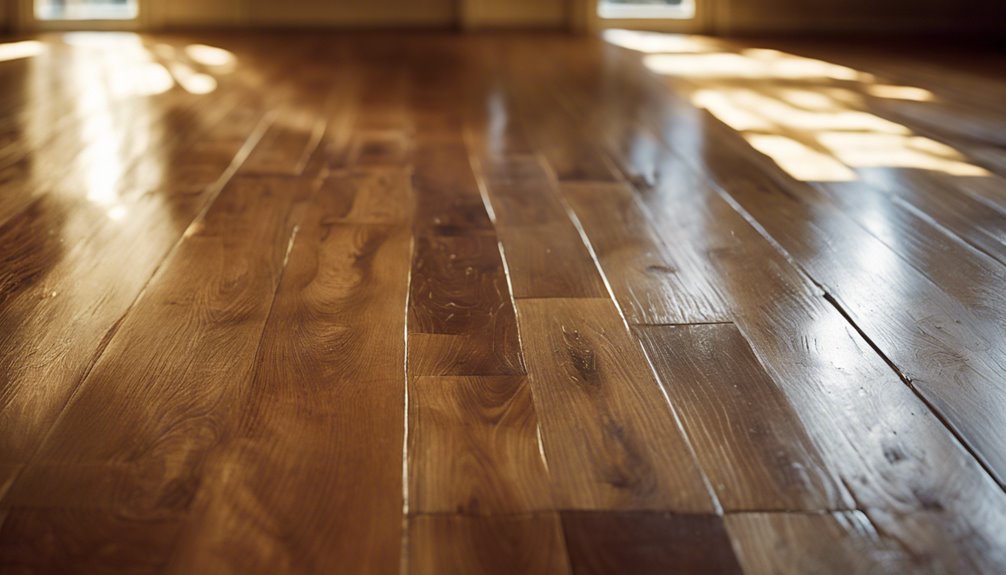
Protective Finish Application
Applying a protective finish to your hardwood floors is essential for preserving their natural beauty and guaranteeing durability, especially since it acts as a barrier against wear and tear. Start by selecting high-quality protective products suited for your floor type, such as polyurethane or oil-based finishes. Before application, verify the surface is clean and free of dust. Choose your application methods wisely; a brush or roller can provide a smooth, even coat, while a sprayer allows for faster coverage. Apply multiple thin layers, allowing sufficient drying time between coats to achieve the best protection. Finally, maintain your floors by reapplying the finish as needed, keeping them looking vibrant and extending their lifespan.
Safety Precautions to Consider
Before you start sanding hardwood floors, it's vital to prioritize safety to prevent accidents and health hazards. Ensuring you're well-equipped with protective gear is important. Here are three key items you shouldn't overlook:
- Dust Masks: These protect your lungs from fine wood dust that can linger in the air, causing respiratory issues.
- Safety Goggles: Protect your eyes from flying debris and dust particles that can irritate or injure.
- Ear Protection: The noise from sanding machines can be damaging; earplugs or earmuffs will keep your hearing safe.
Preguntas frecuentes
How Often Should I Sand My Hardwood Floors?
You should sand your hardwood floors every 3 to 5 years, depending on foot traffic and wear. This preventive maintenance helps maintain your flooring's lifespan and keeps it looking fresh. If you notice scratches or dullness, it might be time to sand sooner. Regular sanding prevents deeper damage, allowing you to enjoy your floors longer. By staying proactive, you can preserve their beauty and durability, ensuring they remain a stunning feature of your home.
Can I Sand Engineered Hardwood Floors?
Can you really sand engineered hardwood floors? The answer's a bit tricky. While engineered flooring has a veneer that can be sanded, it usually has limited thickness, often requiring careful sanding techniques. If you attempt it, make sure you use a fine-grit sandpaper and avoid excessive pressure. You'll want to preserve that top layer, so take your time. Remember, too much sanding can lead to damage, so always tread lightly.
What Is the Cost of Sanding Hardwood Floors?
The cost of sanding hardwood floors varies based on factors like room size and condition. Typically, you'll spend between $2 to $5 per square foot, which includes labor and sanding equipment. Don't forget about floor preparation; if your floors need repairs or extensive cleaning beforehand, those costs can add up. It's crucial to factor in these elements to guarantee you're budgeting accurately for your project and achieving the results you want.
How Long Does the Sanding Process Take?
When you think about the sanding process, it can feel both intimidating and liberating. Typically, it takes anywhere from one to three days, depending on the sanding techniques you use and the size of your space. You'll need to factor in drying time for finishes as well. A well-planned approach not only guarantees a smooth surface but also gives you the freedom to transform your hardwood floors into something beautiful.
Should I Hire a Professional or DIY?
When deciding whether to hire a professional or tackle it yourself, consider the DIY benefits like cost savings and the satisfaction of completing a project. However, be aware of the professional drawbacks, such as the higher expense and potential lack of personal touch. If you've got the skills and time, DIY can be rewarding, but if you're unsure or want a flawless finish, hiring a professional might be the better choice.