Are you dreaming of transforming your home with the timeless elegance of hardwood floors? You’re not alone.
Hardwood flooring is a popular choice for many homeowners, thanks to its durability, aesthetic appeal, and ability to boost property value. But here’s the catch: while the idea sounds appealing, the thought of installing it yourself might feel overwhelming. Don’t worry, though! This guide is here to simplify the process for you.
You’ll discover step-by-step instructions that make installing hardwood floors a manageable and satisfying project. Imagine the satisfaction of walking across your very own handiwork, knowing you saved money and added value to your home. Ready to turn that vision into reality? Let’s get started on your flooring journey!

Preparación
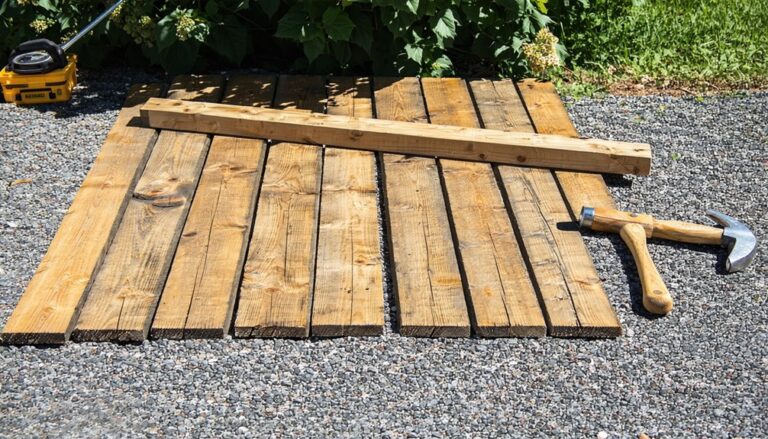
Collect all necessary tools like a hammer, tape measure, and saw. Get materiales such as nails, adhesive, and the hardwood itself. Having everything ready will make the job smoother. Make sure nothing is missing before you start.
Use a tape measure to find the length and width of the room. Write down the numbers carefully. Accurate measurements help avoid mistakes. Calculate the total area to know how much hardwood you need. It’s better to buy a little extra.
Leave the hardwood in the room for a few days. This helps it adjust to the room’s temperature and humidity. Acclimation prevents the wood from shrinking or expanding later. Make sure the room is at a normal temperature.

Subfloor Inspection
Moisture can damage your hardwood floors. Use a moisture meter to check. The subfloor should be seco. Wood swells if it is wet. Wet floors can lead to mold. Mold can ruin your home. Check different spots for moisture. Record each reading. If readings are high, fix the problem first.
A flat piso is important. Feel the floor with your hands. Look for baches y dips. Use a nivel to check it. The level should not tilt. If it does, the floor is not flat. Use lijado o filler to fix. Keep checking as you work.
Choosing Installation Method
El nail-down method is common for solid hardwood floors. This method uses nails or staples. The wood planks are secured directly to the subfloor. This technique works best with wooden subfloors. It ensures a sturdy and long-lasting installation. It’s not ideal for concrete subfloors. Professional help is often recommended. Accuracy and precision are crucial.
Staple-down method is similar to nail-down. It uses staples instead of nails. This method is quicker and easier. It’s suitable for engineered hardwood floors. The planks are attached firmly to the subfloor. It works well with plywood and wooden subfloors. The staple gun is the main tool needed. It requires less skill than nail-down.
Glue-down method involves using adhesive to attach planks. This method is ideal for concrete subfloors. It offers sound reduction and stability. The glue must be spread evenly. Proper curing time is important. Engineered wood is often used with this method. Professional installation ensures the best results.
Floating method doesn’t attach planks directly to subfloor. Planks connect with each other. They “float” over the subfloor. It’s easy and quick to install. No nails or glue are needed. Good for apartments and rental spaces. A foam underlayment is often used. It provides cushioning and sound absorption.
Laying The First Row
Start by snapping a chalk line on the floor. This line guides the first row of planks. Make sure each plank is straight and even with the line. Adjust any misaligned planks. A small gap at the wall is okay. It allows the wood to expand.
Use a nail gun to secure the planks. Place nails every 6 to 8 inches. Be careful not to damage the wood. Ensure each plank is tight and secure. Check for gaps between planks. Adjust as needed to keep them snug. This keeps the floor stable and firm.
Installing Additional Rows
Staggering the joints in hardwood floors adds strength. It also enhances the floor’s appearance. Begin by laying the first board of the new row. Make sure the joints don’t line up with the previous row. Leave a small gap between each board. This allows for wood expansion. Use a rubber mallet to tap boards into place. This ensures a snug fit. Keep checking for tight joints. A staggered look is important for stability.
Handling Obstructions
Obstructions can be tricky. They may include vents, pipes, or doorways. First, measure the space around the obstruction. Cut the board to fit the area. Always use a saw with care. Fit the board around the obstruction. Ensure it lies flat. Use spacers to maintain the gap. This prevents buckling. Adjust each piece until it fits perfectly. Obstructions need patience and precision.
Toques finales
Installing hardwood floors transforms any room with elegance. Begin by preparing a clean, level surface. Carefully place each plank, ensuring a snug fit. Secure with nails or adhesive for durability. Finally, add baseboards and trim for a polished look. Enjoy your new, beautiful flooring.
Installing Baseboards
Baseboards add a neat finish to your hardwood floor. Start by measuring the wall’s length. Cut the baseboards to fit snugly. Use a saw for precise cuts. Nail them in place with a hammer or nail gun. Ensure the edges align with the floor. For corners, cut at a 45-degree angle. This helps them fit together well. Fill any gaps with wood filler. Sand the filler once dry. Paint or stain to match the room. This gives a polished look.
Cleaning The Surface
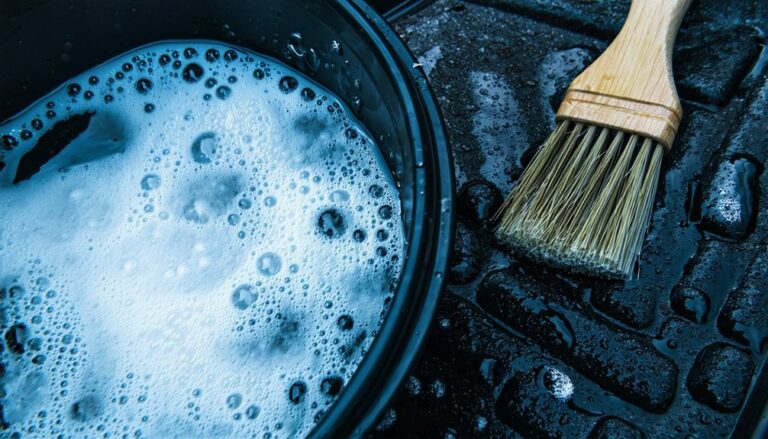
Keep your new floor clean and shiny. Use a soft broom to sweep dust and dirt. Avoid water as it harms wood. Opt for a trapeador húmedo if needed. Use a wood-friendly cleaner. Never use harsh chemicals. They can damage the finish. Dry the floor quickly after cleaning. This prevents water spots. Regular cleaning keeps your floor looking new. Protect it from scratches with furniture pads. Enjoy your beautiful hardwood floor.
Consejos de mantenimiento
Installing hardwood floors requires careful preparation. Start by cleaning the subfloor thoroughly to ensure a smooth surface. Measure your room accurately, then lay the boards and secure them with nails or glue.
Limpieza regular
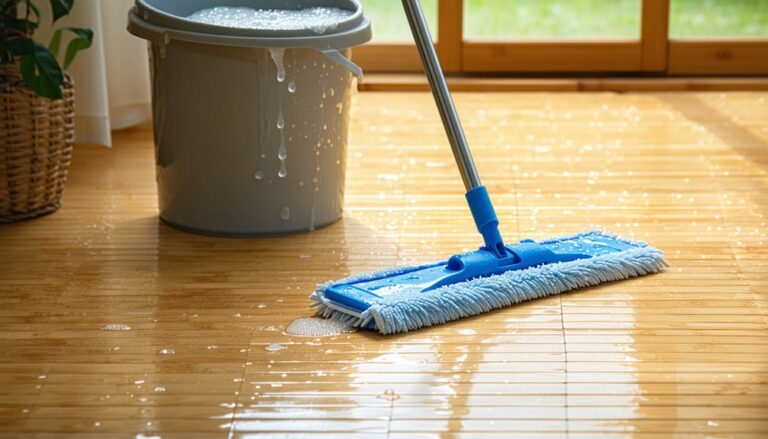
Regular cleaning keeps your hardwood floors shiny and new. Use a soft broom or a vacuum with a hardwood setting. Avoid using water or wet mops on the floor. Water can damage the wood. Instead, use a microfiber cloth or mop. Clean spills quickly with a dry cloth. This prevents stains and water damage.
Handling Spills And Scratches
Spills should be cleaned immediately to avoid damage. Use a soft, dry cloth to blot spills. Avoid rubbing, as this can spread the liquid. For scratches, use a wood repair kit. These kits cover scratches and make floors look new. Keep pets’ nails trimmed to prevent scratches. Place rugs in high-traffic areas to protect the floor.

Preguntas frecuentes
What Tools Do I Need For Installation?
To install hardwood floors, you’ll need a tape measure, saw, hammer, nails, and a flooring nailer. Additional tools include a pry bar and spacers. Ensure you have safety gear like gloves and goggles. Preparing the right tools simplifies the installation process and leads to a professional finish.
How Do I Prepare The Subfloor?
Begin by cleaning the subfloor thoroughly, ensuring it’s dry and level. Check for any moisture issues, and repair if needed. Remove old flooring and debris. Use a leveling compound if required. A well-prepared subfloor is crucial for the successful installation of hardwood floors.
Can I Install Floors Myself?
Yes, installing hardwood floors yourself is possible with some DIY skills. Follow step-by-step guides and take safety precautions. Ensure you have the right tools and materials. While it may take time, doing it yourself can save money and offer a rewarding experience.
How Long Does Installation Take?
Installation typically takes one to three days, depending on room size and complexity. Preparation and acclimation may add extra time. Professional installers can speed up the process. Proper planning and preparation can ensure a smoother and faster installation.
Conclusión
Installing hardwood floors can be a rewarding DIY project. With proper preparation, anyone can achieve great results. Follow steps carefully for a smooth installation. Measure your space accurately. Choose the right tools for the job. Take time to acclimate your wood.
Ensure your subfloor is clean and dry. Lay out your planks with precision. Secure them properly for durability. Remember to leave expansion gaps. Trim and finish edges neatly. Enjoy the beauty of your new hardwood floors. They add value and elegance to any room.
Now, you are ready to transform your space with confidence.