You’ll want to apply three to four coats of polyurethane on your hardwood floors for lasting protection. Start by thoroughly cleaning and lightly sanding before the first coat. After each coat dries—usually 4 to 6 hours—sand gently to guarantee the next coat adheres well. Use a high-quality brush or applicator, and work with the grain for an even finish. Following these steps carefully will give you a smooth, durable piso, and there’s more to learn about perfecting the process.
Preparing Your Hardwood Floors for Polyurethane Application

Before applying polyurethane, you’ll need to thoroughly clean and sand your hardwood floors to guarantee proper adhesion and a smooth finish. Start by removing all dust, dirt, and debris using effective cleaning techniques like vacuuming and damp mopping with a mild cleaner. Next, perform a detailed surface inspection to identify scratches, dents, or uneven areas. Sand the floor using progressively finer grits of sandpaper to eliminate imperfections and create a smooth base. After sanding, vacuum and wipe the floor with a tack cloth to remove all residual dust. This careful preparation guarantees the polyurethane bonds well and results in a flawless finish. Taking these steps gives you the freedom to enjoy durable, beautiful floors that reflect your commitment to quality and care.
Choosing the Right Type of Polyurethane for Your Floors
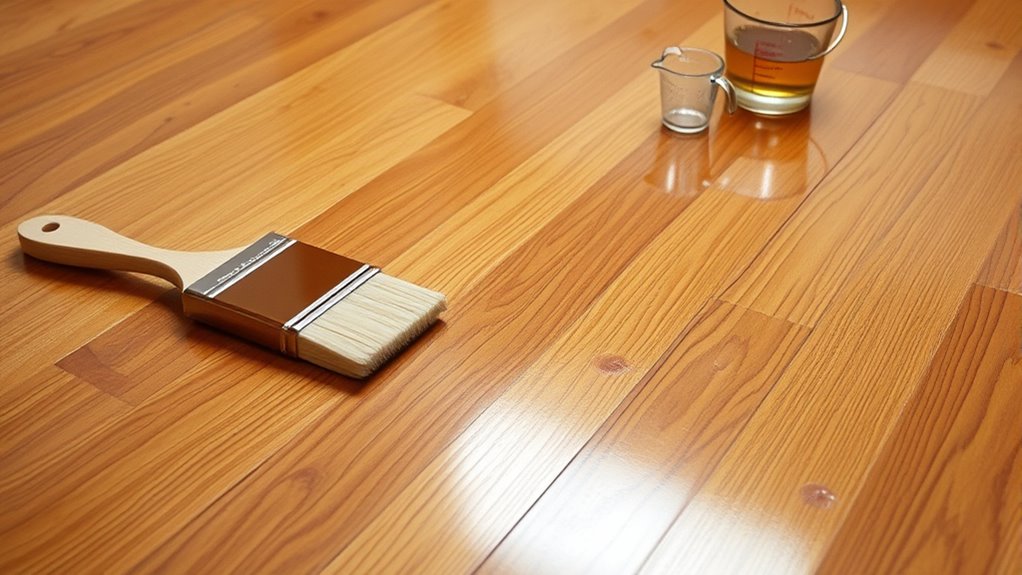
Once your floors are clean and smooth, the next step is selecting the right polyurethane to protect and enhance them. You’ll mainly choose between oil based polyurethane and water based polyurethane. Oil based offers durability and a warm amber tone but takes longer to dry. Water based dries fast, has low odor, and keeps the natural wood color. Consider your priorities—appearance, drying time, and ease of use.
| Tipo | Drying Time | Finish Color |
|---|---|---|
| Oil Based Polyurethane | 24 hours+ | Warm amber tone |
| Water Based Polyurethane | 2-4 hours | Clear, natural |
| Durabilidad | Alto | Moderado |
| Odor | Strong | Bajo |
| Ease of Application | Moderado | Fácil |
Pick what suits your freedom to work efficiently and get the floor look you want.
Step-by-Step Guide to Applying the First Coat
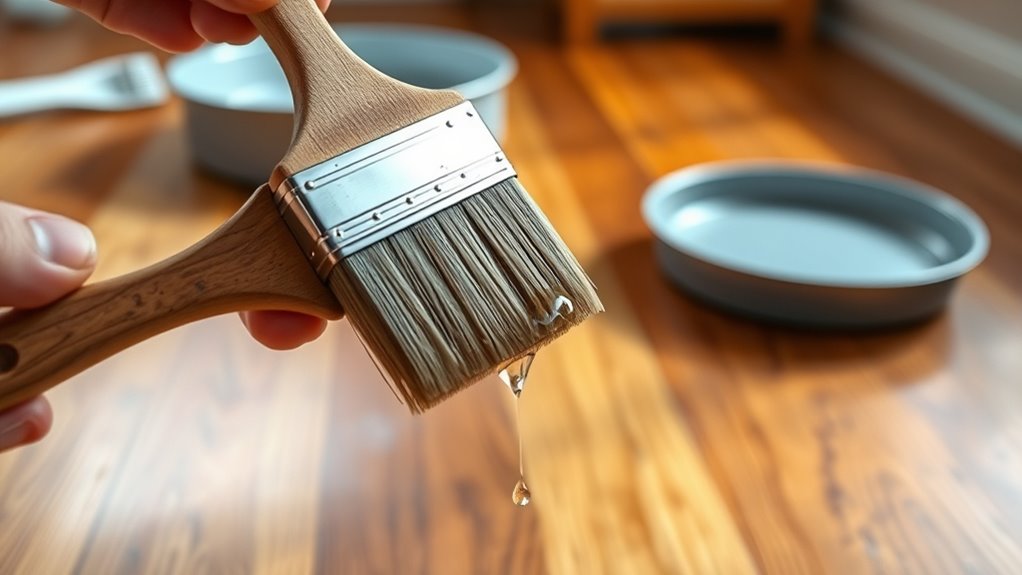
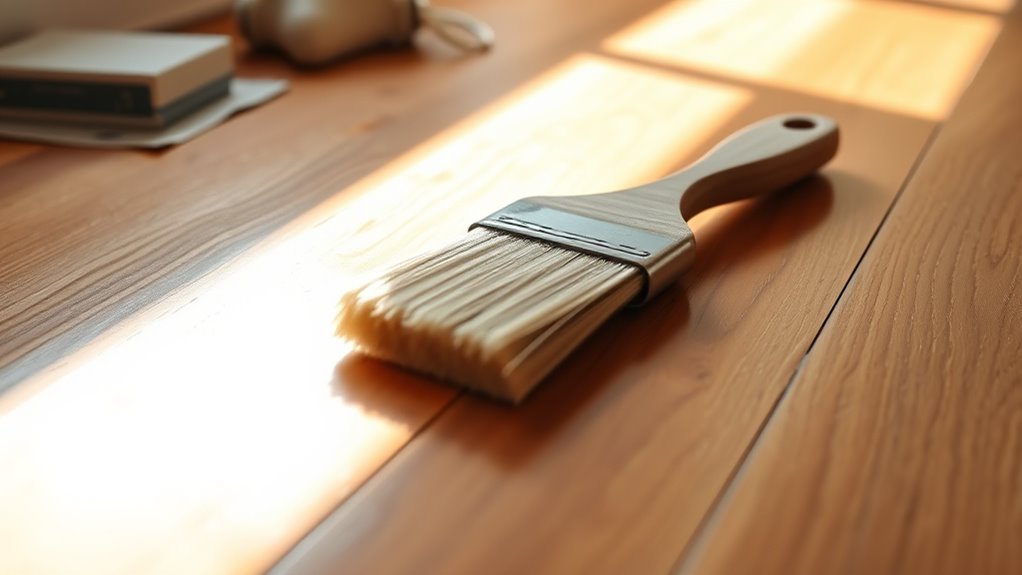
Applying the first coat of polyurethane sets the foundation for a smooth, durable finish. Start by thoroughly cleaning the floor to remove dust and debris. Lightly sand the surface with fine-grit sandpaper to guarantee proper adhesion. Stir the polyurethane gently; avoid shaking to prevent bubbles. Using a high-quality brush or foam applicator, apply the first coat evenly along the wood grain. Use steady, long strokes with consistent pressure to prevent streaks and bubbles. Don’t overload the brush—thin, even layers dry better. After application, allow the floor to dry in a dust-free environment, following manufacturer-recommended times. Proper first coat application techniques are essential; they determine the durability and appearance of your floor’s finish. Take your time and work methodically for the best results.
How Many Additional Coats You Need and When to Apply Them
Although one coat of polyurethane provides some protection, you’ll need several additional coats to achieve a durable, long-lasting finish. The number of additional coats depends on the floor’s use and your desired sheen. For most floors, 3 to 4 total coats work best.
Here’s how to handle additional coats and application timing:
- Wait until the previous coat is dry to the touch before applying the next—usually 4-6 hours.
- Lightly sand between coats to guarantee proper adhesion.
- Apply subsequent coats evenly, allowing each to cure fully before heavy use.
Tips for Drying, Sanding, and Finalizing the Finish
Three key steps will guarantee your polyurethane finish dries smoothly and adheres properly: drying, sanding, and finalizing. First, respect the drying time specified on the product label—usually 4 to 6 hours—to avoid trapping moisture that can ruin the finish. Keep air circulating to speed up drying, but avoid direct drafts. Next, use a fine-grit sandpaper and a gentle sanding technique to lightly scuff the surface; this promotes adhesion for the next coat without removing the previous layer. Always clean off dust thoroughly after sanding to prevent imperfections. Finally, apply the last coat evenly and allow it to cure fully before heavy use. By mastering these steps, you’ll achieve a durable, beautiful floor finish that lets freedom reign underfoot.