To strip and wax a floor in 10 easy steps, start by gathering your supplies and clearing the room. Sweep and mop the floor thoroughly before applying a compatible floor stripper evenly. Let it work as directed, then remove residue with a damp mop, rinse, and dry completely. Apply thin, even coats of wax, allowing each to dry before adding another. Follow precise techniques for lasting shine and protection. Keep going to master advanced tips and tricks.
Gather Necessary Supplies and Equipment
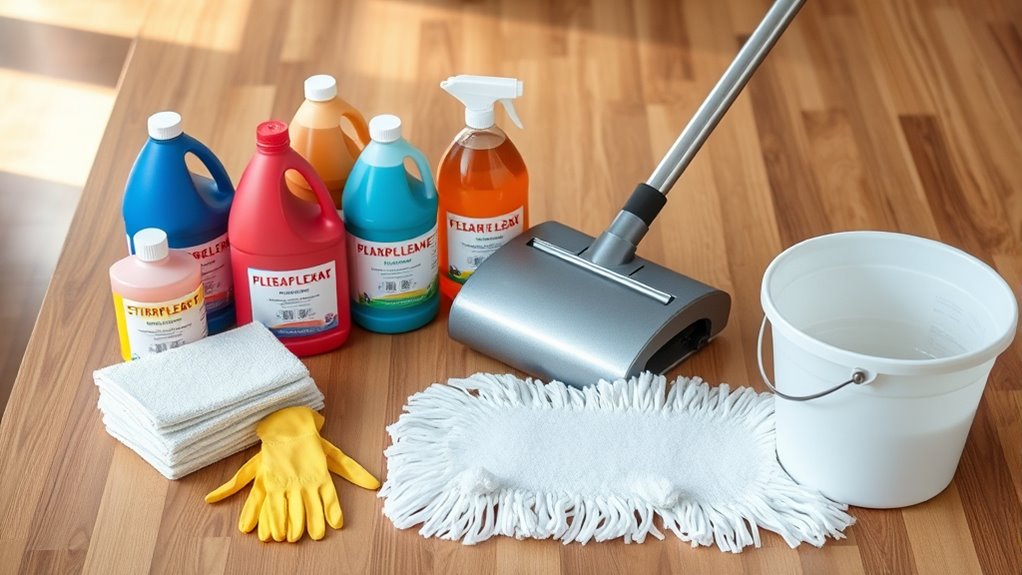
Before you begin stripping and waxing your floor, you’ll need to gather all the necessary supplies and equipment to guarantee the process goes smoothly and efficiently. Start with essential tools: a floor stripper solution, a mop or stripping machine, scrapers or stripping pads, a wet vacuum or mop for residue removal, and high-quality floor wax. Don’t forget protective gear such as gloves and safety goggles to assure your safety. Floor maintenance tips emphasize selecting products compatible with your floor type to prevent damage. Additionally, have clean water buckets and microfiber cloths ready for rinsing and buffing. Organizing these materials beforehand streamlines your workflow, reducing interruptions and allowing you to focus on achieving a flawless finish that restores your floor’s freedom of movement and appearance.
Prepare the Room and Remove Furniture
A clear and accessible workspace is essential for an effective floor stripping and waxing process. Begin by removing all furniture to prevent damage and allow full floor access. Carefully document your current furniture arrangement to guarantee efficient reassembly later. Use appropriate tools like dollies or sliders to move heavy items safely, minimizing strain and risk. Next, secure loose rugs and cords, enhancing room safety by eliminating trip hazards. Inspect the room for any fragile objects or electronics that require additional protection or removal. Confirm adequate ventilation and clear exit pathways to maintain a safe environment throughout the procedure. By thoroughly preparing the room and managing furniture placement, you create ideal conditions for a smooth, efficient floor restoration that respects your space and freedom.
Sweep and Mop the Floor Thoroughly
You’ll need to select a broom and mop suited for your floor type to avoid damage during cleaning. Use a cleaning solution that effectively removes dirt without leaving residue that could interfere with stripping and waxing. Make certain the floor is completely dry before moving to the next step to guarantee proper adhesion of the wax.
Elija las herramientas adecuadas
Three essential tools you’ll need to prepare your floor for stripping and waxing are a broom, a dust mop, and a damp mop. Proper tool selection is critical for effective floor maintenance and ensuring the surface is free from debris before applying any solutions. Start by using a broom to remove larger particles, then switch to a dust mop to capture finer dust and hair that the broom misses. Finally, employ a damp mop with clean water to wipe away residual dirt without soaking the floor. Using the right tools reduces the risk of scratches and prevents contaminants from interfering with the stripping and waxing process. By choosing these specific tools, you maintain control over the cleaning phase, laying the foundation for a flawless finish and long-lasting floor protection.
Use Appropriate Cleaning Solution
Selecting the correct cleaning solution is essential for thoroughly sweeping and mopping the floor before stripping and waxing. Using the right cleaning products guarantees effective floor maintenance and prepares the surface for ideal wax adhesion. Follow these steps:
- Choose a pH-neutral floor cleaner designed for your floor type to avoid damage.
- Dilute the cleaning product according to the manufacturer’s instructions to maintain effectiveness.
- Sweep the floor meticulously to remove loose dirt and debris before mopping.
- Mop the floor using the prepared solution, focusing on stubborn spots and corners.
Dry Floor Completely
Before applying any wax, verify the floor is completely dry by thoroughly sweeping and mopping. Start by using a high-quality broom or vacuum to remove all debris, ensuring no particles remain that could interfere with waxing. Next, mop the floor with clean water or a neutral pH cleaner to eliminate residual cleaning solution. Employ drying techniques like using a microfiber mop or towels to absorb excess moisture efficiently. You can also enhance drying speed by increasing airflow with fans or opening windows. Proper floor maintenance hinges on ensuring the surface is moisture-free before waxing; any dampness can cause uneven wax application or trapping dirt. Take your time in this step to guarantee ideal adhesion and a smooth, durable finish that supports your flooring’s longevity and your freedom to enjoy a flawless surface.
Apply Floor Stripper Solution Evenly

You’ll want to select a floor stripper that’s compatible with your floor type to guarantee effective removal without damage. Apply the solution evenly using a mop or applicator, maintaining a consistent layer across the surface. This uniform coverage is essential for ideal stripping performance and prevents areas from being under- or over-treated.
Choose Appropriate Stripper
One essential step in stripping a floor is choosing the right stripper solution for your specific floor type and finish. Different stripper types—alkaline, solvent-based, or neutral pH—target various coatings and residues. To make an informed choice, follow these guidelines:
- Identify your floor material (vinyl, tile, wood) and existing finish.
- Select a stripper compatible with that finish to avoid damage.
- Consider the stripper’s environmental impact and ventilation requirements.
- Review manufacturer instructions for recommended application techniques.
Use Consistent Application
Applying the floor stripper solution evenly across the surface is vital for effective stripping and preventing uneven finish removal. You’ll want to master application techniques that guarantee surface consistency, allowing the stripper to work uniformly. Use a mop or applicator with a steady, overlapping motion to avoid missed spots or pooling. Consistent application reduces rework and ensures a smoother wax finish afterward.
| Paso | Técnica | Resultado |
|---|---|---|
| 1 | Pour in sections | Controls amount |
| 2 | Spread with mop | Even coverage |
| 3 | Overlap strokes | No gaps or pooling |
| 4 | Maintain wet edge | Surface consistency |
| 5 | Avoid overapplication | Prevent damage |
Stick to these methods for freedom from uneven stripping results.
Allow the Stripper to Work on the Floor
Although it may be tempting to rush, you need to let the stripper sit on the floor for the recommended time to effectively break down old wax and soil. This pause maximizes stripper effectiveness by allowing proper floor absorption.
Allow the stripper to sit fully to break down wax and soil for best results.
Follow these steps for best results:
- Check the manufacturer’s instructions for the exact dwell time.
- Confirm the stripper remains wet on the surface throughout this period.
- Avoid walking on or disturbing the floor during this time to prevent uneven stripping.
- Monitor the floor for visible softening or lifting of the wax finish.
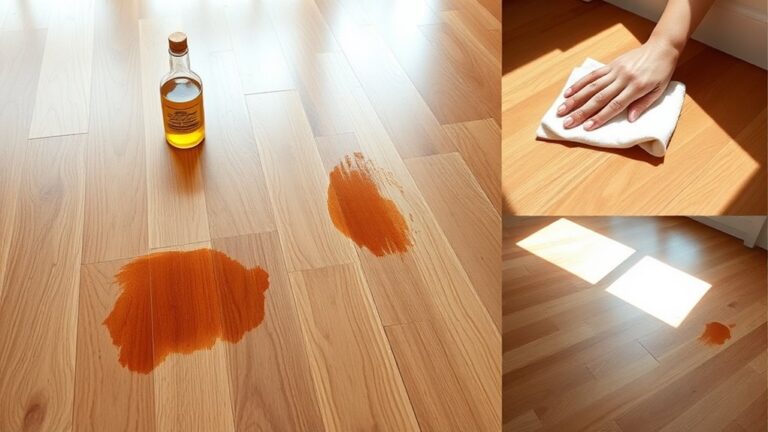
Scrub the Floor to Remove Old Wax and Finish
Once the stripper has softened the wax and finish, you’ll need to scrub the floor to lift and remove the residue effectively. Begin by selecting a scrub brush or a floor machine with a scrubbing pad suitable for your floor type. Use circular motions to agitate the softened wax and finish, ensuring you cover every inch without damaging the surface. Employ proven cleaning techniques such as consistent pressure and overlapping strokes to maximize wax removal. Focus on edges and corners where buildup tends to accumulate. Avoid letting the stripper solution dry, as this can hinder wax removal. By scrubbing thoroughly, you prepare the floor for a clean, residue-free surface, enabling the next step to restore freedom and shine through fresh waxing.
Remove the Stripper Residue With a Wet Mop
You need to remove all stripper residue thoroughly to prevent wax adhesion issues. Use a damp mop with clean water, applying consistent pressure and rinsing frequently to avoid spreading residue. Selecting a microfiber mop will improve residue removal and reduce streaking on the floor surface.
Importance of Thorough Cleaning
Because leftover stripper residue can prevent wax from adhering properly, it’s crucial to remove it thoroughly with a wet mop. Proper cleaning guarantees the floor’s surface is free of contaminants, maximizing cleaning benefits and extending wax longevity. Here’s what you need to focus on:
- Use clean water for mopping to avoid redepositing residue.
- Change mop water frequently to maintain effectiveness.
- Pay close attention to corners and edges, where residue often accumulates.
- Allow the floor to dry completely before applying wax, preventing adhesion issues.
Following these maintenance tips assures a smooth, durable finish and preserves your freedom to enjoy a pristine floor without frequent rework. Skipping thorough cleaning risks uneven waxing and premature wear, undermining your effort and time.
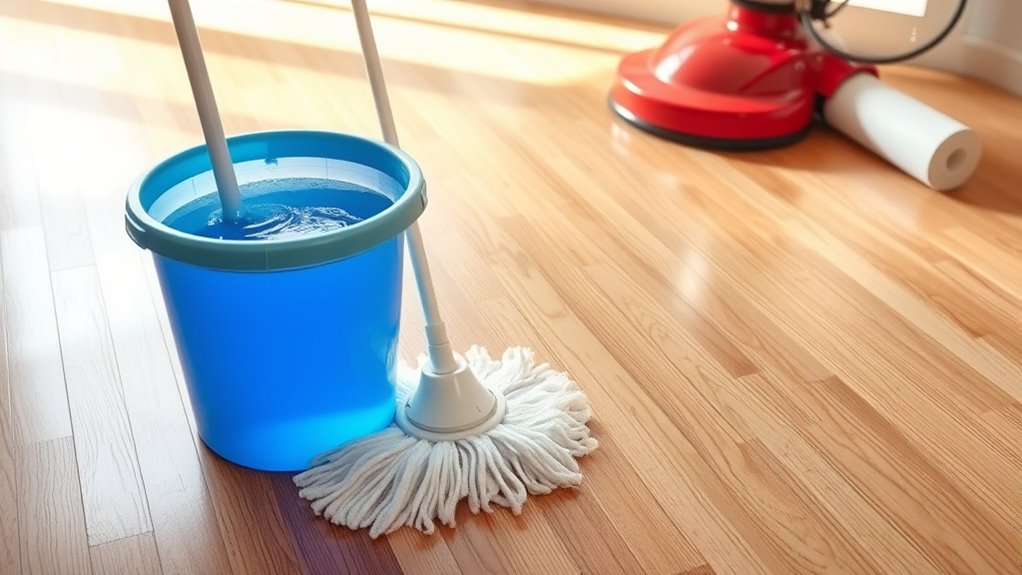
Best Mopping Techniques
A wet mop is essential for effectively removing stripper residue and preparing the floor for waxing. Start by thoroughly rinsing the floor with clean water to loosen any remaining stripper. Use effective mop techniques by working in overlapping, straight-line strokes to avoid streaks and guarantee full coverage. A microfiber mop offers distinct advantages: it traps fine particles and absorbs liquids efficiently, reducing the need for multiple rinses. Wring the mop frequently to prevent spreading residue. Change rinse water often to maintain cleanliness and prevent re-depositing contaminants. Focus on even pressure and consistent speed to maximize residue removal. After mopping, inspect the floor for any sticky or dull spots and repeat if necessary. Proper wet mopping sets a clean foundation, allowing wax to adhere evenly and guaranteeing a flawless finish.
Choosing the Right Mop
When removing stripper residue, selecting the right mop considerably impacts the efficiency and cleanliness of the process. You need to weigh mop types and mop materials carefully to achieve ideal results. Here’s what to focus on:
- Choose a mop with absorbent synthetic fibers for effective wet residue removal.
- Opt for a flat mop type to cover large areas swiftly and evenly.
- Avoid cotton mops, as they tend to retain stripper chemicals, complicating cleanup.
- Verify the mop head is removable and washable to maintain hygiene and prevent cross-contamination.
Selecting the proper mop allows you to control moisture levels precisely, enhancing residue removal without leaving excess water that could damage the floor. This choice empowers you to work efficiently, maintaining your freedom to manage the floor’s condition confidently.
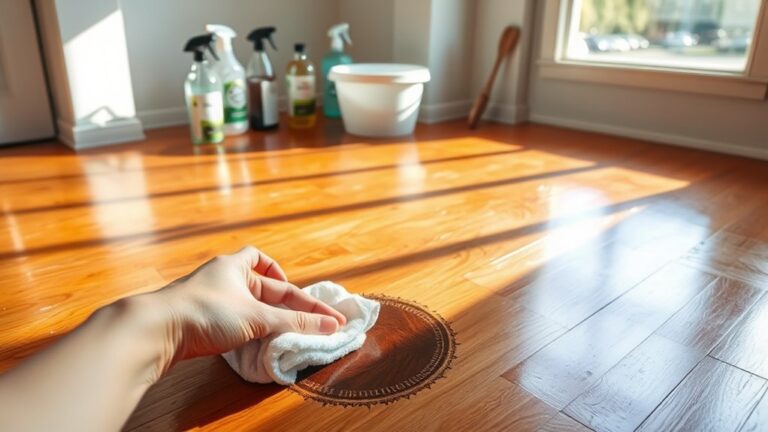
Rinse and Dry the Floor Completely
Before moving on to waxing, you’ll need to thoroughly rinse the floor to remove all stripping residue. Begin by filling a bucket with clean, warm water and use a mop designed for efficient rinsing. Apply the water evenly, ensuring you cover every inch to prevent any leftover stripper from interfering with the wax adhesion. Immediately follow with a clean mop or wet vacuum to extract excess moisture. For effective floor drying, open windows or use fans to expedite evaporation, reducing downtime and preventing slip hazards. Employing precise cleaning techniques here is essential; any residue or dampness can compromise your finish. Only once the floor is completely dry and residue-free should you proceed. This careful preparation safeguards your freedom to enjoy a flawless, long-lasting waxed surface.
Apply the First Coat of Floor Wax
Once the floor is completely dry and free of residue, you can begin applying the first coat of wax. Choosing the right floor wax types is essential—select one compatible with your floor material. Follow these application techniques for ideal results:
- Pour a small amount of wax onto the floor, starting near the edge.
- Use a clean, flat mop or applicator pad designed for waxing.
- Apply the wax in thin, even strokes, moving steadily to avoid overlaps.
- Work in sections, maintaining a wet edge to prevent lines or streaks.
These precise steps grant you the freedom to create a smooth, protective finish. Avoid thick coats; the goal is uniform coverage, not buildup. Once applied, allow the wax to dry completely before walking on it.
Buff the Floor and Apply Additional Wax Coats as Needed
Start by buffing the floor with a high-speed buffer or a floor polisher equipped with a soft pad to enhance the shine and smooth out any imperfections in the wax layer. Employ proper buffing techniques, moving the machine evenly and avoiding prolonged pressure in one area to prevent damage. After buffing, assess the floor’s gloss and coverage. If the shine appears dull or uneven, apply additional wax coats. Use thin, even layers with a clean applicator to maintain uniformity in wax application. Allow each coat to dry completely before buffing again, ensuring ideal adhesion and durability. Repeat this cycle—wax application followed by buffing—until you achieve the desired finish. This method guarantees a resilient, high-gloss floor surface that maximizes both protection and freedom of movement.