To get rid of squeaky floors, first locate the exact source by walking and pressing on suspect boards. Then, tighten loose floorboards and secure the subfloor using screws driven into the joists, avoiding over-tightening. Apply dry lubricants like talcum powder or powdered graphite at the contact points between joists and subfloor to reduce friction. Regular maintenance such as controlling humidity and inspecting fasteners will help prevent future squeaks. With some careful steps, you can achieve a quiet, stable piso and discover more fixes that enhance your results.
Identifying the Source of the Squeak

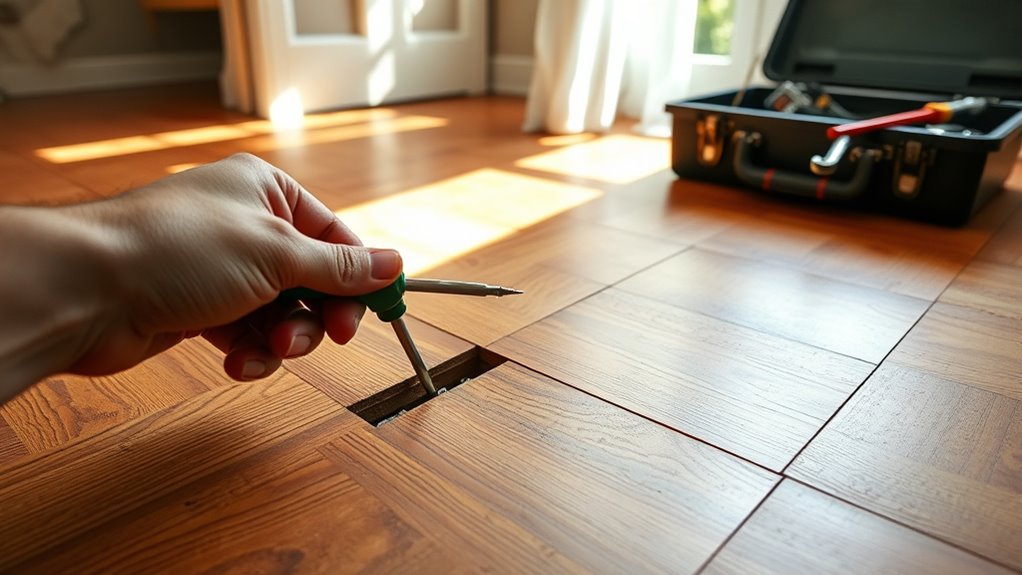
Where exactly is that annoying squeak coming from? To regain control of your space, you need to pinpoint the exact location and cause of the noise. Common squeak causes include loose floorboards, friction between subfloor and joists, or nails that have loosened over time. You’ll want to use diagnostic techniques like walking slowly across the floor to isolate the squeak’s position. Press down firmly on suspect boards to detect movement. Listening closely can help distinguish whether the noise originates above or below the floor surface. You might also tap the floor with a hammer or use a stud finder to locate joists, which helps identify where friction or gaps exist. Identifying the source accurately lets you target repairs effectively, freeing your home from those disruptive sounds.
Tools and Materials You Will Need
To fix squeaky floors effectively, you’ll need a specific set of tools and materials. Gather items like a cordless drill, wood screws, shims, and a pry bar for precise adjustments. Having the right supplies on hand guarantees your repair is both efficient and lasting.
Essential Tools Checklist
Five essential tools will make the process of fixing squeaky floors more efficient and effective. Having the right equipment guarantees you can tackle noise reduction confidently, similar to addressing squeaky furniture. Here’s what you’ll need:
- Cordless drill with screwdriver bits
- Floor screws (preferably trim or bugle head)
- Pry bar or putty knife
- Flashlight or headlamp
A cordless drill lets you drive screws quickly into joists or subfloor, securing loose boards. Floor screws provide a firm grip without damaging the wood. A pry bar helps lift floorboards gently to access problem areas. Proper lighting guarantees you spot gaps or worn spots causing noise. With these tools, you empower yourself to eliminate squeaks efficiently, reclaiming the freedom to walk noiselessly across your floors.
Recommended Materials Guide
Selecting the right materials is essential for effectively eliminating floor squeaks and guaranteeing a durable repair. Start with quality flooring materials like plywood or engineered wood to reinforce weak subfloor areas. Use construction adhesive or specialized wood glue to secure loose boards firmly. For soundproofing solutions, consider adding resilient underlayment or sound-dampening mats beneath the flooring to absorb vibrations and reduce noise transmission. You’ll also need screws or ring-shank nails designed to grip tightly without loosening over time. A lubricant such as powdered graphite or talcum powder can help reduce friction between boards. Choosing materials that match your floor’s composition guarantees compatibility and longevity. By carefully selecting these components, you maintain freedom from persistent squeaks and improve overall floor stability, making your repair both effective and lasting.
Tightening Loose Floorboards
One common cause of squeaky floors is loose floorboards that shift underfoot, creating friction and noise. To eliminate squeaky floorboards, you need to secure them firmly to the subfloor. Start by identifying the loose boards through floorboard maintenance checks. Then, use screws or finishing nails to tighten the boards, making sure to countersink fasteners slightly below the surface. You can also apply wood glue between gaps for added stability.
Secure loose floorboards with screws or nails and wood glue to stop squeaks and ensure a stable floor.
Keep in mind these steps:
- Locate squeaky spots by walking across the floor
- Use a drill with a countersink bit for precise fastening
- Avoid over-tightening to prevent wood damage
- Replace any damaged fasteners during maintenance
This approach will restore your floor’s stability and silence, giving you freedom from annoying creaks.
Lubricating the Floor Joists
To lubricate your floor joists effectively, you first need to locate them by tapping the floor or using a stud finder for accurate positioning. Choose a dry lubricant like powdered graphite or talcum powder to avoid moisture damage and guarantee smooth application. Apply the lubricant directly to the joist and subfloor contact points using a brush or a squeeze bottle, focusing on areas where friction causes the squeak.
Identifying Joist Locations
Locating the floor joists accurately is essential before applying any lubricant to reduce squeaks effectively. Understanding the joist spacing and floor structure helps you target the right areas, ensuring lasting results. Begin by:
- Inspecting the basement or crawl space to see joists from below.
- Using a stud finder on the floor above; it detects changes in density where joists lie.
- Measuring standard joist spacing, typically 16 or 24 inches on center, to estimate joist locations.
- Tapping the floor and listening for solid versus hollow sounds, indicating joist placement.
Choosing Lubricant Types
After pinpointing the joist locations, you’ll need to select the right lubricant to reduce friction between the subfloor and joists effectively. Choosing from various lubricant types depends on your floor’s material and environmental factors. Some lubricants penetrate deeply, while others coat surfaces to minimize squeaks. Understanding application methods is also essential for lasting results.
| Tipo de lubricante | Mejor para | Notes on Application Methods |
|---|---|---|
| Polvo de grafito | Wood-to-wood joints | Dry, easy to apply; avoids mess |
| Spray de silicona | Wood and metal | Penetrates gaps; resists moisture |
| WD-40 | Temporary fixes | Quick action but may attract dust |
| Paraffin Wax | Wood surfaces | Requires melting; long-lasting |
| Polvo de talco | Dry wood friction | Simple sprinkle; minimal residue |
Select wisely to guarantee freedom from squeaks with minimal fuss.
Application Techniques Tips
Applying lubricant correctly to the floor joists is essential for effectively eliminating squeaks. Understanding the squeak causes helps you target the right areas, ensuring your floor maintenance is efficient and long-lasting. When lubricating floor joists, precision matters to prevent mess and maximize impact.
- Use a narrow nozzle applicator to reach tight spaces between joists.
- Apply lubricant sparingly to avoid buildup that attracts dust.
- Focus on joints where wood rubs against nails or other wood components.
- Work methodically from one end to the other, testing as you go.
Using Talcum Powder or Graphite
Two effective powders you can use to eliminate squeaky floors are talcum powder and graphite. Both act as dry lubricants, reducing friction between floorboards and subflooring without moisture that could cause damage. To apply, first identify the squeaky gaps by walking over the floor. Then, sprinkle talcum powder or graphite lubricant directly into these cracks. Use a soft brush or broom to work the powder deeper, ensuring it penetrates tight spaces where wood rubs against wood. Avoid overapplication; a thin, even layer is sufficient to reduce noise without leaving residue. Talcum powder is preferable for wood surfaces due to its fine texture, while graphite lubricant excels in tighter joints because of its superior slipperiness. This method grants you a simple, non-invasive way to restore floor freedom without costly repairs.
Securing Subfloor With Screws
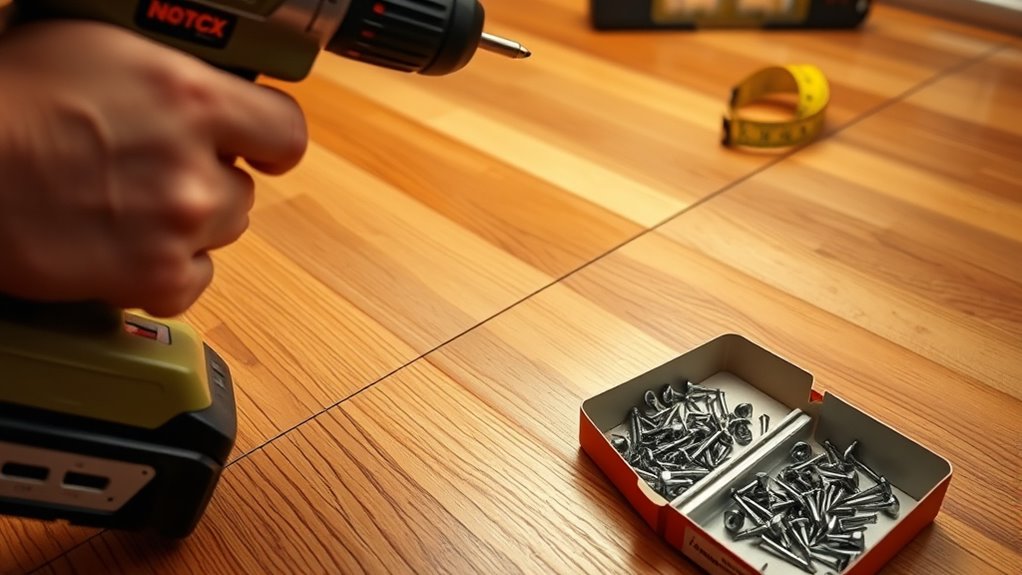
When squeaks persist despite lubrication, securing the subfloor with screws can effectively eliminate movement between the floorboards and joists. To enhance subfloor stability, you’ll need the right screw types—typically, 2½-inch deck screws or subfloor screws designed to resist loosening over time. Before screwing, locate the joists using a stud finder, then drive screws at an angle through the subfloor into the joists to clamp them firmly.
- Use corrosion-resistant screws for durability
- Space screws every 6-8 inches along joists
- Avoid over-tightening to prevent wood splitting
- Countersink screws slightly below the surface
Repairing Squeaks in Hardwood Floors
Though securing the subfloor reduces many squeaks, hardwood floors often require additional steps due to their individual planks shifting or rubbing. To tackle squeaky floorboards causes in hardwood, start by locating the exact creaking spots. Use talcum powder or graphite between the planks to minimize friction. If that doesn’t suffice, drive finishing nails or screws at an angle through the squeaky boards into the joists beneath, being careful not to damage the floor’s finish. For deeper issues, you might need to loosen and reglue the planks. Regular hardwood floor maintenance, like controlling humidity and inspecting for loose boards, helps reduce movement causing squeaks. By addressing these mechanical causes directly, you can regain the freedom to walk noiselessly across your floors with confidence.
Preventative Measures to Avoid Future Squeaks
Even if you’ve successfully eliminated existing squeaks, taking proactive steps is crucial to prevent new ones from forming. Effective squeak prevention begins with consistent floor maintenance and monitoring. You’ll want to:
- Control indoor humidity levels to minimize wood expansion and contraction.
- Inspect and tighten loose floorboards or subfloor fasteners regularly.
- Apply powdered graphite or talcum powder between floorboards to reduce friction.
- Use quality fasteners designed for your floor type during any repairs or installations.
Maintaining stable environmental conditions and securing floor components keeps movement—and consequently squeaks—to a minimum. By integrating these technical measures into your routine floor maintenance, you’ll maintain the freedom of a quiet, sturdy floor without unexpected annoyances. Prioritize these steps to guarantee your floors stay solid and squeak-free long-term.