To clean your basement concrete floor, start by clearing the area and sweeping away loose dirt and debris using a stiff broom or vacuum. Choose a mild, pH-neutral cleaner—warm water with dish soap works well—avoiding harsh acids. Treat stains with appropriate solutions like degreasers or fungicides. Scrub thoroughly, rinse, and dry the piso completely using fans or dehumidifiers. Finally, seal the floor with a suitable sealant to protect against stains and moisture. Keep going to discover detailed techniques and tips to perfect the job.
Assessing the Condition of Your Basement Floor
Before you begin cleaning, it’s crucial to assess the condition of your basement floor thoroughly. Start with a detailed floor inspection, examining every inch for cracks, stains, or uneven surfaces. Use a bright light to reveal subtle imperfections that could affect your cleaning process. Pay close attention to any signs of moisture or mold, as these require special treatment. Conduct a damage assessment by tapping the surface to detect hollow spots or crumbling concrete. Note any areas where water pooling occurs, which might indicate drainage issues. This precise evaluation guarantees you address underlying problems before cleaning, preventing future complications. Taking time for an accurate floor inspection empowers you to make informed decisions, ultimately giving you the freedom to maintain a safe, clean, and durable basement concrete floor.
Clearing and Preparing the Area
Once you’ve assessed your basement floor, start by clearing the area completely to guarantee unobstructed access. Remove all furniture, boxes, and stored items, paying close attention to clearing clutter that might hide dirt or damage. Use storage bins or shelves to organize tools and other essentials, keeping them off the floor and easily accessible. This not only streamlines your cleaning process but also prevents accidents. Dispose of unnecessary items to maximize your space and freedom of movement. As you clear, inspect corners and edges for any hidden debris or stains that need special attention later. Preparing your area thoroughly guarantees you can clean efficiently and effectively, setting the foundation for a spotless, safe basement floor.
Removing Loose Dirt and Debris
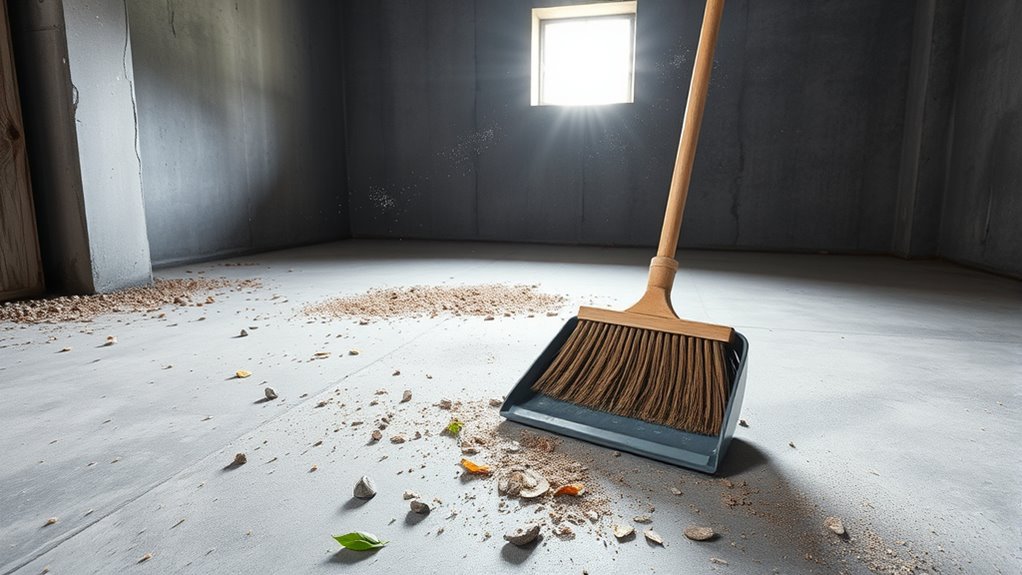
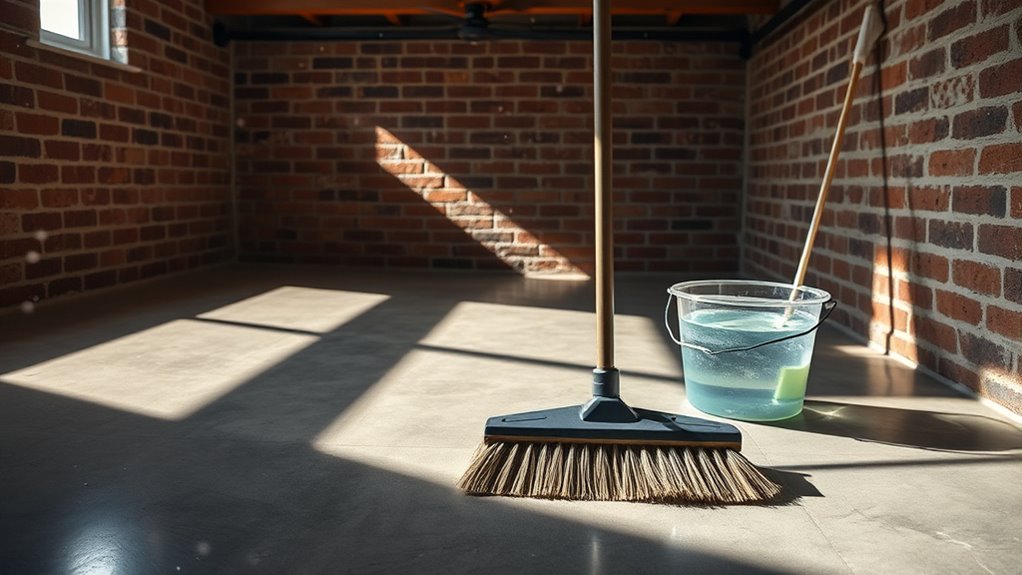
Start by thoroughly sweeping the entire basement floor to remove loose dirt, dust, and debris that can interfere with deeper cleaning steps. Use a stiff-bristle broom to agitate and lift stubborn particles, focusing on corners and edges where dust tends to accumulate. After sweeping, collect the debris carefully, ensuring effective debris disposal by using a dustpan or vacuum designed for coarse dirt. For best dust removal, consider wearing a mask to avoid inhaling fine particles. Don’t rush this step—it sets the foundation for a clean surface and prevents dirt from embedding during wet cleaning. Properly disposing of debris also keeps your workspace tidy and prevents dust from resettling. Mastering this phase gives you freedom to tackle tougher grime with confidence and efficiency.
Choosing the Right Cleaning Solution
With the loose dirt and debris cleared away, your concrete floor is ready for a deeper clean. Choosing the right cleaning solution is essential to protect the surface while achieving a thorough clean. You’ll want to take into account eco friendly options that minimize harsh chemicals, safeguarding both your health and the environment. Check the pH levels of your cleaner—neutral or slightly alkaline solutions work best for concrete, preventing damage or discoloration. Avoid acidic products, which can erode the concrete over time. If you prefer natural alternatives, a mixture of warm water and mild dish soap often does the trick. Selecting the right cleaner empowers you to maintain your basement floor effectively while preserving its durability and appearance for years to come.
Treating Stains and Tough Spots
You’ll often encounter common stains like oil, rust, and mold on your basement concrete floor, each requiring a specific approach. Using the right cleaning solution—whether a degreaser for oil or a rust remover—makes all the difference in lifting these tough spots. Let’s explore how to identify these stains and apply effective treatments to restore your floor’s appearance.
Common Stain Types
Several common stains can mar your basement concrete floor, each requiring a specific approach to treatment. Knowing what you’re dealing with helps you choose the right method to restore your floor’s appearance. Here are the typical stain types you’ll encounter:
- Manchas de aceite: From vehicles or machinery, these penetrate deeply and need degreasers for removal.
- Rust marks: Often caused by metal objects left on the floor; they require specialized rust removers.
- Mold and mildew: Result from moisture, necessitating fungicidal cleaners.
- Paint spills: Depending on the paint type, solvents or scraping might be necessary.
- Efflorescence: A white, powdery residue caused by salt deposits that needs brushing and drying.
Understanding these common stain types empowers you to tackle basement floor cleaning confidently and effectively.
Effective Cleaning Solutions
Although basement concrete floors can be stubborn, knowing the right cleaning solutions makes removing stains and tough spots much easier. Start by choosing eco friendly products to protect both your health and the environment. For grease and oil stains, a mixture of baking soda and liquid dish soap works effectively—sprinkle baking soda, add soap, scrub gently, then rinse. Rust stains respond well to a paste of lemon juice and salt; apply, let sit, then scrub off. For mold or mildew, dilute white vinegar with water and spray the area, allowing it to penetrate before wiping clean. Homemade cleaners like these offer powerful results without harsh chemicals, giving you the freedom to maintain a clean basement floor safely and efficiently.
Scrubbing Techniques for Concrete Floors
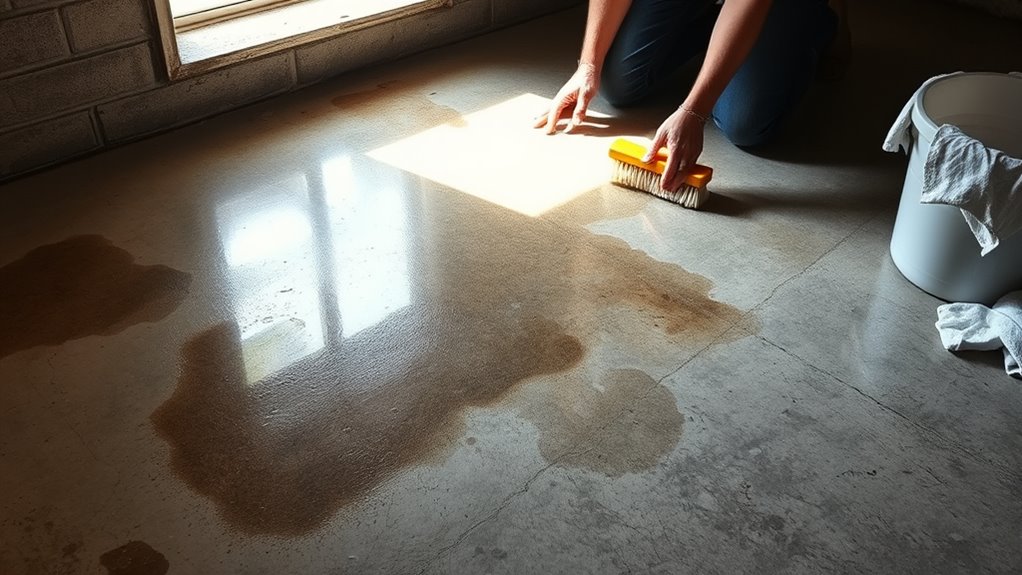
Mastering effective scrubbing techniques is essential for restoring the cleanliness and durability of your basement concrete floor. Using the right scrubbing tools and cleaning techniques guarantees you remove dirt, stains, and grime without damaging the surface. Here’s how to approach it:
- Select a stiff-bristled brush or a floor scrubber designed for concrete.
- Apply your chosen cleaning solution evenly to loosen embedded dirt.
- Use circular motions to maximize scrubbing efficiency and cover all areas.
- Focus extra attention on stubborn stains or high-traffic spots.
- Avoid excessive water that could seep into cracks and weaken the concrete.
Rinsing and Drying the Surface
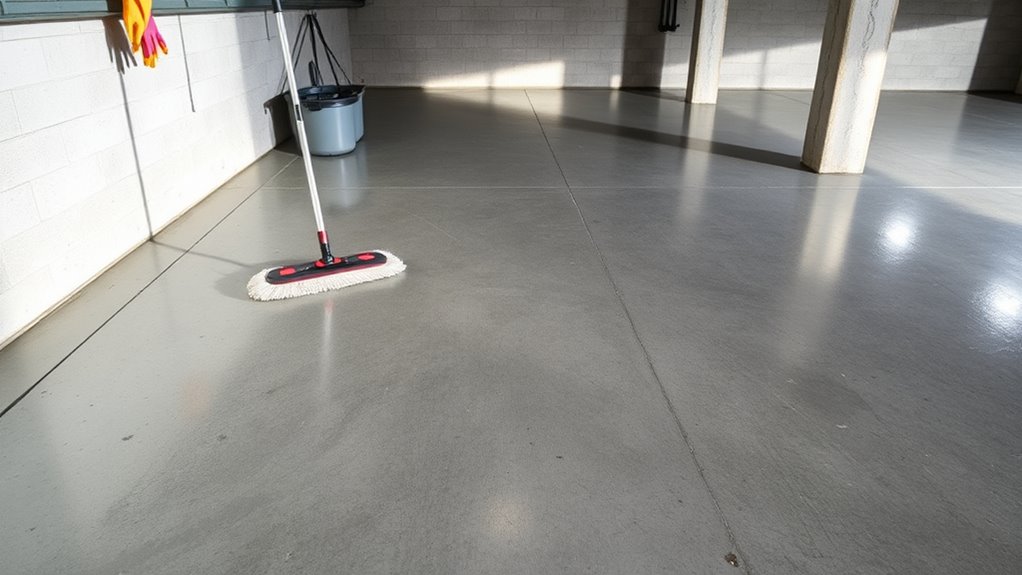
After scrubbing, rinse the floor thoroughly with clean water to remove any remaining residue. Be sure to remove excess moisture using a squeegee or towels to prevent pooling. Finally, promote proper ventilation by opening windows or using fans to speed up the drying process and avoid mold growth.
Use Clean Water
To guarantee your basement concrete floor is properly cleaned, start by rinsing the surface thoroughly with clean water. Using water at a moderate temperature helps dissolve and wash away dirt more effectively without damaging the concrete. The key to maintaining a clean floor is establishing a consistent cleaning frequency—rinsing after each cleaning session prevents residue buildup and prolongs the floor’s integrity.
Keep these tips in mind when using clean water:
- Use potable water free of contaminants.
- Avoid excessively hot water to prevent surface damage.
- Rinse evenly to remove all cleaning agents.
- Adjust cleaning frequency based on basement moisture levels.
- Use a mop or low-pressure hose for thorough rinsing.
Following these steps guarantees your concrete floor stays fresh, safe, and durable for years to come.
Remove Excess Moisture
Although rinsing with clean water removes dirt and cleaning agents, you’ll need to eliminate excess moisture promptly to prevent damage and mold growth. Start by using a wet/dry vacuum or mop to extract as much water as possible from the concrete surface. Next, dry the floor thoroughly with absorbent towels or microfiber cloths to speed up moisture control. Remember, standing water or dampness increases humidity levels, which can compromise your basement’s air quality. To maintain effective humidity management, consider using a dehumidifier or fans to accelerate drying. Quick, efficient moisture removal is key to preserving your basement’s structural integrity while granting you the freedom to use the space safely. Don’t let leftover dampness undermine your hard work or comfort.
Ensure Proper Ventilation
Once you’ve removed excess moisture from your basement floor, maintaining proper ventilation becomes the next priority to guarantee thorough drying and prevent lingering dampness. Effective ventilation methods enhance air circulation, which helps eliminate residual humidity and protects your concrete from mold and mildew. To promote ideal drying, you should:
- Open windows and doors to create natural airflow.
- Use fans strategically to boost air movement across the surface.
- Employ a dehumidifier to extract moisture from the air.
- Keep vents and air ducts clear for uninterrupted circulation.
- Avoid closing off the basement until the floor is completely dry.
Applying Sealant for Long-Term Protection
Even if your basement floor looks spotless after cleaning, applying a sealant is essential for long-term protection against moisture, stains, and wear. You’ll want to choose from sealant types like acrylic, epoxy, or polyurethane, each offering different durability and finish options. Acrylic sealants are easy to apply and dry quickly, while epoxy provides a tougher, chemical-resistant layer. Polyurethane offers excellent abrasion resistance but requires careful ventilation during application. For application techniques, start by ensuring the floor is completely dry. Use a roller or brush for even coverage, working in small sections and avoiding pooling. Allow the sealant to cure fully according to the manufacturer’s instructions before walking on it. This step locks in your cleaning efforts and extends your floor’s lifespan, giving you lasting freedom from maintenance worries.