To fill cracks in hardwood floors, first clean the area thoroughly, removing dust and debris to guarantee proper adhesion. Next, choose a wood filler that matches your floor’s color and press it firmly into the cracks using a putty knife, slightly overfilling to allow for shrinkage. Finally, sand the area smooth with fine-grit sandpaper and apply a finish that matches your floor’s sheen. For a durable, seamless repair, understanding each step in detail is crucial.
Preparing the Hardwood Floor for Repair
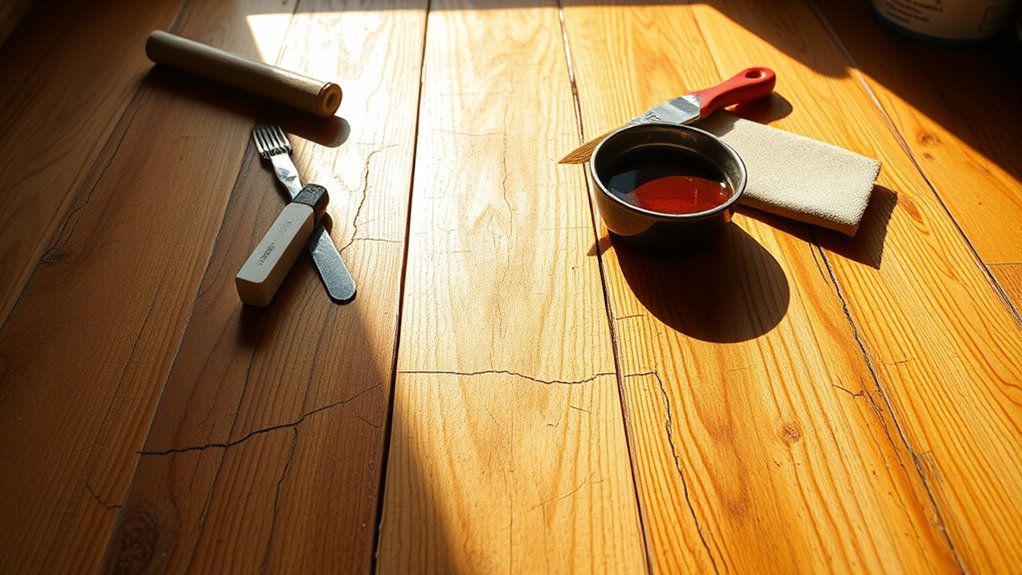
Before you begin filling cracks in your hardwood piso, you need to thoroughly prepare the surface to guarantee proper adhesion and a smooth finish. Start by cleaning the surface meticulously: remove dust, debris, and any old filler or finish residues using a vacuum and a damp cloth. This cleaning surface step ascertains no contaminants interfere with the repair material. Next, assess the damage carefully. Examine the cracks’ depth, width, and length to determine the extent of the repair needed. Identifying any loose wood fibers or splinters is vital for deciding whether additional sanding or trimming is necessary. Proper preparation empowers you to achieve a durable, seamless repair, giving you the freedom to restore your floor without compromise.
Applying the Wood Filler to Cracks
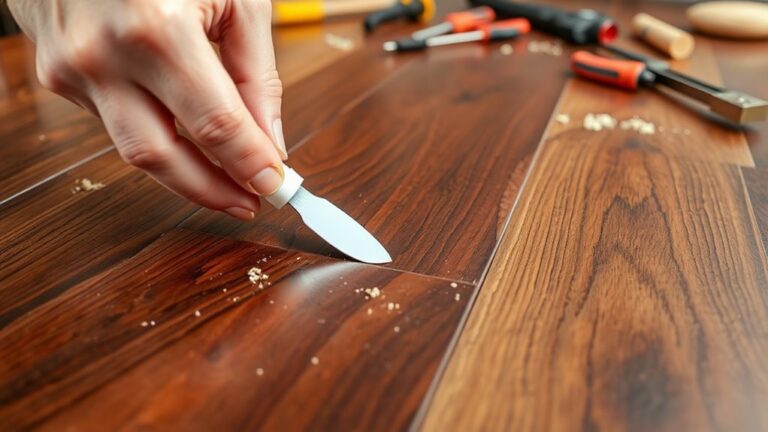
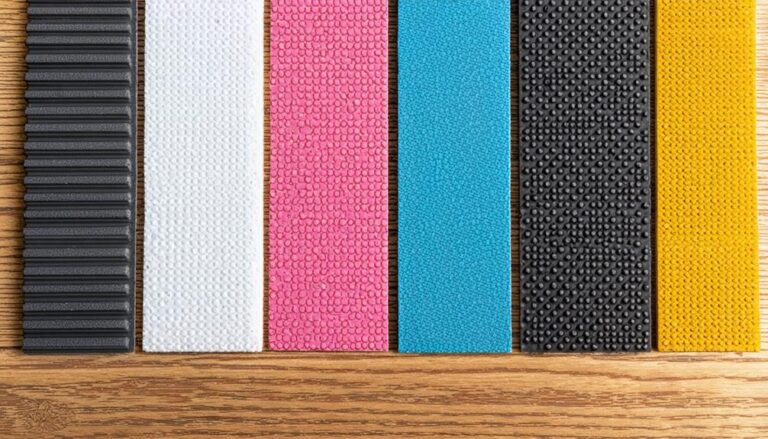
Start by selecting a wood filler that matches your floor’s color and type to guarantee a seamless repair. When choosing filler, consider the material’s durability and compatibility with your floor’s finish. Use a putty knife or a flexible applicator to press the filler firmly into the cracks, making sure of complete penetration without air pockets. Apply the filler slightly above the crack surface to allow for shrinkage during drying. Work in small sections to maintain control and precision. Avoid overfilling, which can complicate later sanding. Follow manufacturer instructions on drying times for best results. Mastering these application techniques guarantees a durable, virtually invisible repair, giving your hardwood floor the freedom to look flawless again without compromising structural integrity.
Sanding and Finishing the Repaired Area
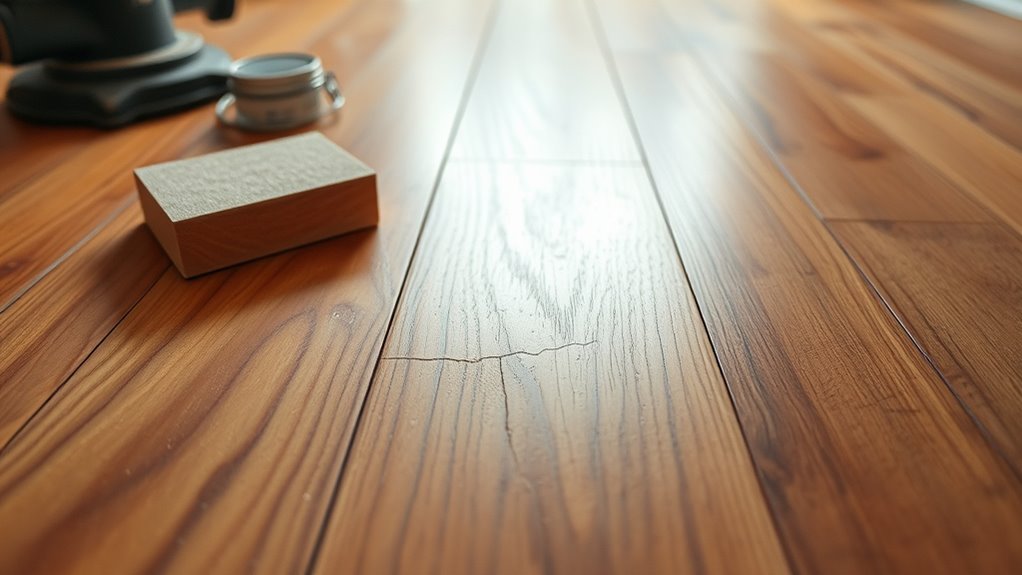
After the wood filler has fully dried, you’ll need to sand the repaired area to achieve a smooth, level surface that blends seamlessly with the surrounding floor. Employ proper sanding techniques, starting with medium-grit sandpaper and progressing to fine grit for a flawless finish. Once sanding is complete, select appropriate finishing products to match your floor’s sheen and protect the repair.
| Paso | Sanding Techniques | Finishing Products |
|---|---|---|
| 1 | Use 120-grit sandpaper | Oil-based polyurethane |
| 2 | Sand with the grain | Water-based polyurethane |
| 3 | Feather edges to blend | Wax-based finish |
| 4 | Remove dust with vacuum | Stain (if needed) |
| 5 | Final buff with fine grit | Clear coat for durability |