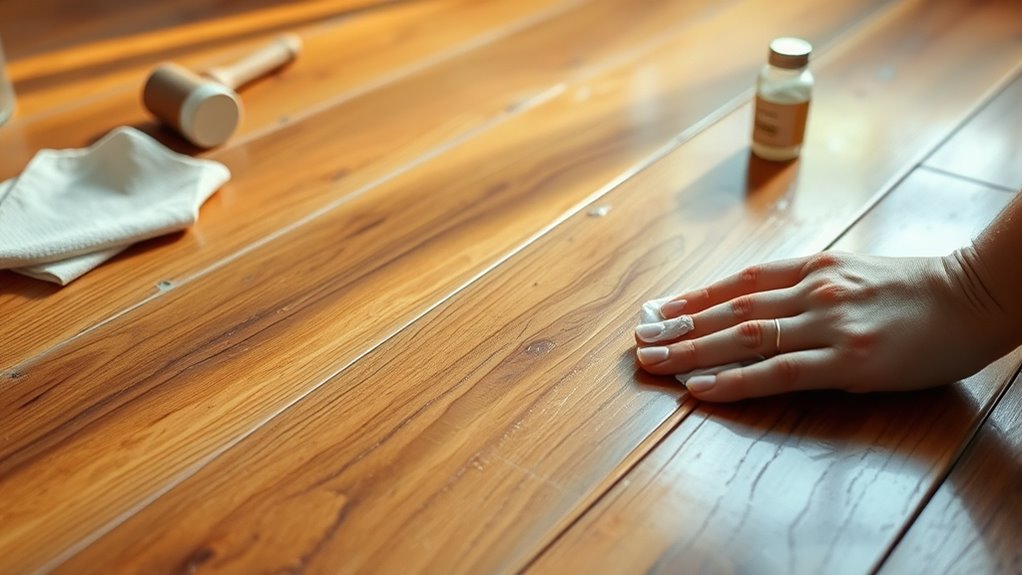
Start by evaluating scratch depth under bright light and cleaning the area with pH-neutral cleaner and isopropyl alcohol. Select a repair kit matching your floor type and finish. Sand the scratch lightly, then press wood filler firmly in, avoiding overfill. Once dry, sand smoothly and test stains to find an exact match. Apply stain thinly with the grain, then seal using compatible sealant in thin coats. Following these precise steps guarantees a flawless repair, and further guidance will refine your technique.
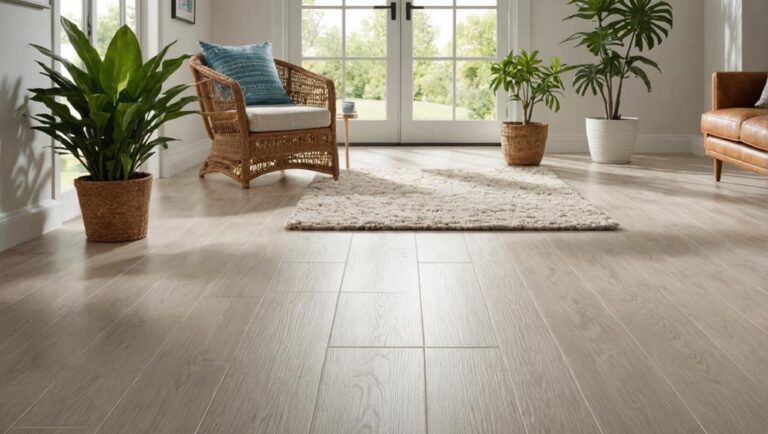
Assess the Damage on Your Wood Floor

How deep are the scratches on your wood piso? Conducting a thorough damage assessment is essential before proceeding. Begin with scratch identification, differentiating between surface-level abrasions and deeper gouges. Use a bright light at a low angle to highlight imperfections. Run your fingernail across the scratch; if it catches, the damage is likely deeper than the finish. Document each affected area’s size, depth, and location precisely. This detailed evaluation informs your approach, determining whether simple buffing suffices or if more extensive repairs are necessary. By accurately identifying scratch severity, you maintain control over the restoration process. Understanding the exact nature of the damage empowers you to choose appropriate materials and methods, ensuring your wood floor regains its freedom from visible flaws efficiently and effectively.
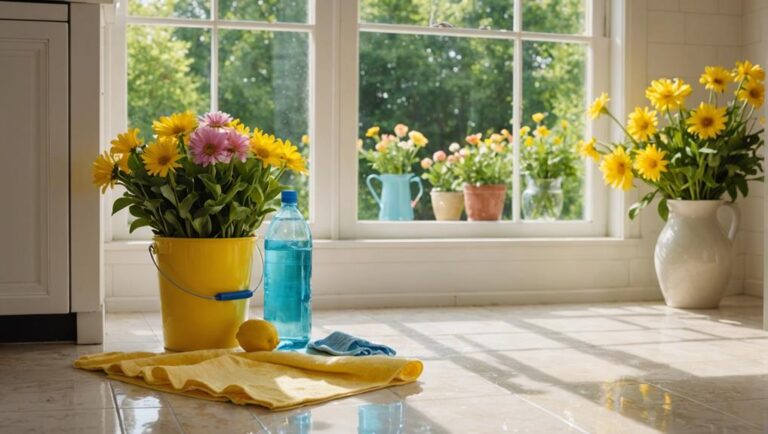
Clean the Scratched Area Thoroughly
Once you’ve identified the depth and extent of the scratches, the next step is to prepare the surface by cleaning it thoroughly. Using appropriate cleaning products guarantees no dirt or oils interfere with the buffing process, promoting ideal adhesion and finish. Avoid harsh chemicals that can damage the wood or finish. Follow these maintenance tips to maintain wood floor integrity:
| Cleaning Product Type | Recommended Usage |
|---|---|
| pH-neutral wood cleaner | Removes dirt without damage |
| Microfiber cloth | Gently lifts debris |
| Isopropyl alcohol | Degreases and disinfects |
Make sure the scratched area is completely dry before proceeding. This careful preparation assures a smooth, even surface, granting you the freedom to restore your floor’s original luster effectively.
Choose the Right Wood Floor Repair Kit
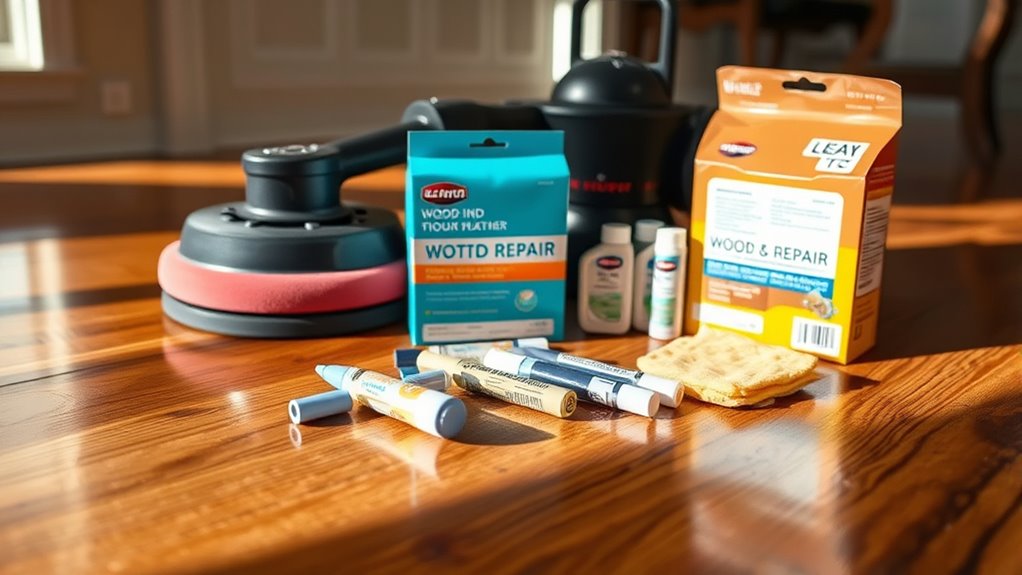
When selecting a wood floor repair kit, you’ll want to focus on the included components such as stain markers, putty, and finishing sealants. Make certain the kit matches your specific floor type—whether it’s solid hardwood, engineered wood, or laminate—to guarantee compatibility. Choosing the right combination of tools and materials will optimize your scratch repair results.
Kit Components Overview
Selecting the right wood floor repair kit hinges on understanding its essential components, which typically include abrasives, fillers, stains, and sealants designed to address varying degrees of scratches and wear. Knowing the kit contents and mastering application techniques guarantees precise restoration and long-lasting results.
| Component | Objetivo | Técnica de aplicación |
|---|---|---|
| Abrasives | Smooth rough edges | Light sanding in scratch area |
| Fillers | Fill deep scratches or gouges | Apply with putty knife, smooth |
| Stains | Match wood color | Use fine brush or cloth |
| Sealants | Protect repaired surface | Apply thin, even coats |
| Buffing Pads | Polish surface to shine | Circular motion with moderate pressure |
Familiarity with these elements empowers you to restore freedom and beauty to your wood floors effectively.
Selecting Based on Floor Type
Because wood floor types vary considerably in hardness, grain, and finish, you’ll need to choose a repair kit specifically formulated for your floor’s characteristics. For engineered hardwood, which features a plywood base with a thin veneer of hardwood, opt for kits designed to work with surface layers without compromising the underlying structure. These kits often contain finer abrasives and specialized fillers that match veneer thickness and finish. Conversely, solid hardwood floors are denser and allow for more aggressive buffing and deeper refinishing. Select repair kits with robust sanding materials and stain options that penetrate thicker wood. Assess your floor’s finish—polyurethane or oil-based—and pick kits compatible with those finishes to guarantee seamless blending and durability. Choosing the right kit based on floor type guarantees efficient scratch removal without risking damage or finish inconsistency.
Sand the Scratch Gently
Start by choosing a fine-grit sandpaper, ideally between 220 and 320 grit, to avoid removing too much wood. Hold the sandpaper lightly and sand the scratch in the direction of the wood grain using gentle, even strokes. Avoid circular motions, which can cause uneven surfaces and worsen the damage. Focus exclusively on the scratch area, gradually feathering the edges to blend with the surrounding floor. Employing proper sanding techniques minimizes surface disruption and supports scratch prevention on future touch-ups. Keep checking your progress frequently to ascertain you’re not over-sanding the area. Maintaining control during this step preserves the wood’s integrity and preps the surface for subsequent treatments. This careful approach ascertains you retain freedom in refinishing options while achieving a smooth, uniform appearance.
Apply Wood Filler if Needed
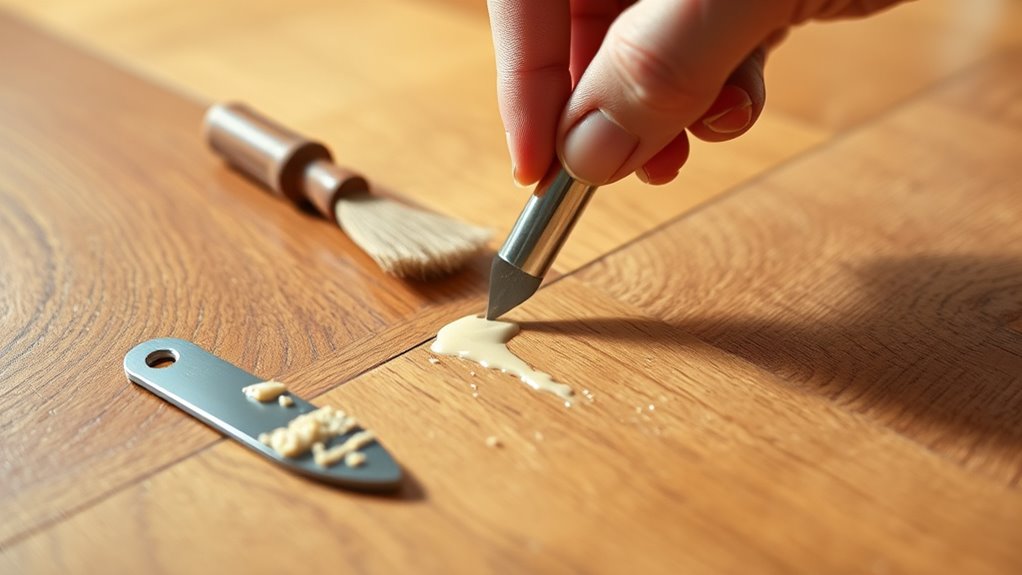
If the scratch on your wood floor is deep enough to create a noticeable groove or gap, you’ll need to apply wood filler to restore a smooth surface. Choosing the right wood filler type and mastering application techniques guarantees a seamless repair that holds up over time. Use a putty knife to press filler firmly into the scratch, smoothing excess for an even finish. Avoid overfilling to reduce sanding later.
| Wood Filler Types | Técnicas de aplicación |
|---|---|
| Water-based | Press firmly, smooth edges |
| Solvent-based | Use putty knife, thin layer |
| Epoxy | Mix components, quick press |
| Latex | Flexible, easy sanding |
| Stainable | Match color, feather edges |
Selecting compatible filler and applying precisely lets you regain floor freedom efficiently.
Let the Filler Dry Completely
After applying the wood filler with care, you’ll need to let it dry completely to assure a durable and smooth repair. Different filler types—such as water-based, solvent-based, and epoxy fillers—have varying drying times, typically ranging from 30 minutes to 24 hours. To guarantee the best results, consult the product’s instructions for exact drying durations. Avoid rushing this step; premature sanding or buffing can compromise the filler’s integrity, leading to cracks or uneven surfaces. Maintain a dust-free environment and stable temperature during drying to prevent imperfections. By allowing the filler to cure fully, you set the foundation for an effortless sanding process and a flawless finish, ultimately restoring your wood floor’s natural beauty and granting you the freedom to enjoy a pristine surface.
Sand the Filled Area Smooth
Begin by selecting fine-grit sandpaper, typically between 180 and 220 grit, to gently smooth the filled area without damaging the surrounding wood. Mastering sanding techniques is essential for achieving smooth finishes that blend seamlessly with your floor. Follow these steps:
- Use light, circular motions to avoid gouging the filler or floor surface.
- Sand evenly until the filled area is flush with the wood, ensuring no ridges or depressions remain.
- Frequently wipe away dust with a tack cloth to monitor progress clearly.
Match the Stain Color to Your Floor
Though sanding creates a smooth surface, matching the stain color precisely to your floor is critical for a seamless repair. To achieve accurate stain matching, start by testing small amounts of stain on a hidden area or scrap piece of the same wood species. Observe how the stain reacts with the wood grain and lighting conditions. Use a combination of color blending techniques—mixing multiple stain shades—to replicate the floor’s unique hue and undertones. Pay close attention to undertones like warmth or coolness, as these subtle differences affect the final appearance. Take your time refining the blend until it mirrors the surrounding floor. This precision guarantees your repair remains visually integrated, preserving the freedom to enjoy a flawless, natural-looking finish without drawing unwanted attention to the touched-up area.
Apply the Stain and Let It Dry
You’ll want to select a stain that matches your floor’s finish and is compatible with the existing coating. Apply the stain evenly using a fine brush or cloth, keeping the layer thin to avoid blotches. Once applied, allow the stain to dry completely according to the manufacturer’s specified time before proceeding.
Choose Appropriate Stain
Since the stain you select directly affects the floor’s final appearance and durability, it’s crucial to match it precisely to the wood type and existing finish. You need to take into account stain compatibility to prevent peeling or uneven absorption, which can compromise both look and longevity. Color variations across wood species and previous treatments also influence your choice; a mismatch can highlight scratches rather than conceal them.
When choosing the right stain:
- Verify the stain’s compatibility with your floor’s finish—oil-based stains often suit hardwoods, while water-based stains may be better for softer woods.
- Test color variations on a hidden section to confirm the shade blends seamlessly.
- Choose a stain that enhances the wood’s natural grain without overpowering it, preserving the floor’s authentic character.
This careful selection guarantees a durable, natural-looking repair.
Apply Evenly and Thin
When applying the stain, make certain you use a thin, even coat to prevent blotching and secure uniform absorption. Employ precise application techniques, such as using a high-quality brush or lint-free cloth, to distribute the stain consistently across the scratched area. Avoid overloading your applicator, as excess stain can pool and cause uneven finish uniformity. Work in manageable sections, applying the stain in the direction of the wood grain to enhance penetration and appearance. Maintain a steady hand and consistent pressure to guarantee the stain layers blend seamlessly with the surrounding floor. By mastering these application techniques, you’ll achieve a smooth, uniform finish that effectively camouflages scratches and restores your wood floor’s natural beauty without compromising its structural integrity.
Allow Proper Drying
Allow at least 24 hours for the stain to dry thoroughly before proceeding to any additional steps. Proper drying time is critical to guarantee the stain sets evenly and bonds effectively with the wood surface. Employ these drying techniques to optimize results:
- Maintain a stable room temperature (65-75°F) to facilitate consistent evaporation.
- Ensure adequate air circulation using fans or open windows, avoiding direct airflow on the stained area to prevent uneven drying.
- Keep humidity levels low (below 50%) to accelerate drying without compromising the finish.
Finish With a Protective Wood Floor Sealant
Applying a protective wood floor sealant is essential to safeguard the surface after buffing out scratches. You’ll want to select a sealant compatible with your floor’s existing finish—oil-based or water-based polyurethane being common choices. Use a high-quality applicator to spread a thin, even coat, working with the wood grain to avoid streaks. Allow the sealant to dry thoroughly, following manufacturer instructions for curing times. This protective finish enhances durability, resists moisture, and simplifies future wood floor maintenance. Applying multiple thin coats, sanding lightly between applications, further strengthens protection. By finishing with a reliable wood floor sealant, you maintain your floor’s aesthetic freedom and extend its lifespan, ensuring scratches stay buffed out and the surface remains resilient against daily wear.