To stain hardwood floors, start by gathering quality brushes, sandpaper, and your chosen stain. Prepare and sand the floor smooth, progressing through grit levels to remove old finishes and scratches. Vacuum and wipe away dust thoroughly. Test stain samples in small areas to check color under your room’s lighting. Apply stain evenly with the grain, working in sections, and allow it to dry fully before sealing with a protective finish. Follow these steps carefully to achieve a long-lasting, beautiful floor—and you can expand on these tips for even better results.
Gather Your Tools and Materials
Before you begin staining your hardwood floors, you’ll need to gather all the essential tools and materials to guarantee a smooth process. Start with tool selection: you’ll require a high-quality brush or foam applicator for even stain application, a lint-free cloth for wiping excess stain, and a sanding block or orbital sander for prepping the Boden later. For material types, choose a stain suited to your wood species and desired finish—oil-based stains offer rich color, while water-based stains dry faster and have less odor. Also, pick a good wood conditioner if your floor is softwood, plus a protective finish like polyurethane. Don’t forget gloves, drop cloths, and painter’s tape to protect adjacent areas. Being precise about your tools and materials sets you free to work confidently and efficiently.
Prepare the Hardwood Floor Surface
Before you apply any stain, make certain your hardwood floor is completely clean and sanded smooth to remove old finishes and surface imperfections. Carefully inspect the floor for any scratches, dents, or gaps, and repair them using wood filler or appropriate methods. This preparation guarantees the stain adheres evenly and results in a flawless finish.
Clean and Sand Thoroughly
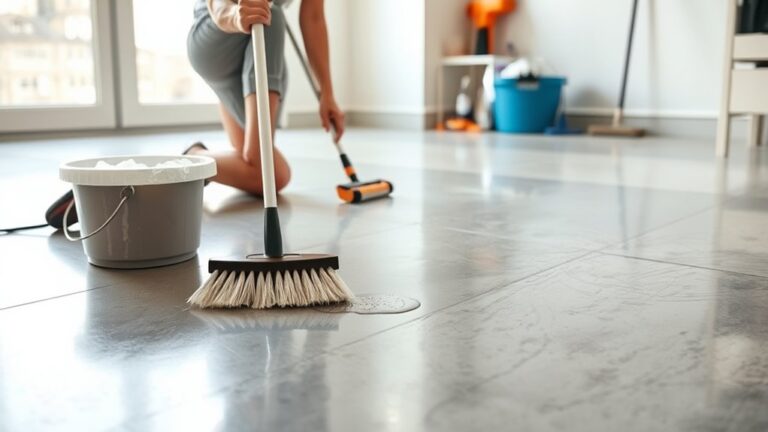
Though it might seem tedious, thoroughly cleaning and sanding your hardwood floor is essential to guarantee the stain adheres evenly and lasts longer. Proper wood floor maintenance starts with removing all dirt and old finishes using the right cleaning products. Next, sanding opens the wood pores for better stain absorption and smoothness.
Follow these steps:
- Vacuum and mop the floor using a wood-safe cleaner to remove dust and debris.
- Use a drum or orbital sander with medium-grit sandpaper to sand the entire surface evenly.
- Switch to fine-grit sandpaper for a smooth finish, paying attention to edges with a hand sander.
- Vacuum and wipe the floor with a tack cloth to remove all dust before staining.
This prepares your floors perfectly for a flawless stain application.
Repair and Remove Imperfections
Once your floor is clean and sanded, the next step is to address any imperfections that could affect the stain’s appearance. You’ll need to use specific repair techniques for removing scratches, dents, or gouges. Start by filling deeper scratches with wood filler matching your wood type, then sand smooth once dry. For minor scratches, buffing gently with fine steel wool can suffice. Verify all repairs are flush with the floor to avoid uneven staining.
| Imperfection Type | Recommended Repair Technique |
|---|---|
| Tiefe Kratzer | Use wood filler, then sand smooth |
| Minor Scratches | Buff gently with fine steel wool |
| Gouges | Fill with wood putty, sand flush after drying |
Taking these steps grants your floor a flawless base for staining freedom.
Sand the Floor Thoroughly
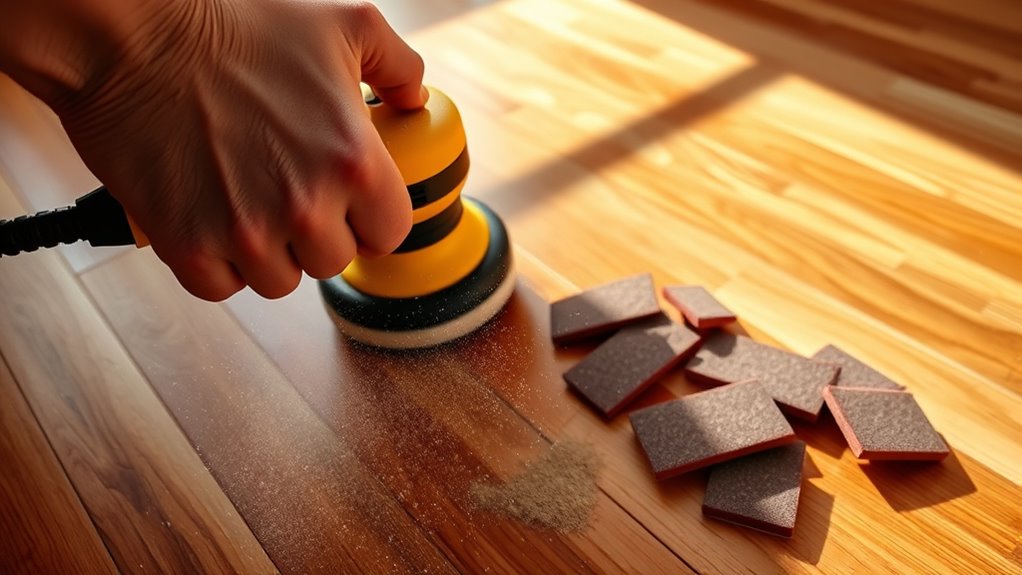
You’ll want to start sanding with a coarse grit to remove old finish and even out imperfections, then progress to finer grits for a smooth surface. Make certain to sand evenly across the entire floor to avoid uneven staining later. After sanding, clean all dust thoroughly using a vacuum and tack cloth to guarantee the stain adheres properly.
Choose the Right Grit
Before applying any stain, you need to sand the hardwood floor thoroughly, starting with the appropriate grit sandpaper to guarantee an even surface. Choosing the right grit is essential for a flawless finish. Here’s how to approach grit types and grit sequence:
- Begin with coarse grit (36-40) to remove old finish and level imperfections.
- Progress to medium grit (60-80) to smooth out the roughness left by the coarse grit.
- Use fine grit (100-120) for final sanding, creating a smooth, receptive surface.
- Always follow the proper grit sequence to avoid scratches and guarantee uniform absorption of stain.
Clean Dust Completely
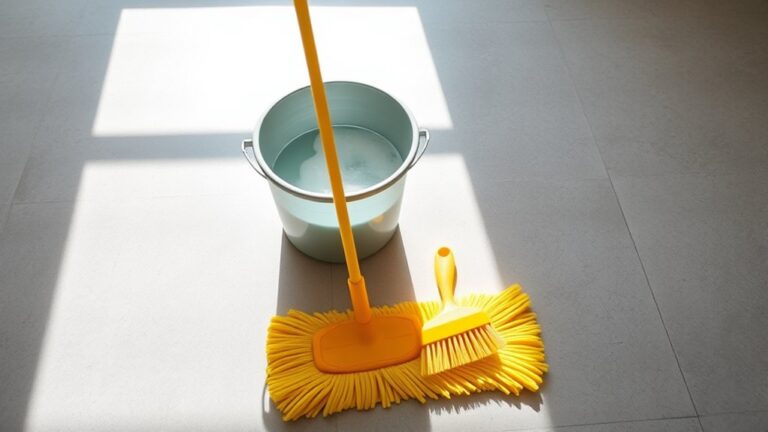
Thoroughly remove all dust and debris from sanding to guarantee the stain adheres evenly and the finish looks flawless. Start with a high-quality vacuum designed for fine dust removal, carefully going over every inch of the floor, including corners and edges. Follow up by wiping the surface with a slightly damp microfiber cloth to capture any remaining particles. This two-step process guarantees effective dust prevention before staining. Remember, even the smallest dust particles can show through the stain or cause uneven absorption. To maintain a dust-free environment, close windows and seal off the room from outside air and foot traffic. Taking these precise dust removal steps enables you to achieve a smooth, professional-looking hardwood floor finish every time.
Clean Up Dust and Debris
Dust and debris left on your hardwood floors can interfere with the staining process and affect the final finish. Proper dust collection and thorough surface preparation are crucial to achieve a smooth, even stain. Here’s how to clean up effectively:
- Use a high-efficiency vacuum with a brush attachment to remove fine dust from all floor crevices.
- Wipe the surface with a slightly damp microfiber cloth to pick up remaining particles without oversaturating the wood.
- Inspect the floor under bright light to guarantee no debris remains that could cause blemishes or uneven staining.
- Allow the floor to dry completely before proceeding to stain.
Choose the Right Stain Color
When choosing your stain color, consider how natural and artificial lighting in the room will affect its appearance throughout the day. You’ll want to match the stain to your existing decor to create a cohesive look. Always test a small sample on your floor before committing to guarantee the color meets your expectations.
Consider Room Lighting
Although choosing a stain color might seem straightforward, you need to carefully consider how the room’s lighting will affect the final appearance. Lighting effects dramatically influence color perception, altering how the stain looks at different times of day or under artificial light. To guarantee your stain choice liberates your design vision, keep these tips in mind:
- Observe the room at various times—natural light changes can shift color tones.
- Test stain samples on small floor sections to view under existing lighting.
- Consider the type of light bulbs; warm or cool bulbs change how colors appear.
- Remember shadows and reflections can deepen or soften the stain’s hue.
Match Existing Decor
Once you’ve evaluated how lighting impacts your stain choices, the next step is to assure your stain complements the existing decor. Achieving color harmony assures your floors enhance the overall aesthetic, maintaining design consistency throughout the space. Consider your furniture, wall colors, and accent pieces when selecting a stain. Here’s a quick guide to help you align stain colors with your decor style:
| Decor Style | Recommended Stain Colors | Notes on Color Harmony |
|---|---|---|
| Modern Minimalist | Light oak, natural maple | Keeps space bright and airy |
| Rustic | Walnut, chestnut | Complements warm, earthy tones |
| Traditionell | Mahogany, cherry | Enhances classic elegance |
| Küsten | Whitewashed, driftwood | Evokes relaxed beach vibes |
| Industriell | Dark ebony, graphite | Adds depth with bold contrast |
Choose a stain that aligns with your design’s palette for seamless integration.
Test Samples First
Before committing to a stain color, you should test at least three different samples on a hidden section of your hardwood floor. This step guarantees you understand how various stain types interact with your wood’s unique grain and natural color. Keep in mind that color variations can appear dramatically different once applied and dried. To accurately test:
- Apply each stain type evenly in small patches.
- Allow samples to dry fully, usually 24 hours.
- Observe color shifts under different lighting conditions.
- Evaluate how each sample complements your room’s lighting and decor.
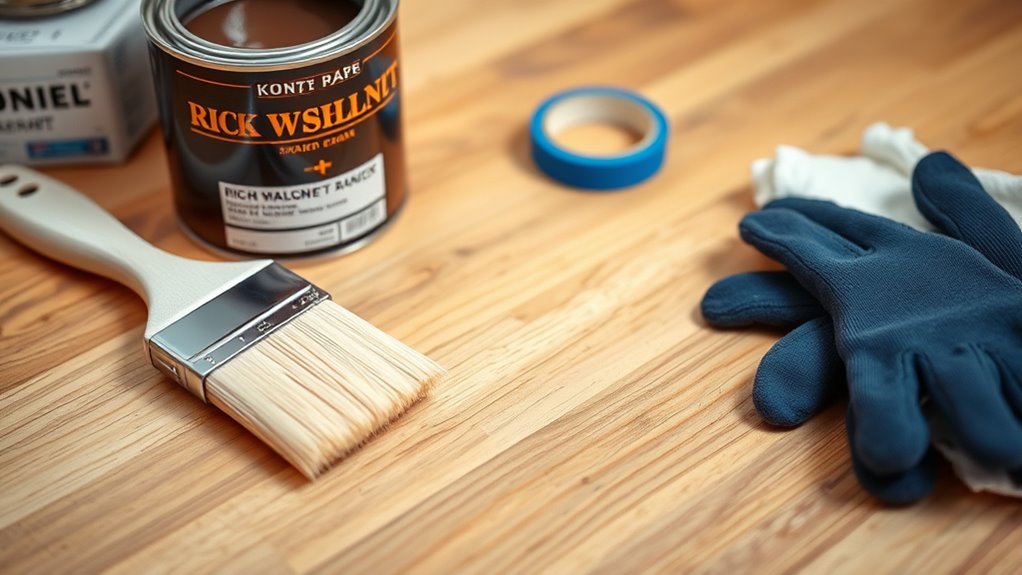
Test the Stain on a Small Area
Since wood can absorb stain unevenly, you’ll want to test the stain on a small, inconspicuous area of your floor first. Choose a corner or under a piece of furniture where the test won’t be obvious. Apply the stain using the same application techniques you plan to use for the entire floor—whether wiping, brushing, or spraying—to get an accurate preview. Observe how the stain interacts with the wood’s grain and note any color variations that appear. This step helps you avoid surprises and guarantees the final result aligns with your vision. If the color is too light, dark, or uneven, adjust your stain choice or technique before proceeding. Testing this way grants you freedom to confidently move forward with staining your hardwood floors.
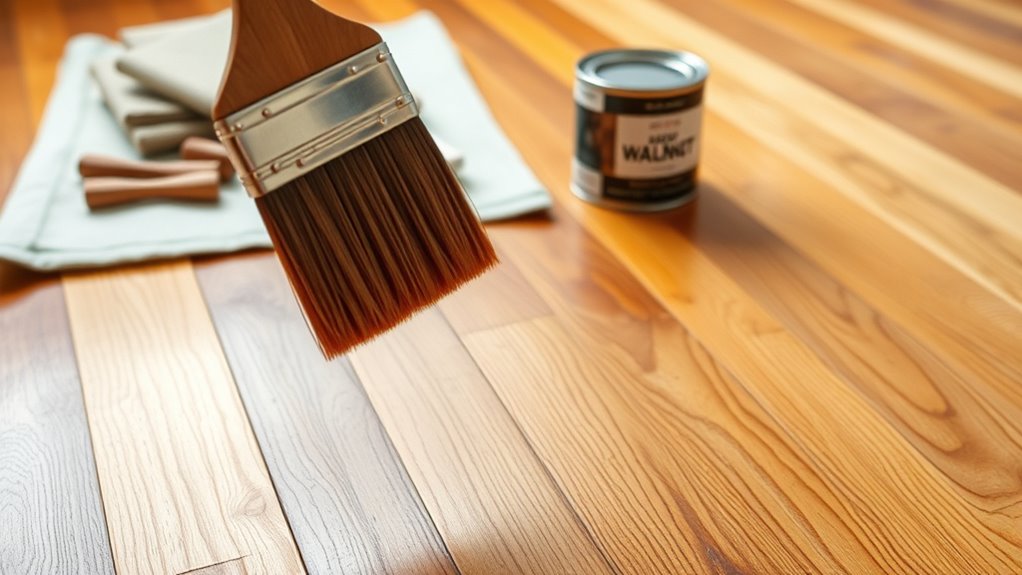
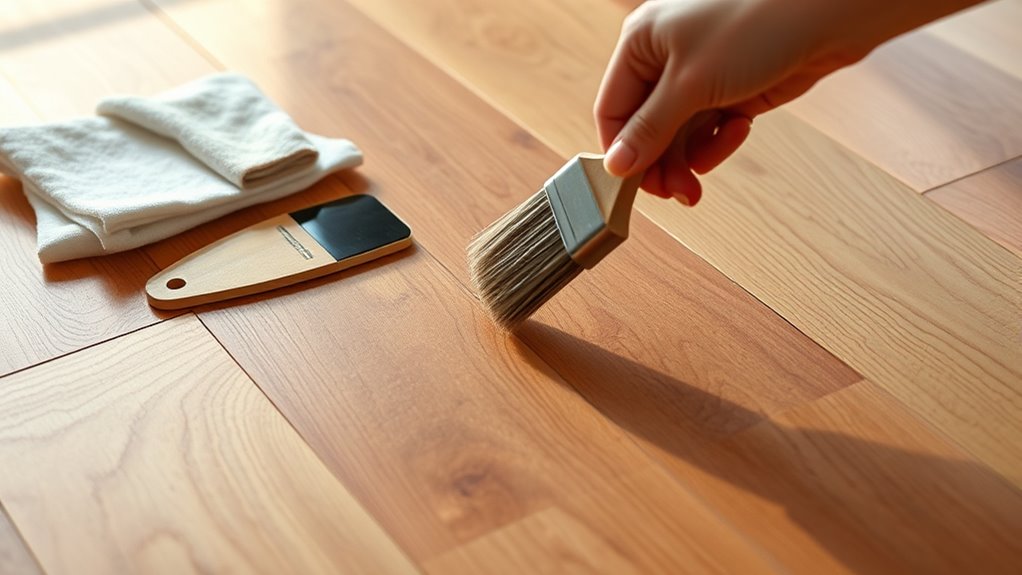
Apply the Stain Evenly
A smooth, even coat is essential when you apply the stain to your hardwood floors. Achieving consistent stain application guarantees your floor’s color consistency and prevents blotchy patches. Here’s how to master it:
- Work in small sections to maintain control and prevent the stain from drying unevenly.
- Use a high-quality brush or clean cloth to apply the stain, following the wood grain direction.
- Apply thin, uniform layers; avoid over-saturating any area to prevent puddling.
- Maintain a wet edge by blending each new stroke into the previous one before it dries.
Allow the Stain to Penetrate and Dry
Once you’ve applied the stain evenly, you’ll need to let it penetrate the wood fibers fully to achieve the desired color depth. This stain absorption period is essential; avoid wiping or disturbing the surface immediately after application. Depending on the wood type and stain formula, drying time can vary from 4 to 24 hours. Make certain your room is well-ventilated to speed up evaporation and prevent uneven drying. Check the stain’s tackiness by lightly touching an inconspicuous area—if it feels dry and not sticky, it’s ready for the next step. Remember, rushing this process can lead to blotchy or uneven coloration, restricting your freedom to create a flawless finish. Patience during drying time guarantees that your hardwood floor will absorb the stain uniformly and look stunning.
Tragen Sie eine Schutzbeschichtung auf
Before you start applying a protective finish, verify the stain is completely dry to avoid trapping moisture beneath the surface. This step is essential for finish durability and overall floor quality. Protective coatings shield your hardwood from wear and enhance its beauty.
Follow these steps for a flawless finish:
- Choose the right protective coating—polyurethane, varnish, or oil-based—based on your desired sheen and durability.
- Use a high-quality applicator like a brush or roller designed for smooth, even layers.
- Apply thin, even coats, allowing each to dry fully before adding the next to avoid bubbles or uneven textures.
- Lightly sand between coats with fine-grit sandpaper to guarantee superior adhesion and a smooth final surface.
Taking these precise actions grants you freedom to enjoy a resilient, stunning hardwood floor.
Maintain and Care for Your Stained Floor
Although staining and finishing your hardwood floor takes effort, maintaining its appearance and integrity requires consistent care and attention. You’ll want to focus on regular floor cleaning using gentle cleaning products, avoiding harsh chemicals that damage protective coatings. Control humidity and moisture to prevent warping, especially through seasonal care and moisture management. Conduct regular inspections to catch scratches or wear early, and minimize sunlight exposure to avoid fading. Scratch prevention involves using rugs and furniture pads.
| Aufgabe | Frequenz | Tipps |
|---|---|---|
| Floor Cleaning | Wöchentlich | Use pH-neutral products |
| Humidity Control | Year-round | Maintain 35%-55% humidity |
| Regelmäßige Inspektionen | Monatlich | Check for scratches or dull spots |
| Seasonal Care | Vierteljährlich | Adjust moisture management |