To retile your bathroom floor, start by gathering all necessary tools and materials for efficiency. Next, carefully remove old tiles and prepare the subfloor by cleaning and repairing any damage. Plan your tile layout precisely, marking guides to guarantee symmetry. Apply adhesive evenly, then set tiles using spacers for consistent grout lines. Cut tiles for edges as needed, and finish by grouting and sealing to protect your work. Following these steps sets the foundation for a flawless finish—let’s explore each phase in detail.
Gather Your Tools and Materials
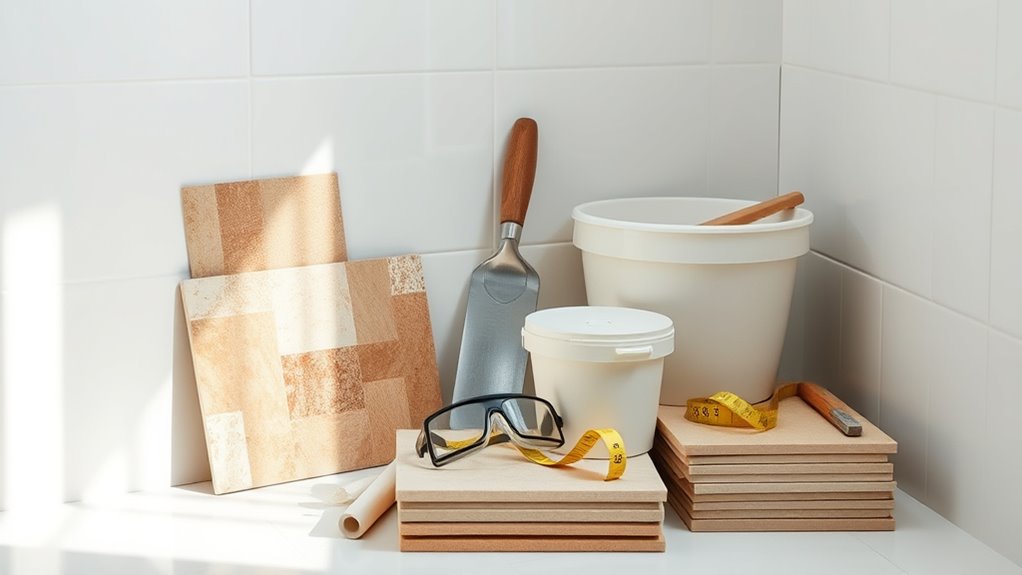
Before you begin retile a bathroom Boden, you’ll need to gather a specific set of tools and materials to guarantee the job goes smoothly. Start with a thorough tools checklist: tile cutter or wet saw, notched trowel, rubber grout float, tape measure, level, sponge, bucket, and knee pads for comfort. Essential materials include quality floor tiles, thin-set mortar, grout, tile spacers, and a waterproof membrane if necessary. Make sure you have safety gear like gloves and eye protection. Having everything organized upfront prevents interruptions, letting you work efficiently and freely. Double-check your tools checklist and materials quantity based on your bathroom’s square footage. This methodical preparation guarantees precision during installation and sets the foundation for a durable, professional-looking tiled floor.
Remove the Old Tiles
You’ll need specific tools like a chisel, hammer, and safety gear to begin removing the old tiles safely. Make sure to wear protective eyewear and gloves to prevent injury from sharp edges and debris. Use controlled tapping and prying techniques to lift tiles without damaging the subfloor.
Benötigte Werkzeuge
Although removing old tiles can be labor-intensive, having the right tools guarantees the process is efficient and safe. You’ll need a sturdy chisel and a hammer to carefully break and lift tiles, considering the tile sizes to avoid unnecessary damage. A floor scraper or putty knife helps remove stubborn adhesive types like mastic or thin-set mortar. For larger areas, an oscillating multi-tool with a scraping attachment speeds up adhesive removal. A pry bar assists in lifting tiles in tight corners or uneven surfaces. Additionally, a utility knife helps score grout lines for easier tile extraction. Using these tools methodically lets you clear the surface quickly, preparing it for new tiles without compromising the subfloor’s integrity, granting you the freedom to retile effectively.
Safety Precautions
Having the right tools at hand sets the stage for safely removing old tiles without damaging yourself or the subfloor. Before you start, prioritize protective gear to shield against sharp edges, dust, and debris. Maintain hazard awareness by clearing the workspace of obstacles and ensuring proper ventilation to reduce dust inhalation. Follow these safety measures:
- Wear safety goggles and heavy-duty gloves
- Use a dust mask or respirator
- Inspect the floor for loose tiles or hidden nails
- Keep a first aid kit nearby
- Work with adequate lighting to spot hazards
Tile Removal Techniques
Before you begin removing tiles, make certain the area is prepared by clearing any loose debris and marking damaged sections. Identify the tile types—ceramic, porcelain, or natural stone—as each requires specific removal tools and techniques. Start by scoring grout lines with a grout saw or oscillating tool to minimize damage to the substrate. Use a chisel and hammer or a power scraper to carefully lift tiles, working from the damaged or edge sections inward. Take care to avoid excessive force that could compromise the floor preparation layer beneath. Once tiles are removed, inspect the surface for residual adhesive or mortar and remove it thoroughly to guarantee a smooth, clean base. Proper tile removal is essential to achieve a flawless retile and maintain long-term floor integrity.
Bereiten Sie den Unterboden vor
Start by thoroughly inspecting the subfloor for any damage, such as rot, cracks, or uneven areas. Identifying the subfloor type—plywood, concrete, or cement backer board—is essential for selecting the appropriate repair and moisture barrier methods. Make certain the subfloor is clean and dry before proceeding; moisture can compromise tile adhesion and longevity.
Begin by inspecting the subfloor for damage and moisture to ensure proper tile adhesion and durability.
Key preparation steps include:
- Remove any remaining adhesive or debris.
- Repair damaged areas with suitable patching compounds.
- Level uneven sections using a self-leveling compound.
- Install a moisture barrier compatible with your subfloor type.
- Verify structural integrity to support tile weight.
This methodical approach guarantees your subfloor provides a stable, moisture-resistant foundation, granting you the freedom to achieve a durable, professional tile installation.
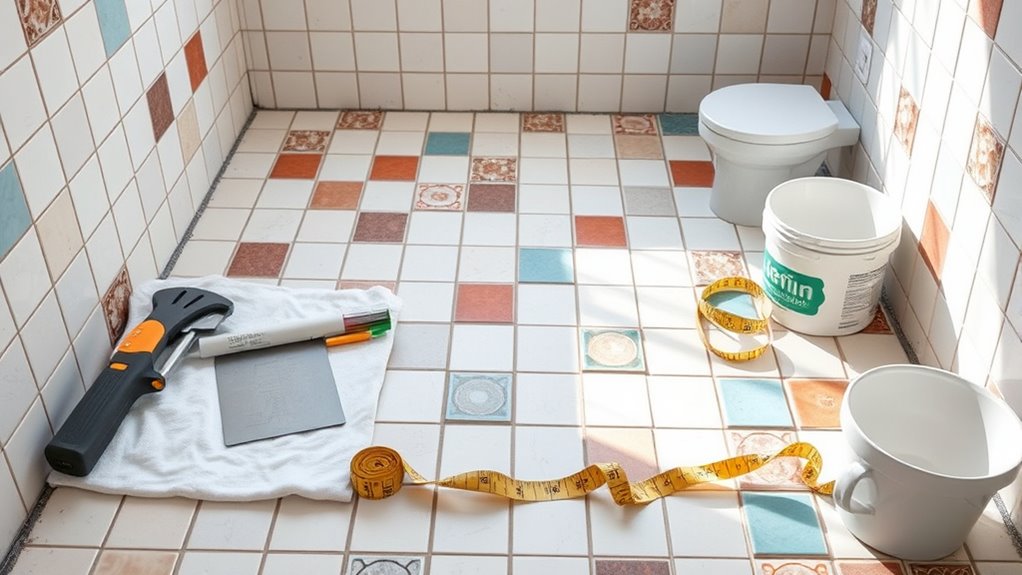
Plan Your Tile Layout
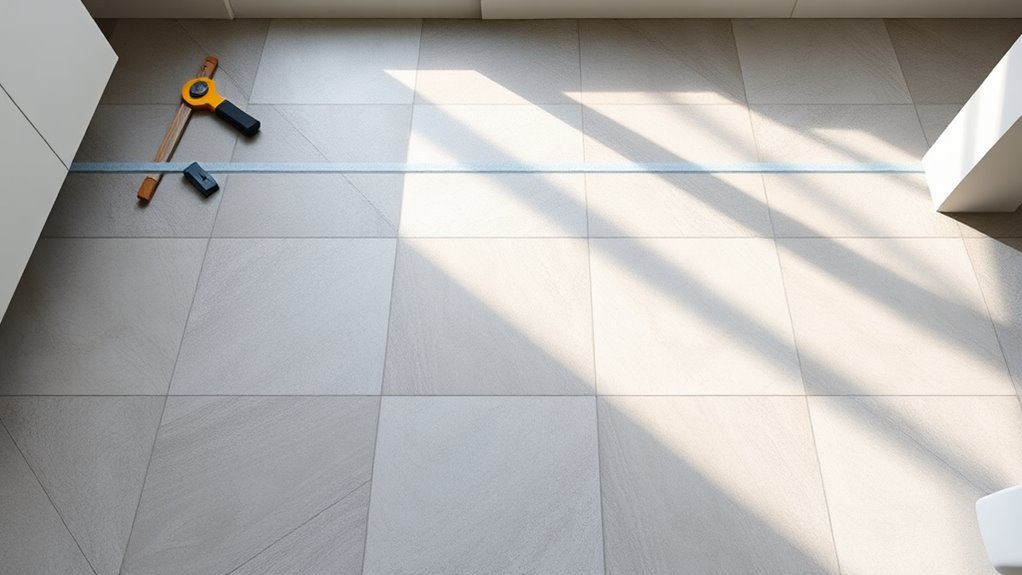
Once the subfloor is fully prepared and level, you can focus on planning your tile layout. Begin by measuring the bathroom floor dimensions accurately to determine the center point. This central reference will guide your tile patterns and guarantee a balanced look. Consider the tile size and grout width to calculate how many tiles fit across each axis. Experiment with different tile patterns—straight, diagonal, or herringbone—to find one that complements your space and personal style. Use chalk lines to mark your layout on the subfloor, confirming symmetry and minimizing awkward cuts near walls. Effective layout planning reduces waste and streamlines installation, giving you the freedom to create a precise, professional finish that lasts. Take your time here; a thoughtful plan sets the foundation for success.
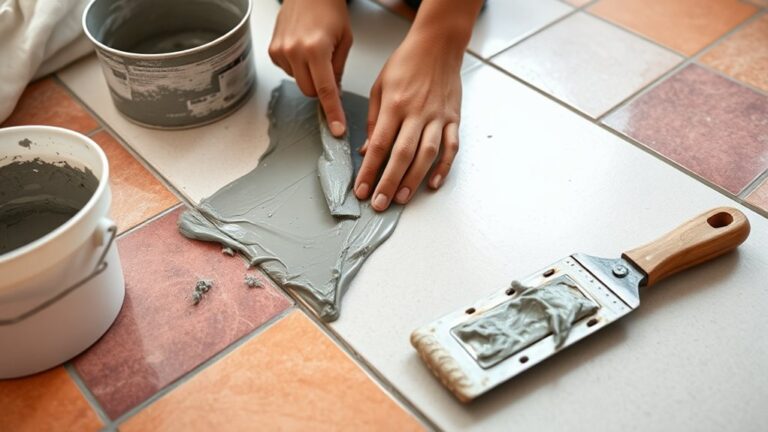
Apply the Adhesive and Set the Tiles
You’ll start by selecting an adhesive compatible with your tile type and subfloor material to guarantee proper bonding. Use a notched trowel to spread the adhesive evenly, maintaining consistent thickness for ideal grip. Then, place each tile carefully according to your layout plan, applying firm, even pressure to set them securely.
Choosing the Right Adhesive
Selecting the right adhesive is essential for ensuring your bathroom tiles bond securely and resist moisture over time. You’ll need to evaluate adhesive types carefully to match your tile material and subfloor conditions. Proper adhesive application is vital for durability and preventing future tile displacement.
Consider these factors when choosing adhesive:
- Waterproof and mold-resistant formulation
- Compatibility with ceramic, porcelain, or natural stone tiles
- Open time suitable for your working speed
- Flexibility to accommodate floor movement
- Ease of cleanup and application method (thin-set or mastic)
Proper Tile Placement Techniques
Start by evenly spreading the adhesive onto the subfloor using a notched trowel, ensuring consistent coverage and thickness. This foundation guarantees tiles bond securely without voids. Next, apply tile alignment techniques to maintain straight, level rows. Use a chalk line or laser level as a guide to keep tiles uniform. Adhere strictly to spacing guidelines by inserting tile spacers between each tile; this allows for consistent grout lines and accommodates expansion. Press each tile firmly into the adhesive, twisting slightly to promote adhesion. Periodically check for levelness, adjusting as necessary to prevent uneven surfaces. Working methodically from the center outward helps maintain symmetry and balance in your layout, giving you freedom to create a flawless, enduring bathroom floor that meets both aesthetic and functional demands.
Cut Tiles to Fit Edges and Corners
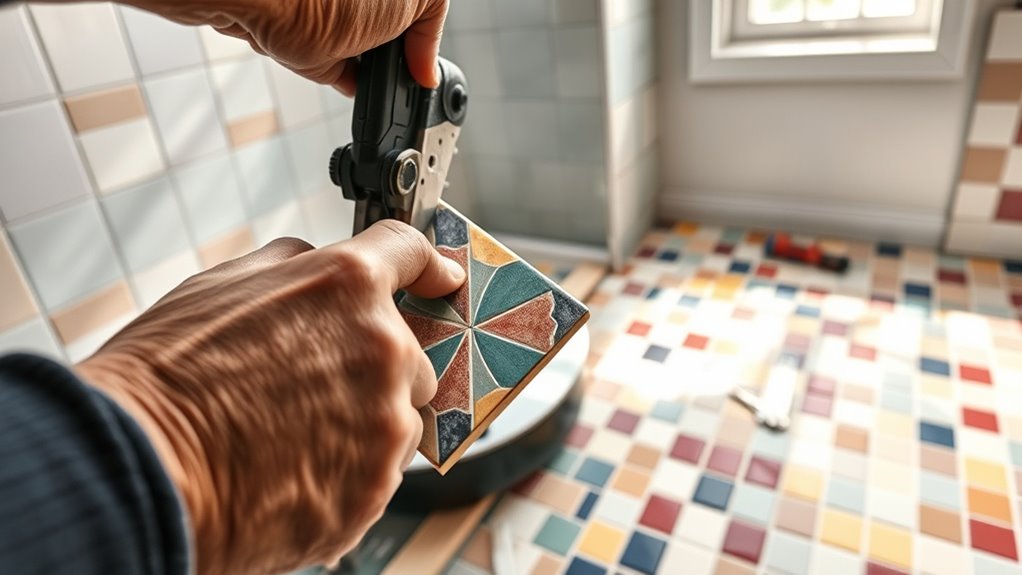
A tile cutter or wet saw will be vital when cutting tiles to fit edges and corners accurately. Precision in tile cutting guarantees clean lines and seamless corner fitting, essential for a professional finish. Start by measuring the required tile size against the wall or fixture, marking the tile carefully. Use the appropriate cutting tool to score and snap or saw through the tile. Always wear safety gear for protection.
Key steps to master tile cutting and corner fitting:
- Measure twice, cut once for accuracy
- Use a pencil or grease pencil for clear marking
- Score tiles with a manual cutter for straight cuts
- Employ a wet saw for intricate or angled cuts
- Smooth cut edges with a rubbing stone or tile file
These methods grant you control and freedom in shaping your bathroom floor.
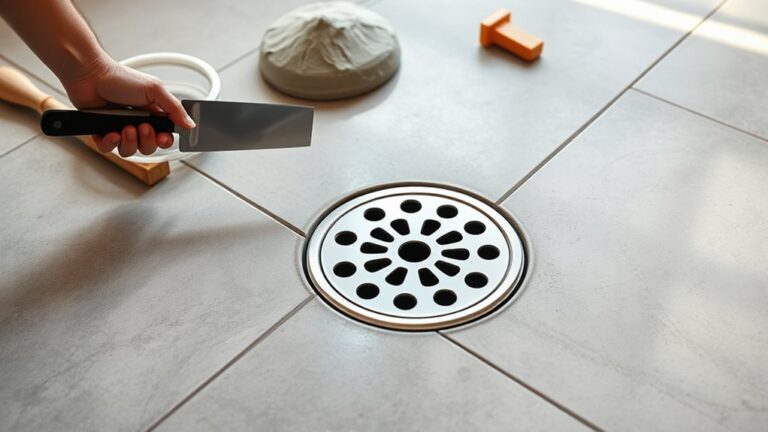
Grout and Seal the Tiles
Once your tiles are cut and securely placed, the next phase involves filling the gaps with grout to lock everything in place and create a uniform surface. Choose grout types based on your tile material and bathroom moisture levels—sanded grout suits wider joints, while unsanded is best for narrow ones. Mix the grout to a smooth consistency, then apply it using a rubber float, pressing firmly into the joints. Remove excess grout promptly with a damp sponge, ensuring clean lines. After curing, apply sealing techniques to protect grout from water and stains. Use a high-quality grout sealer applied with a small brush or applicator, focusing on grout lines. Proper sealing extends durability and maintains your bathroom floor’s freedom from mold and discoloration.