To naturally remove glue from your hardwood floors, start by gathering supplies like warm water, white vinegar, baking soda, and soft cloths. Test a small hidden spot to confirm the floor’s finish won’t get damaged. Soften the glue with a damp cloth, then apply a vinegar and water solution to break down the adhesive. Gently scrape with a plastic scraper and use baking soda paste for stubborn spots. Finish by cleaning and drying thoroughly to protect your wood. You’ll find more detailed tips to ease this task ahead.
Gather Your Natural Cleaning Supplies

Before you begin removing glue from your hardwood floors, you’ll want to gather natural cleaning supplies that are effective yet gentle enough to protect the wood’s finish. Opt for natural alternatives like white vinegar, baking soda, and olive oil—these are eco friendly cleaners that won’t harm your Boden or the environment. White vinegar, diluted with water, helps break down glue without harsh chemicals. Baking soda acts as a mild abrasive to lift residue safely. Olive oil softens stubborn glue spots, making them easier to wipe away. You’ll also need soft cloths or sponges and a plastic scraper to avoid scratching. Having these natural alternatives ready guarantees you maintain your hardwood’s beauty while enjoying freedom from toxic products. This approach respects both your home and the planet.
Test the Glue Spot for Safety
Before you start removing the glue, make certain you identify the type of glue you’re dealing with, as this affects your approach. Check your floor’s finish to guarantee the cleaning method won’t cause damage. Then, perform a spot test on a small, hidden area to confirm the solution is safe and effective.
Identify Glue Type
How can you tell what type of glue you’re dealing with on your hardwood floor? Start by examining the glue characteristics—look at its color, texture, and hardness. Is it clear and sticky, yellowish and brittle, or rubbery and flexible? These clues help you distinguish common adhesive types like white glue, yellow wood glue, or construction adhesive. You can also gently scratch the spot; some glues flake off easily, while others resist pressure. Knowing the glue type is essential because it dictates which natural removal method will work best without damaging your floor. Take your time identifying these details—it gives you the freedom to choose a safe, effective approach tailored to the specific adhesive you’re dealing with.
Check Floor Finish
Once you’ve identified the type of glue on your hardwood floor, the next step is to check how your floor’s finish will react to removal methods. Different finish types—like polyurethane, wax, or shellac—respond differently to natural solvents or scraping. To protect your floor, always consider floor protection carefully before applying any treatment. Understanding your finish type helps you choose safer, gentler removal techniques that won’t damage or dull the surface. This knowledge is essential for preserving your floor’s look and integrity. Taking this precaution guarantees you maintain the freedom to restore your floor naturally without causing unintended harm. By checking the finish, you avoid costly mistakes and keep your hardwood looking beautiful while effectively removing glue residue.
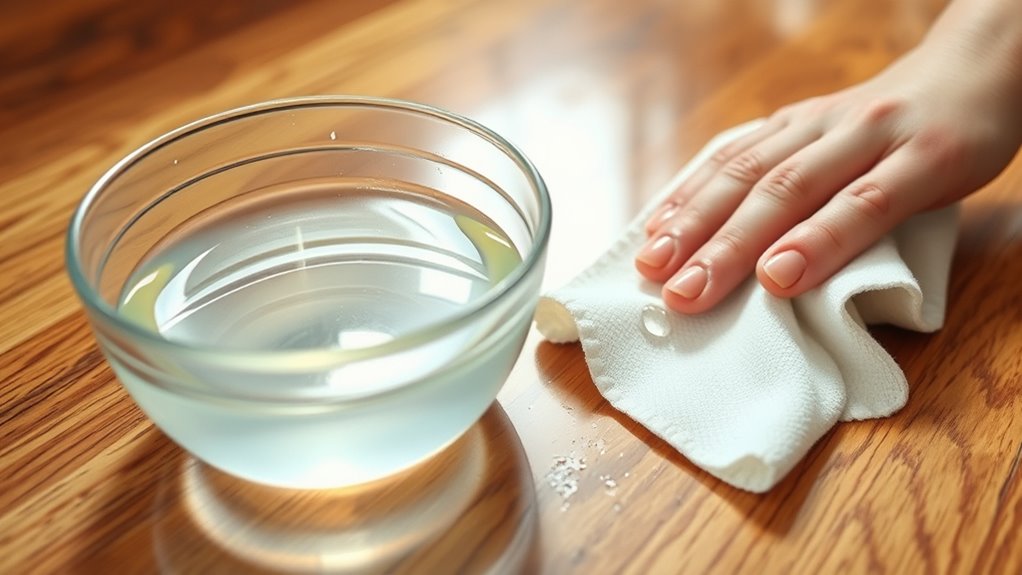
Perform Spot Test
Why should you perform a spot test before fully treating the glue on your hardwood floor? Spot testing guarantees adhesive safety by revealing how your chosen natural remover interacts with both the glue and the floor finish. This step prevents damage like discoloration or warping, giving you confidence to proceed.
Here’s a simple guide for spot testing:
| Schritt | What to Do | Why It Matters |
|---|---|---|
| 1. Select a hidden spot | Choose an inconspicuous area | Protects visible flooring |
| 2. Apply small amount | Use a cotton swab or cloth | Limits exposure |
| 3. Wait and observe | Wait 10-15 minutes | Detects adverse reactions |
| 4. Assess results | Check for damage or changes | Confirms adhesive safety |
This careful approach lets you remove glue naturally without risking harm.
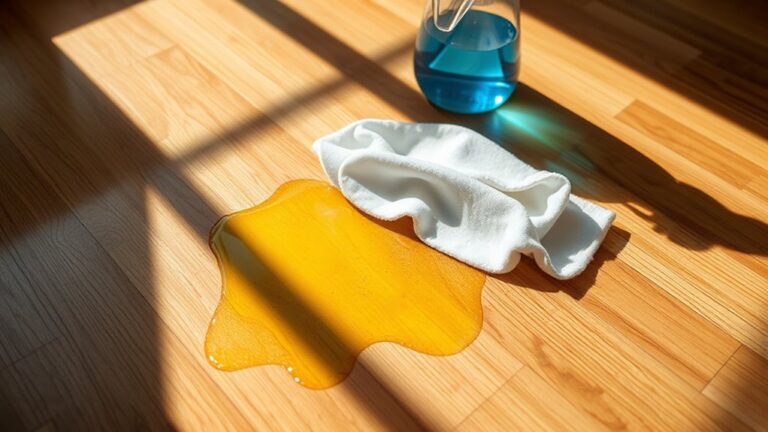
Soften the Glue With Warm Water and Cloth
Start by dampening a clean cloth with warm water and pressing it firmly onto the glue spot. The warm water benefits you by softening the adhesive, making it easier to lift without damaging your hardwood floor. Choose absorbent cloth types like microfiber or cotton for best results.
Follow these steps:
- Soak the cloth in warm water, wring out excess to avoid flooding the floor.
- Place the warm, damp cloth directly on the glue and press down firmly.
- Let it sit for 5–10 minutes to allow the warmth to loosen the glue.
- Gently rub the softened glue with the cloth in circular motions.
This natural method gives you control, preserving your floor’s finish while effectively tackling the glue.
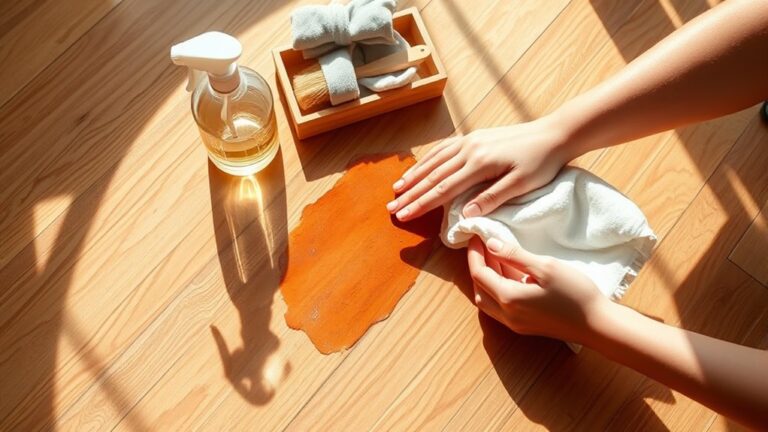
Apply Vinegar Solution to Break Down Adhesive
Although warm water can soften the glue, you might find that a vinegar solution works better to break down tougher adhesive residues on your hardwood floors. Vinegar benefits include its natural acidity, which helps dissolve the sticky glue without harsh chemicals. Mix equal parts of white vinegar and warm water in a spray bottle for an effective adhesive breakdown solution. Spray the mixture generously over the glue spot and let it sit for about 10 to 15 minutes. This soak allows the vinegar’s acidity to penetrate and weaken the adhesive, making it easier to remove later. Remember to test a small hidden area first to verify the vinegar won’t dull or damage your floor’s finish. This natural method gives you the freedom to clean safely and effectively.
Gently Scrape Off the Glue Residue
Carefully use a plastic scraper or an old credit card to lift the softened glue from your hardwood floor. Different glue types react uniquely, so adapting your scraping techniques is key. Follow these steps for effective removal without damaging your floor:
- Hold the scraper at a low angle to gently pry up the glue.
- Work slowly, focusing on small sections to avoid scratching.
- For stubborn glue, apply slight additional pressure but never force.
- Clean the scraper regularly to prevent reapplying residue.
Use Baking Soda Paste for Stubborn Spots
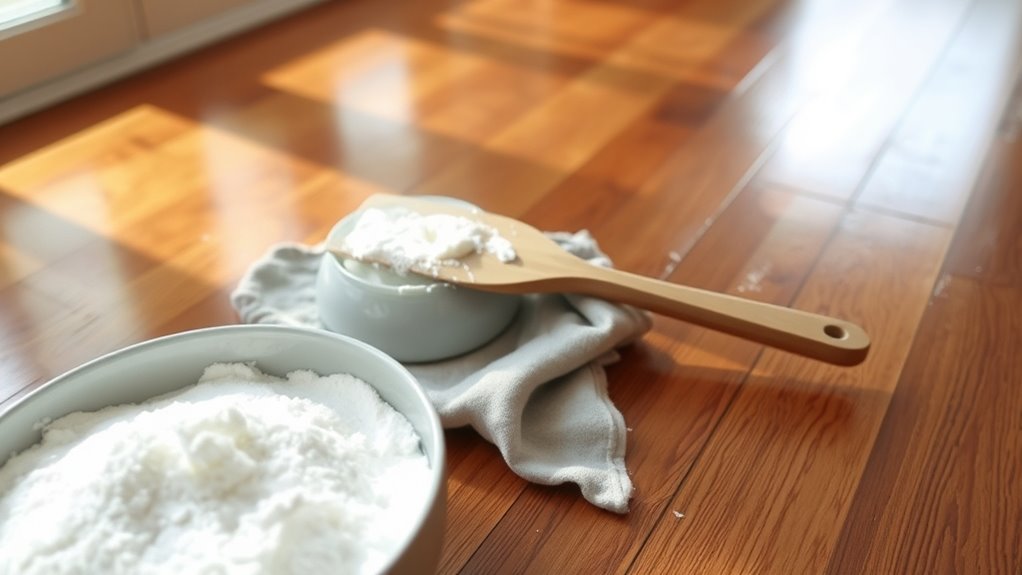
If you find certain glue spots refusing to budge after scraping, baking soda paste can be a gentle yet effective solution. Mix equal parts baking soda and water to form a thick paste. Apply this paste directly onto the stubborn spots, ensuring they’re fully covered. Let it sit for about 10 to 15 minutes; this allows the baking soda to soften the glue without damaging your hardwood floor. Afterward, use a soft cloth or sponge to gently rub the area in a circular motion. The mild abrasiveness of baking soda helps lift the glue gradually. If needed, repeat the process on particularly tough spots, but avoid harsh scrubbing to protect the wood’s finish. This natural method gives you control without relying on chemicals.
Clean and Dry the Hardwood Floor Properly
Once you’ve removed the glue, you’ll want to clean the area thoroughly to eliminate any residue and prevent damage to your hardwood floor. Proper floor maintenance relies on effective cleaning techniques to keep your wood looking great and lasting longer.
Thoroughly clean the area after glue removal to protect and preserve your hardwood floor’s beauty and longevity.
- Start by sweeping or vacuuming to remove loose dirt and particles.
- Use a damp cloth with a gentle wood cleaner to wipe the area, avoiding excess water.
- Rinse with a clean, damp cloth to remove any cleaning solution residue.
- Dry the floor immediately with a soft, dry towel to prevent moisture damage.
Following these steps guarantees your hardwood floor remains clean, dry, and well-maintained, preserving its natural beauty and durability.